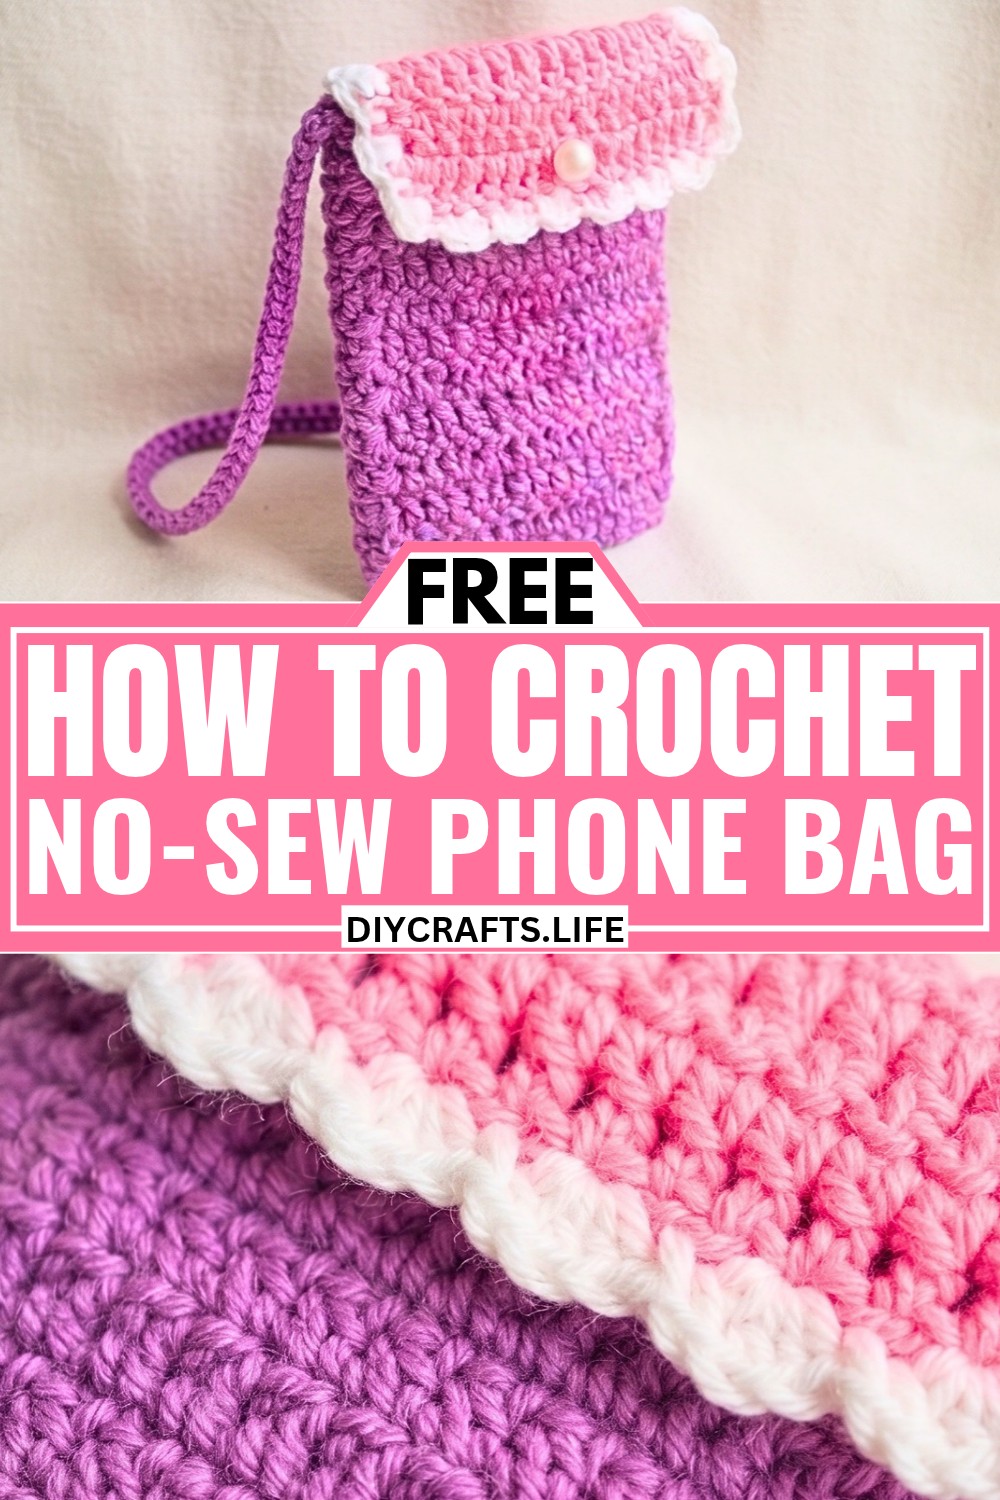

Carry your phone comfortably anywhere with this easy crochet phone bag, featuring a simple flap, adjustable strap, and a neat, no-sew finish.
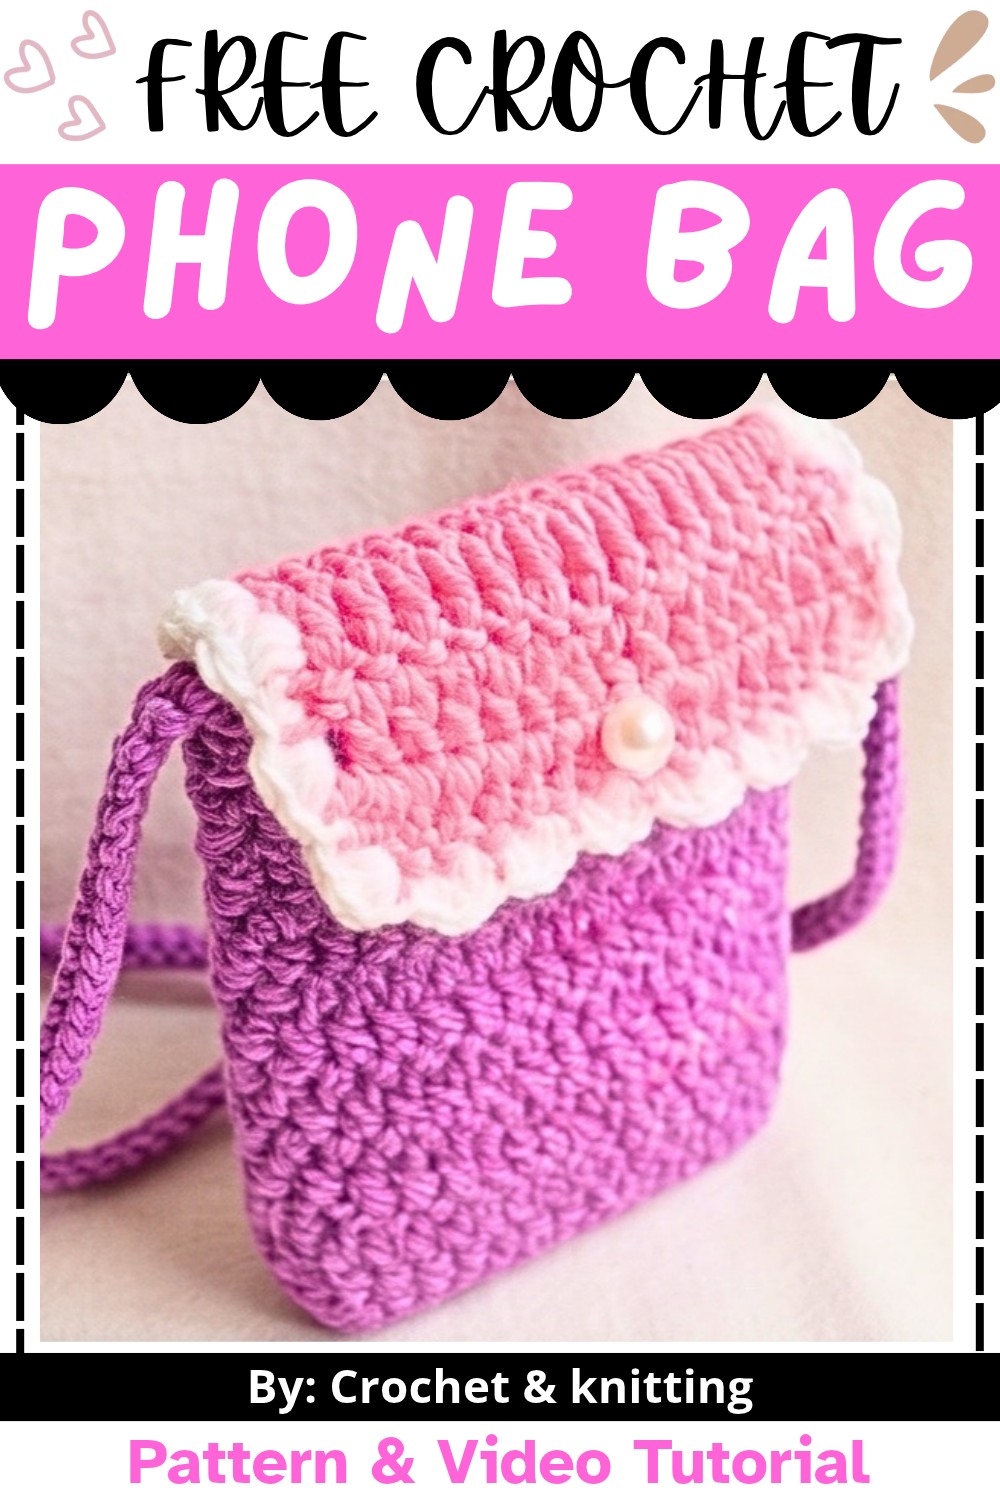
Keeping your phone within easy reach is much simpler with a small handmade bag that sits comfortably across your body. This crochet phone bag has a compact shape, a decorative flap, and a long strap you can adjust to suit how you like to carry it.
The crochet pattern is especially useful if you want to customize the fit. The foundation chain controls the width, while the number of rows determines the bag's height. You join the pieces with crochet stitches rather than needle sewing, making finishing straightforward once the panels are lined up correctly.
Credit Crochet & knitting
Materials & Tools Needed
- Cotton Yarn: Purple, pink, and white yarn as shown in the pattern. Cotton works especially well for a small bag because it gives the fabric a neat, stable feel.
- Crochet Hook: 2.5 mm
- Tapestry Needle: For weaving in yarn ends
- Small Button: A pearl-style button or another small button of your choice
- Scissors
Finished Size & Customization Ideas
The finished size can be adjusted to suit your phone rather than following one fixed measurement.
- Bag Width: Measure the width of your phone and make the foundation chain slightly wider to allow comfortable ease.
- Bag Height: Add or remove rows to match the height of your phone.
- Strap Length: Adjust the foundation chain for the strap according to whether you prefer a short shoulder strap or a longer crossbody style.
- Colors: Use one main color with a contrasting flap border, or keep the entire bag in a single shade for a simpler look.
Pattern Abbreviations & Terminology
- ch: Chain
- sc: Single crochet
- hdc: Half double crochet
- dc: Double crochet
- tr: Treble crochet
- sl st: Slip stitch
This pattern uses U.S. crochet terminology.
Step-by-Step Crochet Instructions
Crochet the Front Panel
The front panel forms the main pocket that holds the phone.
Foundation Chain
Using the purple yarn, make a slip knot and chain 19.
Size check: Before continuing, place the chain beside your phone. It should be slightly wider than the phone itself. If it feels too narrow, add chains now rather than trying to correct the width later.
Row 1
- Yarn over and insert your hook into the 4th chain from the hook.
- Work a double crochet.
- Continue working 1 dc in each chain across.
- You should have 17 stitches, including the turning-chain equivalent.

Row 2
- Ch 3, counting this as the first stitch.
- Work 1 dc in the next stitch.
- Continue working dc stitches across.
- Work the final stitch into the top of the starting chain-3 from the previous row.
Rows 3–12
Repeat Row 2 until you have completed 12 rows in total.
Fasten off and weave in the end.

Crochet the Back Panel and Flap
Switch to the pink yarn.
Foundation Chain
Make another chain 19.
Rows 1–16
- Work the same double crochet pattern used for the front panel.
- Begin each row with ch 3.
- Work 17 stitches across each row.
- Continue until you have completed 16 rows.
The extra four rows create the flap that extends above the front pocket.

Join the Bag Body
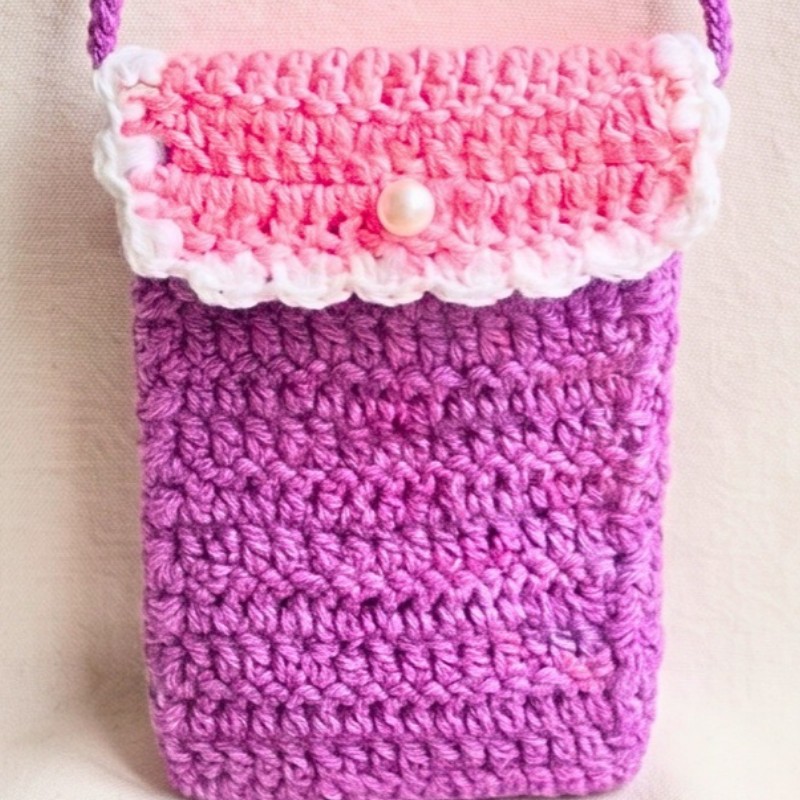
Place the shorter purple panel over the lower portion of the longer pink panel. Align the bottom and side edges carefully, leaving the extra pink rows above the front panel for the flap.
Using the purple yarn and crochet hook:
- Start at one side edge.
- Work ch 1.
- Work 2 sc into the side space of each row as you move downward.
- Continue along the side until the two panels are joined.
- Repeat on the opposite side.
A Neat Alignment Check
Before joining the second side, make sure the bottom corners and top edges of the front pocket sit evenly. If one side is higher than the other, adjust the panel placement before continuing. This small check helps the finished bag sit straight.

Add the Top Edge and Strap
Work around the upper edges using half double crochet.
- Continue with hdc stitches evenly across the top edge.
- When you reach the corner, keep the yarn attached.
- Chain as many stitches as needed for your preferred strap length.
- Bring the chain to the opposite upper corner.
- Attach it with a slip stitch.
- Secure the join and weave the yarn end neatly into the stitches.
For a crossbody bag, make the strap longer. For a shorter shoulder strap, use fewer chains.

Add the Decorative Flap Border
Switch to the white yarn and attach it to the edge of the pink flap.
Work the decorative border as follows:
- In the next stitch space, work 1 hdc, 1 dc, 1 hdc.
- Slip stitch into the top of the following stitch.
- Repeat (1 hdc, 1 dc, 1 hdc, sl st) across the flap.
- Continue until you reach the opposite side.
- Fasten off and weave in the end.
This creates the small scalloped edge that gives the flap its decorative finish.

Add the Button Closure
- Find the midpoint of the upper edge of the purple front pocket.
- Position the small button there.
- Sew the button securely with the tapestry needle.
- Use one of the spaces along the decorative flap edge as the button opening.
Before securing the button permanently, close the flap over it once to make sure the button sits at the right height.
Finishing
Weave in all remaining yarn ends with the tapestry needle. Trim any excess yarn close to the stitches.
Give the bag a gentle shape with your hands, then place your phone inside to check the fit. If the phone feels too snug, the next version can be made wider by adding a few foundation chains or taller by adding extra rows.

One More Fit Check
The strap should feel comfortable when the bag is worn. If the bag sits too high or low, adjust the strap length on your next version rather than changing the pocket itself.
Conclusion
Your crochet phone bag is ready to carry! The simple rectangular panels make the pattern approachable, while the contrasting flap border, button, and adjustable strap give it a finished handmade look. Try different color combinations or adjust the measurements to create a version that fits your phone and your everyday style.