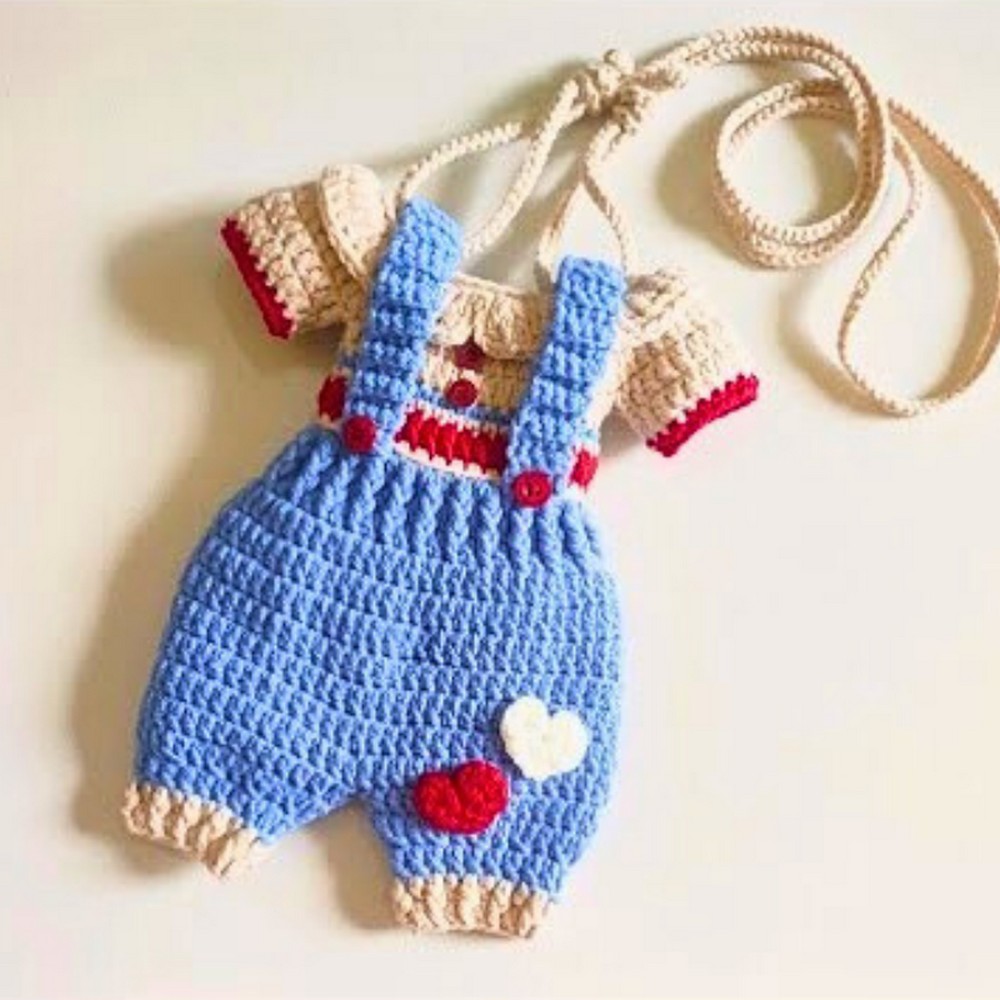
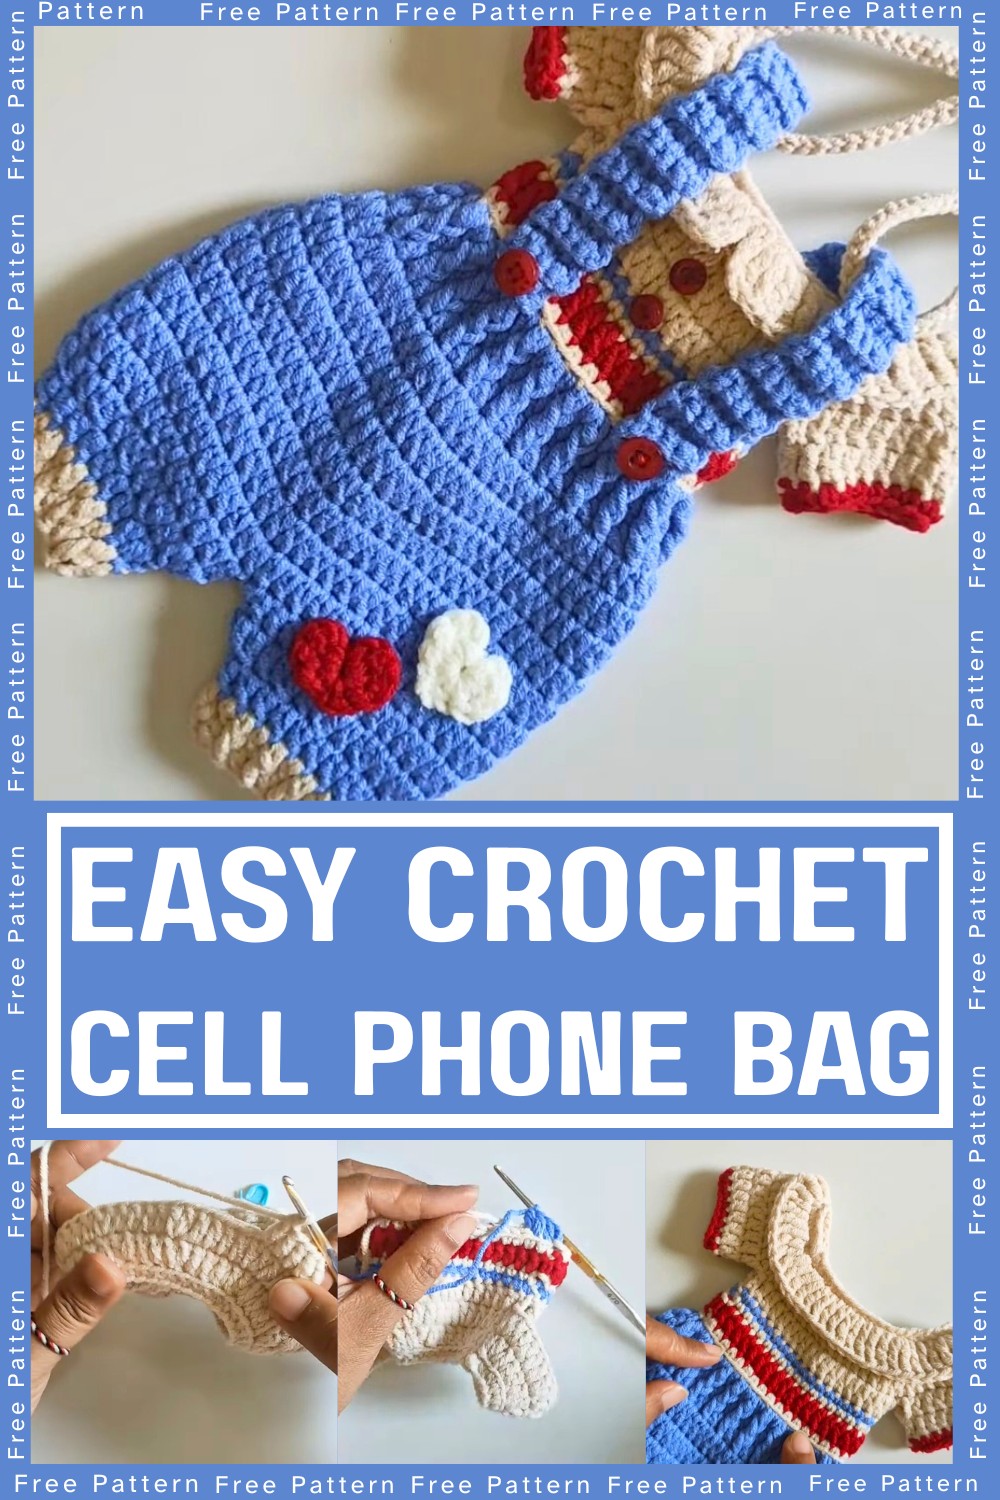
Looking for a stylish and practical project? This crochet cell phone bag is the perfect accessory! Compact yet functional, it’s great for protecting your phone while adding a pop of handmade charm to your outfit. Whether you create it for yourself or as a gift, this pattern is versatile and fun to crochet.
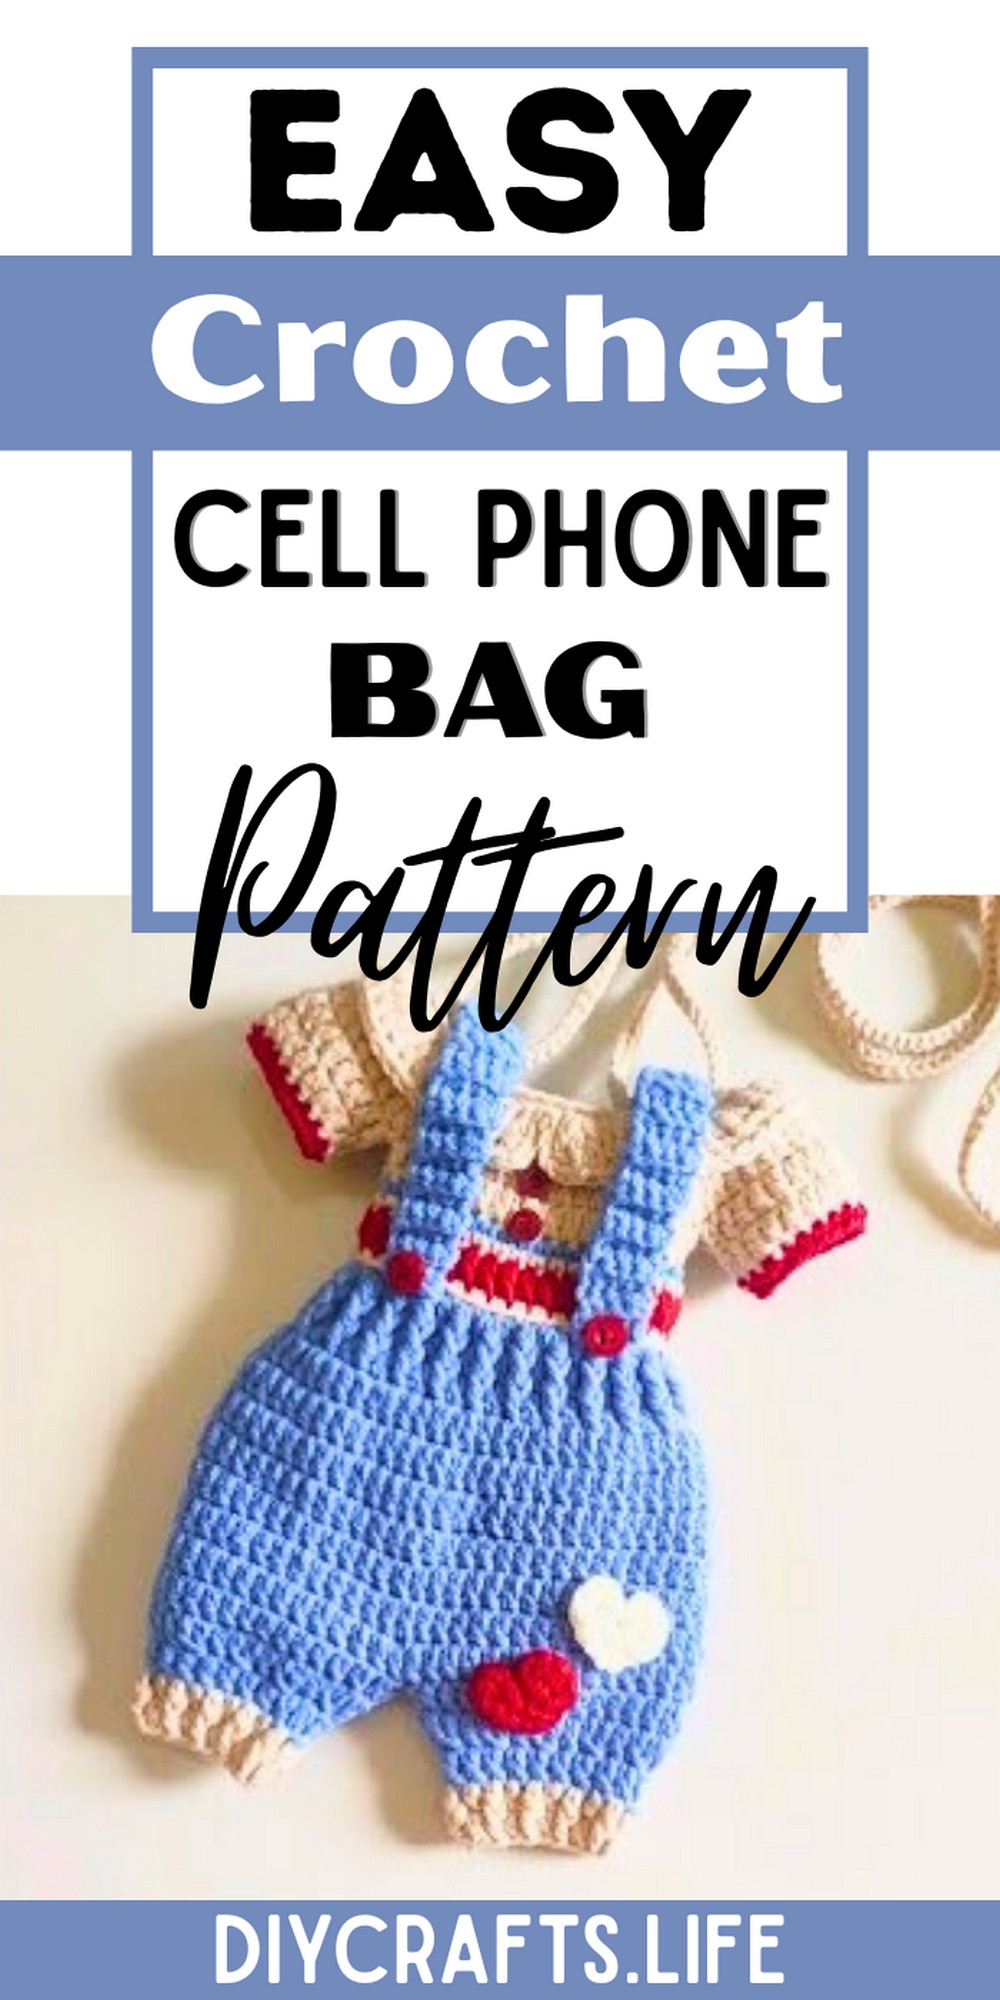
This crochet cell phone bag is both durable and beautiful. Designed to fit snugly around your phone, it offers protection from scratches while showcasing a trendy, handmade look. Compact yet sturdy, it’s a unique and functional accessory perfect for daily use or as a thoughtful handmade gift.
Crochet Cell Phone Bag
Whether you’re a beginner or advanced crocheter, this cell phone bag pattern suits all skill levels. With customizable colors and textures, it’s a chance to express your creativity. The easy-to-follow steps make crafting this stylish bag enjoyable as you explore new techniques with rewarding results.
Materials and Preparation
For this project, you will need the following:
- Yarn: Milk Cotton yarn (or similar soft acrylic/cotton blend yarn)
- Crochet Hook: 5.0mm (Tulip brand recommended, or similar size and ergonomic handle for comfort)
- Additional Tools:
- A tapestry needle for weaving in ends and sewing pieces together
- Scissors for trimming yarn
- Stitch markers to help with counting and placement
- Yarn Weight: Medium-weight (4) yarn or equivalent
Abbreviations and Notes
Abbreviations:
- CH = Chain
- SC = Single Crochet
- DC = Double Crochet
- SL ST = Slip Stitch
- FPDC = Front Post Double Crochet
- Inc = Increase (two stitches in one stitch)
- BL = Back Loop
Pattern Notes:
- This pattern is worked in continuous rounds, so there is minimal seaming required.
- Pay attention to stitch counts for each row to ensure sizing accuracy.
- The project involves frequent color changes; weave in loose ends neatly for a professional finish.
- For decorative accents like rope straps and buttons, additional details are provided toward the end.
Gauge, Approximate Size, and Pattern Notes
Gauge:
Although gauge is not absolutely critical for this project, the average tension should yield approximately 12 stitches and 14 rows per 4 inches when using recommended yarn and hook.
Finished Dimensions:
Approximately 7 inches tall x 4 inches wide (excluding decorative straps and buttons).
Special Techniques:
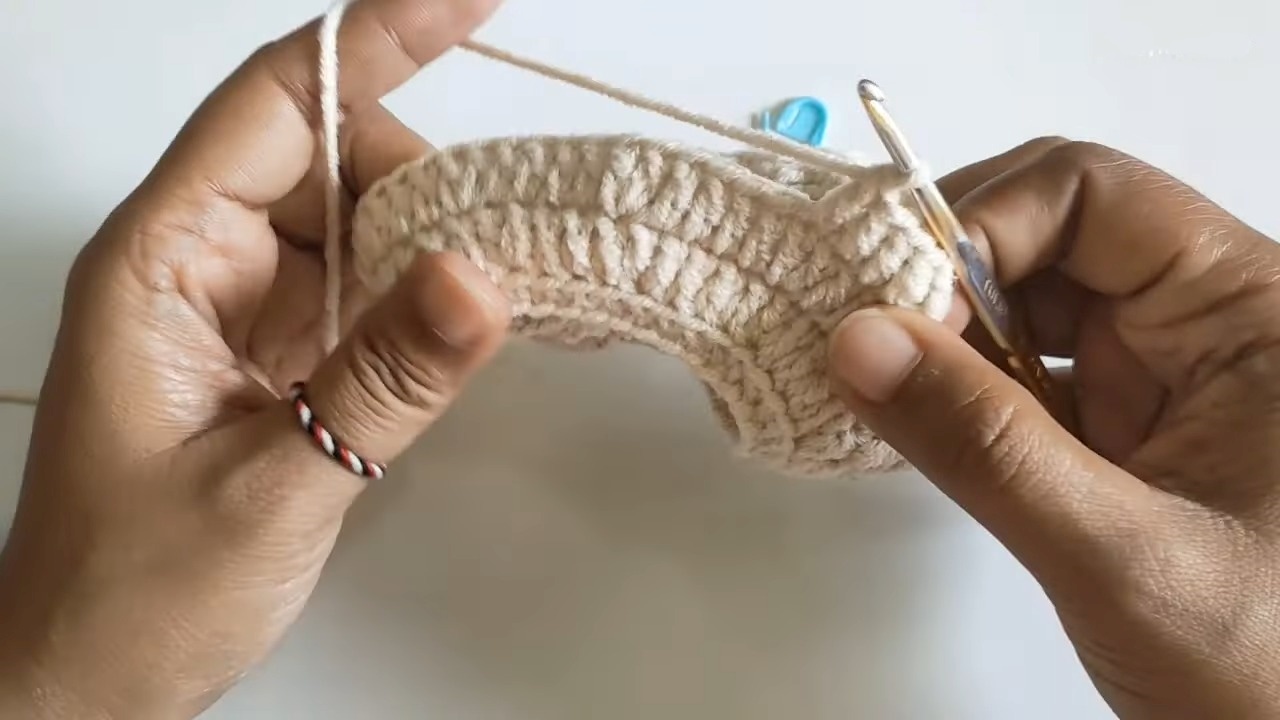
- Back Loop Only: Practiced in multiple rows for texture and shaping.
- Front Post Double Crochet: Adds decorative ribbing and texture to the bag.
- No gauge swatch is required due to the flexible nature of the project, but you may complete one if unsure of your tension.
Step-by-Step Crochet Pattern
Foundation/Base:
- Begin with 48 CH.
- Connect the final CH to the first one using SL ST to form a ring.
- CH 1, then work SC into each CH (48 SC total).
- SL ST into the first SC to close the round.

Row 1:
- CH 3, then work DC into the BL of each stitch. Repeat the pattern as follows: 3 DC, 1 DC Inc (two DC in the same stitch).
- Repeat the pattern 11 times, ending with 60 DC.
- Join with SL ST to the top of the chain.
Row 2:
- CH 3, work DC in the BL again. Change the pattern to 4 DC, 1 DC Inc.
- Repeat the pattern 12 times, increasing your stitch count to 72 DC.
- Combine with SL ST at the end of the row.
Shaping the Bag (Rows 3–12):
Row 3:
- CH 3, work FPDC into alternating stitches (1 DC, 1 FPDC).
- Combine with SL ST at the end.
Row 4:
- Repeat the same FPDC/DC pattern as Row 3.
Row 5:
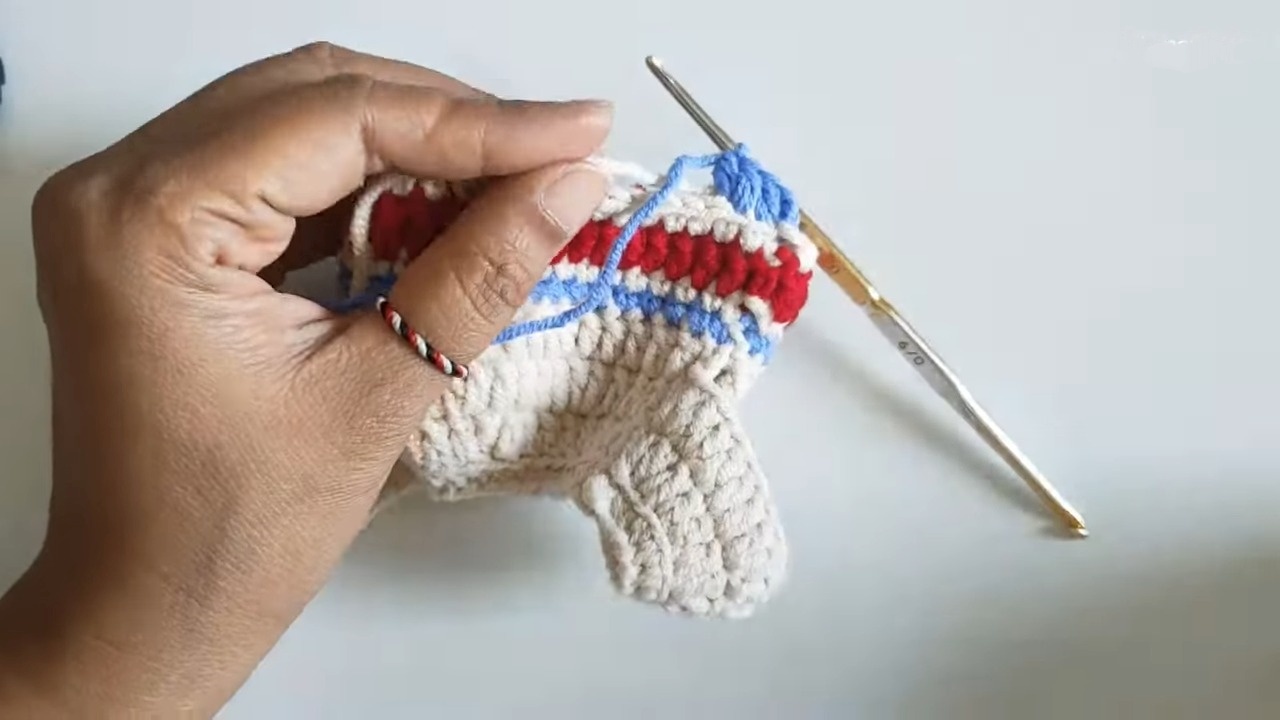
- Change to a contrasting yarn color (e.g., blue). Work SC into each stitch around.
Row 6:
- Switch back to the original color. Work DC into each stitch around.
Row 7–12:
- Continue alternating rows of color and stitch types (e.g., FPDC, SC) as described, ensuring texture continuity. Use the stitch counts provided.
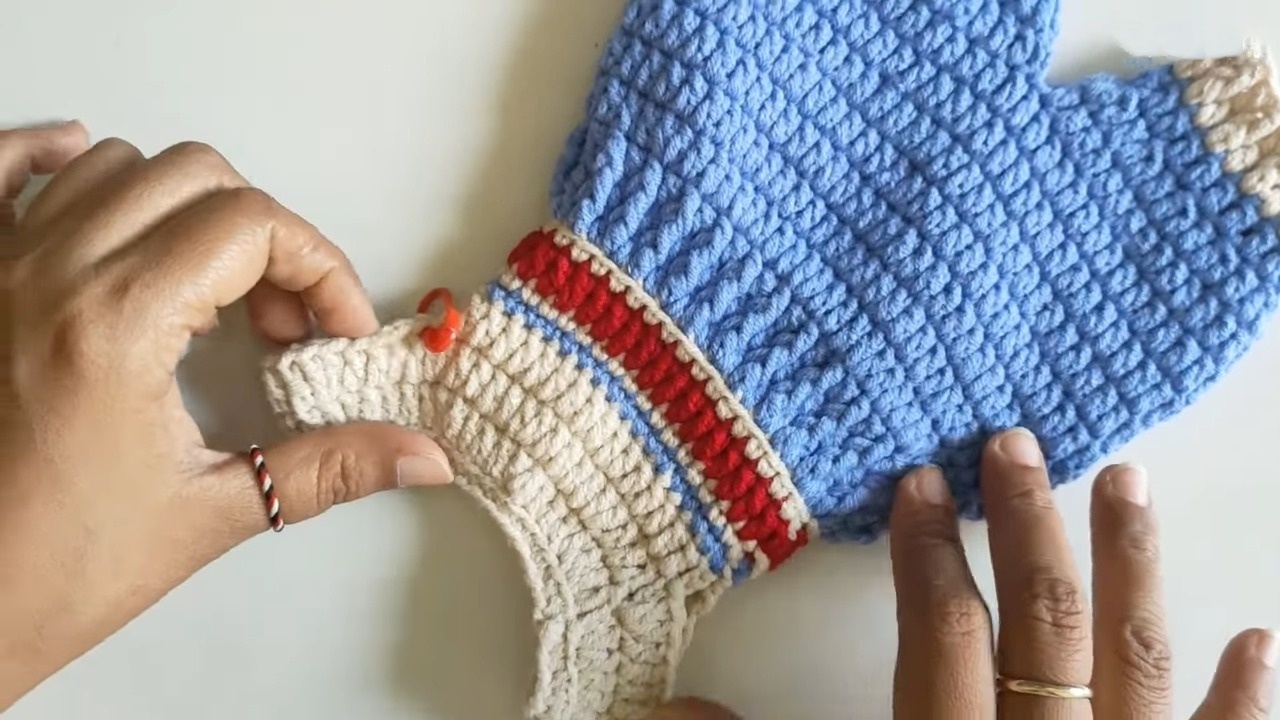
Creating the Bag Opening (Row 13–19):
- Divide your stitches into two sections (15 stitches for one side, 30 stitches for the middle opening).
- Skip chaining over the middle section to create the opening for a pocket flap.
- Work decreasing stitches as follows: 1 DC, 1 DC Dec.
- Continue shaping until you end with approximately 20 stitches.
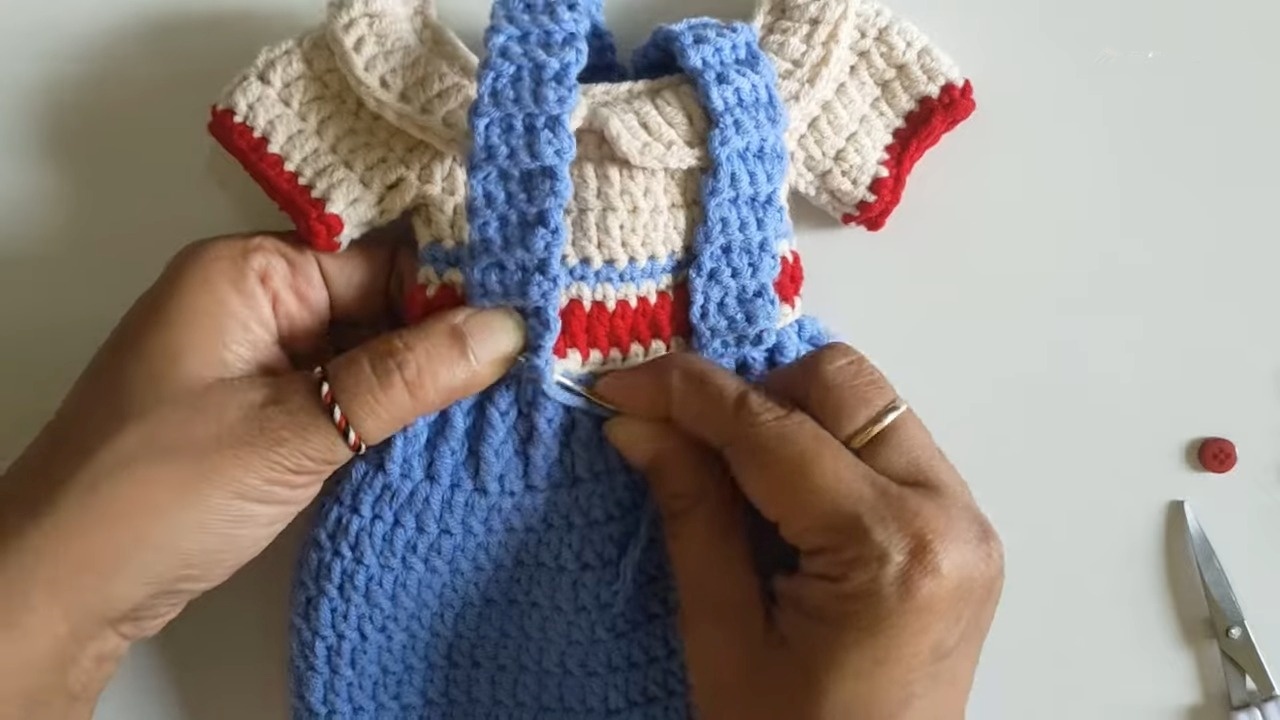
Straps and Decorative Features:
- Creating the Straps:
- Switch to blue yarn. Start from Row 8 and count 7 stitches inward.
- Work 4 SC in BL for 39 rows (or until your desired strap length is achieved).
- Repeat for the other strap.
- Button Placement:
- Attach buttons securely using a needle and sewing thread on the flap and strap ends.
- Collar and Decoration:
- Switch to red yarn and work decorative triple crochet increases and ribbing to mimic a shirt collar.
Finishing Touches:
- Sew together the bottom of the bag with a tapestry needle to close.
- Decorate the bag with appliques (e.g., hearts or other shapes) as desired.
- Trim all remaining yarn ends.
Pattern Question:
Question: Can I adjust the size of the bag to fit larger phones?
Answer: Absolutely! Simply increase the number of starting chains and follow the same pattern instructions if you want a larger bag. Adjusting the strap length for larger designs is also easy.
Conclusion:
This crochet cell phone bag is a fantastic project for both beginners and experienced crafters. It’s stylish, practical, and highly customizable, making it a satisfying and fun project. Enjoy crafting something functional and beautiful that shows off your creativity and personal touch!


