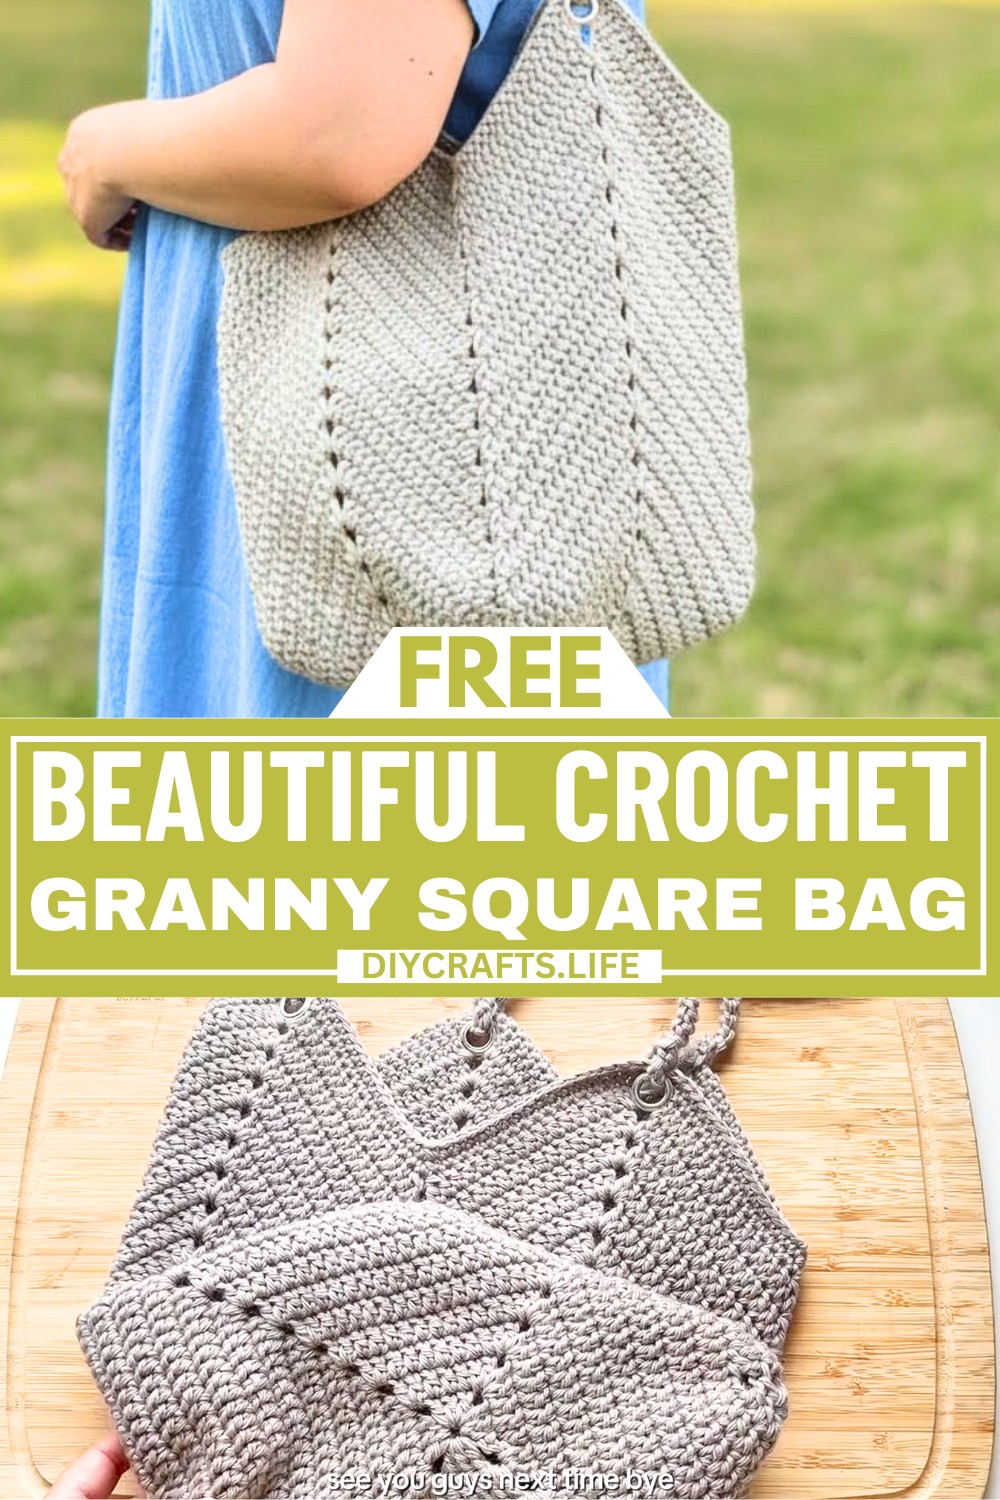
A granny square bag is a wonderful blend of simplicity and charm. It's not just a bag, but a stylish companion for groceries, books, or daily essentials. With its sturdy design and unique crochet texture, it stands out as both practical and beautiful. Plus, it’s versatile enough to pair with any outfit or gift to someone you love.
Making this bag begins with a simple granny square base, slowly transforming into a structured bag as you crochet around the square. You’ll also learn how to add strong yet flexible straps and even attach grommets for that professionally finished look. Whether you're a beginner or already familiar with granny squares, this is an exciting and simple crochet item to create.
Credit Tasty Dumpling Living
Materials & Tools Needed
- Bulky Weight Yarn: Choose a sturdy yarn for extra durability; the tutorial uses bulky yarn with a tight stitch.
- 4 mm Crochet Hook: A smaller hook keeps the stitches tight and ensures a sturdy bag.
- Scissors
- Tapestry Needle: For finishing off ends and sewing straps.
- Four Stitch Markers: Used to mark the center of each side during shaping.
- Grommet Set & Installation Tool: To securely attach straps to your bag.
- Cutting Board & Hammer: Used as a stable surface to install the grommets.
Finished Size & Customization Ideas
- Base Dimensions: Approximately 9.75 inches (25 cm) square after completing 9 rounds.
- Bag Height: 12 inches (31 cm) tall at the peak of the sides after 13 rounds of shaping.
- Strap Length: Approximately 26 inches (66 cm).
Customization Ideas:
- Size Variations: Adjust the number of granny square rounds for a larger or smaller base.
- Color Changes: Use different colors for the base, sides, and strap to add contrast.
- Decorative Additions: Attach appliques or embellishments to the finished bag.
Pattern Abbreviations & Terminology
- ch: Chain
- sl st: Slip Stitch
- dc: Double Crochet
- hdc: Half Double Crochet
- sc: Single Crochet
- sc2tog: Single Crochet Two Together (Decrease)
- yo: Yarn Over
Step-by-Step Crochet Instructions: Granny Square Bag
This guide breaks the process down into clearly numbered sections, just like the tutorial.
Part 1: Creating the Granny Square Base
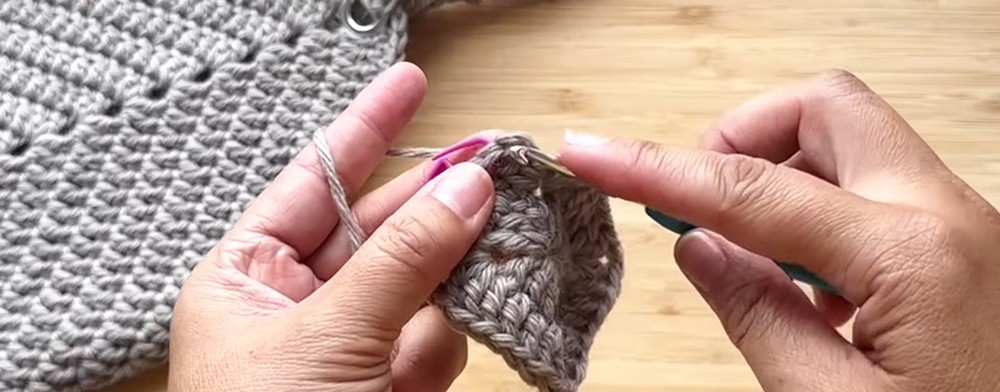
Round 1: Start the Base
- Form Magic Ring:
- Wrap yarn around two fingers to create an "X". Insert a 4 mm crochet hook under the bottom part of the loop, pull up a loop, and chain 1.
- Tighten the loop.
- Begin Granny Square:
- Chain 3 (counts as first dc).
- Work 2 dc into the ring.
- Chain 2.
- Work 3 dc, chain 2.
- Repeat 3 dc + chain 2 twice.
- Pull tight to close the magic ring.
- Finish Round 1:
- In the last corner, chain 1 and work 1 hdc into the top of the starting chain 3 instead of chaining 2 and slip-stitching.
Subsequent Rounds:
- Repeat the Pattern:
- Start each round with a chain 3 (counts as dc). Work increases into the corners using the following for each side:
- 2 dc in corner space.
- Work 1 dc into each stitch across the side.
- Chain 2 at each corner after the corner dc stitches.
- End each round using the chain 1 and hdc method to position the starting point at the corner.
- Start each round with a chain 3 (counts as dc). Work increases into the corners using the following for each side:
- Continue Increasing:
- Add four stitches per round (2 in each corner). For example:
- Round 2: 7 stitches between corners.
- Round 3: 11 stitches between corners.
- Stop increasing once your base reaches the desired size (e.g., 9 rounds for approximately 25 cm).
- Add four stitches per round (2 in each corner). For example:
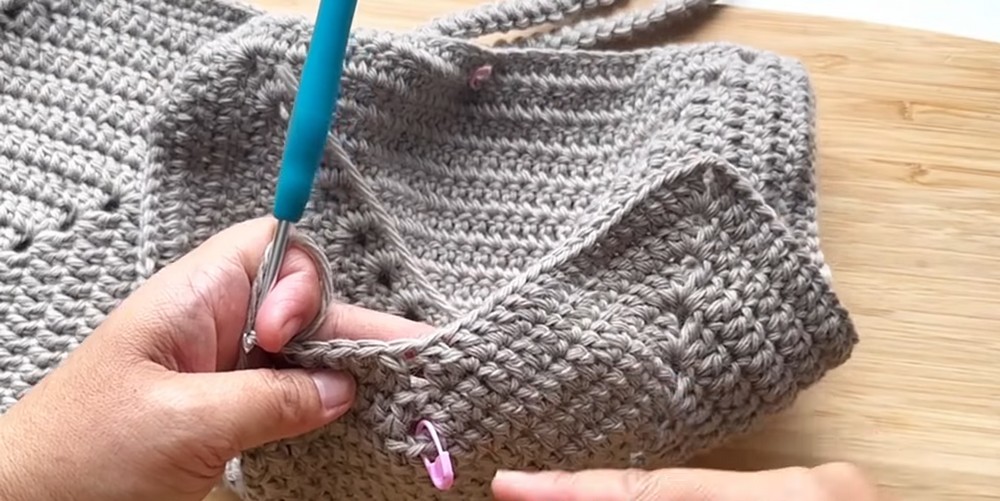
Part 2: Shaping The Bag
Mark Centers of Sides:
- Use stitch markers to identify the center stitch of each side.
Start Decreasing:
- First Round of Decreases:
- Continue working corners with 2 dc + chain 2 + 2 dc.
- Decrease on each straight side by skipping 3 stitches at the center.
- Work up to 1 stitch before the marked center stitch.
- Skip the center and next two stitches, then resume dc as usual.
- Subsequent Decreases:
- For every round of decrease:
- Stop 2 stitches before the center decrease from the previous round.
- Work 2 stitches together as a dc2tog.
- For every round of decrease:
- Continue Building Height:
- Repeat the decrease rounds until the bag sides are at your desired height (e.g., 13 rounds for approximately 9 inches/23 cm tall).
Part 3: Adding Single Crochet Rows & Finishing Off
- Border Single Crochet:
- Work 1 single crochet stitch (sc) into each stitch across the edge.
- At corner spaces: Place 2 sc.
- At valley decreases: Use sc2tog to smooth the edges.
- Complete 2 rounds of single crochet for added strength and finishing refinement.
Part 4: Attach Grommets
- Position grommets at the peaks of the bag's sides, ensuring they are evenly spaced.
- Install Grommets:
- Insert the tall piece from the outside of the bag.
- Add the flat piece on top inside the bag.
- Use the installation tool and hammer to secure the grommet.

Part 5: Crochet Straps
Instructions for Crochet Strap:
- Chain 2.
- Insert hook into first chain, pull up a loop, and work a sc.
- Turn & Work Sc Over Side Loops:
- Turn your work and continue by inserting the hook into the side loops. Repeat this process until the strap is the desired length (e.g., 26 inches/66 cm).
Part 6: Attach Straps
- Secure Straps on Bag:
- Insert one end of the strap into a grommet from outside to inside.
- Fold the strap to create a 2-inch overlap.
- Thread the tail of the strap into a needle, sew around the strap securely, and fasten off.

Finishing Touches
The bag is complete once both straps are securely attached, all ends are sewn in, and the shape has been formed.