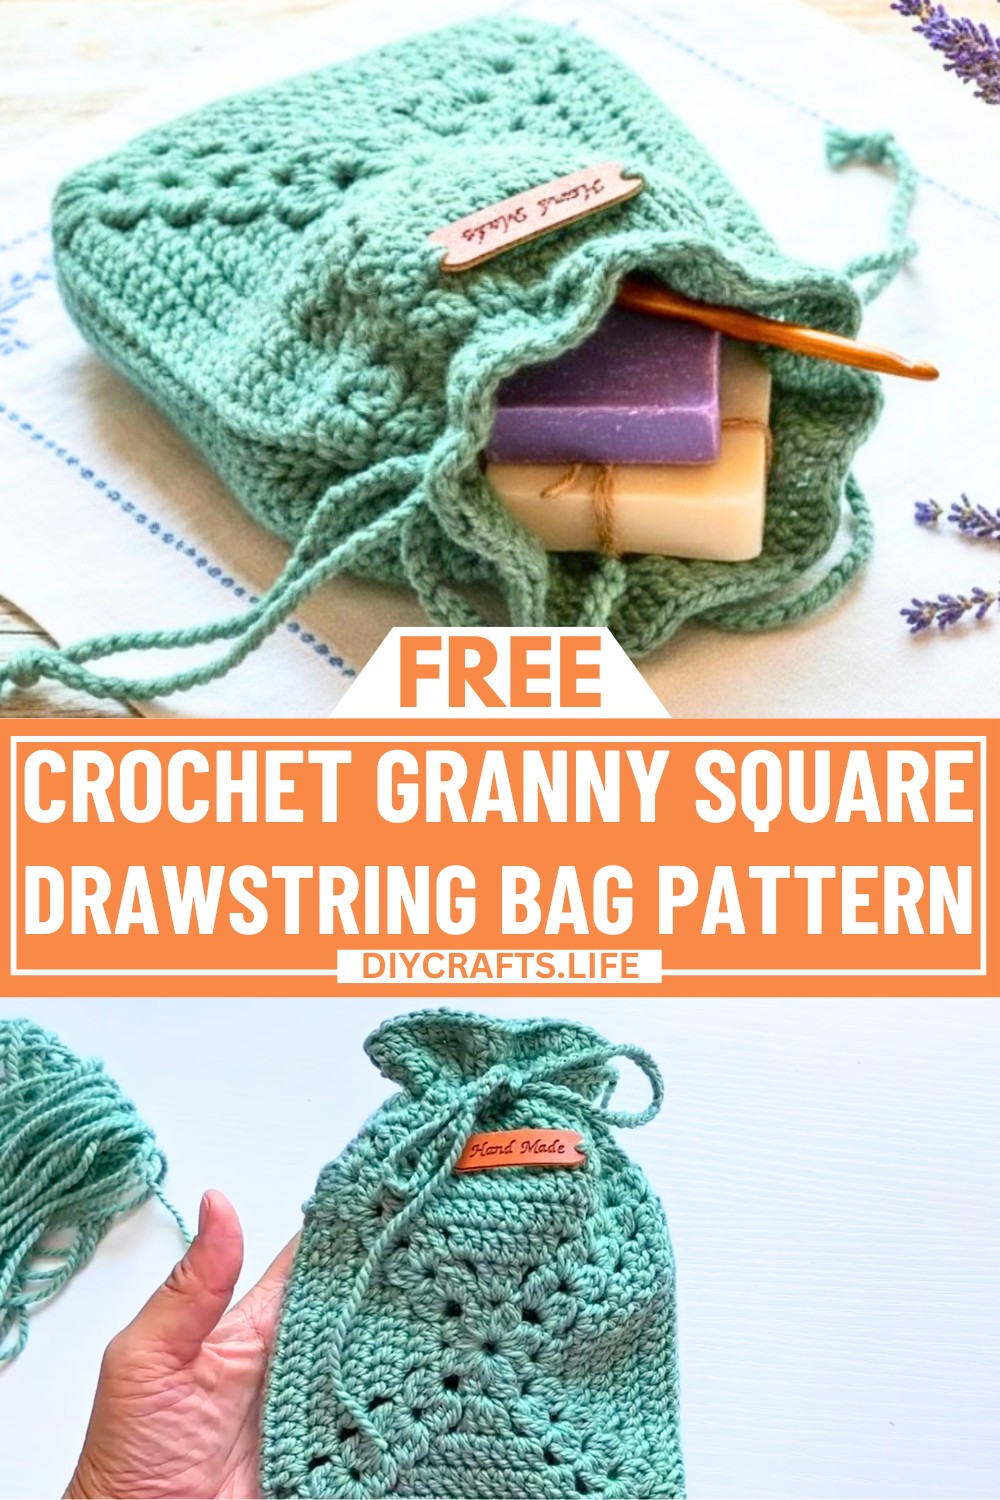
This crochet bag is a delightful mix of style and use. Made with two charming granny squares, it’s perfect for carrying small items or as a cute accessory for outings. Whether you want a bag for your essentials, a unique gift, or something fun to keep your crochet supplies, this bag has got you covered.
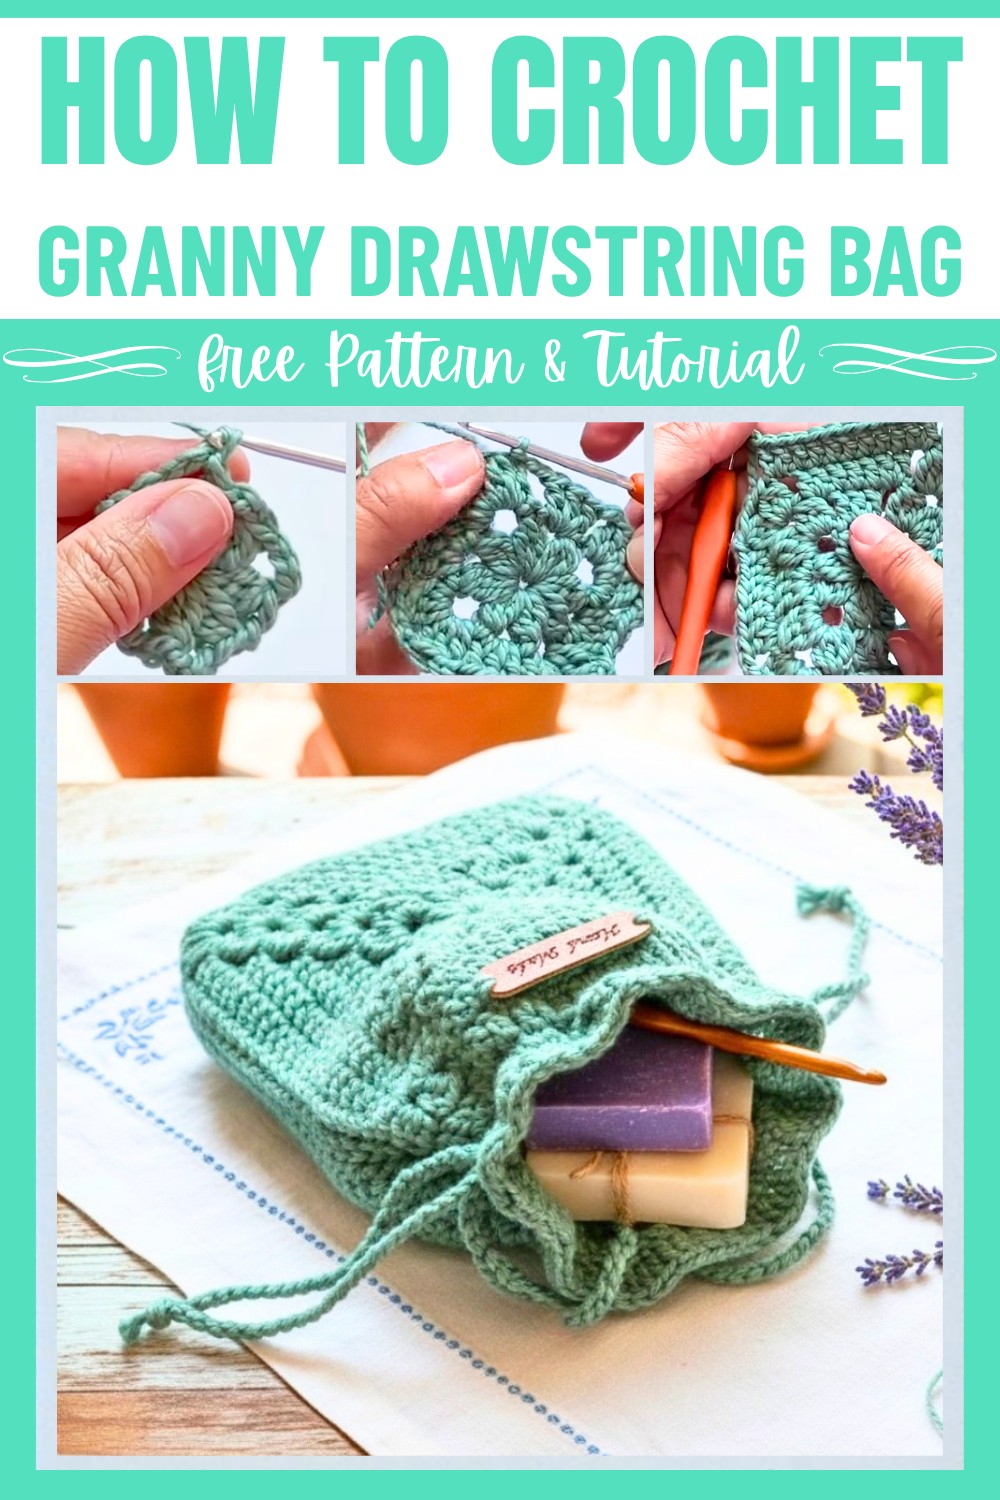
The making process feels achievable for crocheters of all levels. You’ll work on two granny squares, join them together, and add a neat drawstring closure. The addition of puff stitches in the granny squares gives the bag a lovely texture and detail. By following along, you’ll easily create this compact and stylish piece—and it’s always satisfying seeing your creation become functional.
Credit Tasty Dumpling Living
Materials & Tools Needed
- Yarn: Any yarn in your choice of color (the tutorial uses medium-weight yarn).
- Crochet Hook: 3mm crochet hook.
- Tapestry Needle: For weaving in ends.
- Scissors: For cutting the yarn.
- Optional: Leather tag or any decorative tag for finishing.
Finished Size & Customization Ideas
- The finished size of the bag depends on the number of granny square rounds and the height of the drawstring casing (rows).
- Size Customizations:
- Increase or decrease the number of rounds in the granny square to make the bag larger or smaller.
- Adjust the height of the top section (double crochet rounds) if you want a taller or shorter bag.
- Use different colors for each round to make it colorful, or stick to a single color for a simpler look.
Pattern Abbreviations & Terminology
- ch: Chain
- sl st: Slip Stitch
- sc: Single Crochet
- dc: Double Crochet
- puff stitch: (Yarn over, insert hook, pull up a loop, yarn over, pull through two loops) repeat as specified (e.g., 2 or 3 times), then yarn over and pull through all loops on the hook.
- st(s): Stitch(es)
- sp: Space
- RS: Right Side
- WS: Wrong Side
This pattern uses US Terminology.

Step-by-Step Crochet Instructions
Granny Square
(Make 2 squares following the steps below.)
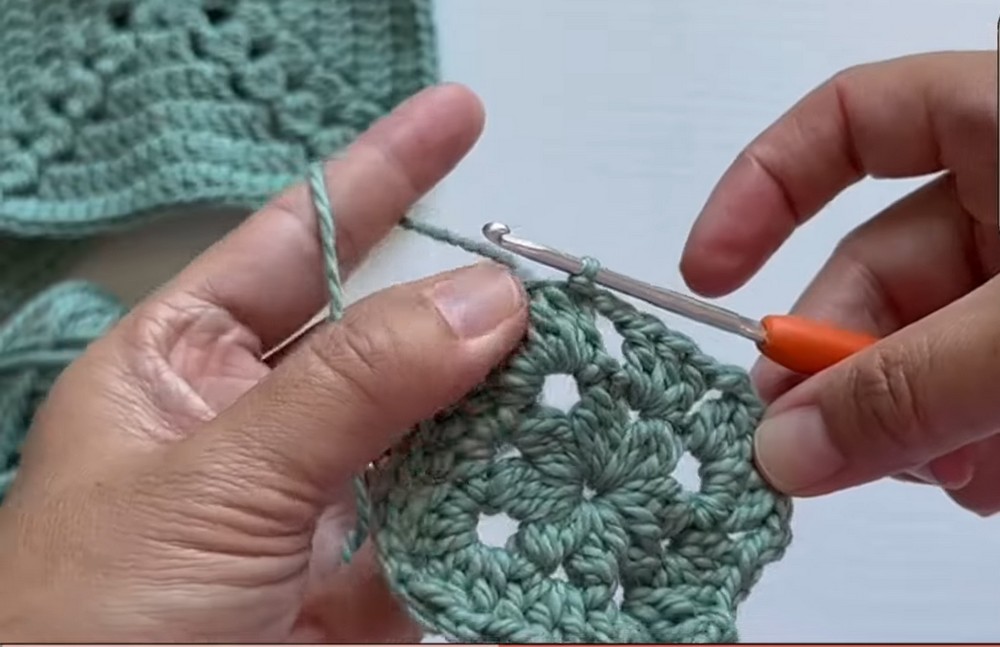
Round 1:
- Start with a magic ring (wrap yarn around your fingers, insert hook into center, pull up a loop, and secure with a ch 1).
- Puff Stitch: Work 1 sc into the magic ring, then make 2 unfinished double crochet stitches (yarn over, pull up a loop, yarn over and pull through two loops) into the ring. You should have 3 loops on your hook. Yarn over and pull through all 3 loops. This completes your first puff stitch.
- Ch 4 (for the first corner).
- Work your next puff stitch: Make 3 unfinished double crochets into the magic ring. You should have 4 loops on your hook for every puff stitch starting from here. Yarn over and pull through all loops. Ch 2 between puff stitches.
- Repeat Step 4 with (puff st, ch 2) x2, then make the final corner with 1 puff st, ch 4.
- Pull the tail to tighten the magic ring and sl st into the first puff stitch to join. (You should have 4 puff stitches in the corners and 4 chain spaces between sides.)
Round 2:
- Slip stitch to the first corner space.
- In the corner sp: Work 1 puff stitch, ch 2, then 1 more puff stitch. (Each corner will always have two puff stitches with a ch-2 space between them.)
- Ch 2, then in the side ch space: Work 3 dc. (Add 3 dc stitches between puff stitches on the sides.)
- Repeat the sequence: corner (puff st, ch 2, puff st), ch 2, 3 dc in the next side space, ch 2 for all corners and sides.
- Join with a sl st in the first puff stitch.
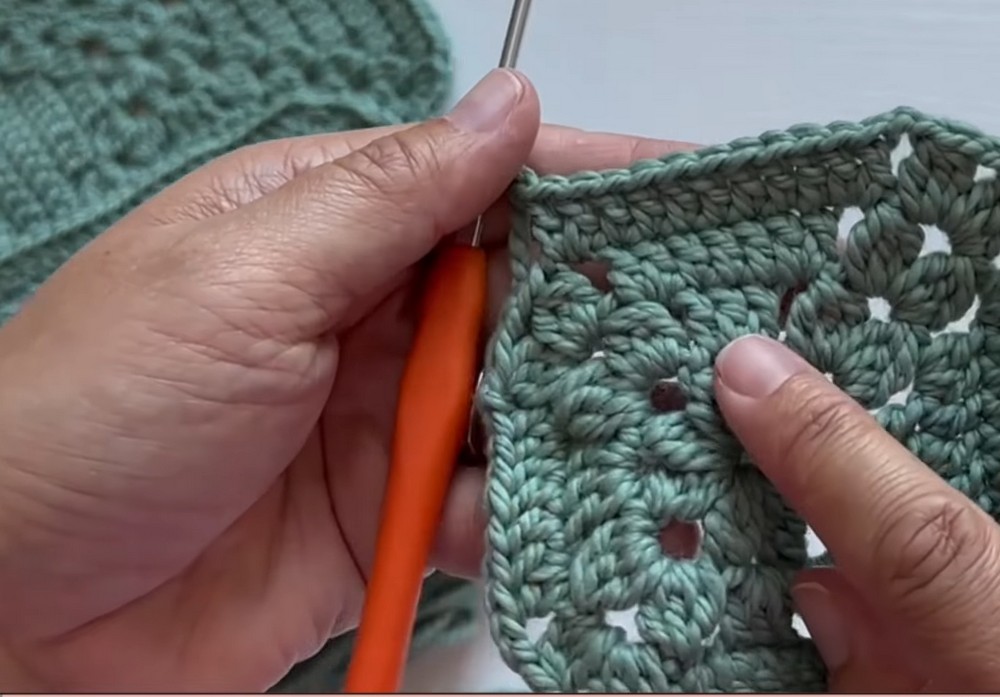
Round 3:
- Slip stitch to the corner space.
- In each corner sp: Work (puff st, ch 2, puff st).
- For the sides, work: 2 dc in the first ch-2 sp, dc in each dc along the row, and 2 dc in the next ch-2 sp. (The number of stitches in the center grows by 4 each round.)
- Repeat the sequence all the way around and join with a sl st.
Rounds 4–5:
- Continue following the same structure:
- Corners: (puff st, ch 2, puff st).
- Sides: 2 dc in the chain spaces, dc across the middle, and 2 dc in the next chain space.
- Continue until you have completed 5 rounds, or adjust the size to your preference.
- Fasten off and weave in ends.
Joining the Squares
- Place the two granny squares wrong sides together (WS facing each other).
- Start at the top corner by inserting your hook through both loops of the first puff stitch from each square. Attach the yarn with a sl st and chain 1.
- Single crochet (sc) along the edge, ensuring you crochet through both loops of each square. Work your way around 3 edges, leaving the top side open for the bag opening.
- Fasten off and weave in ends.
Drawstring Top Section
Round 1:
- With the right side facing, attach your yarn at the top opening of the bag.
- Ch 3 (counts as 1 dc). Work 1 dc into each st all the way around the top opening.
- Join with a sl st into the 3rd ch of the starting chain.
Round 2:
- Ch 3 (counts as 1 dc), then work 1 dc in each st from the previous round.
- Join with a sl st.
Round 3 (Drawstring Holes):
- Ch 4 (counts as 1 dc + 1 ch), then skip 1 st and work 1 dc into the next st.
- Ch 1, skip 1, dc in the next st. Repeat this pattern (ch 1, skip 1, dc) all the way around.
- Join with a sl st into the 3rd ch of the starting chain.

Round 4–5:
- Ch 3, then dc into each dc and ch sp from the previous round.
- Join with a sl st after each round.
Drawstring Cord
- Chain approximately 100 chains (or adjust to your desired length).
- Fasten off and use a tapestry needle to weave the chain through the holes made in Round 3 of the drawstring top section.
- Adjust the cord so the ends are even, then tie the ends together or add decorative tassels/beads if desired.
Finishing Touches
- Add a decorative leather tag or charm for a unique look.
- Use your bag to store small items, gifts, or even as a cute accessory!