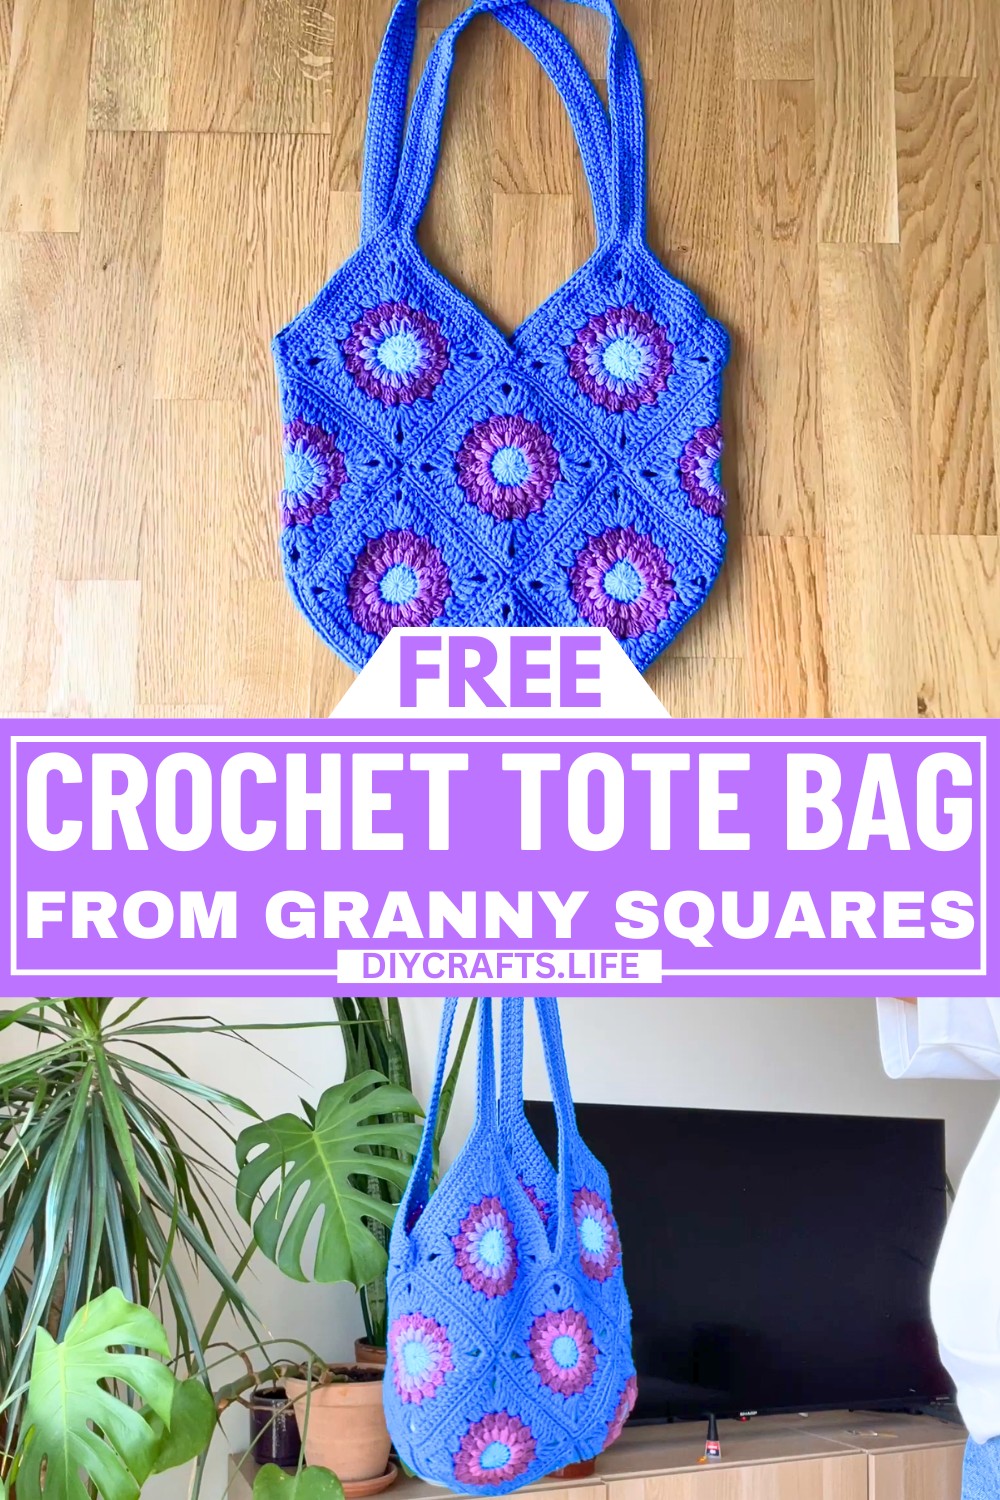
This crochet tote bag is a blend of beauty and function! Made from colorful granny squares, it’s perfect for carrying your daily essentials like books, groceries, or even your favorite craft supplies. The fun design makes it stylish and unique, turning a simple bag into something you’ll want to show off every day.
Crochet Tote Bag from Granny Squares
What makes this tote bag even more exciting is how you can personalize it. You can mix and match colors, choose patterns that you love, and create a bag that feels truly yours. The steps are beginner-friendly, with options for different bag sizes based on the number of squares used. It’s more than a tote—it’s a piece of art you can use on the go!
Credit by Kristine
Materials & Tools Needed
- 4 different colors of 8-ply cotton yarn (approx. 350g in total).
- Recommended hook size in the video is a 5mm crochet hook.
- Scissors.
- Stitch markers (optional but recommended for marking decrease areas or corners).
- Tapestry needle or crochet hook for weaving in the ends.
Finished Size
- Each Granny Square: ~13 cm x 13 cm (5-5.5 inches) after 5 rounds.
- Finished Bag: Depending on the layout, dimensions will vary:
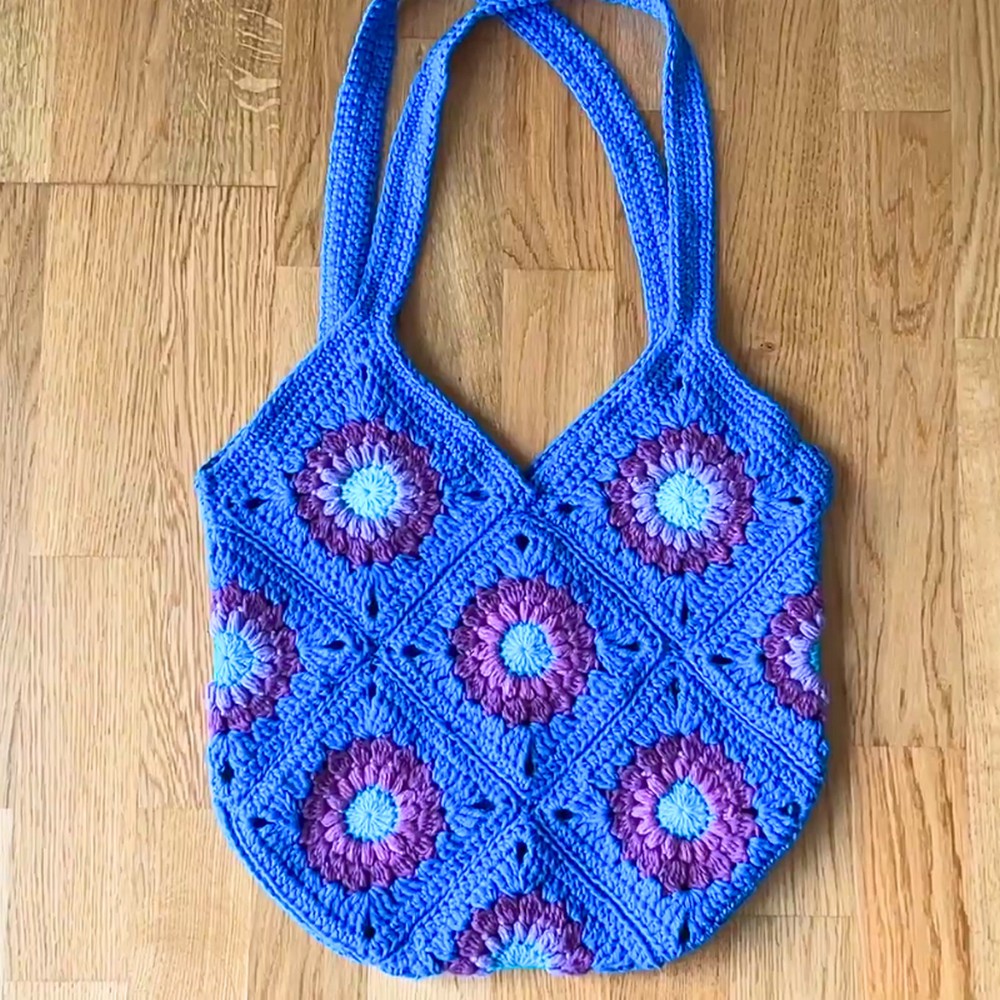
- The design in the video uses 18 granny squares, connected to form both the body and sides of the bag.
- Optional custom sizes: Add/remove granny squares for a unique size.
Customization Ideas
- Granny Square Variations: Substitute the illustrated granny square design with other styles (traditional, floral, etc.).
- Color Blocking: Use a gradient or contrast scheme for eye-catching patterns.
- Size Modifications:
- Smaller bag: Use fewer rounds or smaller granny squares.
- Larger bag: Extend square sizes with additional rounds or add more squares.
- Strap Length: Add more chains to customize strap length.
Pattern Abbreviations & Terminology
(U.S. Terminology)
- ch: Chain
- sl st: Slip Stitch
- dc: Double Crochet
- hdc: Half Double Crochet
- tr: Treble Crochet
- st(s): Stitch(es)
- sp: Space
- magic ring: Adjustable loop used for starting in the round
- puff stitch: A cluster stitch created by pulling up multiple loops before closing them together.
- cluster: A group of unfinished stitches worked and joined into one.
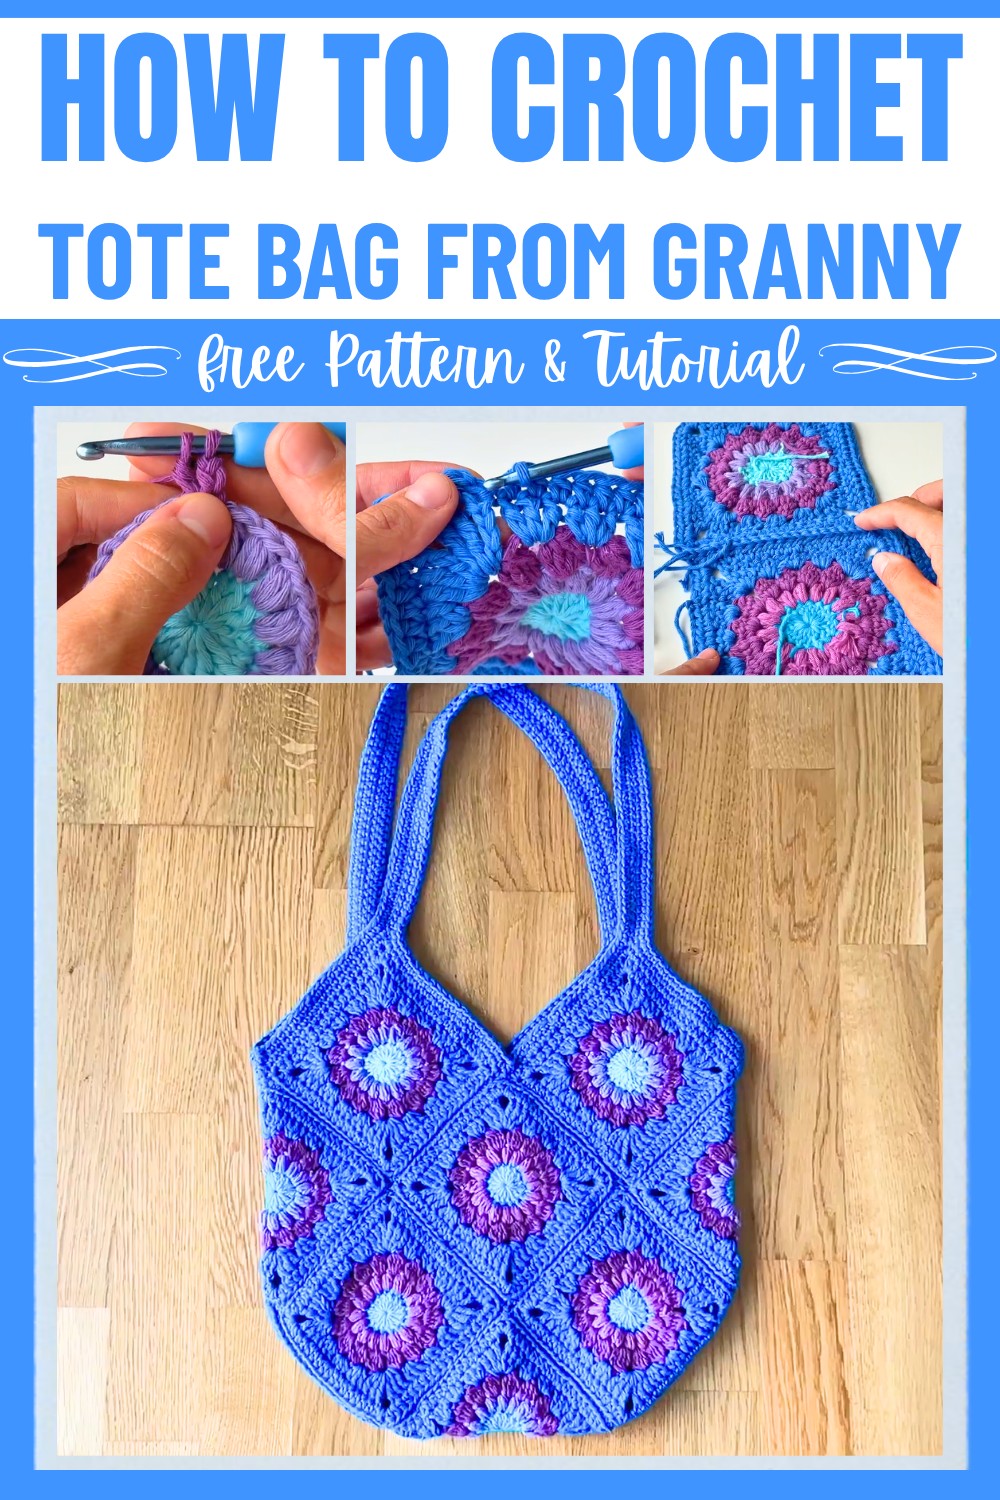
Step-by-Step Detailed Crochet Instructions
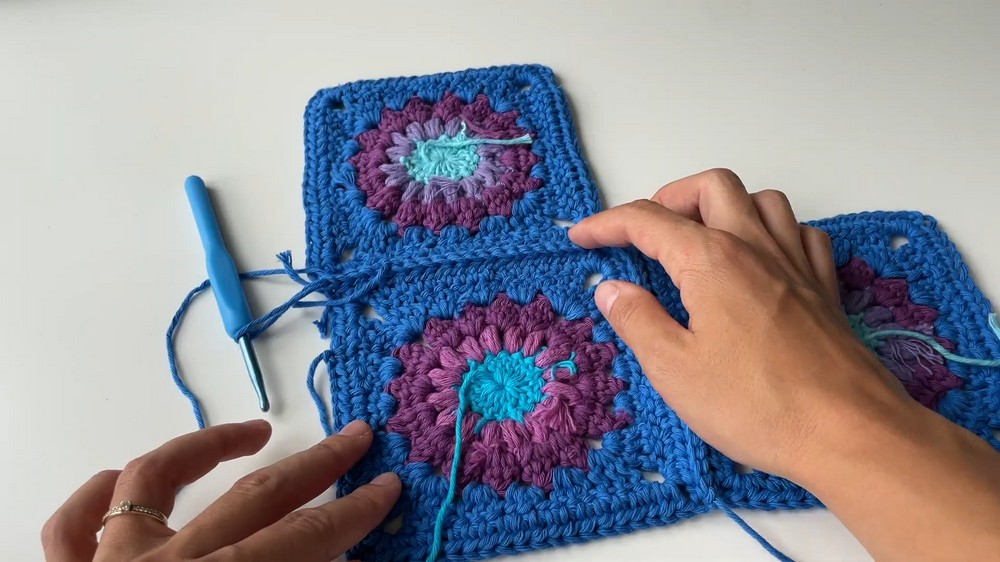
Step 1: Making a Granny Square
- Start with Magic Ring:
- Loop yarn to create a magic ring.
- Chain 1 to secure, followed by 2 additional chains (counts as 1 dc).
- Round 1: Center Circle
- Work 15 dc into the magic ring. (16 sts total, including the ch-3.)
- Pull the magic ring tight. Slip stitch into the top of the starting chain to close.
- Fasten off and change color.
- Round 2: Puff Stitch Round
- Attach the new color to any stitch.
- Chain 2. Work the first puff stitch into the same stitch (as explained in the raw script: yarn over, pull through 2 loops twice, total of 5 loops on the hook, yarn over, pull through all).
- Chain 1 between puff stitches.
- Repeat: Puff stitch + ch 1 around until 16 puff stitches.
- Close with a slip stitch, fasten off.
- Round 3: Creating the First Cluster Round
- Attach the next color in any ch-1 space between puff stitches.
- Chain 3. Work 2 unfinished dc into the same space, then yarn over and pull through all loops on the hook. (This creates a cluster of 3 dc.)
- Chain 2, then work a 4-dc cluster into the next space.
- Repeat: 4-dc cluster + ch 2 around.
- Close the round with a slip stitch into the starting chain. Fasten off.
- Round 4: Forming the Square
- Attach the next color into any ch-2 space.
- Work: 3 tr (treble crochets); chain 3; 3 tr into the same space (to form a corner).
- Work clusters into the side spaces: 3 dc, then 3 hdc, followed by mirror sequences ending in corners.
- Repeat for each side of the square.
- Slip stitch to connect and fasten off.
- Round 5 (Optional Border):
- Attach the same color (or a new one) and work hdc stitches around the square.
- In corners, make 2 hdc, ch 2, 2 hdc for smooth edges.
Make a total of 18 granny squares for this pattern.

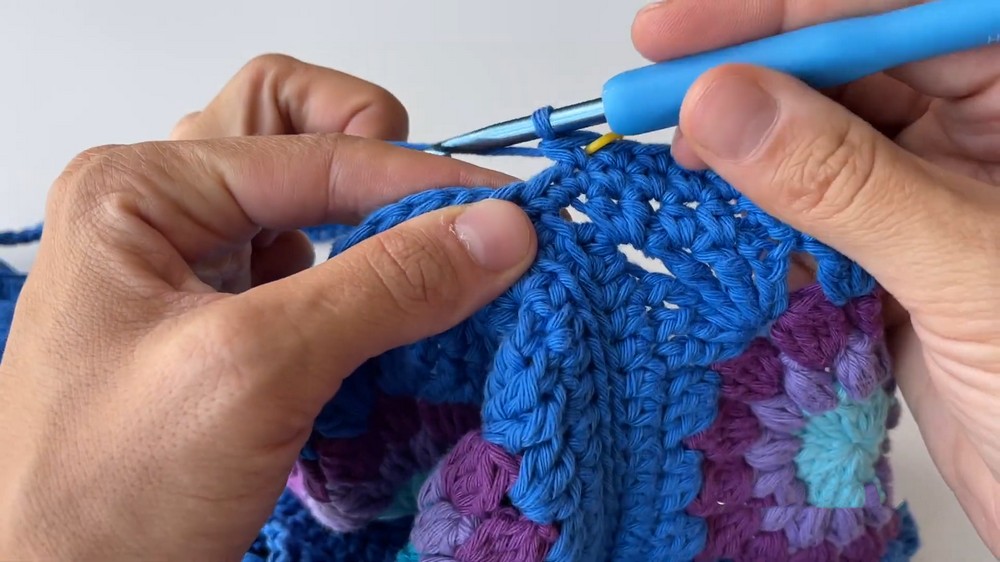
Step 2: Connecting Granny Squares
- Lay out the 18 squares in your desired arrangement:
- 9 squares for each panel (front and back), with some squares folding into the bottom and sides.
- Use slip stitches to join the squares:
- Place two squares right side inward.
- Using back loops only, slip stitch along the edges.
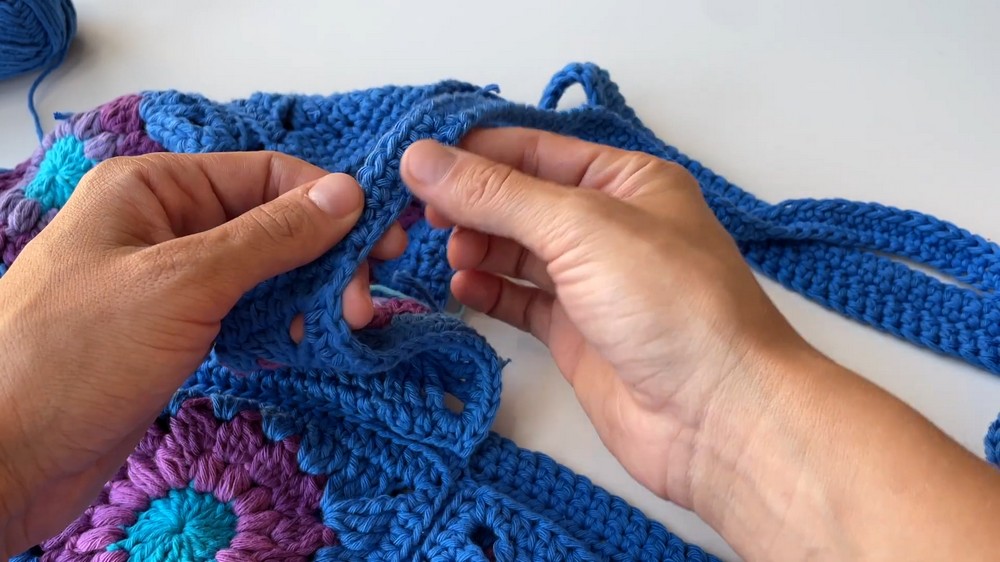
- Continue joining until panels and sides are complete.
- For the bottom, connect panels by folding and stitching together shared squares.
Adding the Border
- Attach yarn at the edge of the bag.
- Work 2-3 rounds of sc, ensuring corners remain smooth.
- If customization is desired, additional styles (e.g., crab stitch) can be added to the border.
Step 4: Adding the Shoulder Straps
- Attach yarn in the corner of one panel.
- Chain 80 (or adjust for length). Join the chain with a sc in the opposite panel’s corner.
- Work sc across the strap back to the original starting side.
- Repeat for the other strap.
Step 5: Finishing Touch
- Turn the bag right side out.
- Weave in all loose ends with a needle or your hook.
- Optionally, block the bag to perfect the shape.
Final Notes
- This bag can be further personalized with linings, pom-poms, or tassels.
- Stitch counts and placements should match the specific layout in the original tutorial for accuracy.