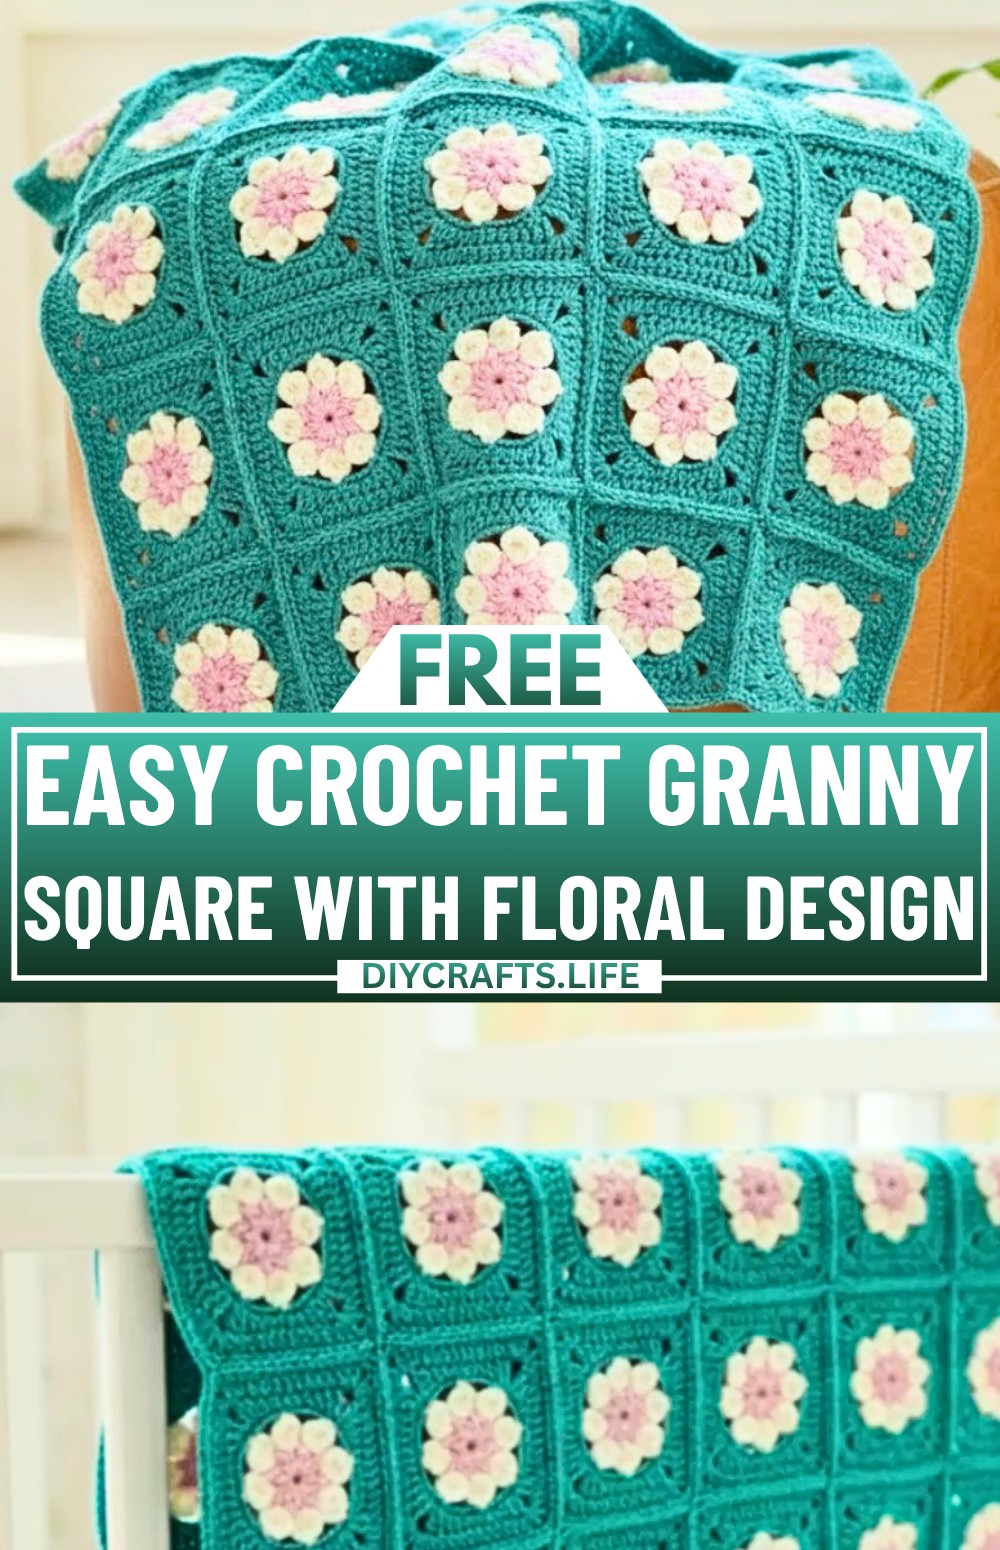
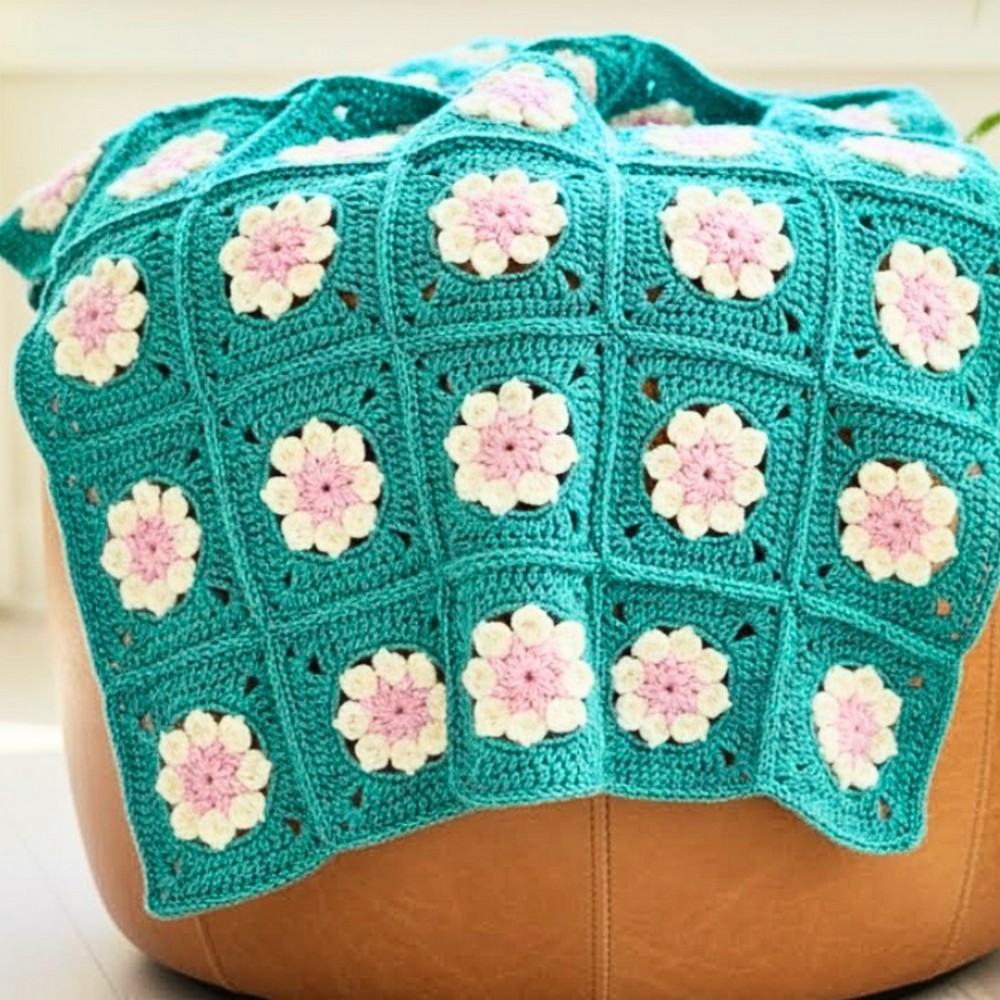
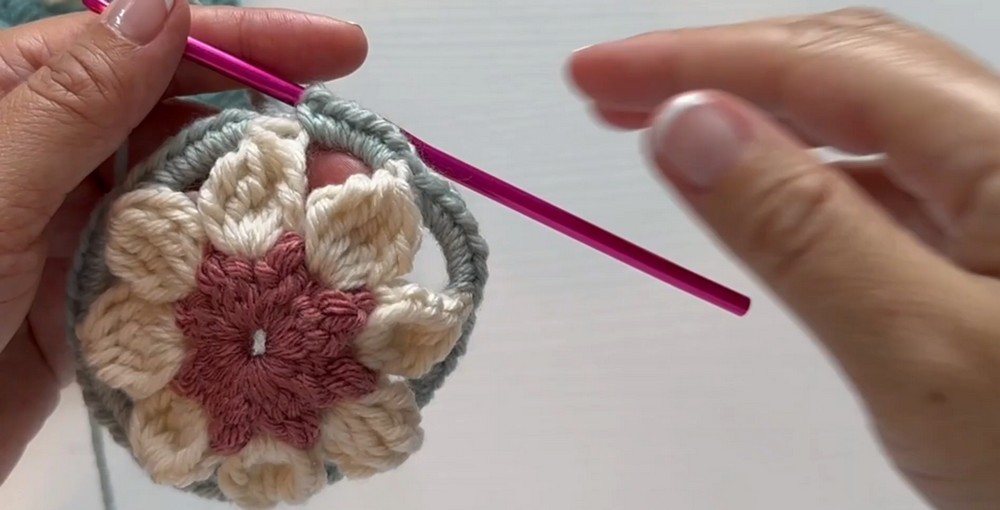
A daisy granny square is a delightful combination of a flower and a classic crochet square. Its cheerful floral center and versatile design make it perfect for brightening up your space. Whether you want to create cozy blankets, decorative pillows, a unique bag, or even stylish clothing items, this pattern is a charming way to add a pop of color and personality to your crochet pieces.

This design begins with a daisy-shaped center and grows outward into a square, creating a balance of texture and pattern. The bobble stitches give it a fun, puffy look that makes the flower petals stand out, while the surrounding rows transform it into a square that's easy to build upon. Whether you’re new to crochet or already skilled, the process is broken into simple rounds, so you can enjoy creating without feeling overwhelmed.
Why It’s Special:
- Looks Beautiful: The daisy in the middle pops out and adds vibrant charm.
- Fun to Use: Turn it into blankets, cushions, bags, or coasters.
- Beginner-Friendly: Step-by-step with clear instructions to follow.
Credit Tasty Dumpling Living
Materials & Tools Needed
- Yarn: Choose a thicker yarn, or any desired yarn weight for easy visibility during learning.
- Suggested: Color A (center daisy), Color B (petal section), Color C (background).
- Hook: 4.5 mm crochet hook (or size suitable for your yarn).
- Tapestry Needle: For invisible joining and weaving in ends.
- Scissors.
Finished Size & Customization Ideas
- Approximate Finished Size: Varies depending on yarn and hook size, but generally works up to approximately a 5" x 5" square.
- Customization Ideas:
- Use different color combinations for each round to create unique granny squares.
- Combine multiple squares into blankets, bags, or garments.
- Add a decorative border to give it a polished look.
Pattern Abbreviations & Terminology
- ch: Chain
- dc: Double Crochet
- hdc: Half Double Crochet
- sc: Single Crochet
- sl st: Slip Stitch
- tr: Treble Crochet
- yo: Yarn Over
- magic ring: A loop of yarn used as a foundation for crochet in the round.
- Bobble Stitch: Created by multiple unfinished stitches pulled together.
- Invisible Join: A seamless joining technique used for finishing rounds.
Step-by-Step Detailed Crochet Instructions
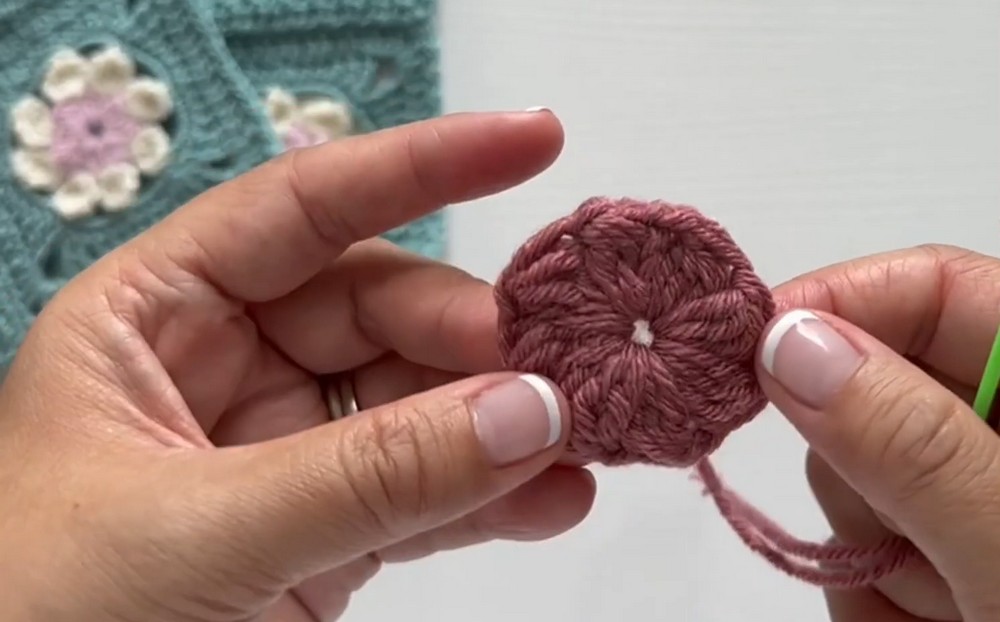
Round 1: Daisy Center (Color A)
- Start with a Magic Ring:
- Wrap yarn around your fingers to form a loop.
- Insert your hook through the loop, yo, pull up a loop, then chain 1 to secure the ring.
- Form the Bobble Stitches:
- Ch 2 (counts as part of a bobble stitch).
- Work 2 unfinished dc:
- Yo, insert hook into ring, pull up a loop, yo, pull through 2 loops.
- Repeat for a total of 2 unfinished dc.
- Pull through all 3 loops on the hook. This completes the first bobble stitch.
- Ch 1, then repeat the bobble stitch process for a total of 8 bobbles, separated by Ch 1 spaces.
- Tighten the magic ring and use an invisible join:
- Cut yarn and pull through last stitch.
- Thread the tail onto a tapestry needle and work through the first bobble stitch for a seamless join.
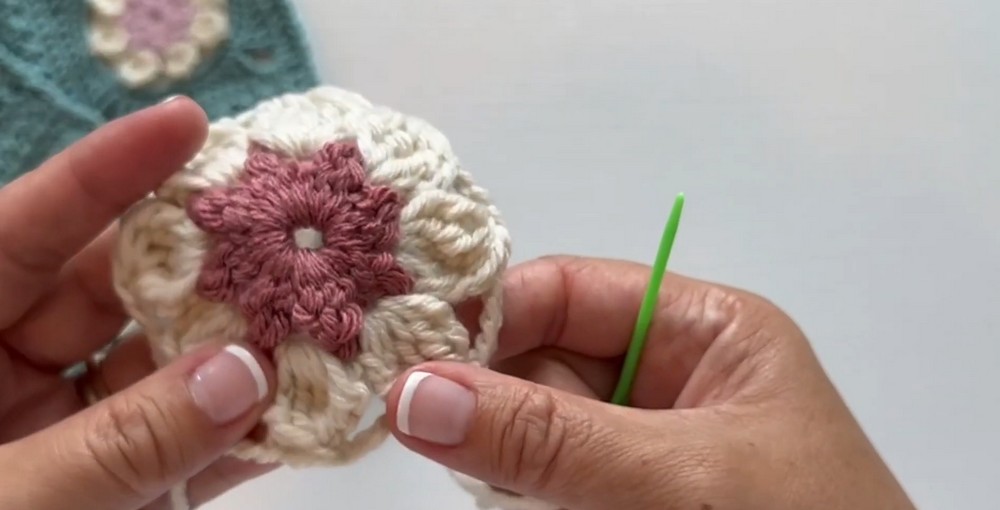
Round 2: Petals (Color B)
- Attach Color B in any Ch-1 space:
- Insert hook into a space, yo, pull up a loop, then secure with a slip stitch.
- First Treble Bobble:
- Work a standing tr: Yo twice, insert hook into space, pull up a loop (4 loops on hook), yo, pull through 2 loops twice (don’t close stitch).
- Complete 4 more unfinished tr in the same space.
- Pull through all loops on the hook to complete the bobble.
- Ch 4 after each bobble.
- Repeat the bobble pattern + Ch 4 for a total of 8 treble bobbles.
- End the round with an invisible join into the top of the first bobble stitch.
Round 3: Background (Color C)
- Attach Color C in any Ch-4 loop using a slip stitch.
- Work 6 sc into each chain space, moving to the next chain space without additional chains.
- Repeat for all 8 Ch-4 spaces.
- End the round with an invisible join into the first sc to maintain the clean square shape.
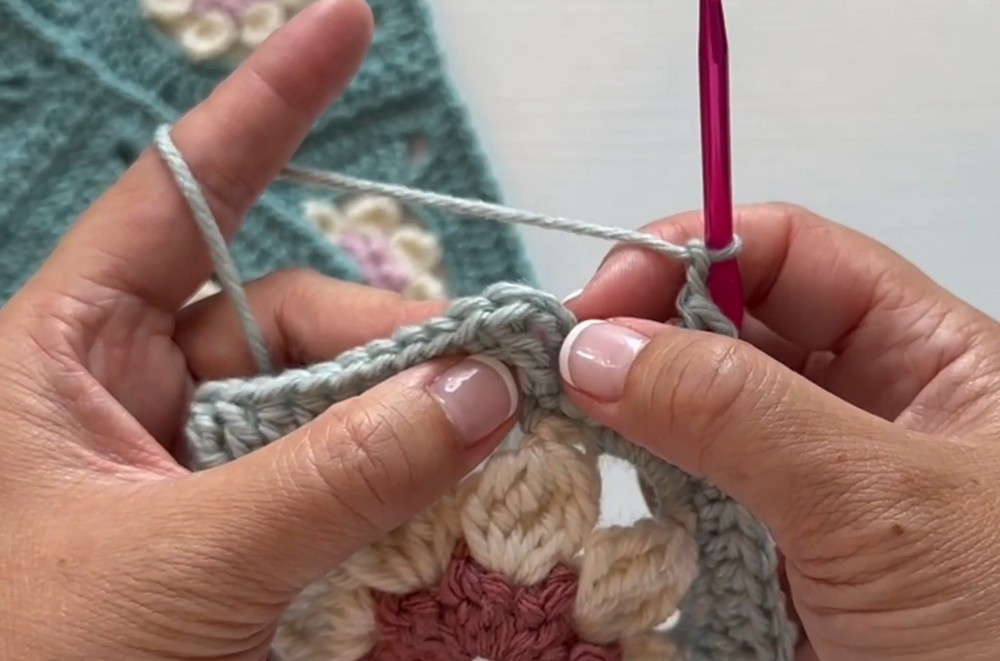
Round 4: Square Shape (Color C)
- Slip stitch into the first sc to prepare for the next round.
- Chain 4 (counts as the first tr).
- Following the stitch sequence for one side:
- 1 tr, 1 dc, 6 hdc, 1 dc, then 2 tr.
- Form the corner:
- Ch 2, then repeat the sequence reversed: 2 tr, 1 dc, 6 hdc, 1 dc, 1 tr.
- Repeat stitch pattern + corner instructions for all four sides of the square.
- Complete the round with a sl st into the 4th chain of the starting ch-4.
Round 5: Final Border (Color C)
- Begin with Ch 3 (counts as the first dc).
- Work 11 dc across the stitches on each side (total of 12 dc per side).
- Form the corner:
- In the Ch-2 corner space, work 3 dc, Ch 2, 3 dc.
- Repeat for all four sides, ensuring sides and corners remain consistent.
- End with an invisible join for a polished finish.
Finishing Techniques
- Push bobbles outward for a textured, raised look.
- Weave in all loose ends securely using a tapestry needle.
- Block your square if necessary to help it maintain its shape.
Additional Notes
- The pattern can be repeated and assembled into larger projects like blankets or throws.
- Add an optional border around the edge for a cleaner finish.