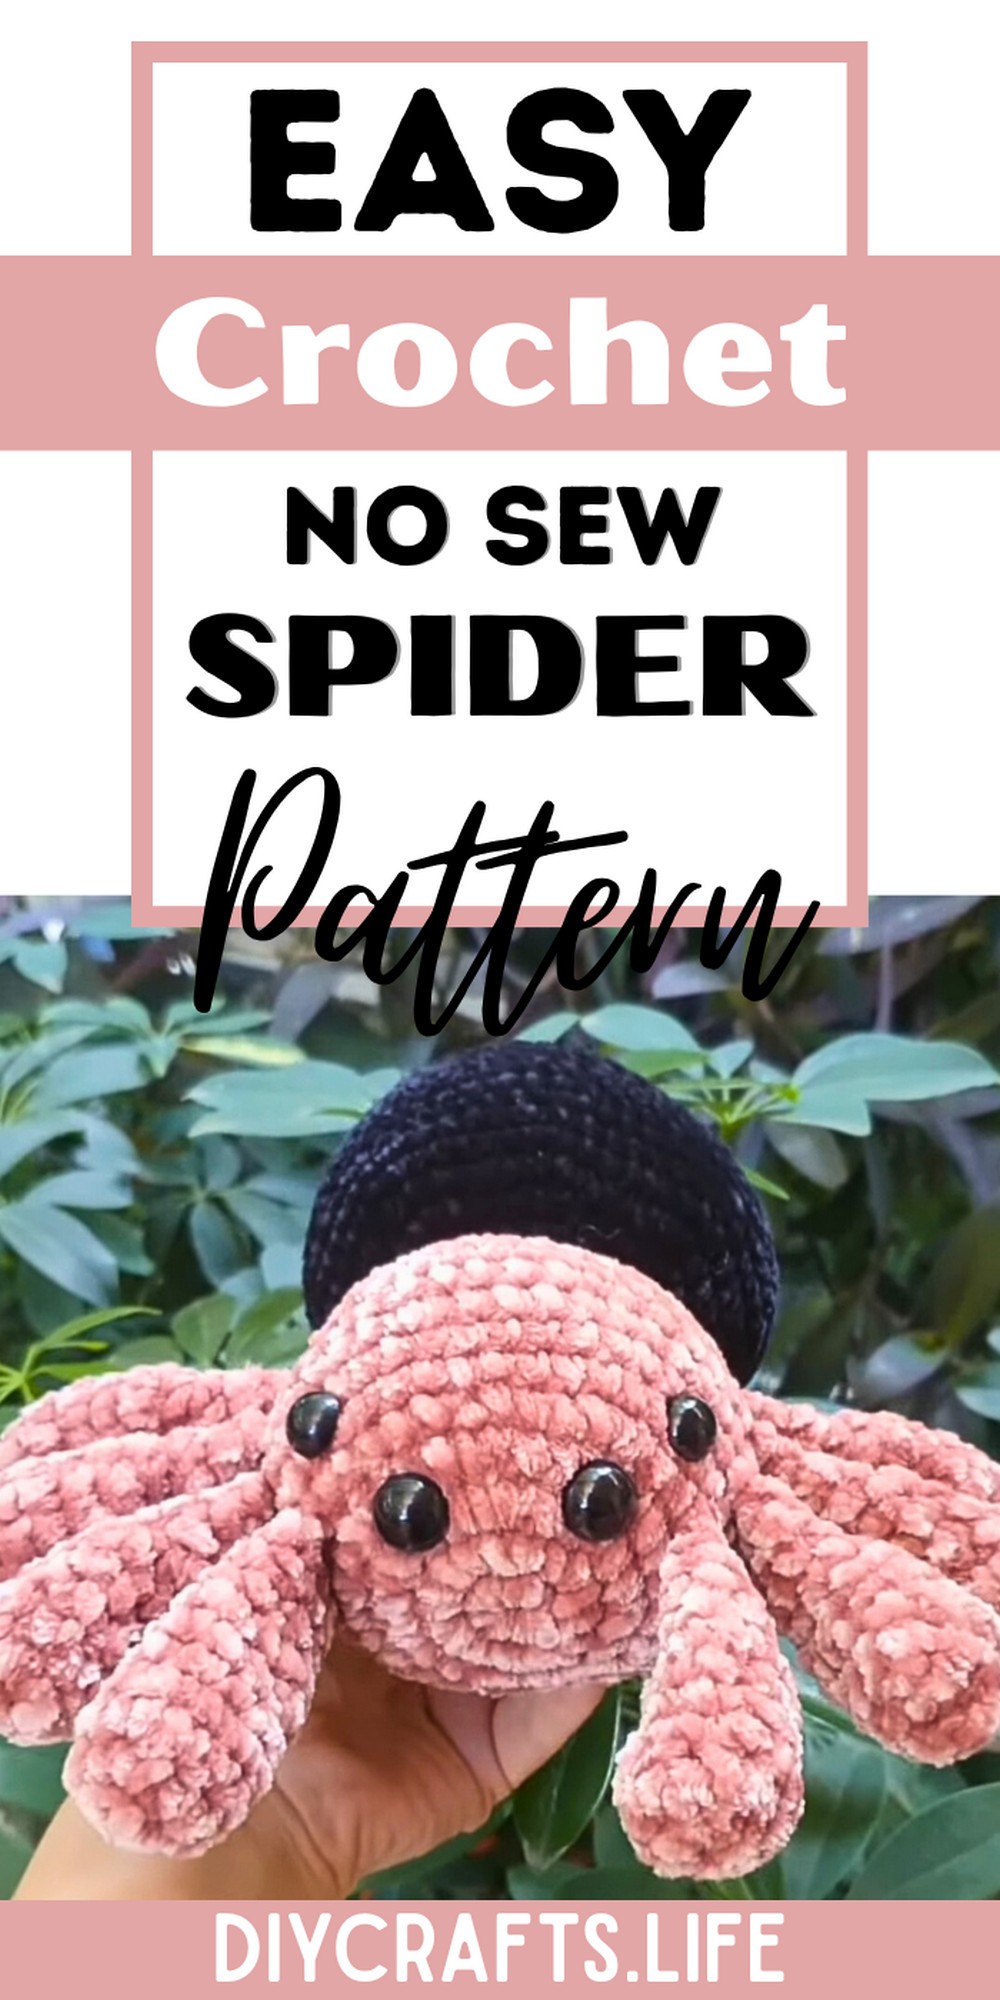
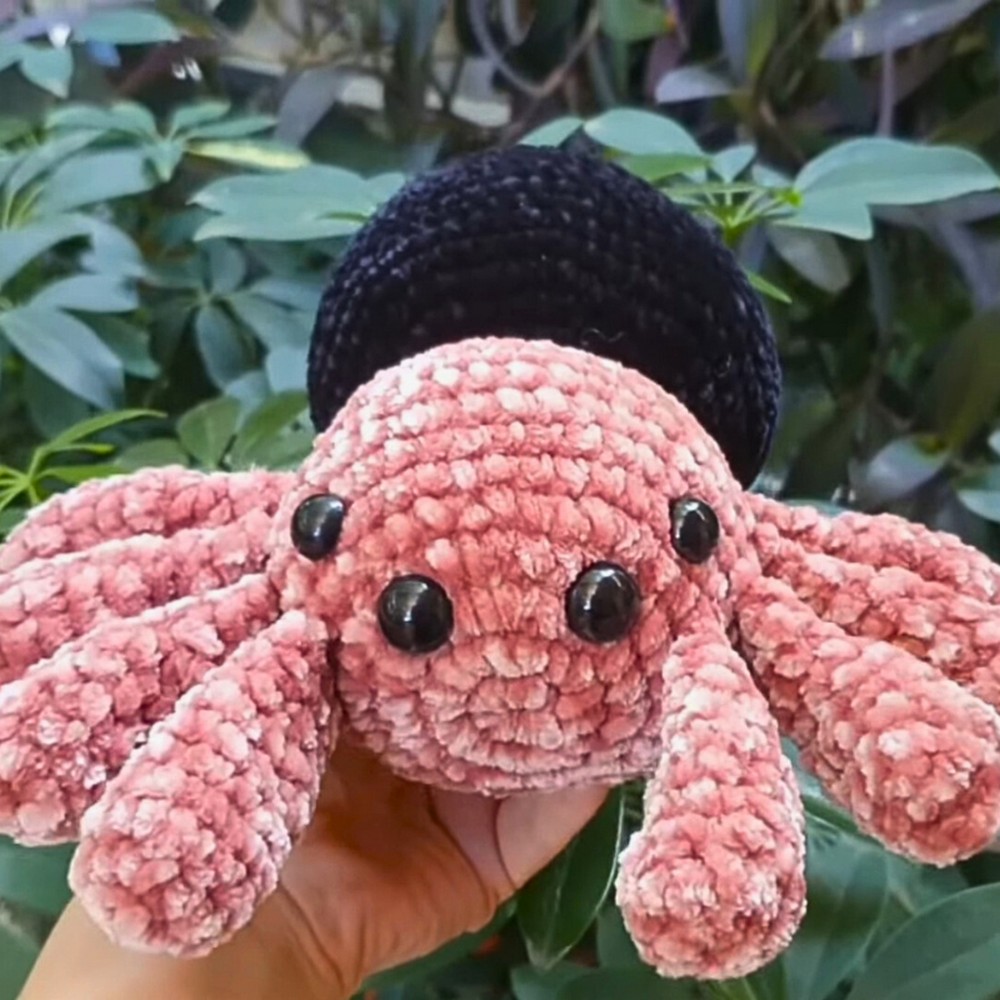
Craft a spooky yet adorable no-sew spider with this easy crochet pattern! Perfect for Halloween, this plushy combines charm and creativity. Its lightweight design makes it ideal for decorations or gifts, and the project is customizable based on your preferred colors and sizes.
This crochet spider is versatile—use it as a decorative piece, fun Halloween gift, or charming accessory. Its no-sew design ensures durability while maintaining a soft, polished look. Additionally, the pattern’s structure makes it appealing for both beginners and seasoned crocheters alike.
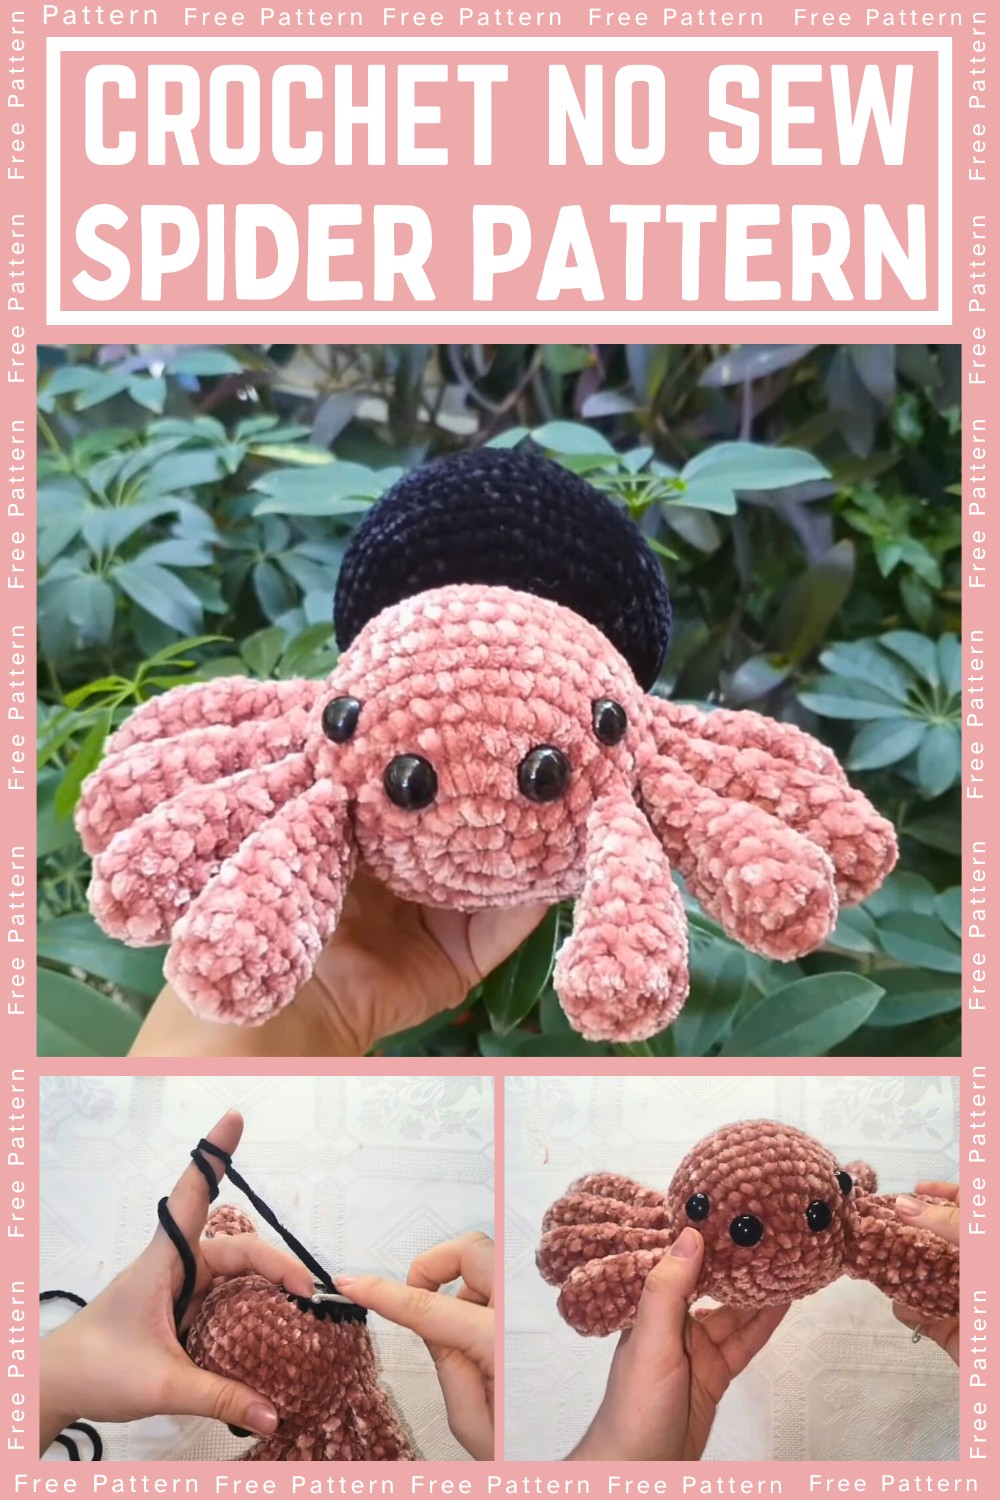
Crochet No Sew Spider
With straightforward instructions and endless customization possibilities, this project suits all skill levels. Whether you're a beginner or pro, you'll enjoy experimenting with color combinations and sizes. The pattern sparks creativity and guarantees a rewarding experience from start to finish.
Materials and Preparation
To create your no-sew spider plushie, gather the following materials:
- Yarn: Two colors of your choice (Primary for the spider body and Secondary for the legs).
- Crochet Hook: 4 mm hook.
- Safety Eyes: Two sizes (16 mm and 14 mm).
- Stuffing: Fiberfill or your preferred type of stuffing.
- Scissors: For cutting the yarn.
Abbreviations and Notes
Before starting, familiarize yourself with these crochet abbreviations used in the pattern:
- SC: Single Crochet
- SL ST: Slip Stitch
- Increase: Two single crochets in one stitch
- Decrease: Combine two stitches into one
Pattern Notes:
- This pattern doesn’t require sewing, making it faster and simpler for beginners or intermediate crocheters looking for a quick project.
- Be mindful of tension when working with two different yarn colors to ensure consistency.
Gauge, Approximate Size, and Pattern Notes
Gauge: The pattern doesn’t specify a gauge, but maintaining even tension will help create a cute, proportionate spider.
Approximate Finished Size: The size of the spider will depend on your yarn and hook size, but it will be roughly 4-5 inches when finished.
Special Techniques:
- Connecting the spider’s legs during crochet eliminates the need to sew individual pieces.
- Stuffing is added progressively to ensure a firm, plush finish.
Step-by-Step Pattern
Legs (Make 8)
-
Foundation:
- Start with the secondary color yarn and make a chain of 3.
- Insert your hook into the second chain from the hook, and make 5 SC.
- Close with a SL ST.
-
Round 2:
- Increase in every stitch (2 SC per stitch). Total: 10 SC.
-
Rounds 3–6:
- Work 1 SC in each stitch. Total: 10 SC per round.
-
Round 7:
- Decrease: Make 1 decrease, followed by 3 SC, repeat (1 decrease, then 3 SC). Total: 8 SC.
-
Rounds 8–9:
- Continue with 1 SC in each stitch. Total: 8 SC per round.
-
Fold and Close:
- Fold the leg in half lengthwise and crochet 4 SC across the fold to seal the leg. Cut the yarn short (no need for sewing).
Repeat for all 8 legs and set aside.

Head
-
Foundation:
- Using your primary yarn, chain 3.
- Insert your hook into the second chain and make 8 SC. Close with a SL ST.
-
Round 2:
- Increase in every stitch. Total: 16 SC.
-
Round 3:
- Pattern: 1 SC, 1 increase (repeat). Total: 24 SC.
-
Round 4:
- Pattern: 2 SC, 1 increase (repeat). Total: 32 SC.
-
Round 5:
- Begin connecting the legs:
- For each leg, make 4 SC into the folded portion. Continue with 3 SC, followed by 1 increase. Connect the next leg after each section.
- Repeat this process for all 8 legs. Total: 40 SC (including legs).
- Begin connecting the legs:
-
Rounds 6–12:
- Work 1 SC in each stitch. Total: 40 SC per round. All 8 legs should now be attached.
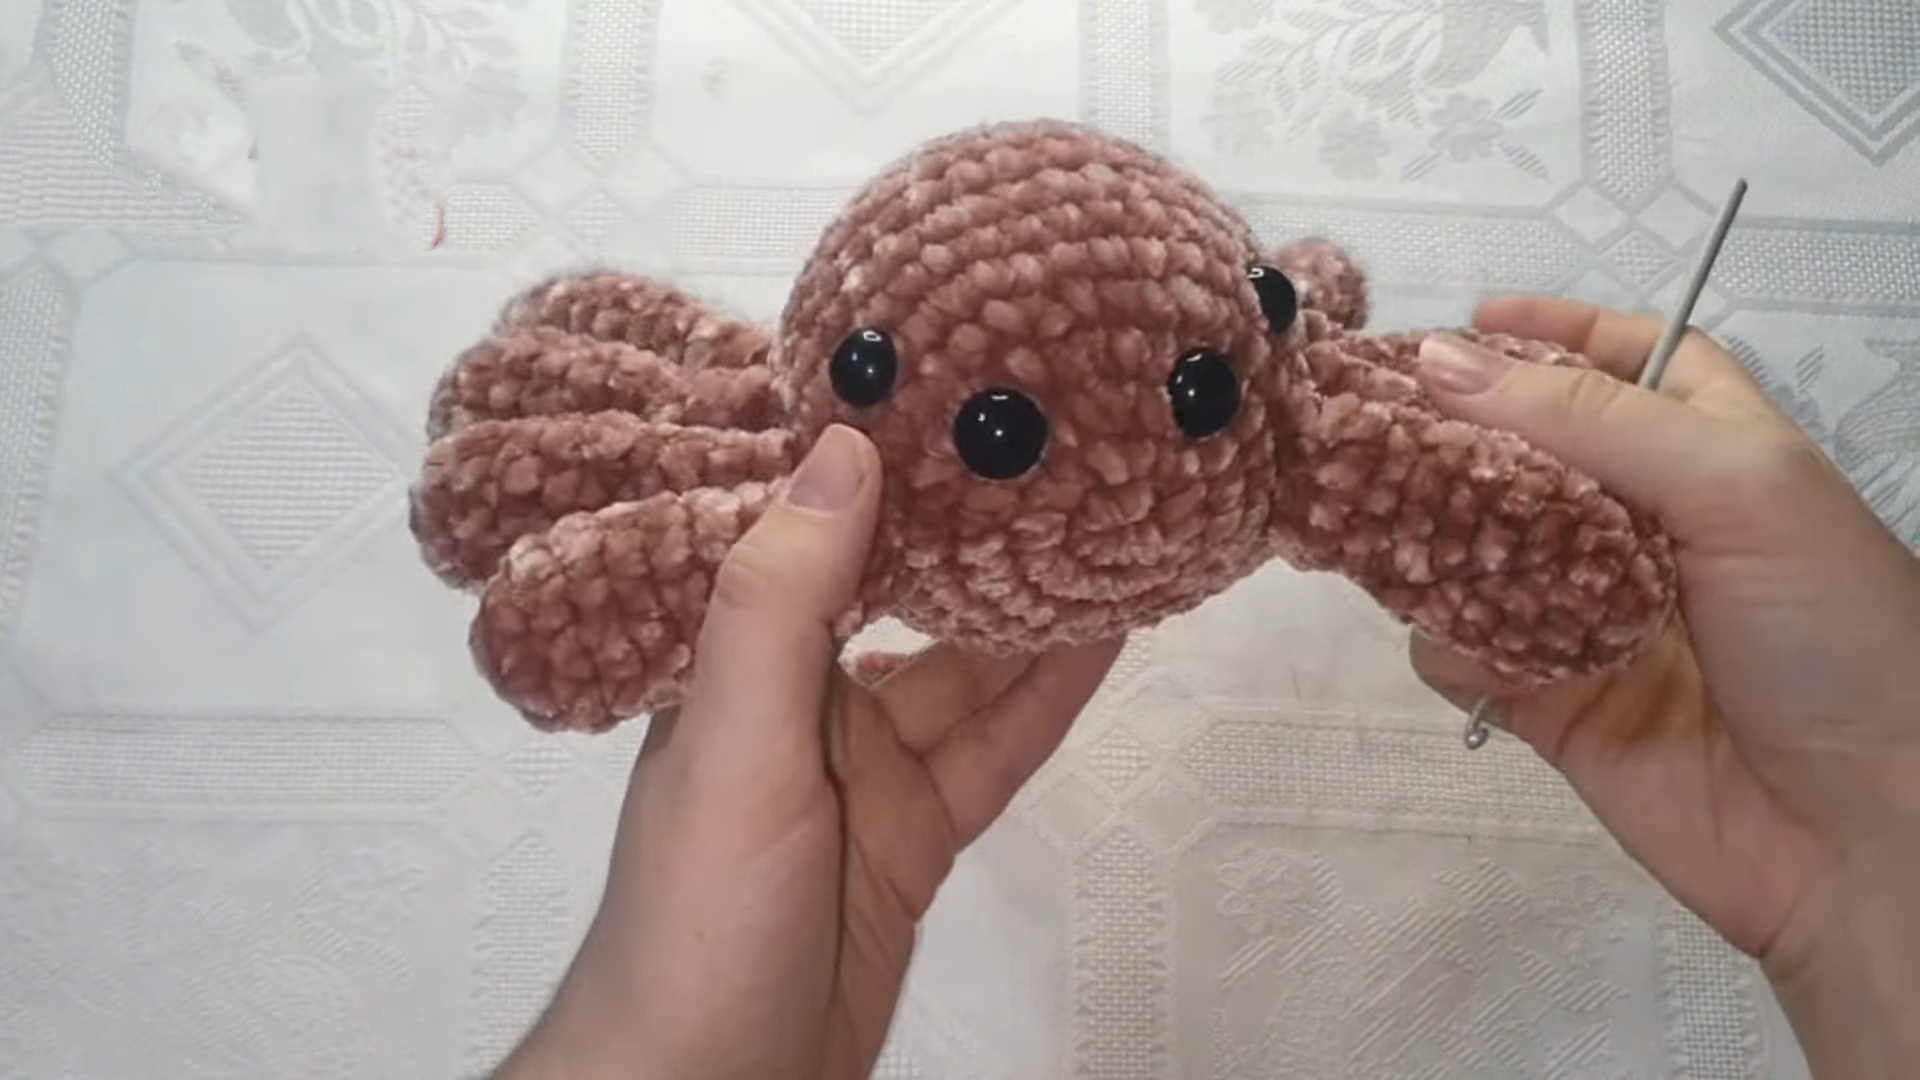
Eyes and Stuffing
-
Attach the 16 mm safety eyes between rounds 3 and 4 of the head (approximately 3 stitches apart).
-
Add the 14 mm safety eyes between rounds 5 and 6 (following the same spacing).
-
Stuff the head firmly, ensuring it’s plush and rounded.
Body
-
Round 13:
- Pattern: 3 SC, 1 decrease (repeat). Total: 32 SC.
-
Round 14:
- Pattern: 2 SC, 1 decrease (repeat). Total: 24 SC.
-
Round 15:
- Pattern: 1 SC, 1 decrease (repeat). Total: 16 SC.
-
Round 16:
- Work 1 SC in each stitch. Total: 16 SC.
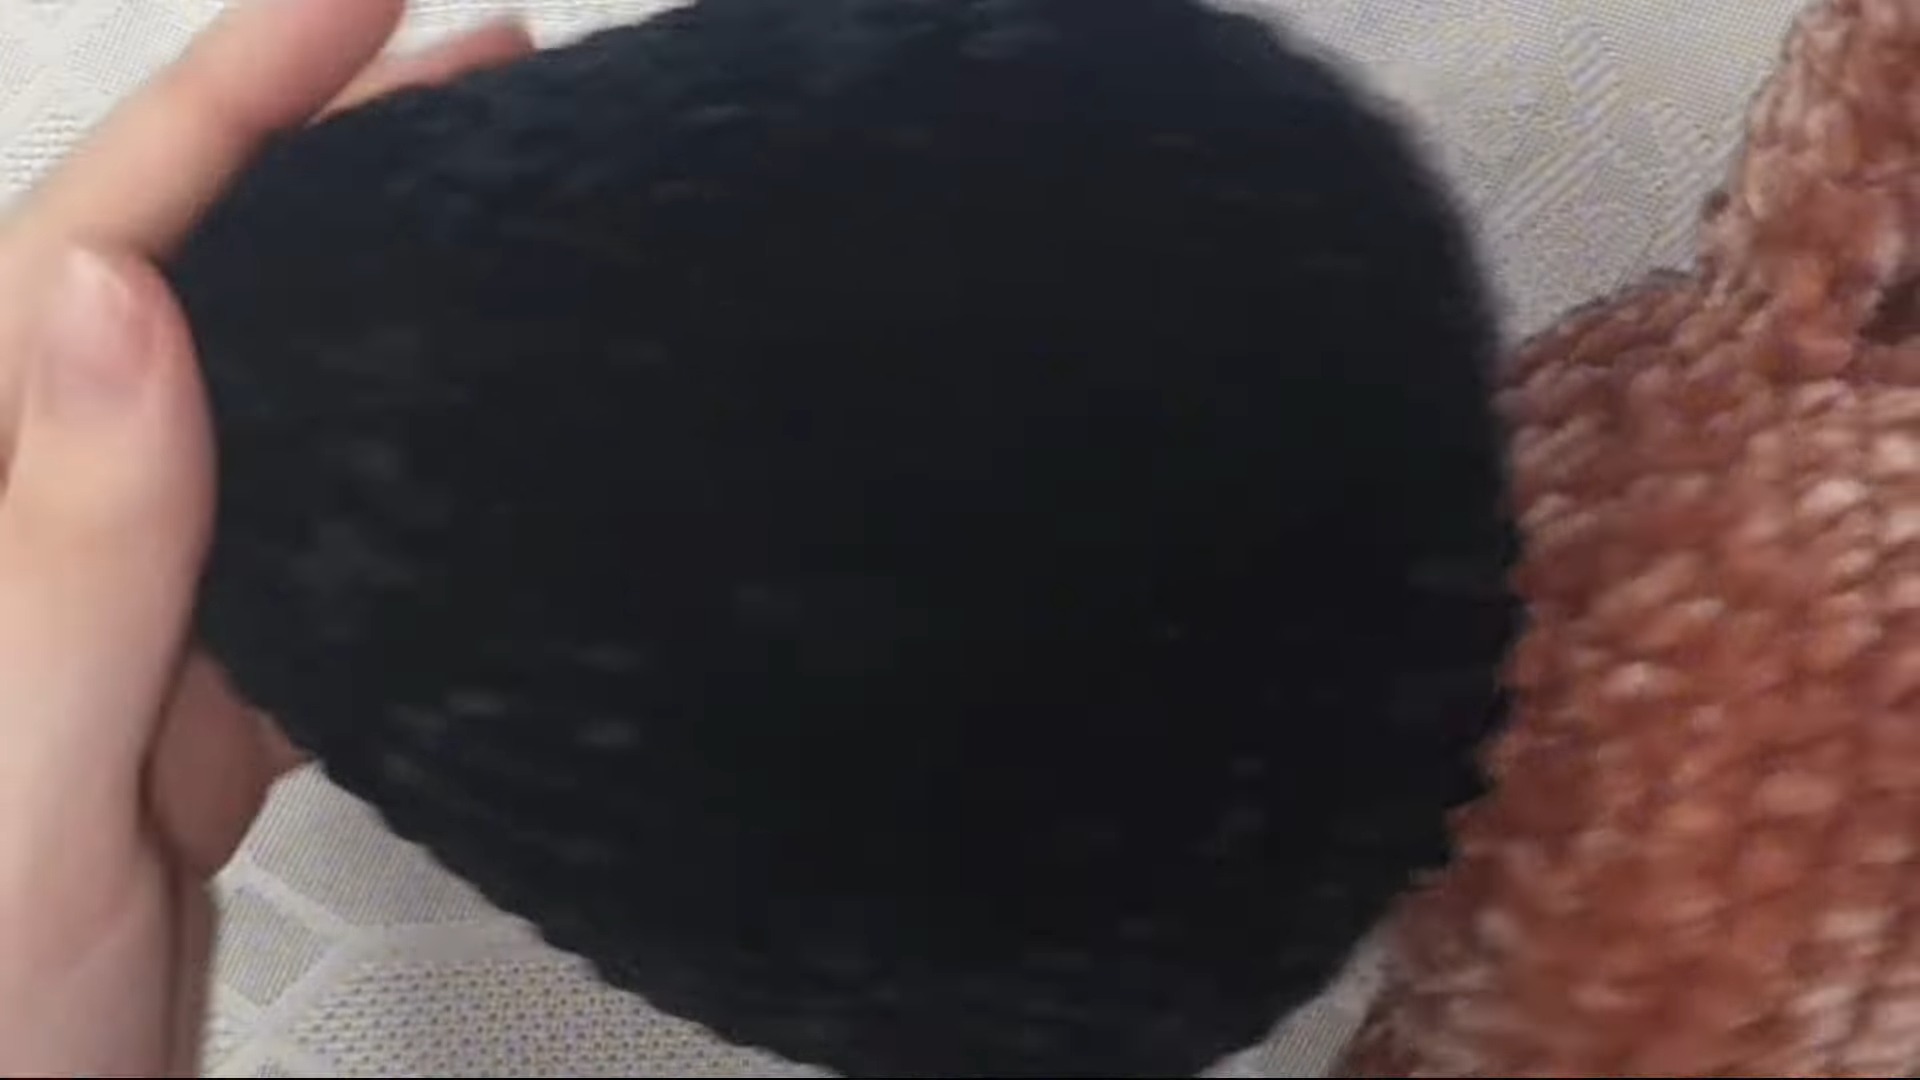
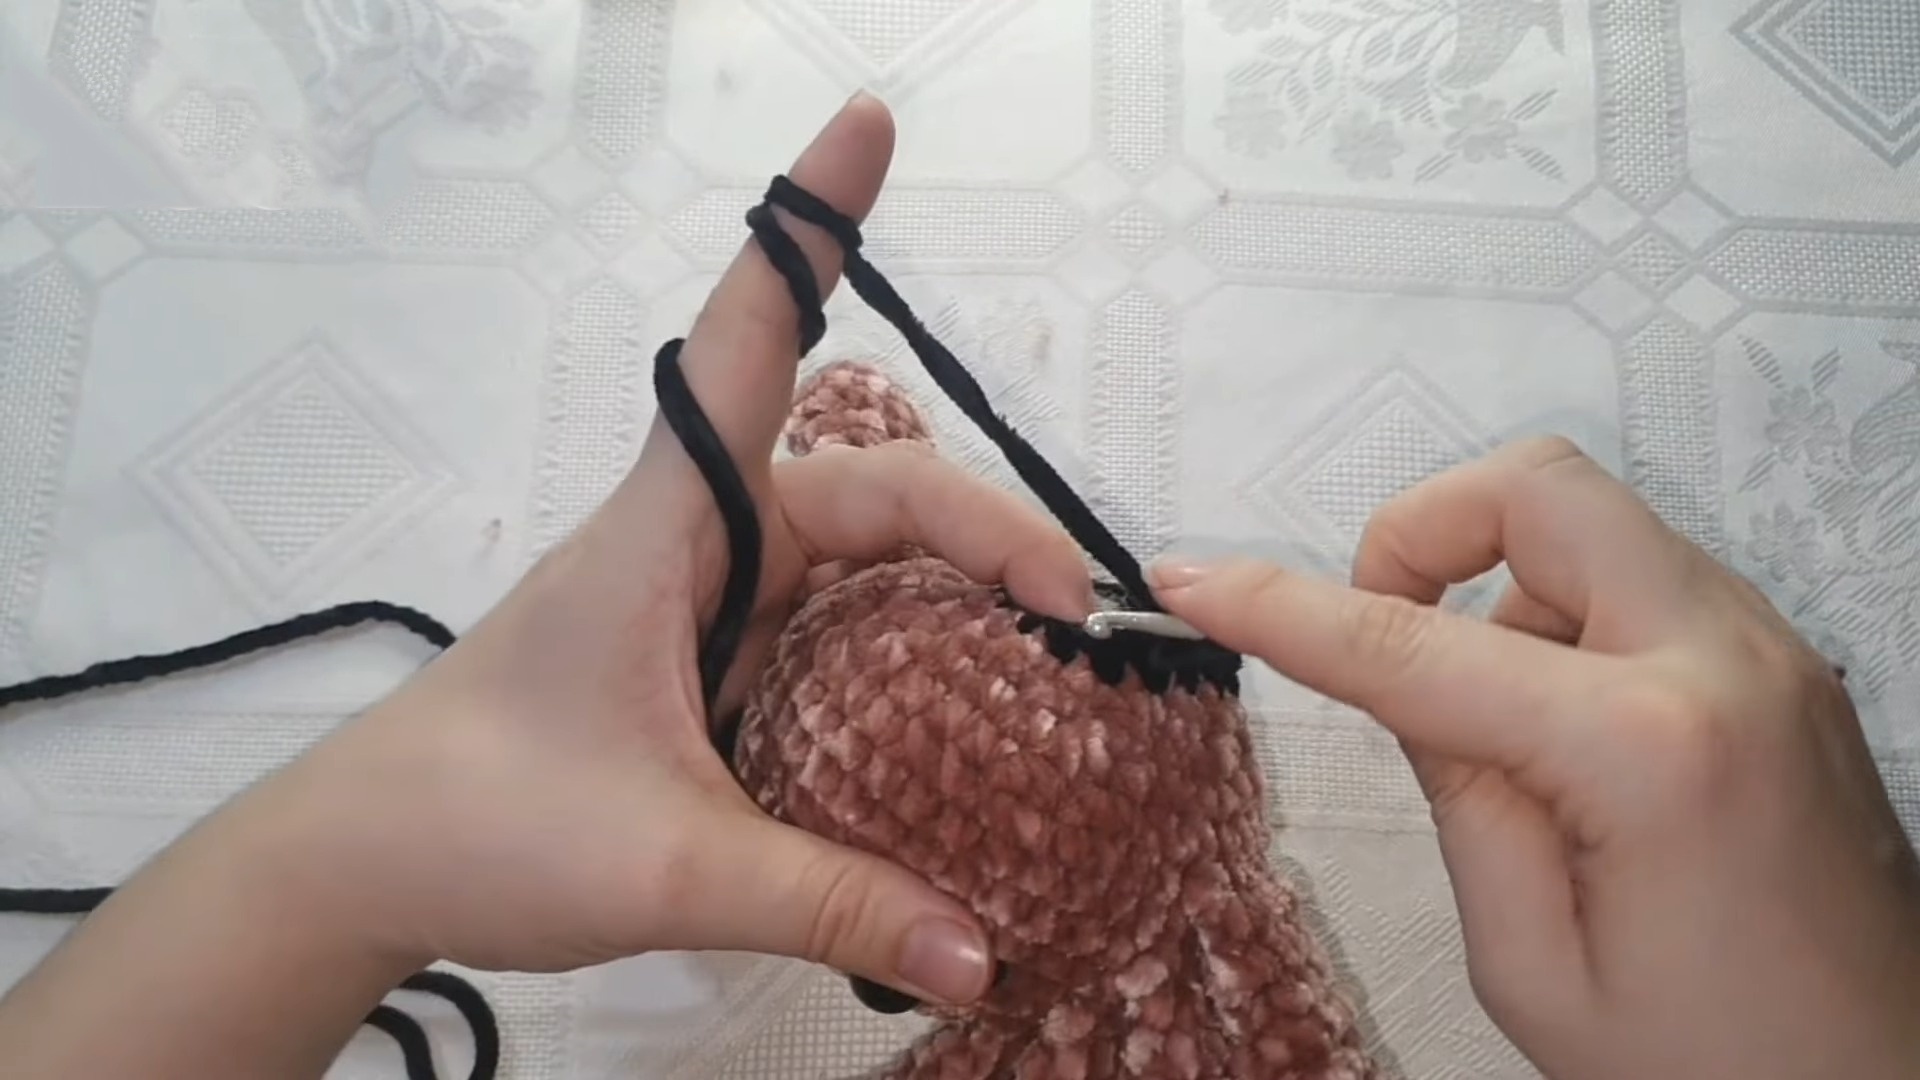
Begin Black Yarn
-
Round 17:
- Switch to your secondary yarn color and work 1 SC in each stitch. Total: 16 SC.
-
Rounds 18–26:
- Gradually increase:
- Round 18: Pattern: 1 SC, 1 increase. Total: 24 SC.
- Round 19: Pattern: 2 SC, 1 increase. Total: 32 SC.
- Round 20: Pattern: 3 SC, 1 increase. Total: 40 SC.
- Round 21: Pattern: 4 SC, 1 increase. Total: 48 SC.
- Round 22: Pattern: 5 SC, 1 increase. Total: 56 SC.
- Rounds 23–26: Work 1 SC in each stitch. Total: 56 SC per round.
- Gradually increase:
-
Rounds 27–42:
- Begin decreasing:
- Round 27: Pattern: 5 SC, 1 decrease. Total: 48 SC.
- Round 30: Pattern: 4 SC, 1 decrease. Total: 40 SC.
- Round 33: Pattern: 3 SC, 1 decrease. Total: 32 SC.
- Round 36: Pattern: 2 SC, 1 decrease. Total: 24 SC.
- Round 39: Pattern: 1 SC, 1 decrease. Total: 16 SC.
- Round 41: Work 8 decreases. Total: 8 SC.
- Round 42: Work the final decreases to close. Total: 4 SC.
- Begin decreasing:
Stuff the body before fully closing to ensure it’s firm and well-shaped.
Finishing Touches
- Once closed, weave in any remaining yarn ends. Shape the spider to ensure the legs are even and the body is round.
- Adjust stuffing, if necessary, for added firmness.
You’re all done! Your adorable no-sew spider plushie is ready to add a spooky yet cute touch to your Halloween décor.
Pattern Question
Question: How do I adjust the spider size?
Answer: To make the spider larger or smaller, use thicker or thinner yarn and adjust your hook size accordingly. Additionally, increase or decrease the number of stitches in each round while maintaining the pattern's structure.
Conclusion
The no-sew spider crochet project is fun, practical, and ideal for crafting enthusiasts. Its user-friendly design and customizable features make it enjoyable for all skill levels. Whether for Halloween or everyday décor, this spider is sure to impress!