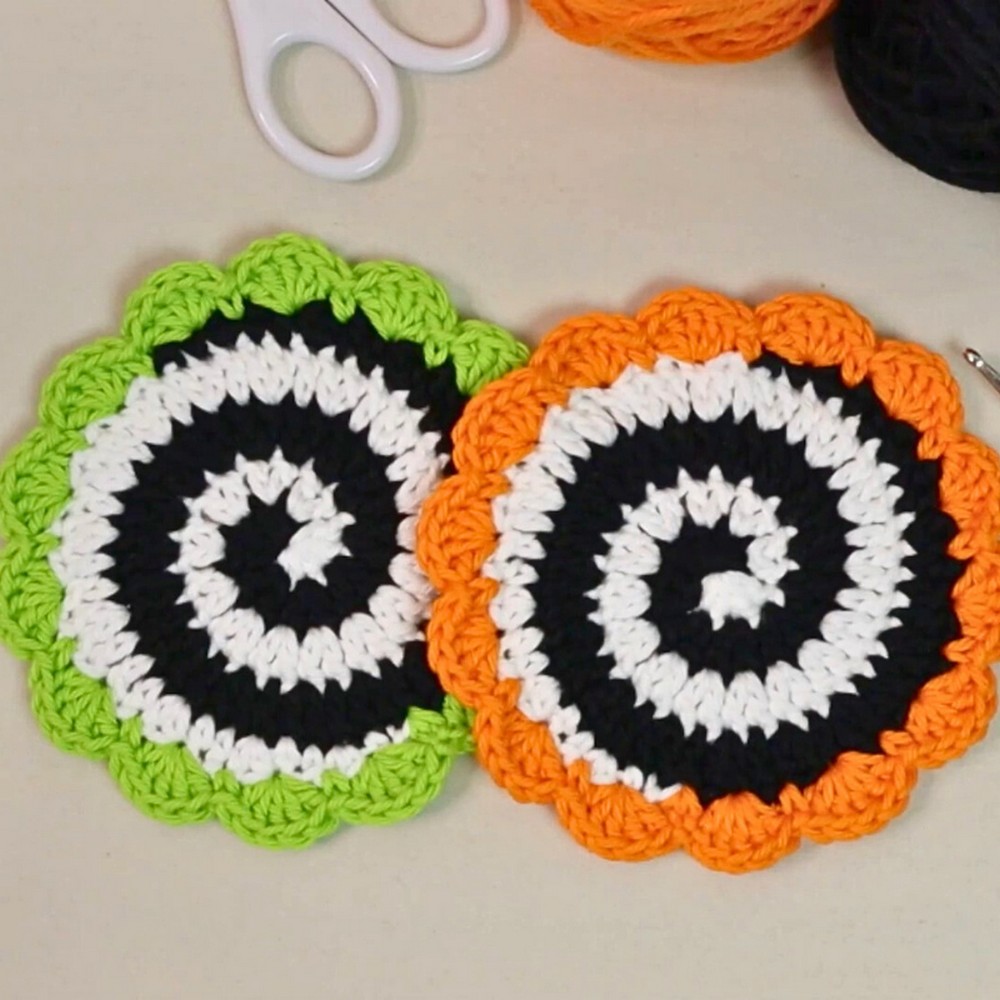
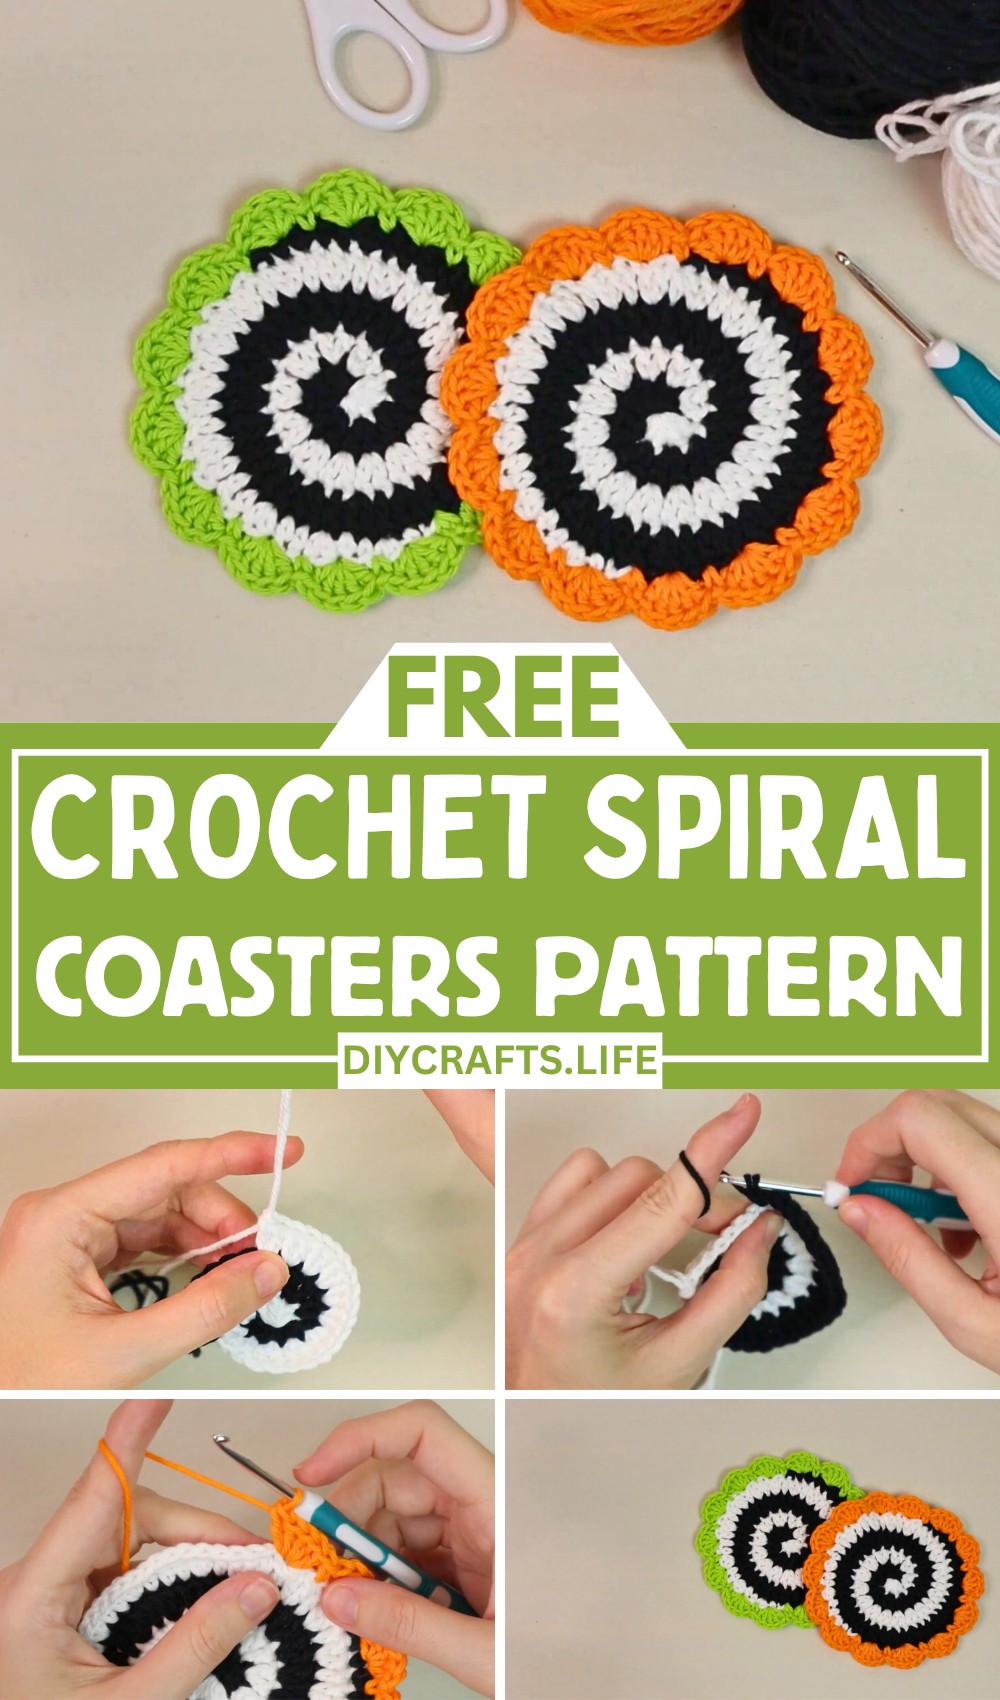
Brighten up your Halloween celebrations with these eye-catching spiral crochet coasters featuring a fun shell border. Perfect for protecting surfaces while adding a festive touch, they're quick to make, simple to customize, and a joy to craft in vibrant seasonal colors.

These crochet coasters are both decorative and functional. Their durable design handles regular use while adding charm to any table setting. With an intricate spiral pattern and eye-catching border, they’re ideal for seasonal décor and gifting options.
Crochet Spiral Coaster
This spiral coaster pattern is beginner-friendly yet creatively engaging. Choose any color combination to match your theme, making each coaster uniquely yours. Halloween-inspired colors are suggested, but you can customize them for any occasion or style preference.
Materials and Preparation
To make these spiral coasters with a shell border, you'll need the following materials:
-
Yarn:
Choose any three colors (e.g., black, white, and orange for Halloween tones) in a weight suitable for your project (e.g., medium-weight yarn). -
Hook:
4 mm crochet hook (or size preferred based on your yarn). -
Additional Tools:
- Tapestry needle
- Scissors
Abbreviations and Notes
Crochet Abbreviations:
- SC: Single Crochet
- HDC: Half Double Crochet
- DC: Double Crochet
- CH: Chain
- SLST: Slip Stitch
Notes:
- This project uses three colors, referenced as Color A, Color B, and Color C.
- Color A is the starting color.
- Color B will alternate with Color A to form the spiral.
- Color C is used for the shell border.
- You'll begin with a magic ring and alternate between two colors to create the spiral effect.
- A stitch marker is recommended to keep track of the first stitch in each round, especially when working with darker colors.
Gauge, Approximate Size, and Pattern Notes
Gauge:
The gauge is not critical for this project, as coasters can vary slightly in size depending on yarn weight and hook size.
Approximate Finished Size:
Each coaster measures approximately 4-5 inches in diameter, depending on your yarn and tension.
Special Techniques:
- Magic Ring: Used to create the center of the spiral. If you're unfamiliar, the tutorial explains how to form one step-by-step.
- Invisible Join: For smooth transitions when finishing the spiral.
Step-by-Step Pattern
Foundation: Magic Ring
- With Color A, make a magic ring: Loop the yarn around your fingers to form an "X," insert the hook under the first strand, grab the second strand, and pull through to form the ring.
- Inside the magic ring, work the following:
- CH 1 (does not count as a stitch).
- Work 1 SC, 1 HDC, and 2 DC into the ring.
- Pull the loop on your hook slightly larger and remove your hook from the loop, leaving the magic ring open for now.
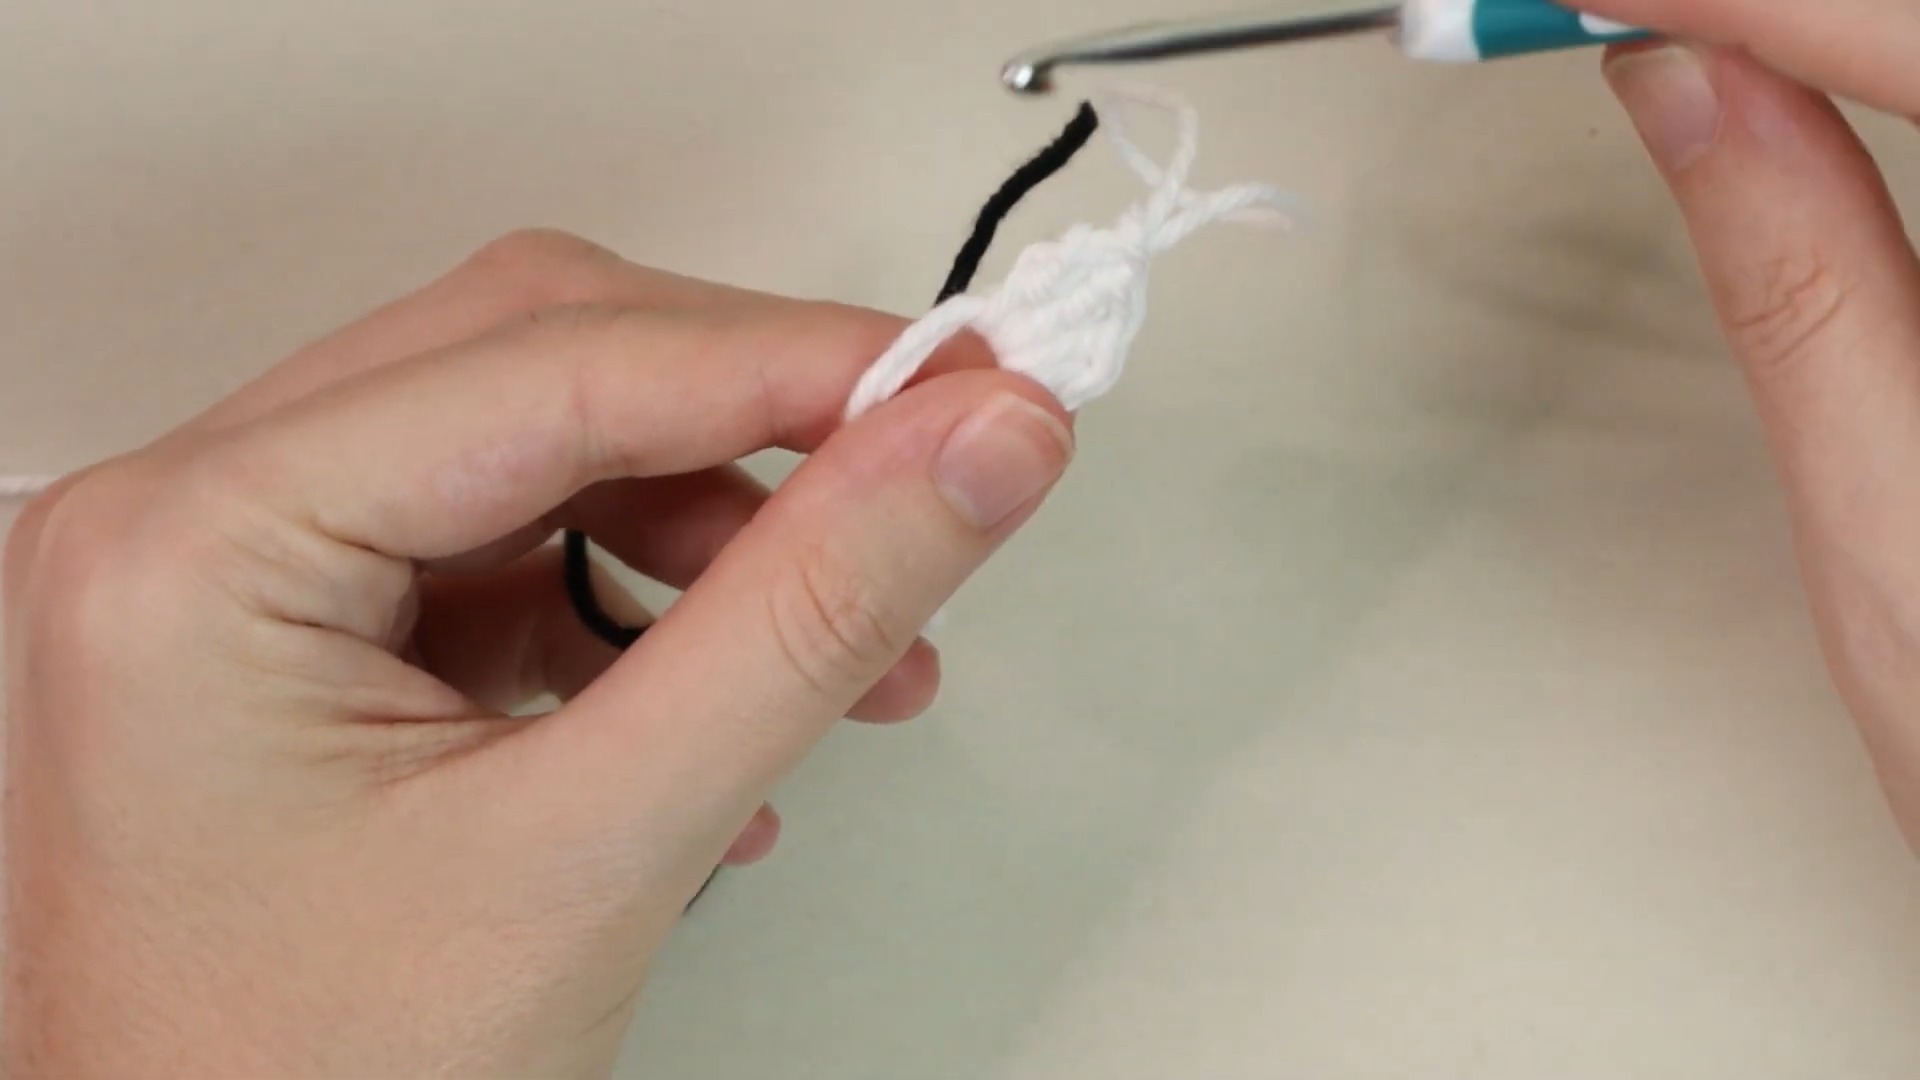
Spiral Setup: Adding Color B
- Attach Color B to the same magic ring by inserting the hook into the ring and pulling up a loop. CH 1 (does not count as a stitch).
- Work the following into the ring with Color B:
- 1 SC, 1 HDC, and 2 DC.
- Place a stitch marker into the first SC of Color B to easily identify where to work later.
- Tighten the magic ring by pulling the tail of Color A.
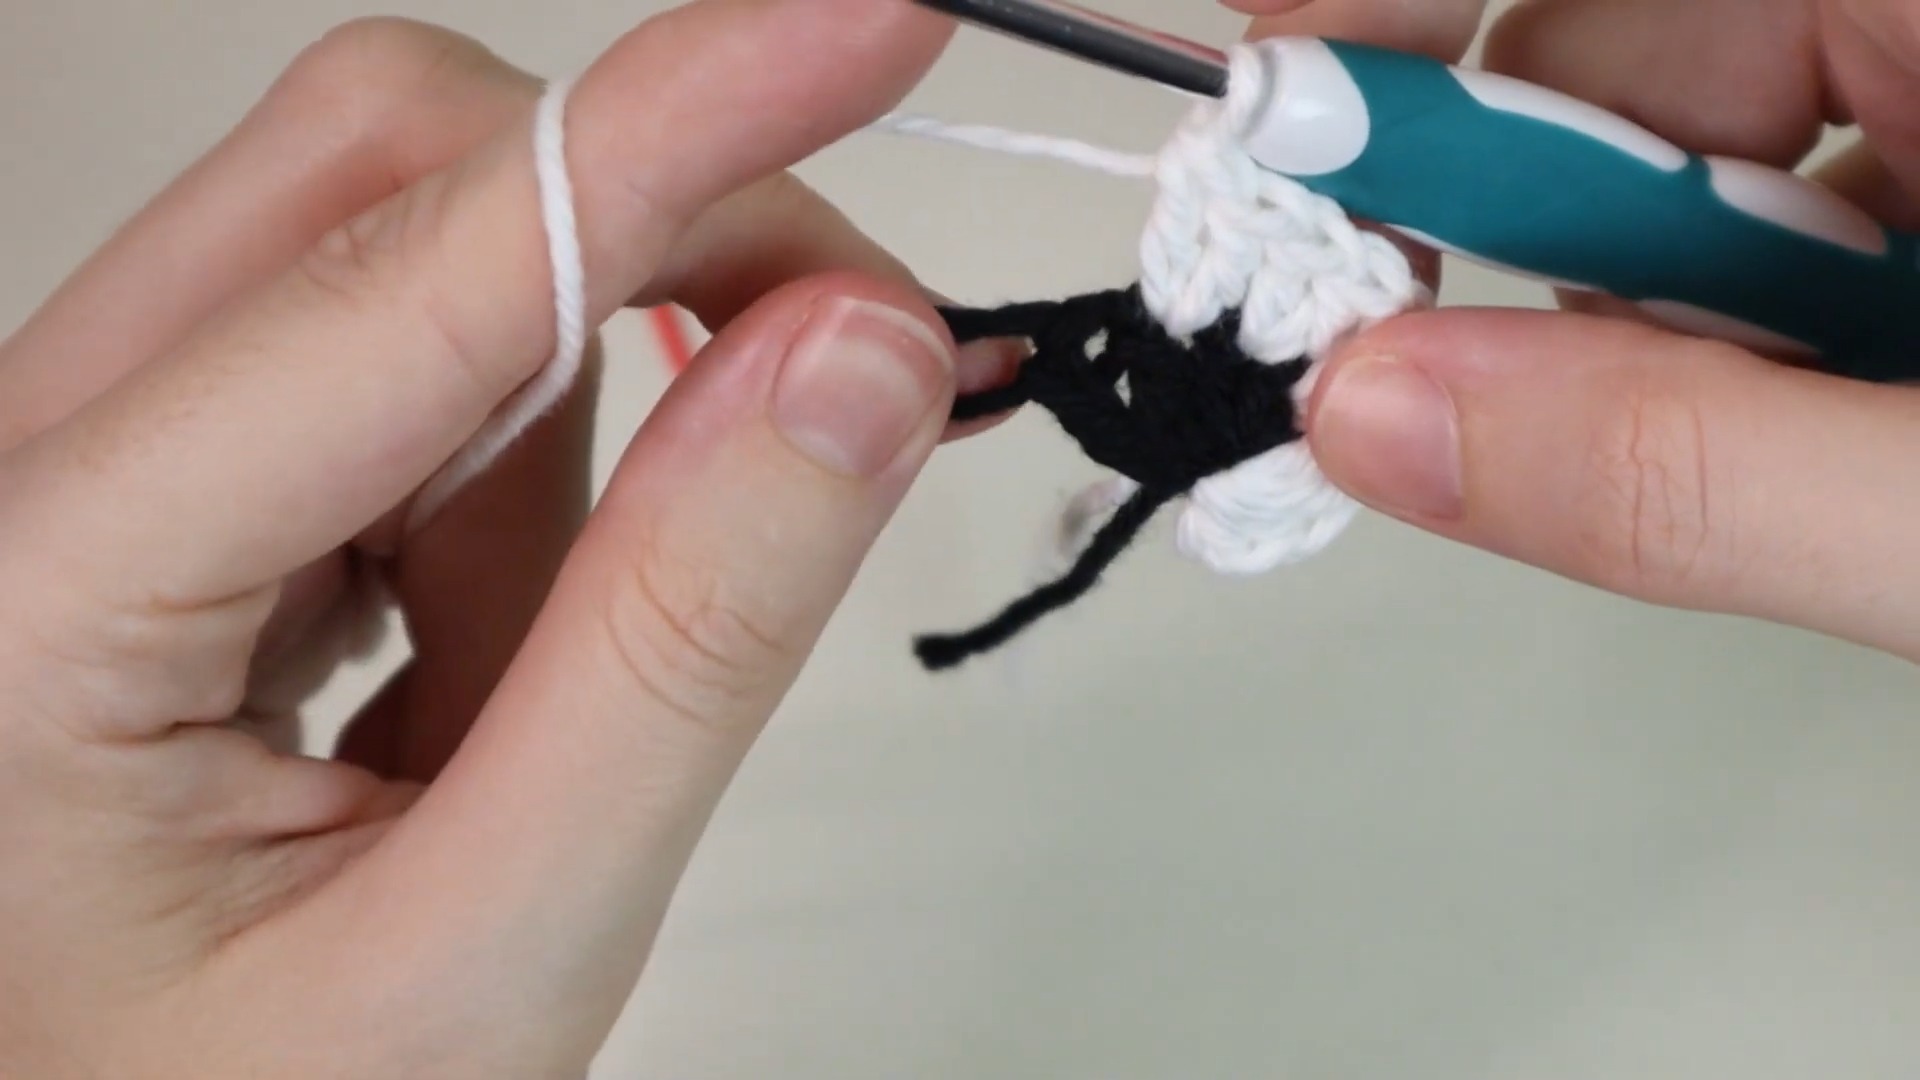
Building the Spiral
Step 1: Work Back with Color A
- Insert the hook into the loop from Color A.
- Begin crocheting into the stitches made with Color B:
- Work 2 DC into each of the first four stitches of Color B.
- Pull up a loop and remove the hook from the stitch.
Step 2: Switch to Color B
- Reinsert the hook into the loop of Color B.
- Crochet into the stitches made with Color A:
- Work 2 DC into the first seven stitches of Color A.
- Pull up a loop and remove the hook.

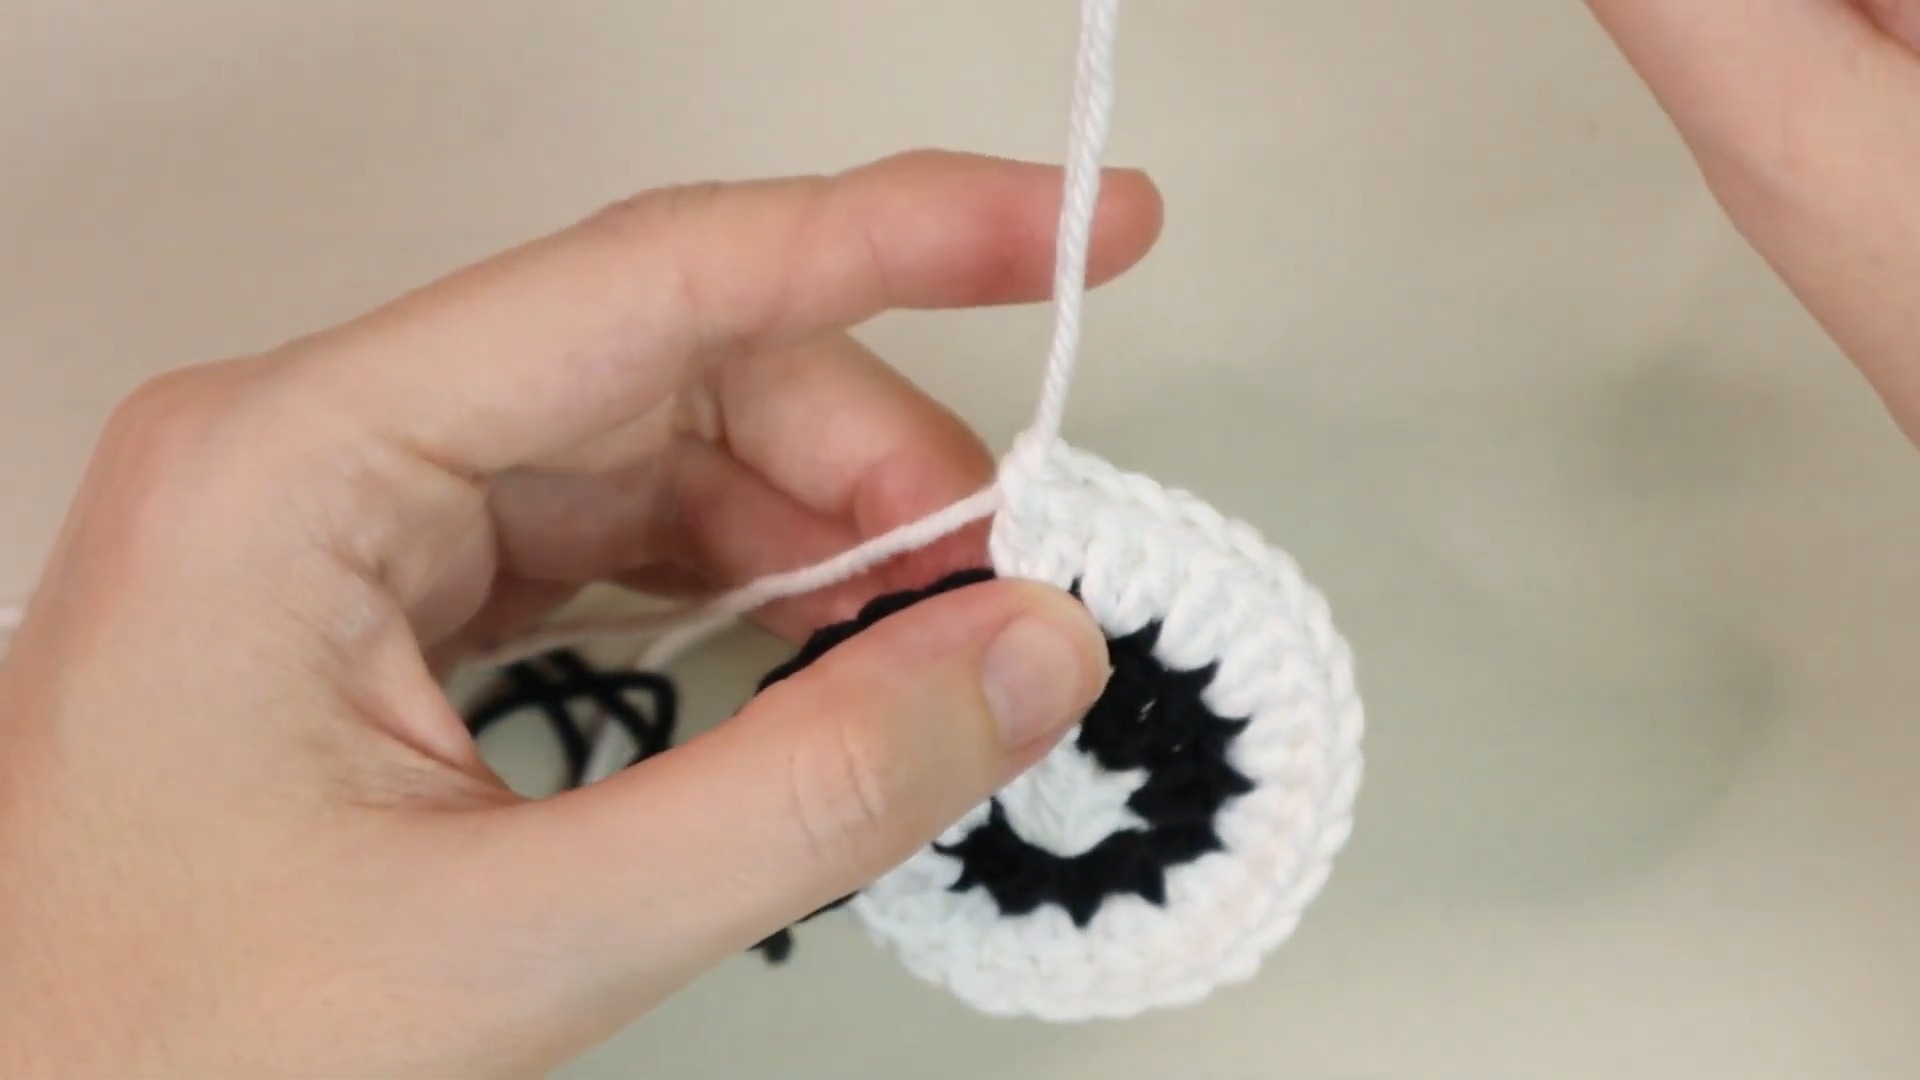
Step 3: Continue Alternating Colors
- Alternate between Color A and Color B, crocheting 2 DC into the designated number of stitches (as the spiral grows, this number increases in each round).
- Check alignment as you go: The ends of each round should meet in the center to keep the spiral symmetrical.
Finishing the Spiral
Once the spiral reaches your desired size (approximately 4-5 inches):
-
With Color A, finish off as follows:
- Work 2 DC into the next stitch.
- Work 1 DC into the next two stitches.
- Work 2 HDC into the next stitch, followed by 1 HDC into each of the next two stitches.
- Work 2 SC into the next stitch, followed by 1 SC into the next stitch.
- Work a SLST into the next stitch.
- Cut Color A and weave in the ends using a tapestry needle.
-
Repeat the same process to finish off Color B.
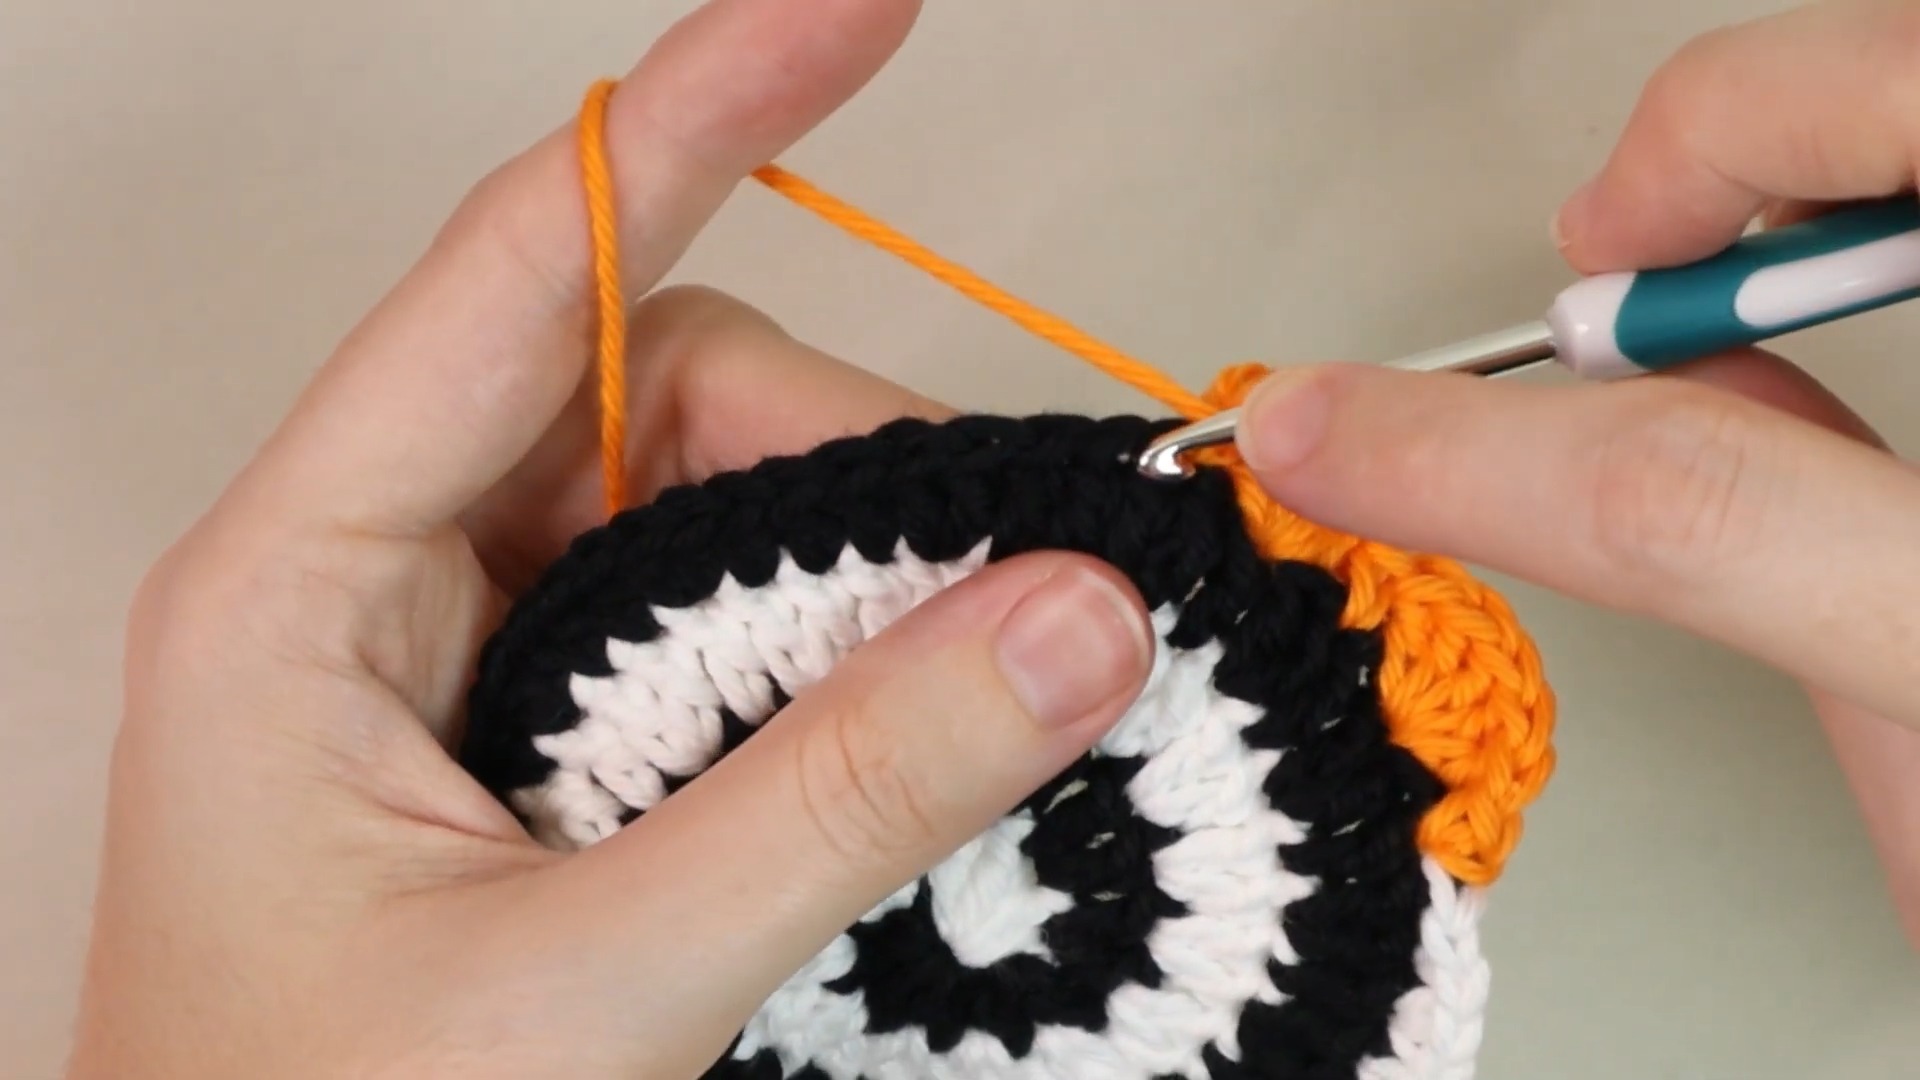
Shell Border (Color C)
-
Attach Color C to the edge where Color A and Color B meet (use the spot where the invisible join was created).
-
CH 1 (does not count as a stitch).
-
Begin the shell pattern:
- Work 1 SC into the same stitch you joined.
- Skip the next stitch. Work 5 DC into the stitch after the skipped one (this forms the shell).
- Skip the next stitch, then work 1 SC into the stitch after the skipped one.
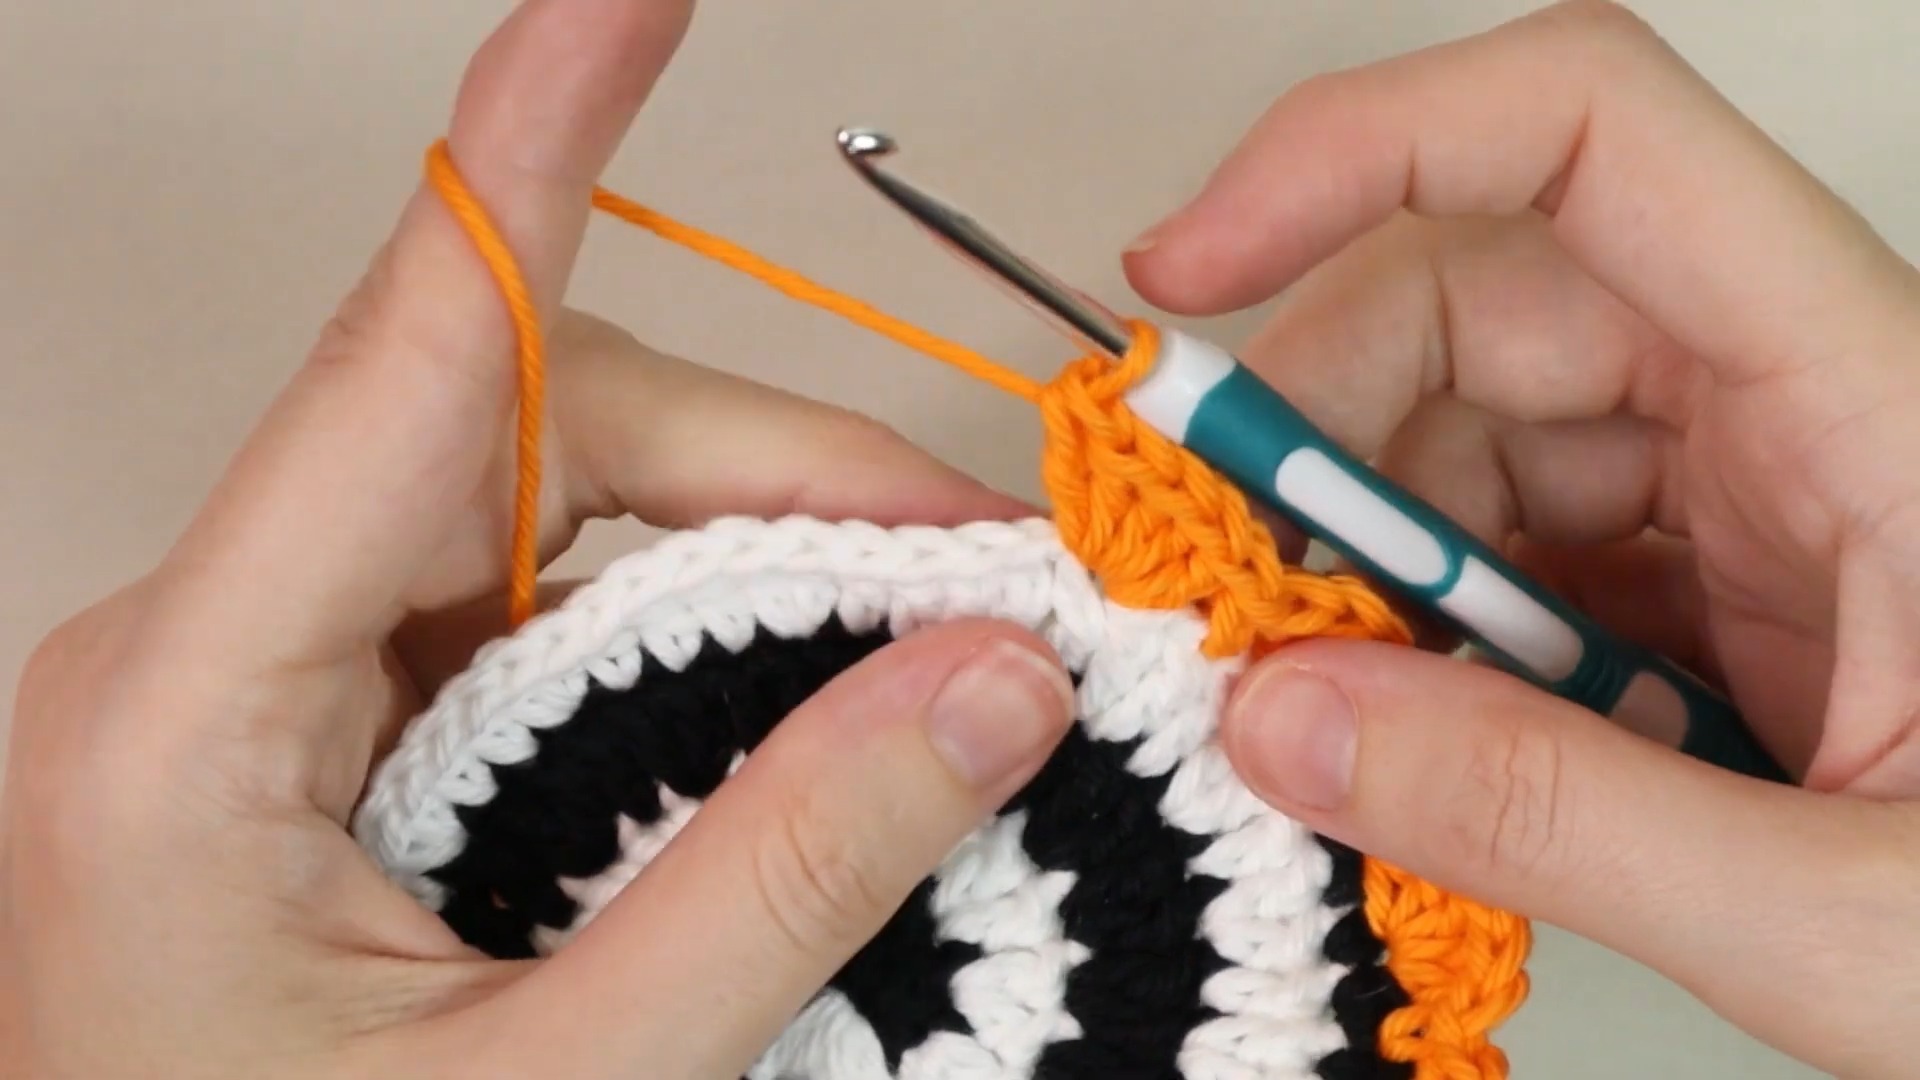
-
Repeat this pattern (Skip 1, Work 5 DC, Skip 1, Work 1 SC) around the spiral edge.
-
When you reach the end, join to the first SC with a SLST, cut the yarn, and weave in the ends.
Final Touches
- Flatten and shape the coaster with your hands.
- Adjust any loose areas in the spiral by gently tugging the stitches.
- The coaster is ready for use!
Pattern Question:
Question: Can I use thicker yarn or a different hook size for this pattern?
Answer: Yes, you can! Adjusting the yarn weight and hook size will change the size of the coaster but won't alter the overall pattern.
Conclusion:
These spiral Halloween crochet coasters are a quick, rewarding project that adds festive flair to your home. Whether for décor or practical use, their charm and versatility make them a must-try craft—ideal for beginners and experienced crocheters alike.


