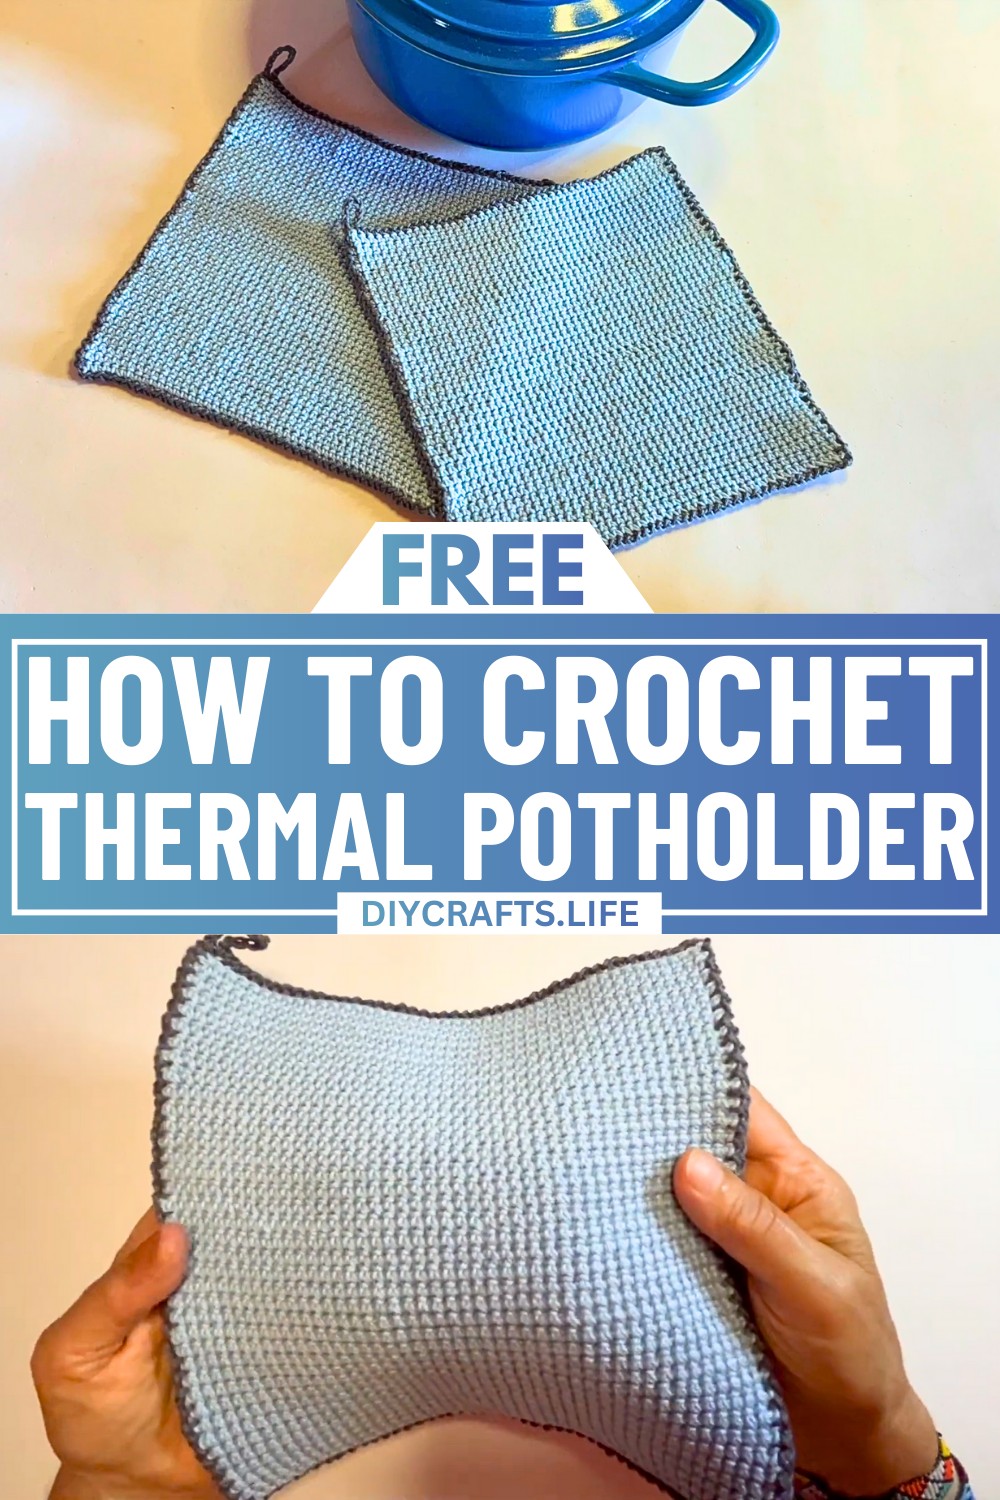
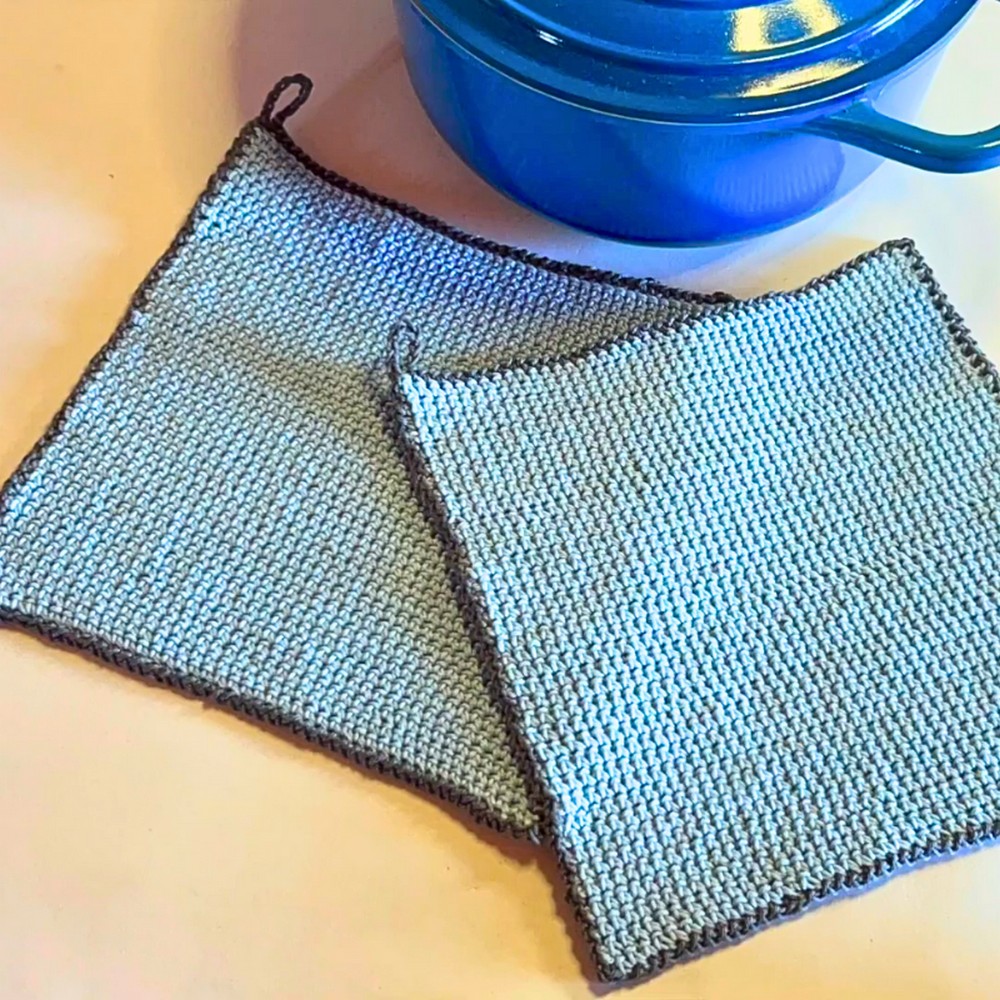
Transform your kitchen routine with a potholder that’s as sturdy as it is stylish. The thermal crochet stitch combines elegance and utility to create a design that’s perfect for heat-resistant kitchen essentials. Each loop and stitch adds depth and charm, giving your space a functional touch of handmade beauty.
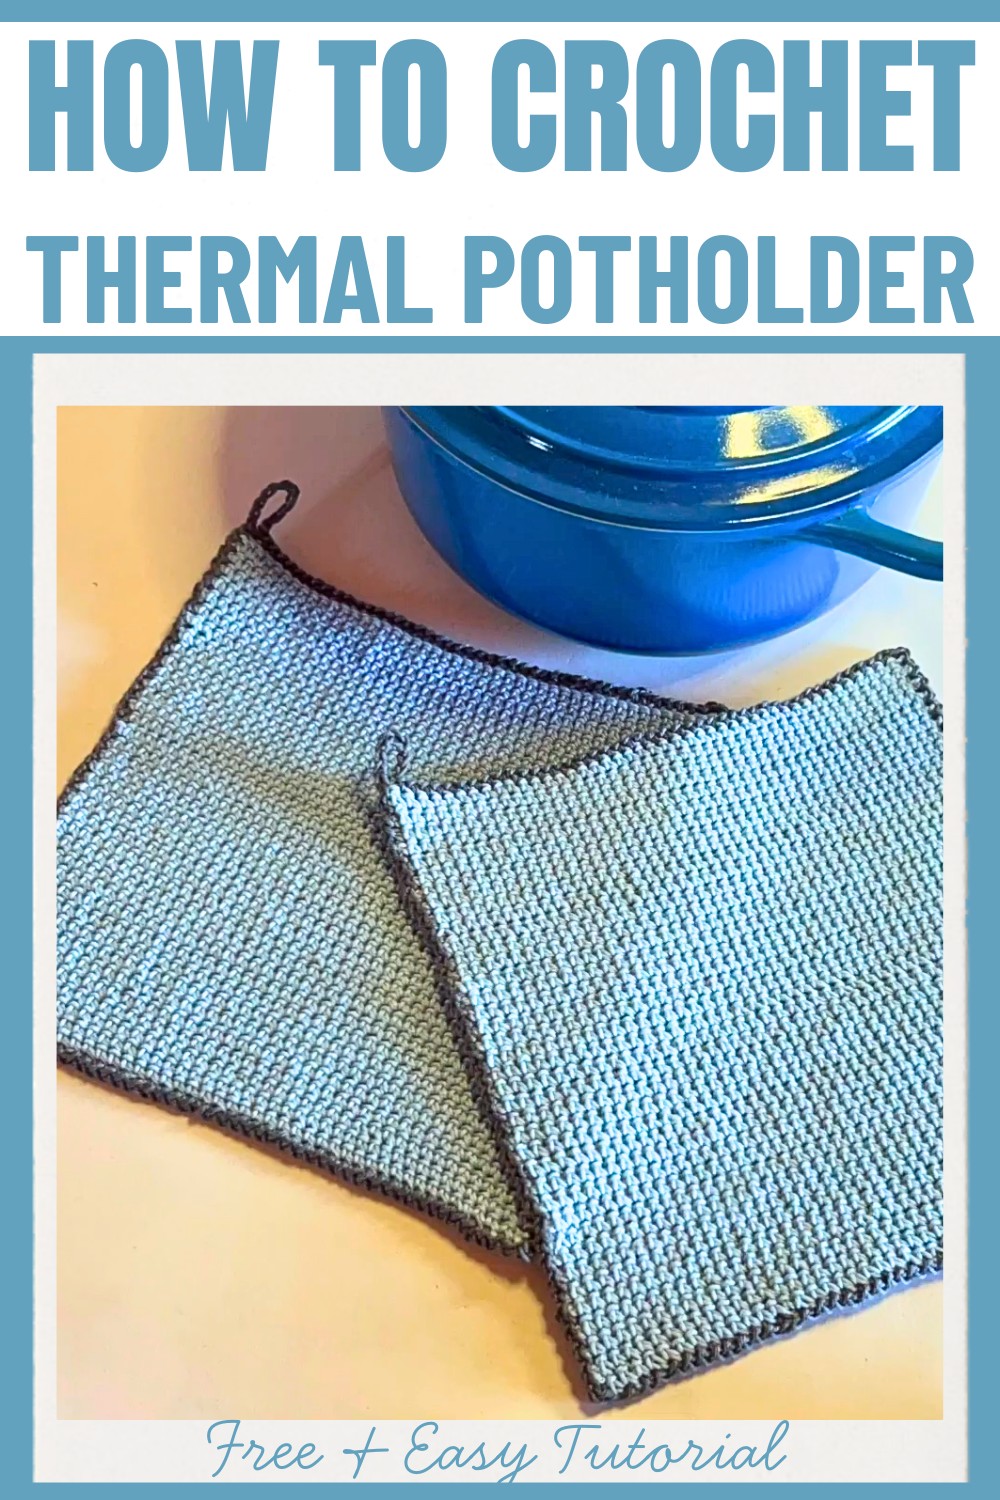
This potholder design stands out for its thick, structured texture, thanks to the innovative thermal stitch. The double-layer effect is created with a single round of stitches, making it efficient yet durable. Its stretch and stability mean you’ll have a go-to piece for your everyday cooking needs. Add your own flair by selecting your favorite colors or finishing off with a creative border design—it’s all about making your kitchen accessories truly yours.
Credit Hook & Loop Crochet Tutorials
Required Materials:
- Yarn:
- 100% cotton yarn (lightweight)
- Two colors (or you can use one solid color if preferred)
- Crochet Hook:
- 3 mm crochet hook
- Additional Supplies:
- Scissors
- Tapestry Needle
Important Notes:
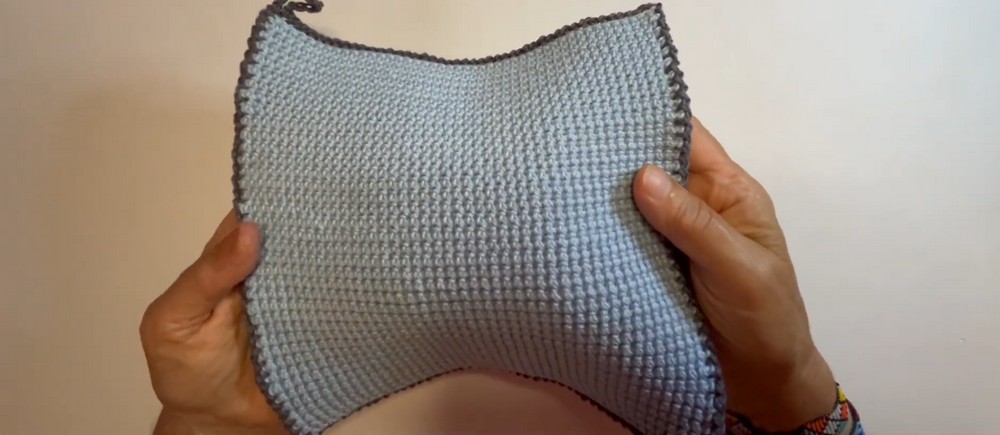
- The thermal stitch creates a thick and stretchy fabric, making it ideal for projects like potholders.
- Only basic stitches are used: single crochet (sc) and chains (ch).
- This is a one-layer project because the thermal stitch is thick enough — no need for additional layers.
- The completed potholder will be a square approximately 20 x 20 cm (7.8 x 7.8 in).
- Optional: You can add a decorative border and a hanging loop.
Step-by-Step Crochet Instructions
Foundation Chain
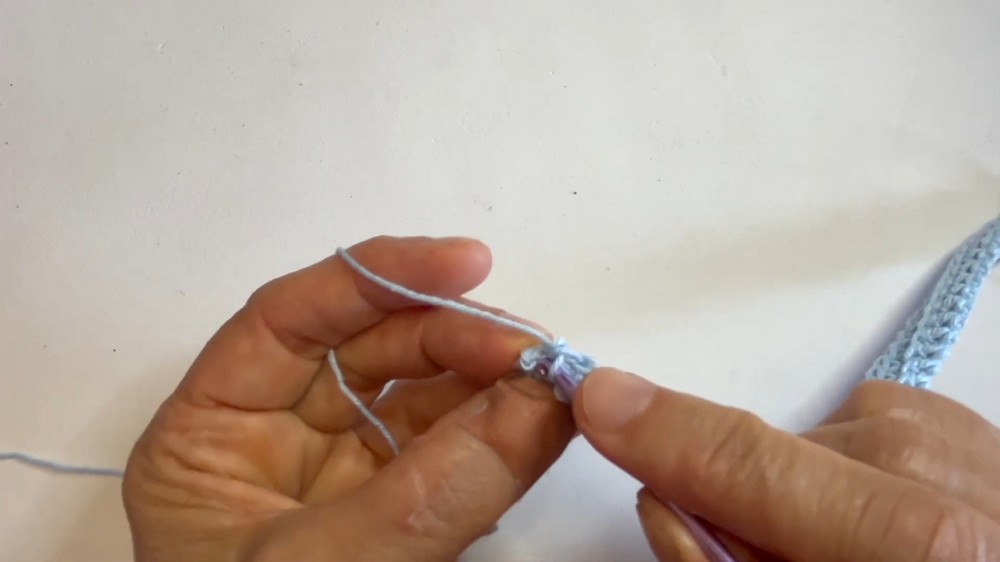
- Begin with a slip knot on your hook.
- Chain 46 stitches (or a number of chains that measures approximately 20 cm (7.8 inches) in length).
Body of the Potholder (Using Thermal Stitch)
Row 1:
- Starting in the second chain from the hook, work 1 single crochet (sc) into each chain.
- You’ll have 45 single crochet stitches (sc) in total.
- At the end of the row, chain 1 and rotate your work.
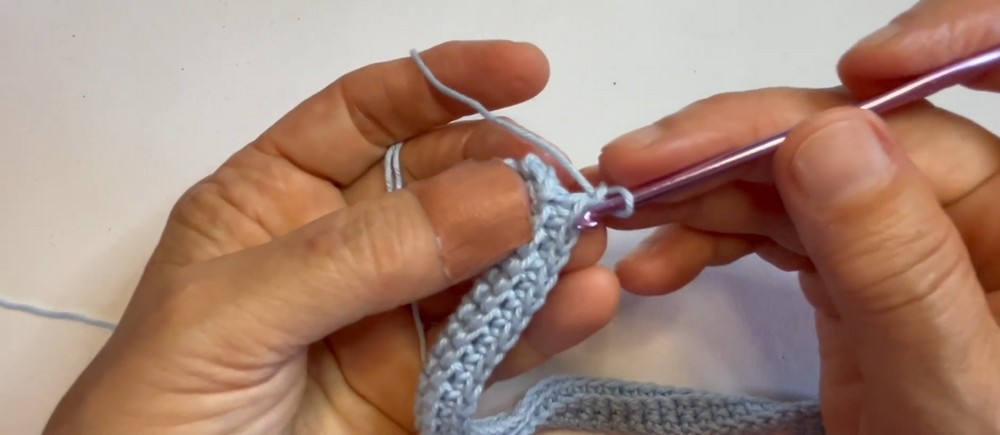
Row 2:
- Insert the hook into the first top loop and the loop below it (from the previous row).
- This unique placement creates the thickness of the thermal stitch.
- Yarn over and pull through both loops as you would with a regular single crochet stitch.
- Repeat this process across the row while maintaining consistency in the placement of stitches.
- At the end of the row, chain 1 and rotate your work.
Row 3 and Beyond:
- Continue following the same method:
- Insert the hook through the top loop and the bottom loop of the previous row.
- Yarn over, pull through both loops, and complete the stitch.
- The project will gradually start resembling a thick cord as the thermal stitch develops.
- Work in this manner until your potholder measures 20 cm × 20 cm (7.8 in × 7.8 in), ensuring it remains a square.
Finishing the Potholder
- Once the desired size is reached, chain 1, pull up the yarn, and cut it.
- Use a tapestry needle to weave in the yarn tails securely.
Optional: Adding a Border and Hanging Loop
- You may leave the edges plain or add a decorative border.
- Follow the link provided in the video description for a specific border pattern or use one of your choice.
- To create a hanging loop, do the following:
- In one corner, chain 10 (or more), depending on your preferred loop size.
- Attach the chain back to the same corner with a slip stitch (sl st) to form a loop.
Additional Notes:
- The project is beginner-friendly due to its use of the single crochet (sc) stitch.
- The thermal stitch is not only functional but provides a nice texture and structure for your potholder.
- You can make a second matching potholder with the same pattern if desired.
Final Tips:
- Ensure consistent tension throughout to maintain even dimensions.
- Feel free to add contrasting or complementary colors throughout the project.
Enjoy your handmade Thermal Stitch Potholder, and happy crocheting!