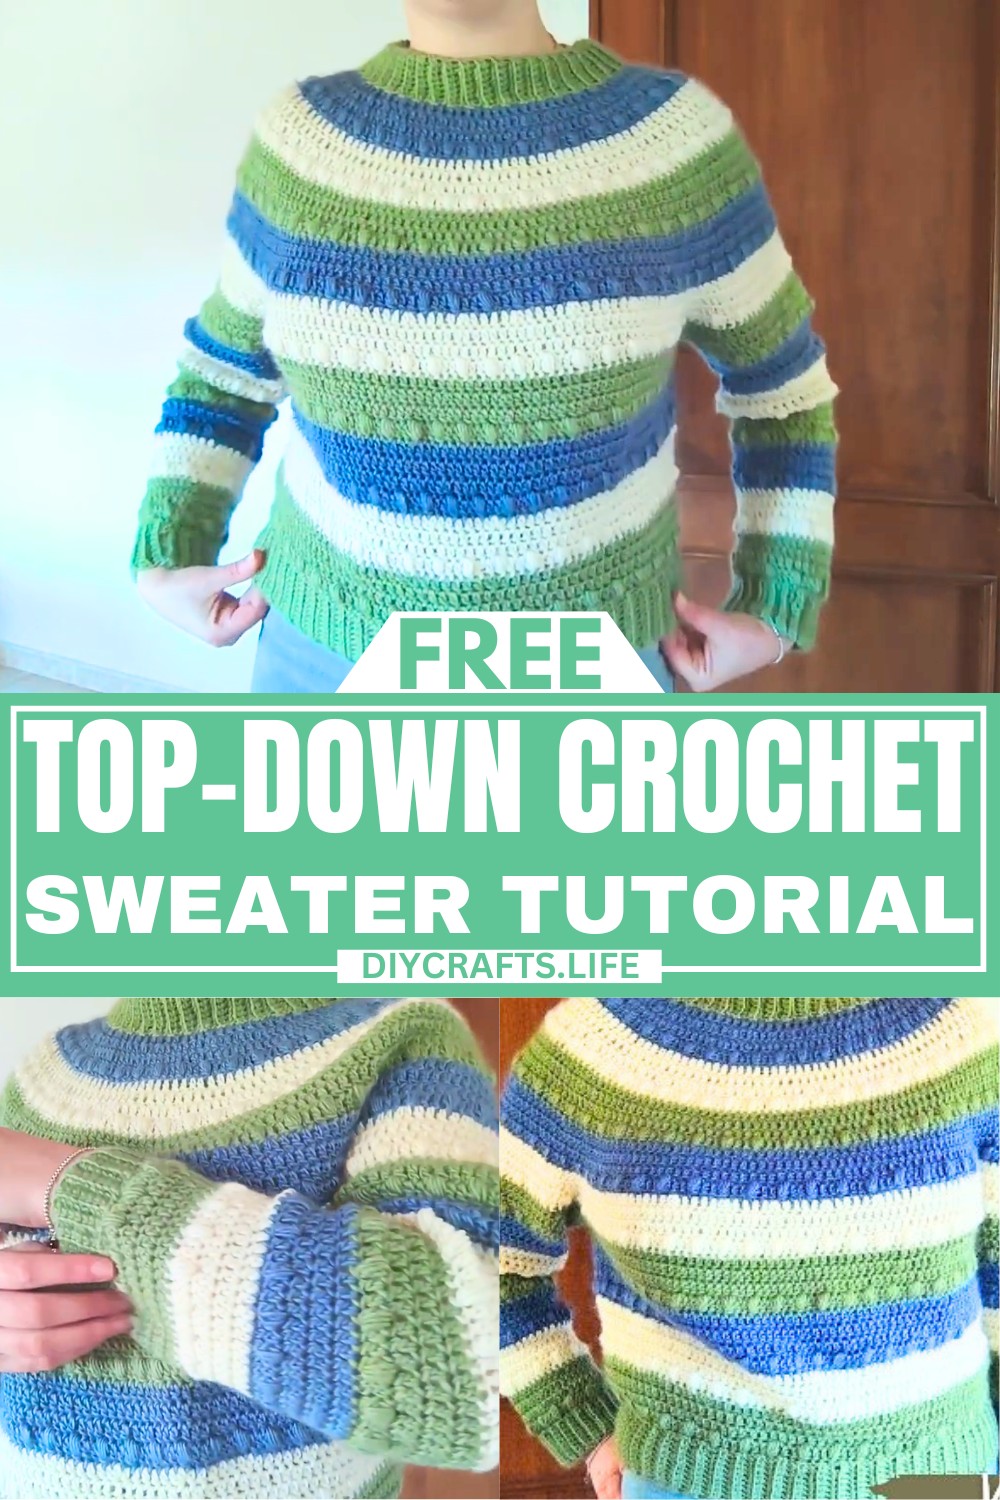
This top-down crochet sweater is a wonderful way to create a wearable you’ll adore all year round. Designed with a seamless and circular yoke, this sweater not only looks stylish but is also practical and comfortable to wear. Whether you want something cozy for chilly days or a handmade gift for someone special, this sweater is a great idea.
Top-Down Crochet Sweater Tutorial

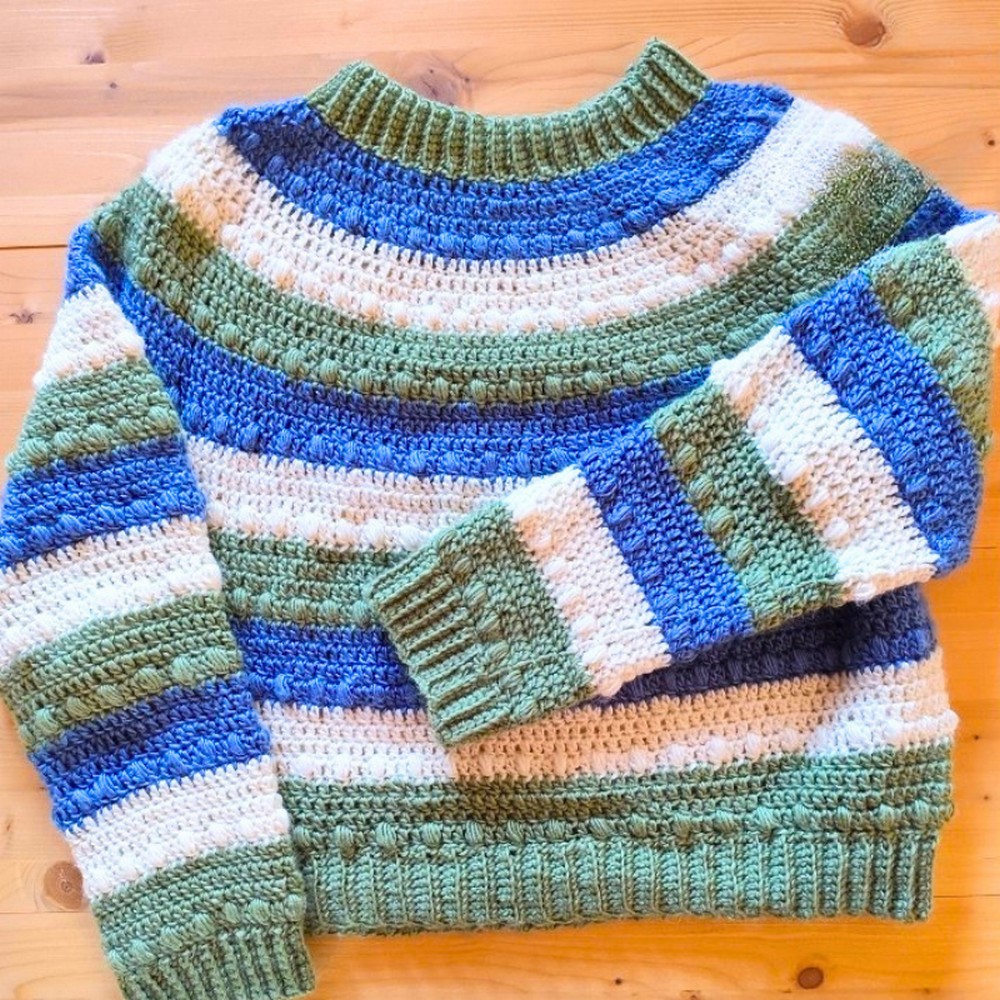
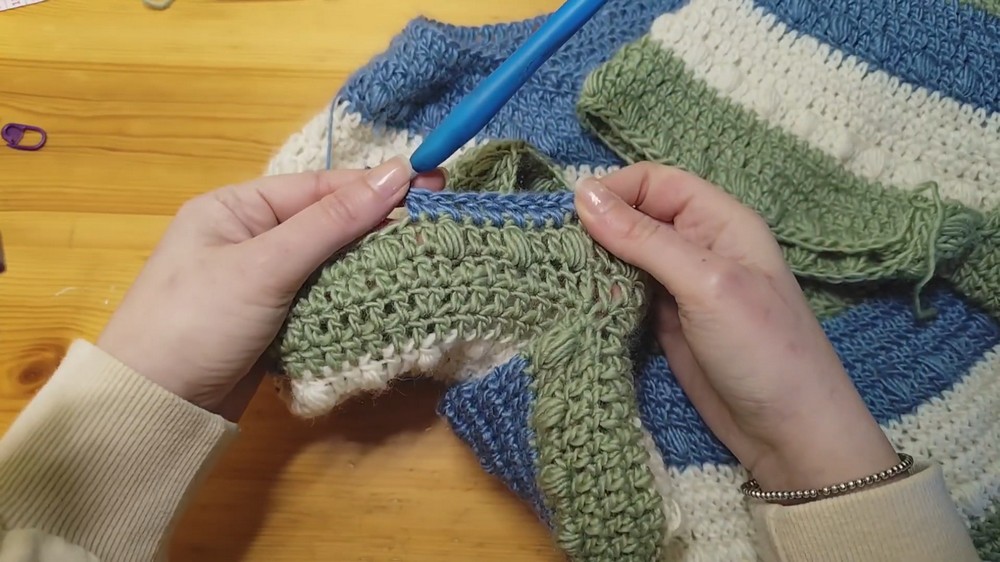
What makes this design unique is that the entire piece, including the sleeves, is crocheted in the round—no sewing needed! The color combination of green, blue, and white adds a lovely personal touch, but you can choose any colors you like. The ribbed details at the bottom, cuffs, and neckline give it a polished finish that feels both modern and cozy.
If you’re looking for a satisfying yet straightforward pattern, this sweater allows you to work at your own pace while learning key techniques like creating increases, puff stitches, and shaping sleeves. Perfect for beginners ready to try something new or experienced crocheters who love making wearables.
Credit Veroknitcrochet
Materials & Tools Needed
- Yarn Used: Merino Wool and Silk Blend
- Weight: ~120m / 50g
- Colors: Green, Blue, and White
- 3 balls each of White and Blue
- 4 balls of Green (used for ribbing)
- Hooks:
- 4.5 mm hook (used for foundation chain)
- 4 mm hook (for the main part of the sweater)
- 3.5 mm hook (for ribbing sections)
- Additional Tools:
- Measuring Tape
- Scissors
- Tapestry Needle
- 4 Stitch Markers
- Pen and Paper (for calculations)
Finished Size & Customization Ideas
- Size Demonstrated: Large
- Customized Measurements:
The sweater can be customized based on the following measurements:- Neck circumference
- Chest circumference
- Armholes
- Yoke depth
- Gauge Information (important for customization):
- 16 stitches by 9 rows = 10 x 10 cm square
- Stitch pattern requires:
- Multiple of 3 + 2 when worked flat.
- Multiple of 3 when worked in the round.
- Adjust stitch counts and rows accordingly for desired size.
- Customization Ideas:
- Length of the body and sleeves can be adjusted by crocheting more/less rows.
- Add rows of increases or decrease rows spacing to fit different chest or yoke sizes.
Pattern Abbreviations & Terminology
- ch: chain
- st(s): stitch(es)
- sl st: slip stitch
- yo: yarn over
- dc: double crochet
- dc2tog: double crochet two together (decrease)
- puff stitch: A cluster-style stitch involving multiple loops pulled through.
Pattern is written using US Terminology.
Step-by-Step Detailed Crochet Instructions
The sweater is worked in the round, from the top down, with no sewing involved.
Yoke Section: Steps 1–5
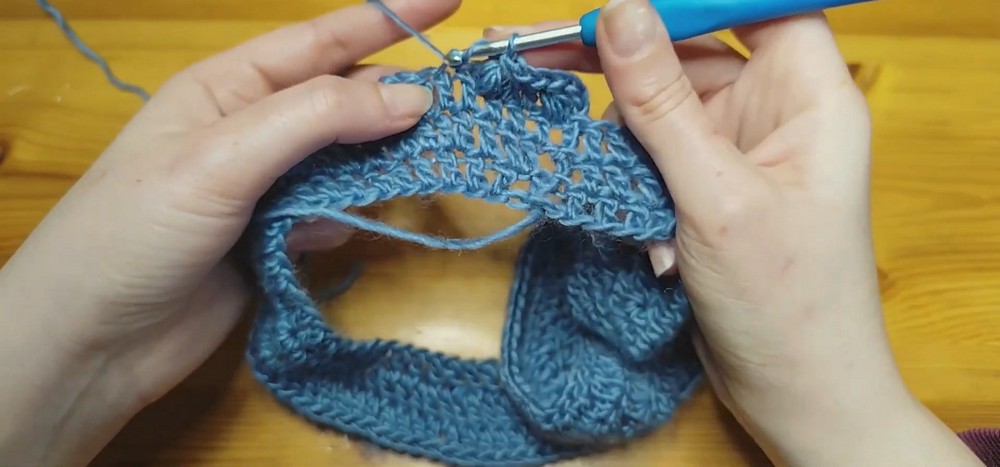
Step 1: Foundation Chain
- Using the 4.5 mm hook, start with a slip knot.
- Chain the number of stitches calculated for your neckline. For size large, use 87 chains.
- Ensure the chain isn't twisted.
- Join the chain into a circle with a sl st into the first chain.
Step 2: Row 1 (Establishing Double Crochet Base)
- Switch to the 4 mm hook.
- Chain 3 (counts as the first dc).
- Work 1 dc in each chain all the way around.
- Join the row with a sl st into the 3rd chain at the beginning of the row.
- Stitch Count: 87 stitches.
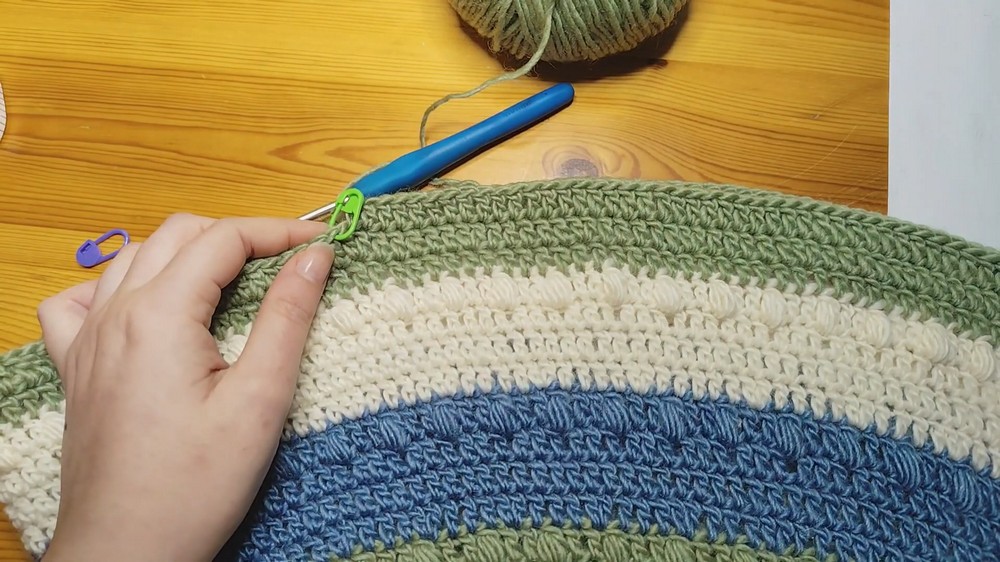
Step 3: Begin Yoke Increases
The yoke increases will be distributed across 5 increase rows.
- The total stitches to be added = Total yoke stitches at the end - Starting stitches (in this case, 282 - 87 = 195).
- Increases Per Increase Round: Add 39 stitches in each.
Row 2: First Increase Row
- Chain 3, then increase by working:
- 2 dc into every 2nd stitch (alternating increases as calculated).
- Distribute all 39 stitches evenly across the round.
- Adjust if needed toward the end by spacing the increases farther apart.
- Stitch Count at End of Row 2: 126
Row 3: Double Crochet Round
- Chain 3 (counts as the first dc).
- Work 1 dc in each stitch all the way around.
- Join with a sl st.
- Stitch Count: 126
Row 4: Puff Stitch Round
- Chain 3 (counts as 1 dc).
- Begin puff stitch pattern:
- In the next stitch, work a puff stitch (yarn over, insert hook into stitch, pull up a loop, repeat this 4 times, then pull through all loops except the last loop, yarn over, pull through the final 2 loops).
- Work 1 dc in each of the next two stitches.
- Repeat this sequence (puff stitch, 2 dc) around.
- Join with a sl st in the third chain.
Row 5 and Beyond: Repeat Color and Increase Sequence
- Change to the next color (e.g., White) using a sl st join.
- Follow the same sequence of rows:
- 3 rows of dc.
- 1 row of puff stitch.
- Plan further increases on rows 7, 13, 17, and 22 (or as per calculations), maintaining the same increase logic:
- Adjust spacing between increases in each increase row (e.g., every 3rd, 4th, 5th stitch, etc.).
Body Section: Steps 6–7
Step 6: Separate Sleeves
- Divide stitches as follows:
- Front and Back: 84 stitches each.
- Sleeves: 57 stitches each.
- Mark sleeve sections using stitch markers.
- For the row where you split:
- Crochet across the back (42 stitches), skip the sleeve stitches, and join to the front directly (using slip stitches).
- Crochet across front and finish the back (last 42 stitches).
Step 7: Crochet the Body
- Crochet in the round, following the established stitch pattern.
- Add decrease rows near the waist if desired:
- Example: Decrease 24 stitches in one round (dc2tog every 6th and 7th stitch).
- Continue until the body reaches the desired length.
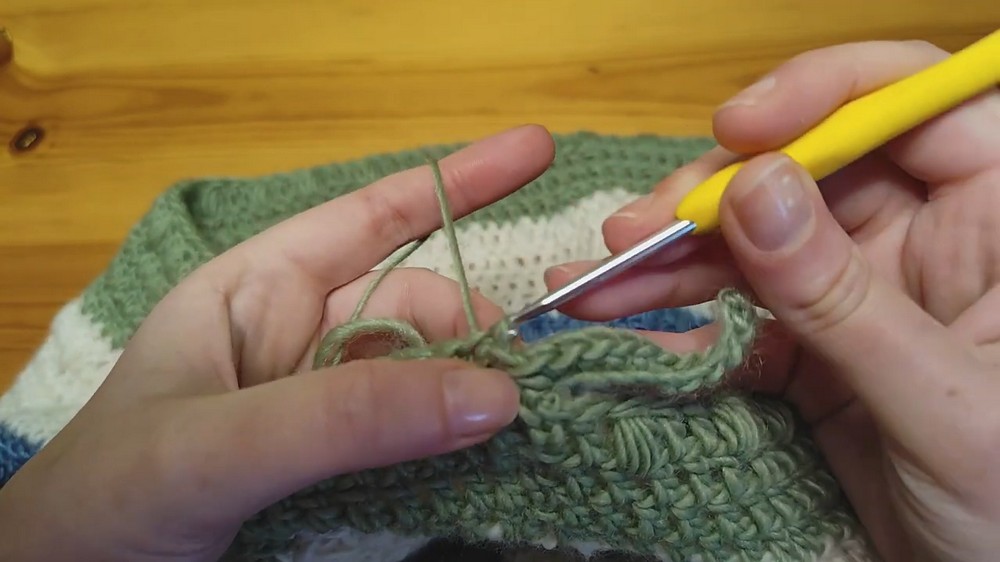
- Add ribbing to the bottom with the 3.5 mm hook:
- Work short rows of sc in back loop only, attaching each row to the main body via sl st.
Sleeve Section: Steps 8–9
Step 8: Work Sleeves
- Attach yarn at the underarm (near the body join).
- Crochet around the sleeve stitches (adding a few extra stitches under the arm).
- Follow the established stitch pattern for the sleeve.
- Add decreases if desired for a tapered sleeve:
- Example: Decrease 6 stitches per round every few rows.
Step 9: Ribbing for Sleeves
- Add ribbing to the sleeve cuffs with the 3.5 mm hook.
- Work as for the body ribbing.
Finishing: Step 10
- Add ribbing to the neckline using the 3.5 mm hook.
- Weave in all loose ends using a tapestry needle.
- Block the sweater if desired to even out stitches.
Additional Notes
- Color Sequence: The design alternates 4-row color blocks (3 rows dc + 1 puff stitch row).
- Length Adjustments: Add or reduce rows in the body or sleeves to fit.
- Final Measurements for Size Large: Approx. 45–46 cm body length (including ribbing).