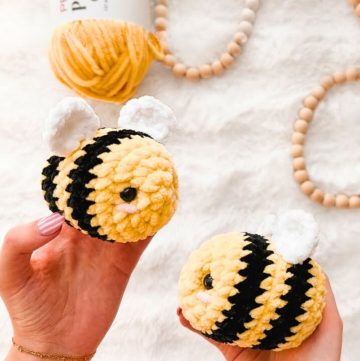
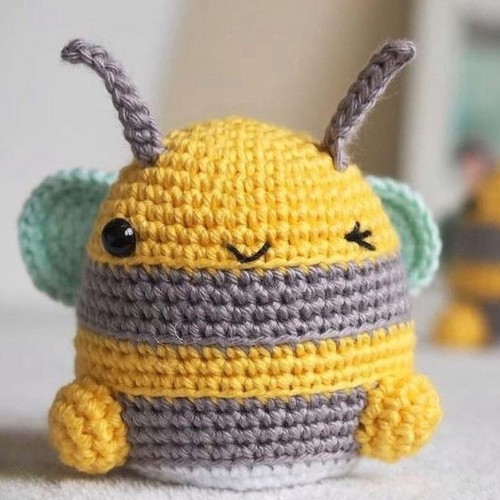
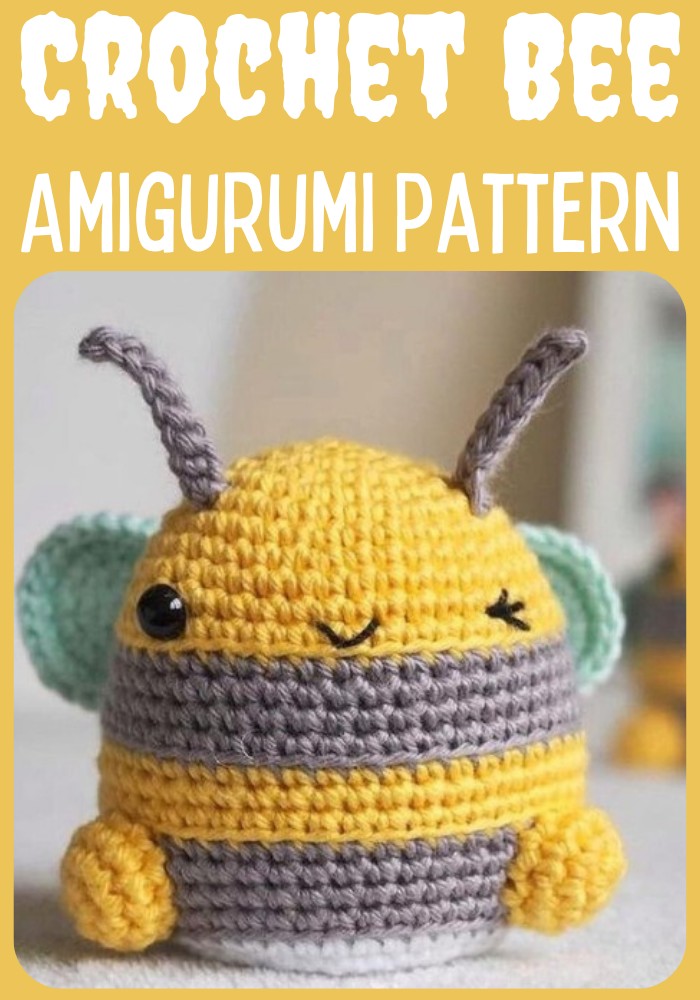
Delight in making a cute, plump crochet bee amigurumi, featuring striking yellow and grey stripes for its body. Its design is lovingly enhanced with soft, light blue wings and dark grey antennas, creating a vivid contrast. This adorable bee, with its small legs allowing it to sit perfectly, makes an ideal desk companion. It's bold colours and round shape bring whimsy and charm to any space, embodying cheerfulness and crafty flair in one compact, delightful design.
How do I care for my crochet bee amigurumi?
Gently dust or hand wash with mild soap. Avoid harsh chemicals and direct sunshine to keep colours bright.
Materials:
- HOOK SIZE: 2.5 mm
- YARN: Phildar Coton 3 100% cotton, 50g/121m
- 03 ciel (wings)
- 1009 poussin (yellow stripes)
- 1007 jeans (antennae)
- 1013 Galet (grey stripes)
- 049 Craie (white bottom)
You Will Also Need:
- Toy filling
- 6mm black toy safety eyes
- black/dark brown thread for the mouth
Abbreviations:
- blo - back loops only
- ch - chain
- dee- decrease (invisible decrease, crocheting 2 stitches together through front loops only)
- inc. increase (2 stitches into the same stitch)
- SC - single crochet
- sist - slipstitch
- ()- everything between the bracket is into the same stitch
Step By Step Pattern
Antennae:(make 2)
Using dark grey yarn, ch 9. Slst to back bumps from 2nd bump from hook (8 slst). Cut yarn, fasten off and leave a long tail for sewing.
Head And Body:(top-down)
Using yellow make a magic ring
- R1: 6 sc into magic ring (6)
- R2: 6 inc (12)
- R3: (1 sc, inc) 6x (18)
- R4: 1 sc, inc, (2 sc, inc) 5x, 1 sc (24)
- R5: (3 sc, inc) 6x (30)
- R6: 2 sc, inc, (4 sc, inc) 5c, 2sc (36)
- R7: 36 sc (36)
- R8: (5 sc, inc) 6x (42)
- R9-11: 42 sc (3 rows in total) (42)
At the last stitch of R11 switch to grey- Don't cut the yellow yarn, you can pick it up later.
- R12: 42 blo-sc (42)
- R13: inc, 3 sc, inc, 33 sc, inc, 3 sc (45)
Place the eyes between Rounds 10 and 11 with a distance of 11 stitches between them. Embroider the mouth between the eyes.
- R14: 3 sc, inc, 5 sc, inc, 26 sc, inc, 5 sc, inc, 2 sc (49)
- R15: 49 sc (49)
At the last stitch of R15 pick up the yellow yarn. Don't cut the grey yarn, you can pick it up later.
- R16: 49 blo-sc (49)
- R17-18: 49 sc (2 rows in total) (49)
At the last stitch of R18 pick up the grey yarn. Cut yellow yarn.
- R19: 49 blo-sc (49
- R20: 3 sc, dec, 5 sc, dec, 26 sc, dec, 5 sc, dec, 2 sc (45)
- R21: dec, 3 sc, dec, 33 sc, dec, 3 sc (42)
- R22: 42 sc (42)
At the last stitch of R22, switch to white. Cut grey yarn.
- R23: 42 blo-sc (42)R24: (5 sc, dec) 6x (36)
- R25: 2 blo-sc, blo-dec, (4 blo-sc, blo-dec) 5x, 2 blo-sc (30)
- Start stuffing the body.
- R26: (1 sc, dec) 10x (20)
- R27: 10 dec (10)
- R28: 5 dec (5)
Stuff the body a bit more, but make sure the bottom stays flat. Close the remaining stitches through the front loops and weave in ends.
Wings: (make 2)
Using light blue make a magic ring.
- R1: 6 sc in magic ring (6)
- R2: 6 inc (12)
- R3: (1 sc, inc) 6x (18)
- R4: 1 sc, inc, (2 sc, inc), 1 sc (24)
Make an extra slst into the first st of the next row. Cut yarn and fasten off, leaving a long tail for sewing.
Legs: (make 2)
- Using yellow make a magic ring.
- R1: 6 sc in magic ring (6)
- R2: 6 inc (12)
- R3-4: 12 sc (2 rows in total) (12)
Make an extra sist into the first st of the next row. Cut yarn and fasten off, leaving a long tail for sewing. Stuff the legs a bit.
Assembling:
- Sew on the wings in the grey stripe opposite the antennae.
- Sew on legs in grey stripe under the antennae.
Designer: Manchagurumi_designs On Instagram