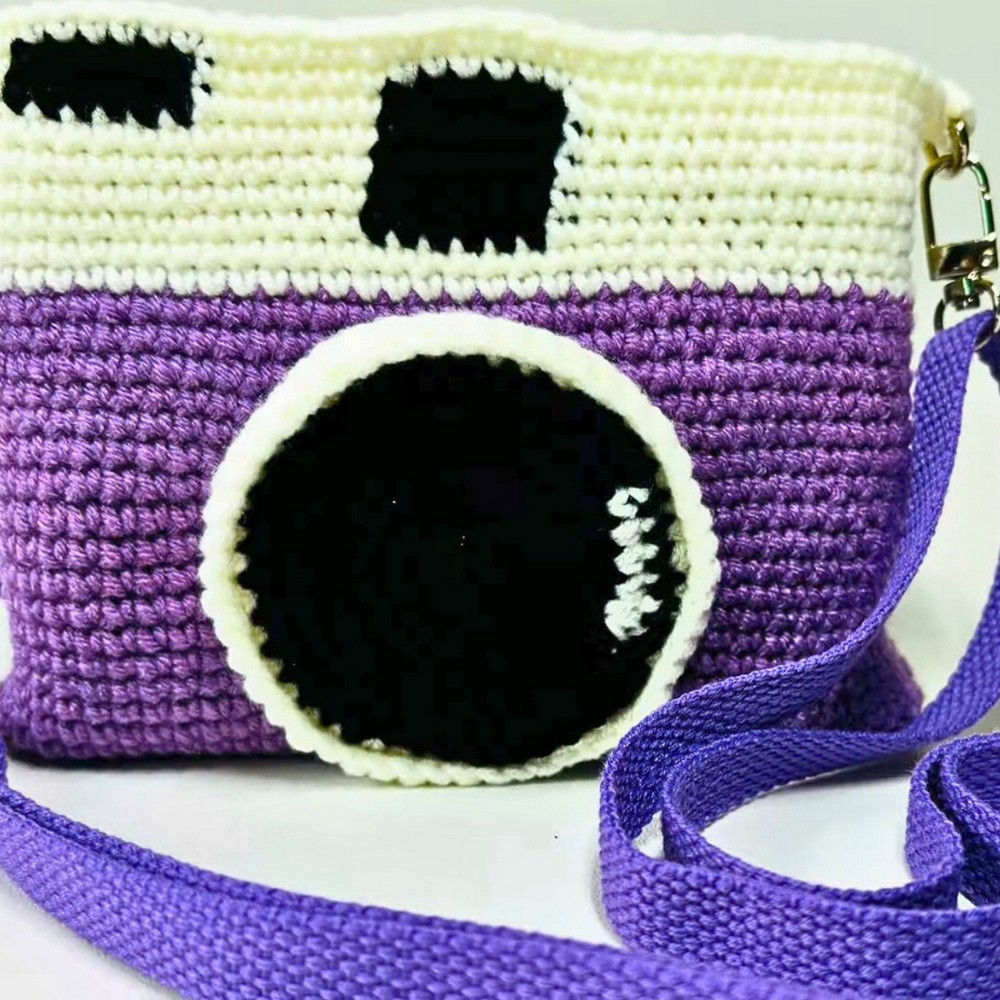
Learn how to make a stylish and functional crochet camera sling bag! This compact yet roomy bag blends creativity with practicality. Perfect for photographers on the go, it’s a versatile accessory that can be customized to suit any outfit or need, making it both beautiful and useful.
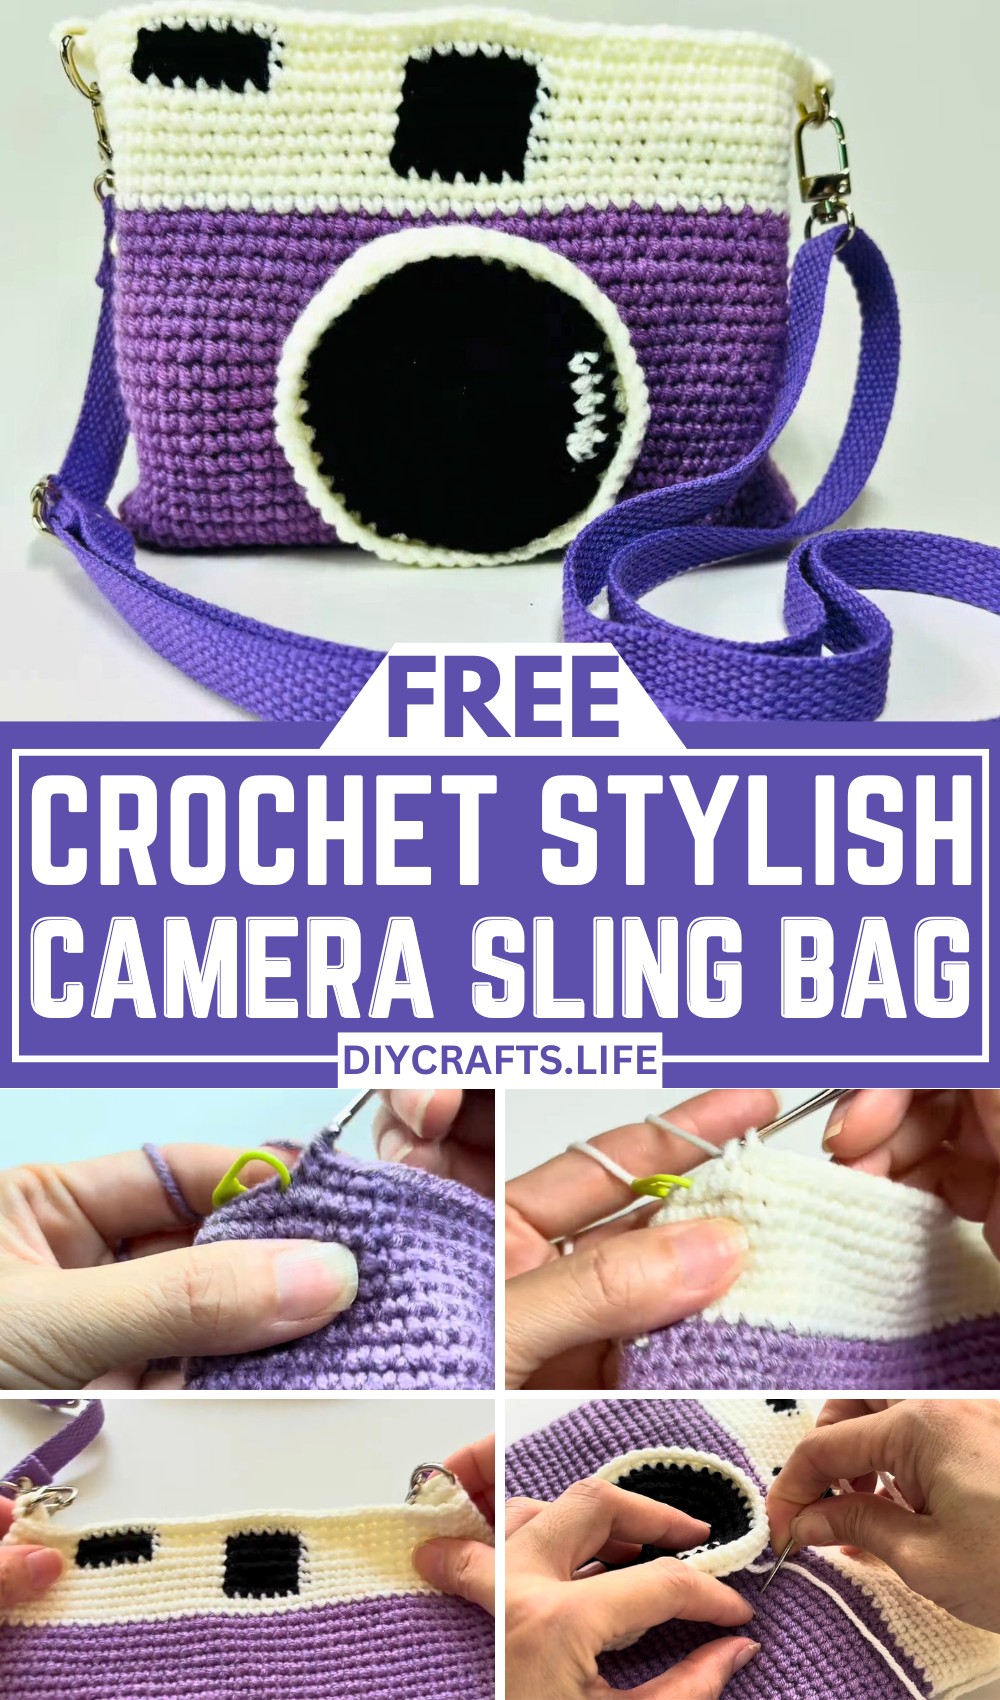
The crochet camera sling bag is not just attractive—it’s also durable and practical. It offers a safe and sturdy way to carry your camera and essentials. Its unique texture, customizable size, and sleek design make it stand out, while the adjustable strap ensures comfortable wear for all-day use.
Crochet Camera Sling Bag
Creating this crochet camera sling bag is a fun and rewarding project for all skill levels. The pattern is simple to follow and can be tailored to your personal style with different colors or textures. Let your creativity shine as you create a functional and stylish accessory that you’ll be proud to use or gift.
Materials and Preparation
To create the Crochet Camera Sling Bag, you'll need the following materials:
- Yarn: Medium-weight cotton yarn (e.g., Yarn Weight 4). Choose a durable, sturdy cotton for structural integrity.
- Hook: Crochet hook size 4.0 mm (G-6) or as needed to match the gauge.
- Additional Tools:
- Tapestry needle for sewing.
- Scissors.
- Stitch markers (optional).
- Button or clasp for closure (size recommended: ~1 inch in diameter).
- Bag strap hardware (optional if you'd prefer an adjustable strap finish).
- Optional: Inner lining fabric for added bag support (sewing needle and thread will also be needed).
Abbreviations and Notes
Here are the crochet abbreviations you'll encounter in the pattern:
- CH: Chain
- SC: Single Crochet
- HDC: Half Double Crochet
- DC: Double Crochet
- SL ST: Slip Stitch
- INC: Increase (two SC into the same stitch)
- DEC: Decrease (single crochet two stitches together)
Notes:
- This pattern is worked in the round for the bag base, and the main body is worked in rows. Familiarize yourself with changing from circular to flat-row patterns.
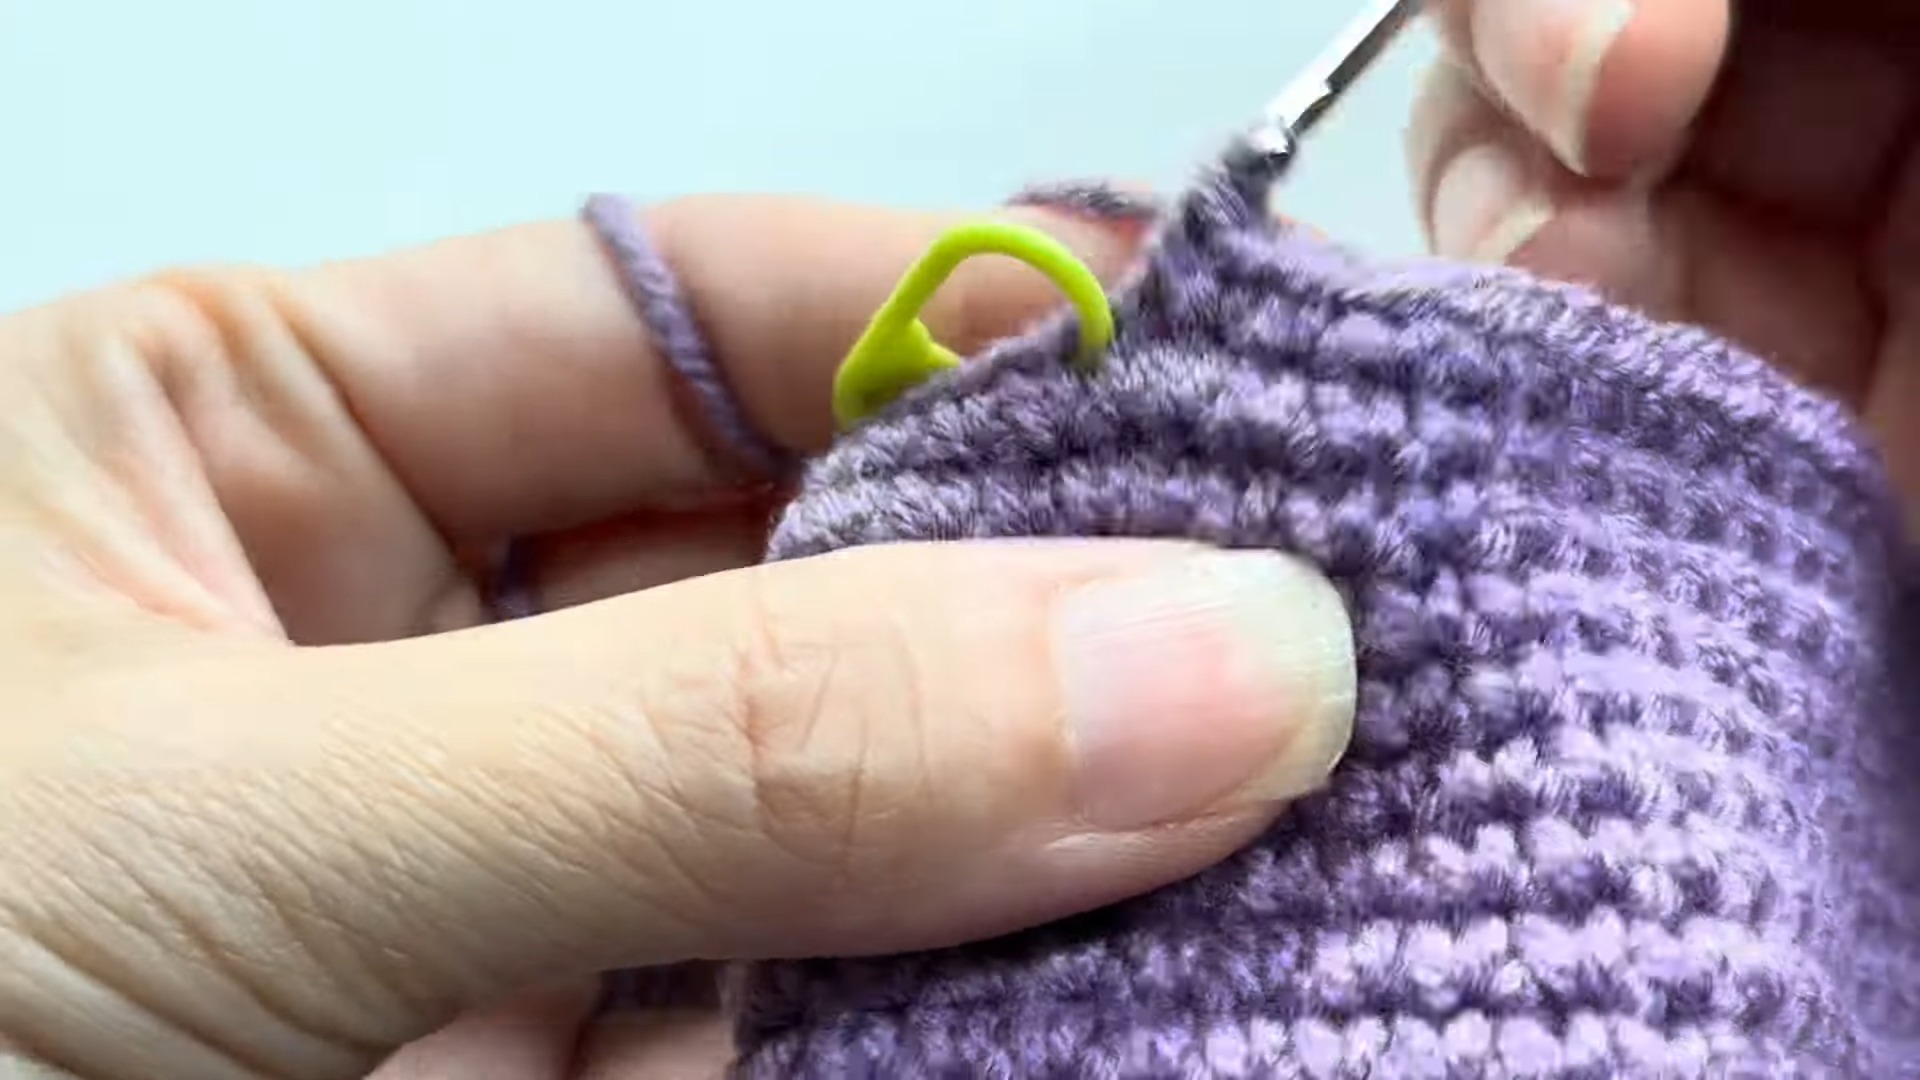
- Use a stitch marker to keep track of rounds if needed.
- Be mindful of your yarn tension. A tighter stitch provides a sturdier bag, while a looser stitch may require a lining for structure.
Gauge, Approximate Size, and Pattern Notes
- Gauge: 16 SC x 13 rows = 4" x 4" (10 cm x 10 cm). Adjust your hook size if your gauge does not match.
- Finished Size: Approx. 8 inches (width) x 6 inches (height), with an adjustable strap measuring ~40 inches.
- Additional Notes: While the gauge is not critical for this project, it is recommended to create a swatch if you want to ensure the size is appropriate for your camera. Optional techniques include reinforcing the bag sides with additional stitching or a fabric liner.
Step-by-Step Pattern
1. The Base:
- Start with a magic ring. (Tip: If unfamiliar, you can start with a CH 4 joined with a SL ST to form a ring.)
- Round 1: CH 1, work 6 SC into the ring. SL ST to the first SC to join. (6 SC)
- Round 2: CH 1, 2 SC into each stitch around. SL ST to join. (12 SC)
- Round 3: CH 1, [SC, 2 SC in next stitch] around. SL ST to join. (18 SC)
- Round 4: CH 1, [SC in the next 2 stitches, 2 SC in the next stitch] around. SL ST to join. (24 SC)
- Continue this pattern, increasing evenly around until your base measures 8 inches in diameter. (Pro tip: Flatten your base periodically to confirm size.)
2. The Body:
- Once the base is complete, begin the body of the bag:
- Round 1: CH 1, SC in the back loop only (BLO) of each stitch around. SL ST to join. This creates a clean edge for the bag walls.
- Round 2-25: CH 1, SC in each stitch around. SL ST to join after each row. Continue until the desired height of 6 inches is reached.
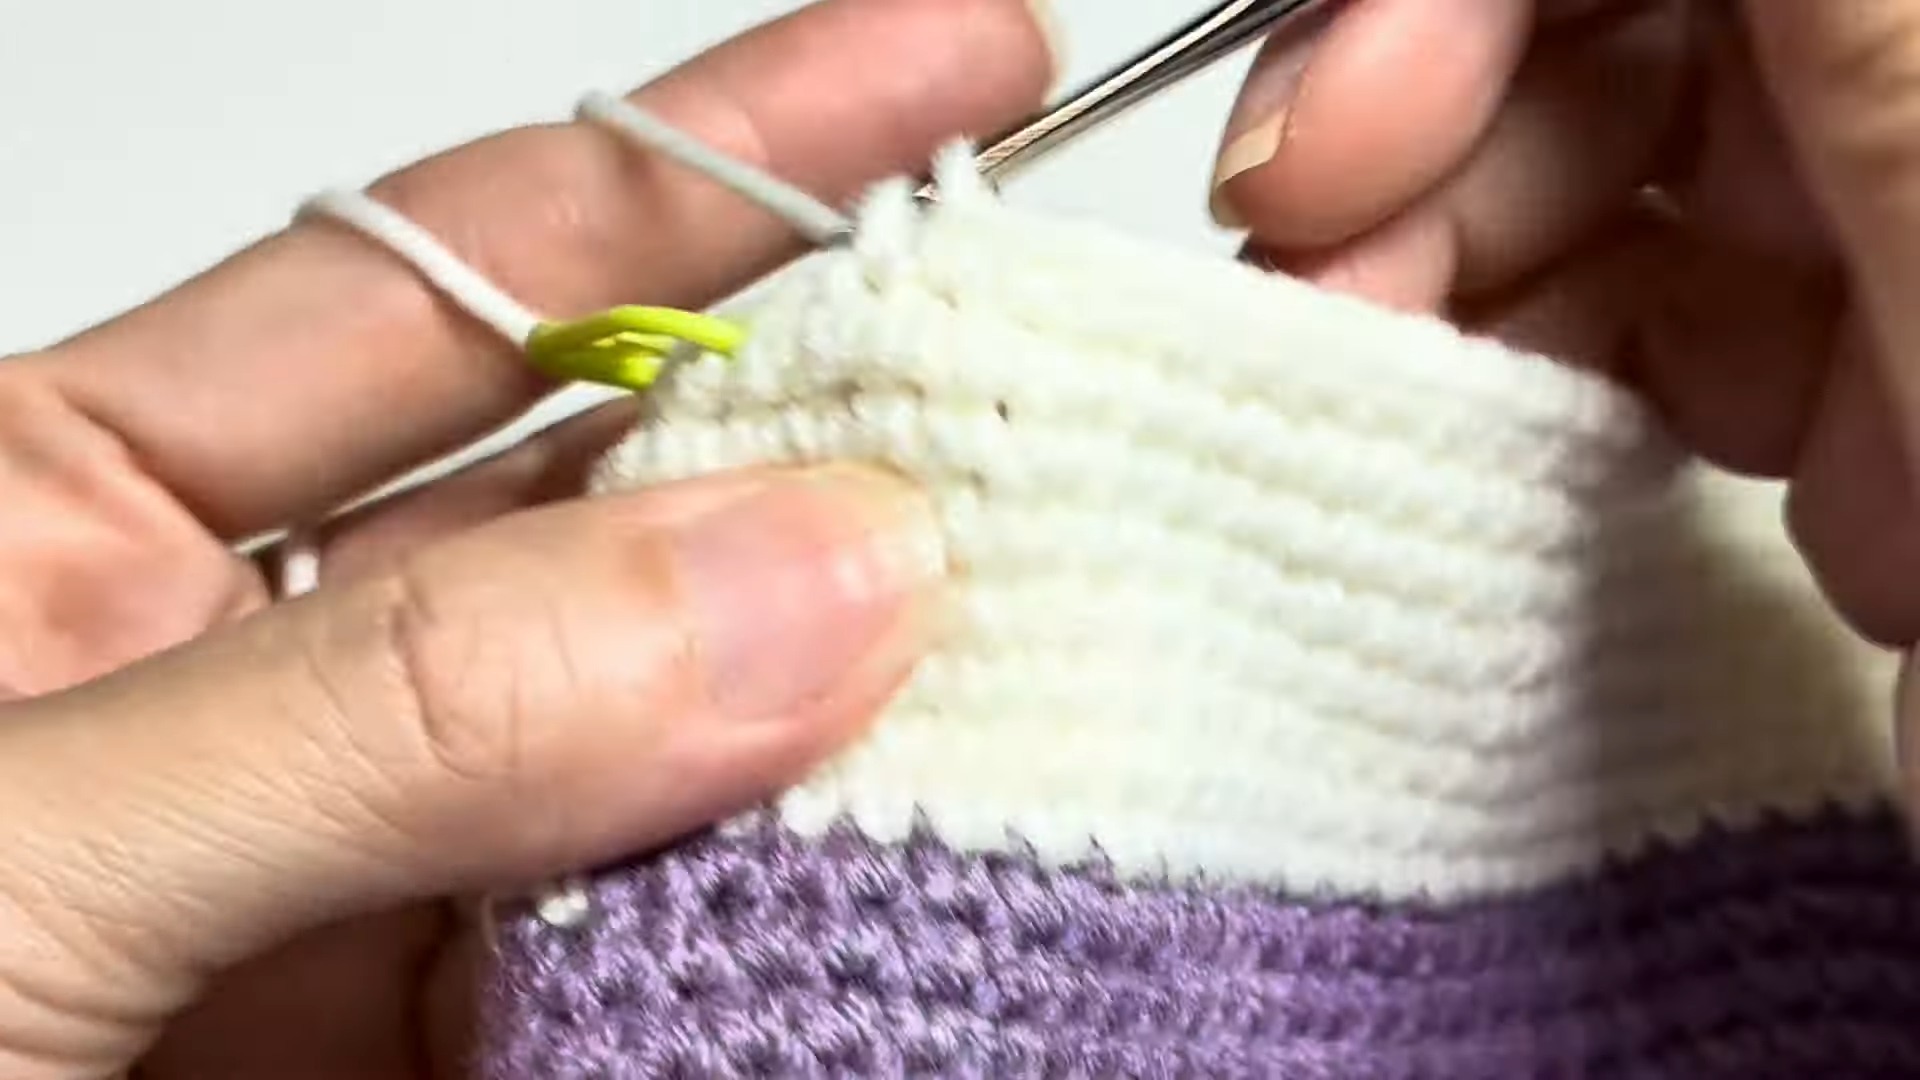
Optional: Reinforce the edges of the bag by adding one or two rows of HDC at the top for a sturdier finish.
3. The Flap:
- Once the body is complete, attach yarn to the back-center of the bag to begin the flap. Work in rows:
- Row 1: CH 1, SC across the width of the bag (approx. 24 stitches). Turn.
- Row 2-10: CH 1, SC across. Turn. (Adjust rows depending on the desired flap length.)
- Row 11 (optional): To taper the flap, SC2TOG at the start and end of the row.
4. Adding the Strap:
- For a crocheted strap:
- CH until the strap measures 40 inches (or desired length).
- SL ST back along the chain to create a sturdy strap.
- Attach the strap ends to opposite sides of the bag opening using a tapestry needle. Secure tightly.
- For a strap with hardware: Attach metal loops to the bag ends and connect an adjustable strap.
5. Closure & Finishing Touches:
- Attach a button or clasp just below the flap on the body of the bag.
- Create a buttonhole loop on the flap by chaining a small loop (e.g., CH 6, secured with a SL ST). Test that it fits securely over the button/clasp.
- Weave in all yarn ends and block the bag if needed.

Pattern Question
Q: Can the pattern be adjusted for larger or smaller camera sizes?
A: Yes, the pattern is customizable! You can increase or decrease the number of stitches and rows to adjust the bag’s size to fit your specific camera or needs.
Conclusion
The crochet camera sling bag combines creativity, style, and practicality into one unique project. It’s a fun way to enhance your crochet skills while making a durable accessory you can treasure. Try it out and enjoy crafting something both beautiful and useful!


