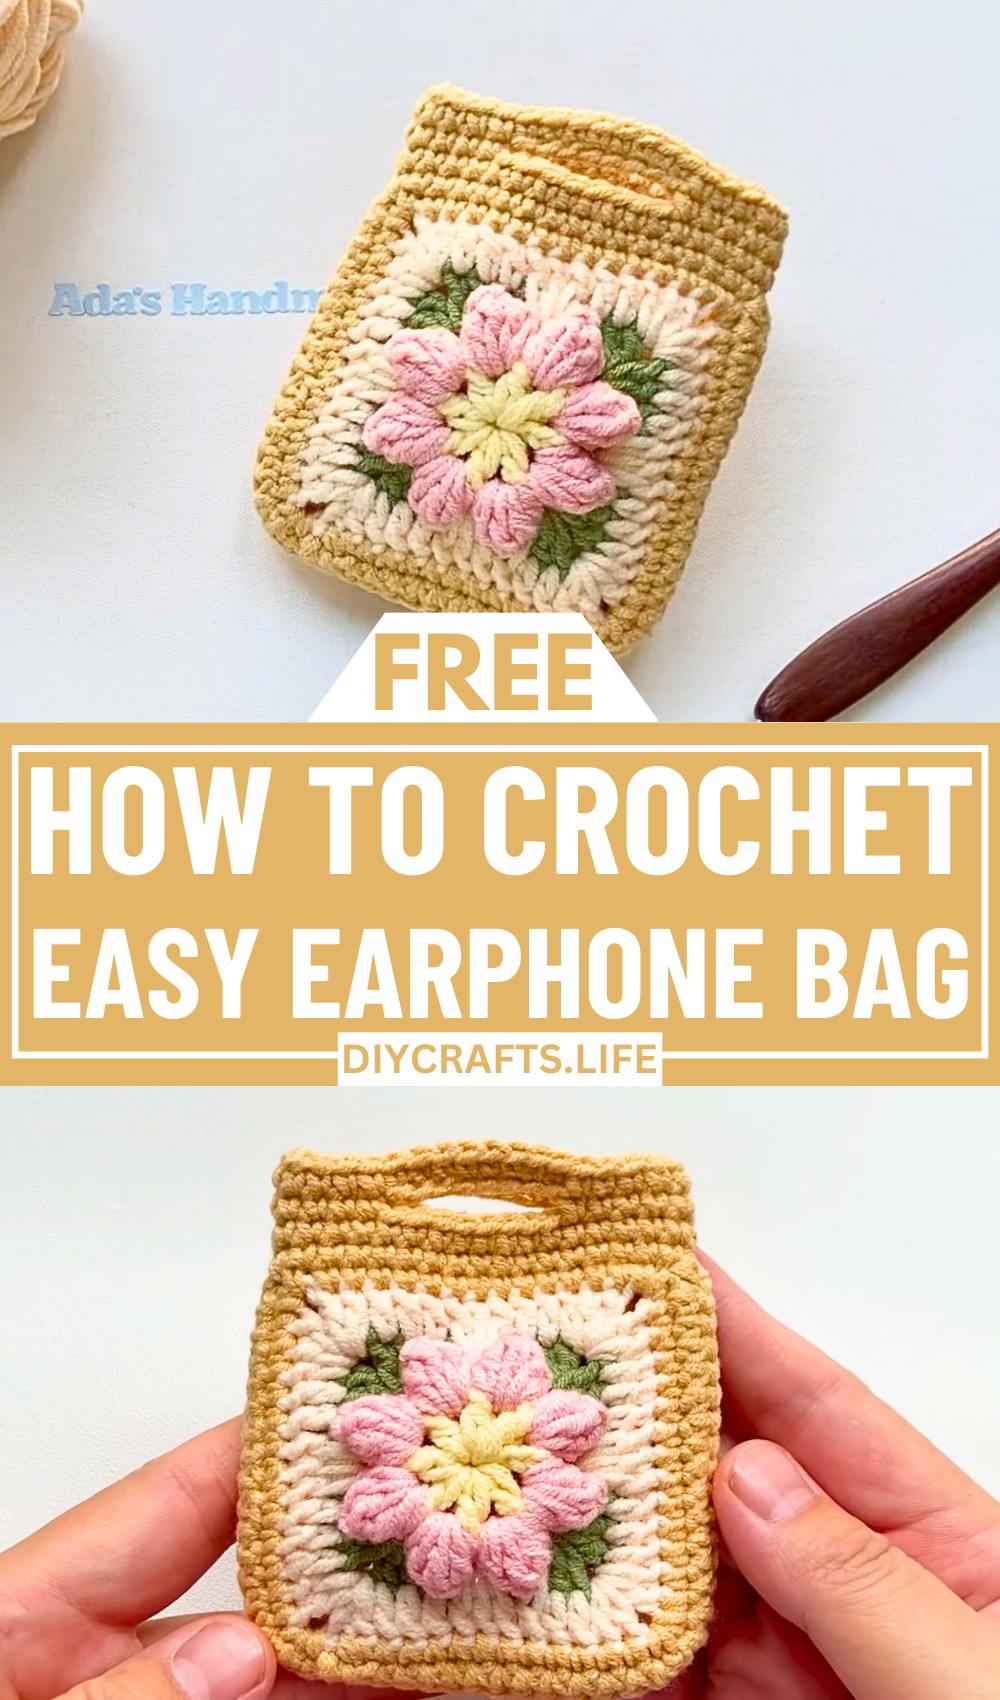
Create a stylish earphone bag that’s not just practical but also a treat for the eyes. With vibrant flower granny squares, this small accessory blooms with charm, giving your daily essentials a touch of handmade elegance. From every stitch to every flourish, it transforms everyday items into pieces of art that reflect your personality and artistry.
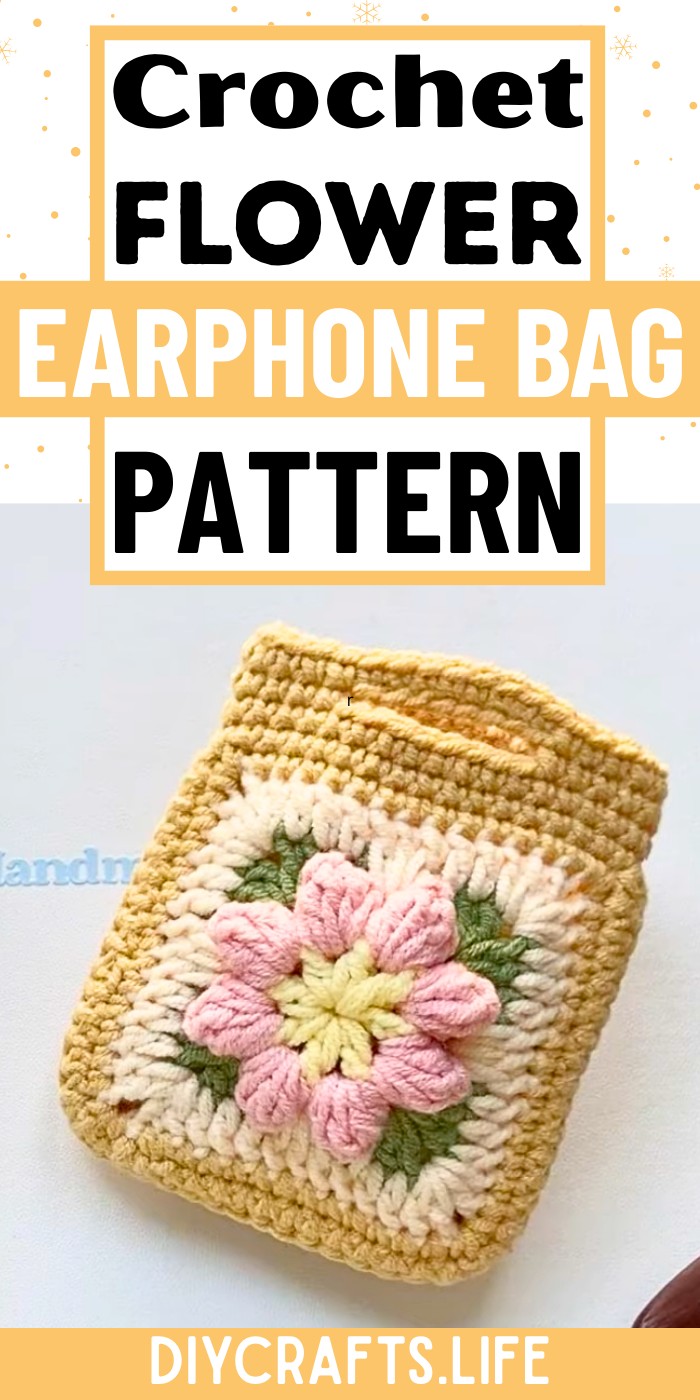
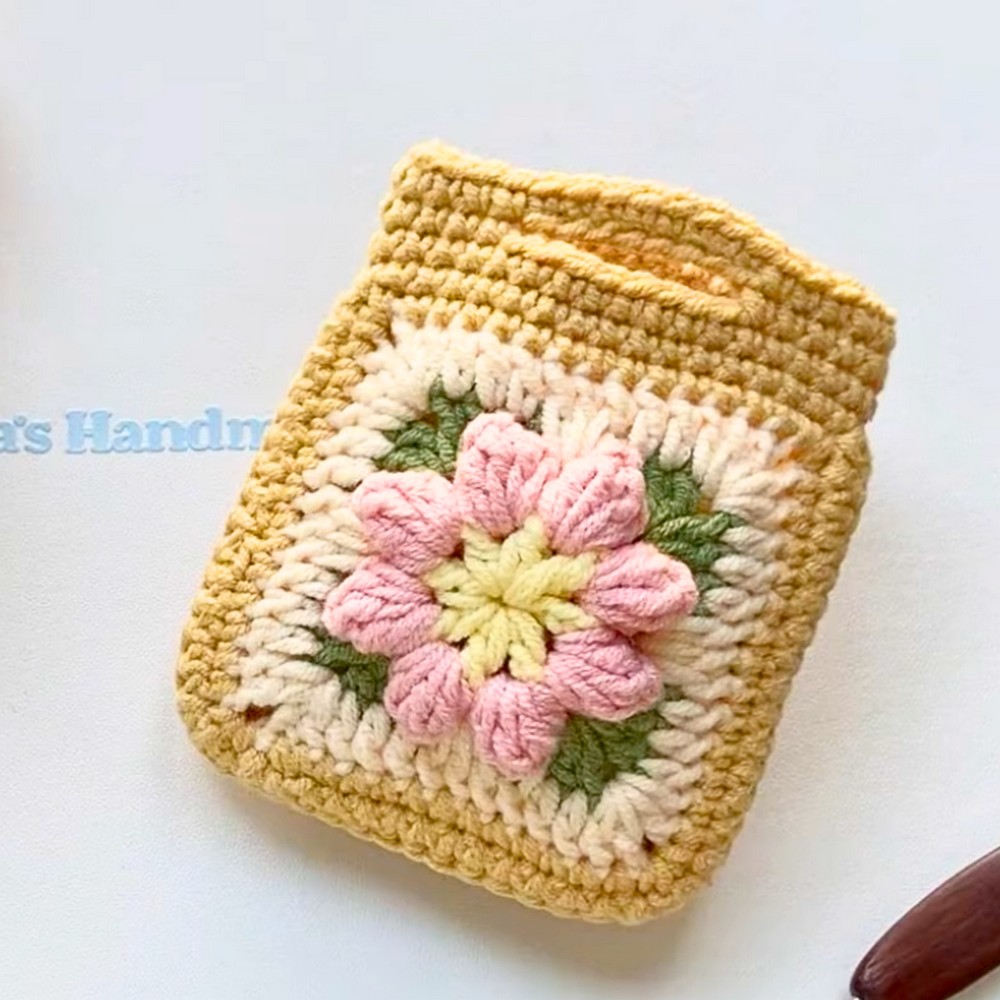
This crochet design combines two delicate flower granny squares seamlessly, creating a stunning balance of playful and functional design. The popcorn stitches and intricate blending of colors make it truly special, while the clever use of single crochets adds durability and finesse. It isn’t just an accessory—it’s a beautiful statement that blends creativity, comfort, and practicality perfectly.
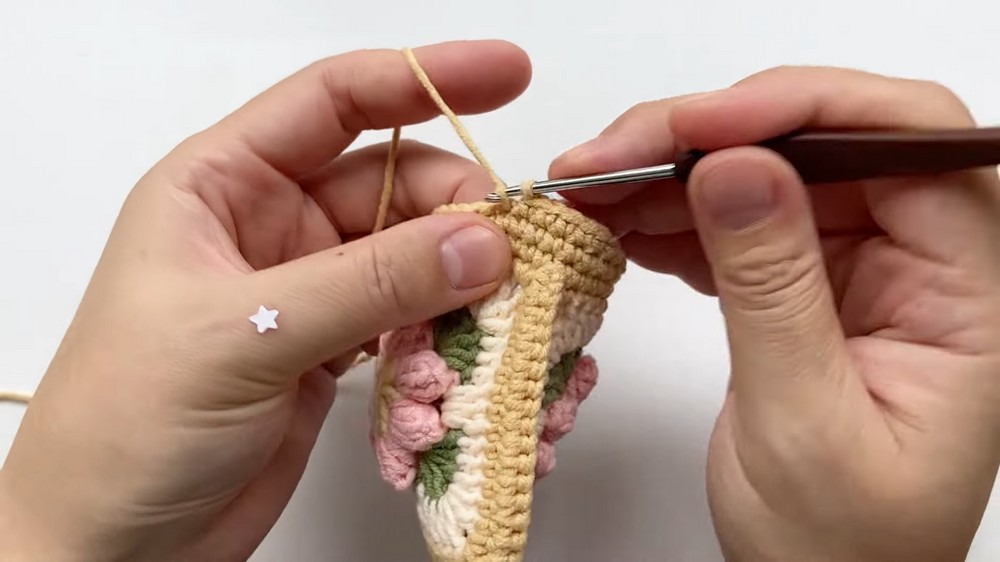
Credit Ada's Handmade
Materials & Tools Needed
- 4ply cotton yarn:
- Multiple colors as per your preference for creating the flower granny squares.
- Cotton yarn ensures durability and a polished texture for the finished earphone bag.
- 2.5mm crochet hook:
- Ideal for working with 4ply cotton yarn to achieve the desired tension and neat stitches.
- Scissors:
- For cutting yarn ends neatly.
- Tapestry needle:
- For weaving in yarn ends and finishing the project edges.
Finished Size & Customization Ideas
Approximate Finished Size:
- The earphone bag will measure around 8 cm x 8 cm (approximately 3 inches x 3 inches), making it a compact and perfect storage unit for earphones.
Customization Ideas:
- Adjusting Size:
- Use thicker yarn (e.g., worsted weight) and a larger hook (e.g., 4mm or 5mm). This will create larger flower granny squares for a bigger bag.
- Similarly, use lighter yarn (e.g., lace-weight) and a smaller hook (e.g., 2mm) for a smaller, more delicate bag.
- Style Variations:
- Straps: Add longer straps by chaining to create a crossbody style bag or wrist strap.
- Colors: Play with color schemes to create a monochromatic design or add vibrant, contrasting colors for each flower section.
- Texture:
- Experiment with yarn materials like acrylic or bamboo for different texture and appearance.
Pattern Abbreviations & Terminology
Below are commonly used abbreviations in crochet, relevant to this pattern:
- ch: Chain
- dc: Double Crochet
- sc: Single Crochet
- sl st: Slip Stitch
- popcorn: Popcorn Stitch (described fully in the instructions below)
Terminology Note:
This pattern uses US Crochet Terms for stitches and techniques.
Step-by-Step Detailed Crochet Instructions
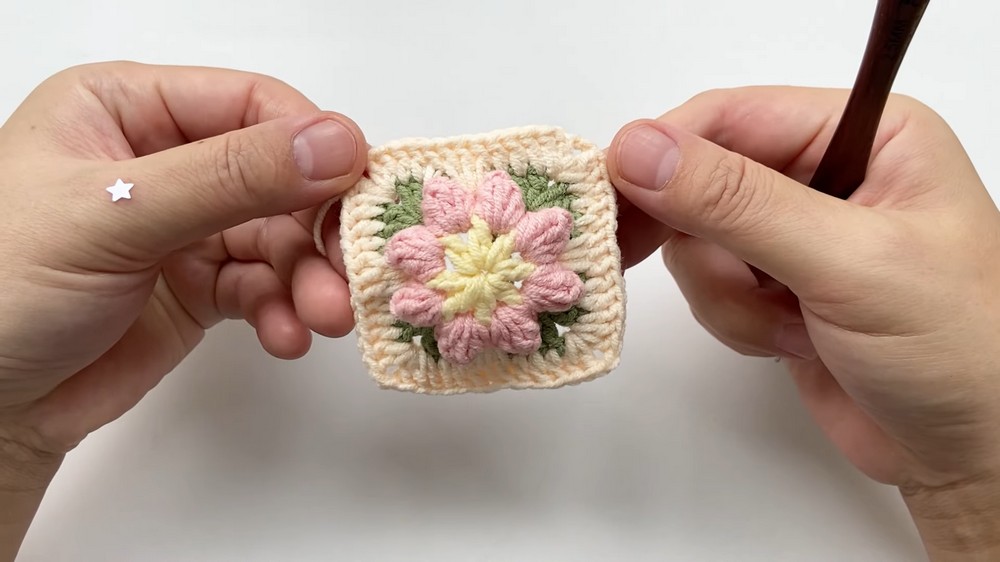
Granny Square Flower Components (Make 2):
Round 1:
- Chain 4 to create a loop.
- Work (1 DC, 1 CH) for a total of 7 DCs inside the loop.
- Slip stitch into the 3rd chain from the hook to join. Chain 1 and cut the yarn to finish this round.
Round 2:
4. Change yarn color and join with a chain 3.
- Work 5 DC popcorn stitches into each space from Round 1 (Popcorn stitch: Work 5 DCs into the same space, remove the hook, insert into the first DC, pull the working loop through to create a cluster).
- Continue this across all spaces to create 8 popcorn stitches.
- Slip stitch into the top of the first popcorn, chain 1, and cut the yarn.
Round 3:
8. Change yarn color again and join with chain 3.
- In any space, work (3 DC, 2 CH, 3 DC).
- Chain 3, skip one space, and repeat (3 DC, 2 CH, 3 DC) in the next space.
- Continue this sequence until all spaces are filled. Slip stitch into the first DC, chain 1, and cut the yarn.
Round 4:
12. Switch to a new color and chain 3.
- Work: 1 DC into the first space, 1 DC into the next 3 stitches, 3 DC into the next space, and repeat.
- For the corners, work (2 DC, 2 CH, 2 DC) to keep the square shape.
- Continue this sequence for the round and finish with a slip stitch into the first DC, chain 1, and cut the yarn.
Border (Round 5):
16. Change yarn color and work 1 SC in each stitch around.
- For the corners, work (1 SC, 1 CH, 1 SC) for clean edges.
- Slip stitch into the first SC, chain 1, and cut yarn.
Bag Assembly:
Joining Two Granny Squares:
19. Place two granny squares together, wrong sides facing out.
- Using single crochet, work along three sides to join the squares. Leave the fourth side open for the bag opening.
- Optionally, work two rows of SC around the opening edges for neatness: SC evenly around.
Creating Button Loop Closure:
- Chain 8 stitches along the opening edge.
- Skip 8 stitches and join with an SC into the next stitch to create a loop.
Final Round:
- Add one row of SC stitches around the loop and edges to secure and finish.
- Slip stitch into the final SC, chain 1, cut yarn, and weave in all loose ends with a tapestry needle.
Finishing Techniques:
- Attach a small decorative button on the front side of the bag to secure the loop closure.
- Block the granny squares before assembly for a crisp and polished finish.