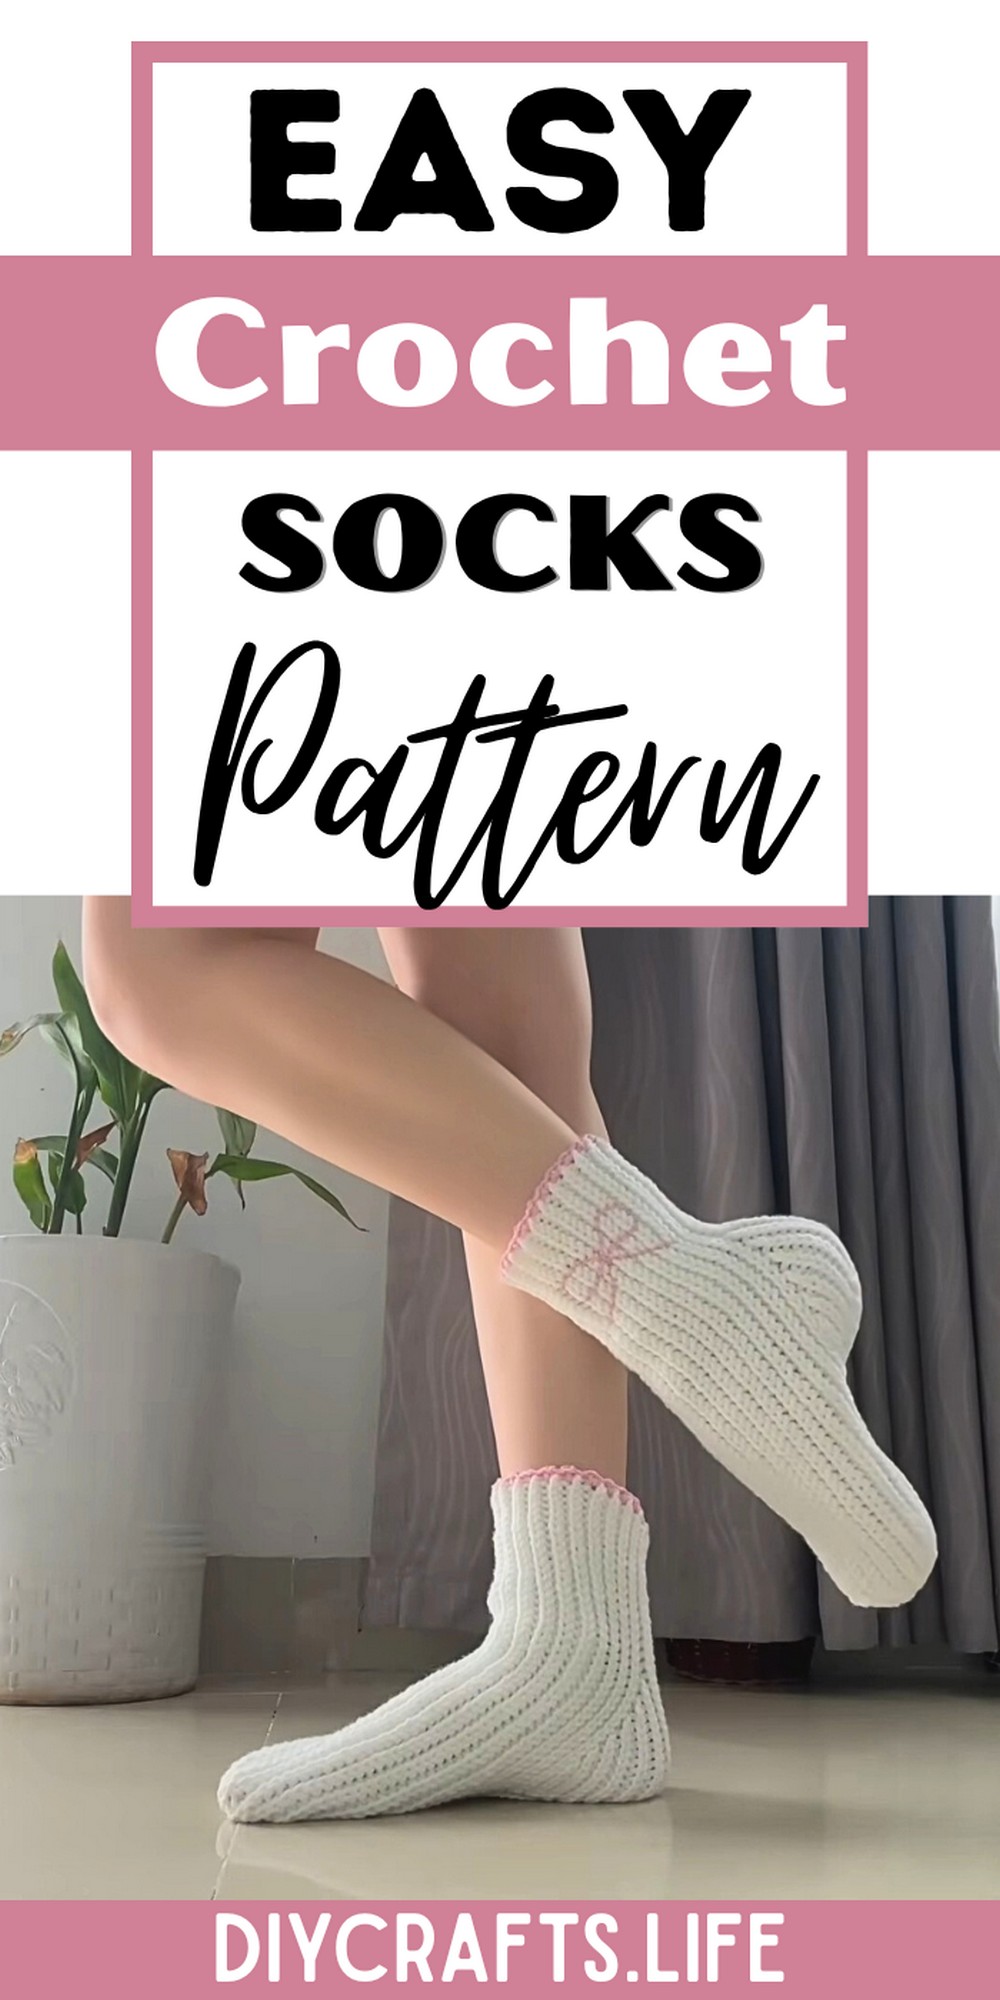
Looking to add a cozy touch to your wardrobe? Crochet socks combine beauty with functionality, offering warmth and charm. Versatile and customizable, they make the perfect handmade gift or indulgence for yourself. This beginner-friendly project is both rewarding and stylish!
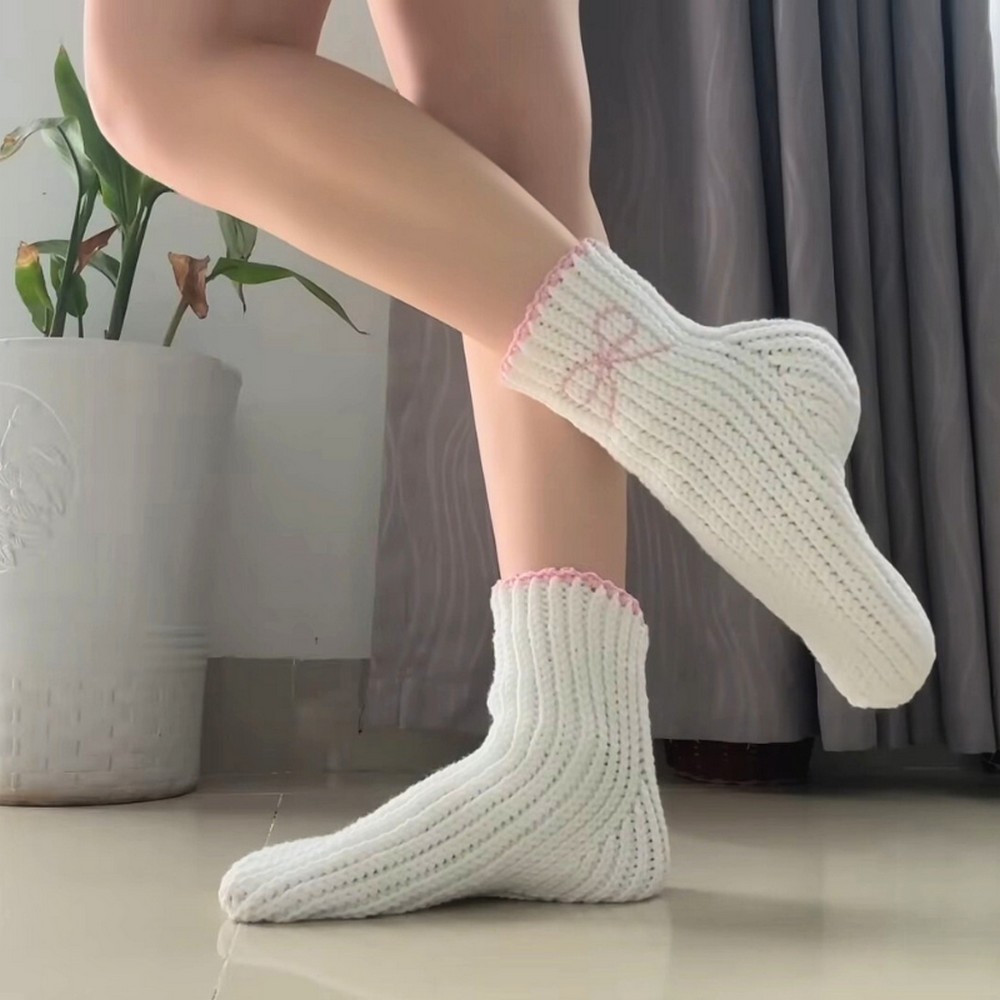
Crochet socks are durable, trendy, and practical. Perfect for lounging at home or layering during chilly weather, they offer comfort with a personal touch. Their ability to adapt to various designs ensures they'll fit any style preference while staying sturdy for regular wear.
Crochet Socks
Crochet socks are a fantastic handmade gift idea suitable for all skill levels! Whether you're a beginner or an expert, these socks can be easily customized to fit any foot size, height, and design preferences. Using soft and stretchy yarn, you’ll create stylish, cozy socks that don’t just look adorable—they feel amazing too.
Materials and Preparation
To create your perfect crochet socks, gather the following materials:
- Yarn: Soft elastic yarn, such as DK weight acrylic, milk cotton, or blends of acrylic with wool or cotton.
- Hook Sizes: 5 mm crochet hook for the main body; 4.5 mm crochet hook for the edge/top.
- Additional tools:
- Stitch markers
- Measuring tape
- Scissors
Optional: Leftover yarn for edging/designs (e.g., cotton yarn for extra detailing).
Abbreviations and Notes
Abbreviations:
- CH: Chain
- SC: Single Crochet
- DC: Double Crochet
- SS: Slip Stitch
- YO: Yarn Over
Notes:
- Always start with a slip knot.
- Use a smaller hook for shaping areas (like the top and heel) to avoid overly wide sections.
- The length of your chain will shrink slightly due to slip stitches, so measure carefully.
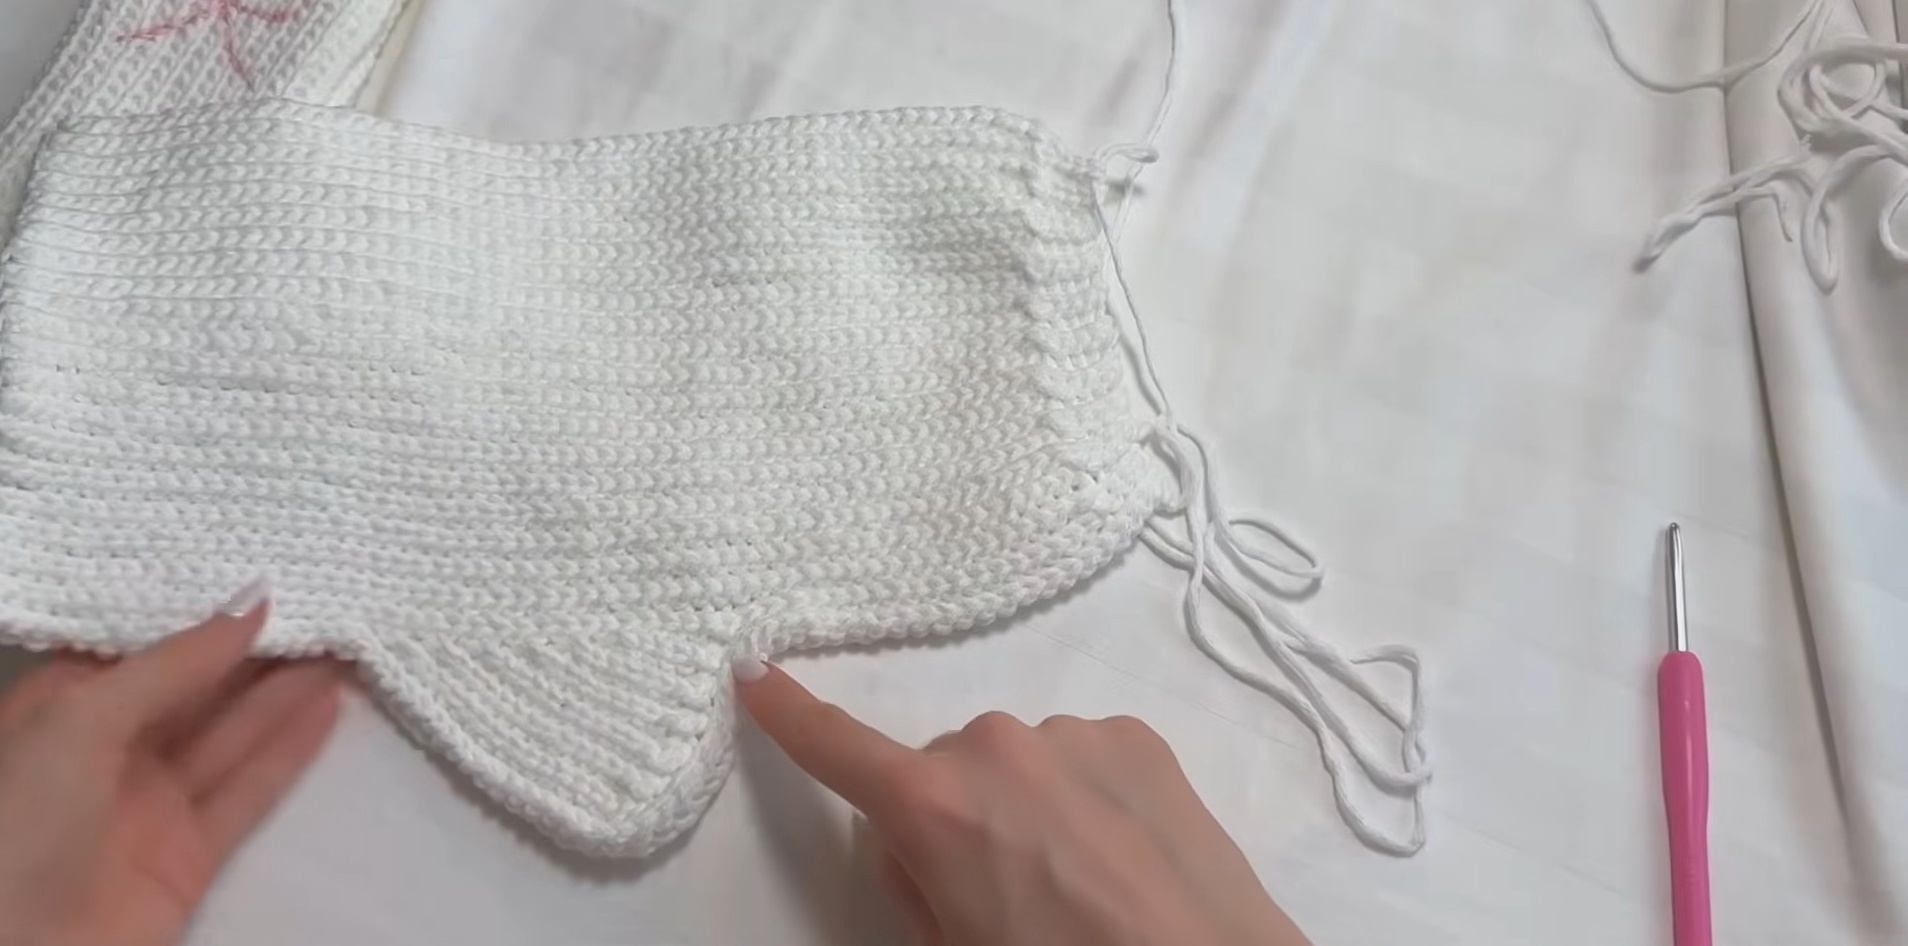
- Socks are worked flat and folded, then seamed together.
Gauge, Approximate Size, and Pattern Notes
Gauge:
DK yarn gauge: Approx. 52.5 cm per 70 chains before slip stitching.
Approximate Size:
- Sock height: 32 cm
- Sock width (heel to heel): 29 cm
- Foot length: 21 cm (with stretch).
Pattern Tips:
- Adjust the chain length based on foot size using a standard sizing chart.
- For wider feet, add additional rows after the heel.
- Keep a note of stitch counts when curving the heel, as these vary per size.
Step-by-Step Pattern
1. Foundation Chain
- Create a slip knot and chain 70 stitches, leaving a long tail.
- Add 1 more chain to start your first row.
Important: Adjust the chain length for different foot sizes or sock heights.

2. Row 1 – Slip Stitches
- Use a 4.5 mm hook for the first 6 slip stitches to keep the top edge narrow.
- Switch to the 5 mm hook and crochet slip stitches through the remaining loops.
- Measure the new length (it should shrink slightly).
3. Shaping the Heel
- Measure the foot length in cm and place a marker to indicate the start of the heel curve.
- From the marker, count 15 stitches upward and place another marker.
- Work the following steps to create the curved heel:
- Row 1 Heel: Crochet 15 stitches, adding 2 slip stitches at the end for curvature.
- Turn your work (no chain one) and crochet 13 stitches.
- Repeat this process, reducing the stitch count by 2 each row until you reach 5 stitches. This forms a rounded heel.
4. Shaping the Foot
- Continue crocheting rows up and down, alternating between short rows (leaving 4 stitches uncrocheted at the end) and long rows (crocheting all stitches).
- Alternate these rows for a total of 40 rows from the heel.
- Check the length and width of the sock as you go.
5. Second Heel Curve
- After completing the foot, return to the heel section to crochet upward.
- Use the number of stitches noted earlier (19 in this example) and add 15 stitches plus 1 for attaching.
- Repeat the process from the first heel, building up to 15 stitches again.
6. Seaming and Closing
- Fold the sock in half lengthwise with the wrong side out.
- Seam the edges using slip stitches through back loops only.
- For the toe, use a yarn needle to close the end securely, pulling through the bumps at the top of each stitch.
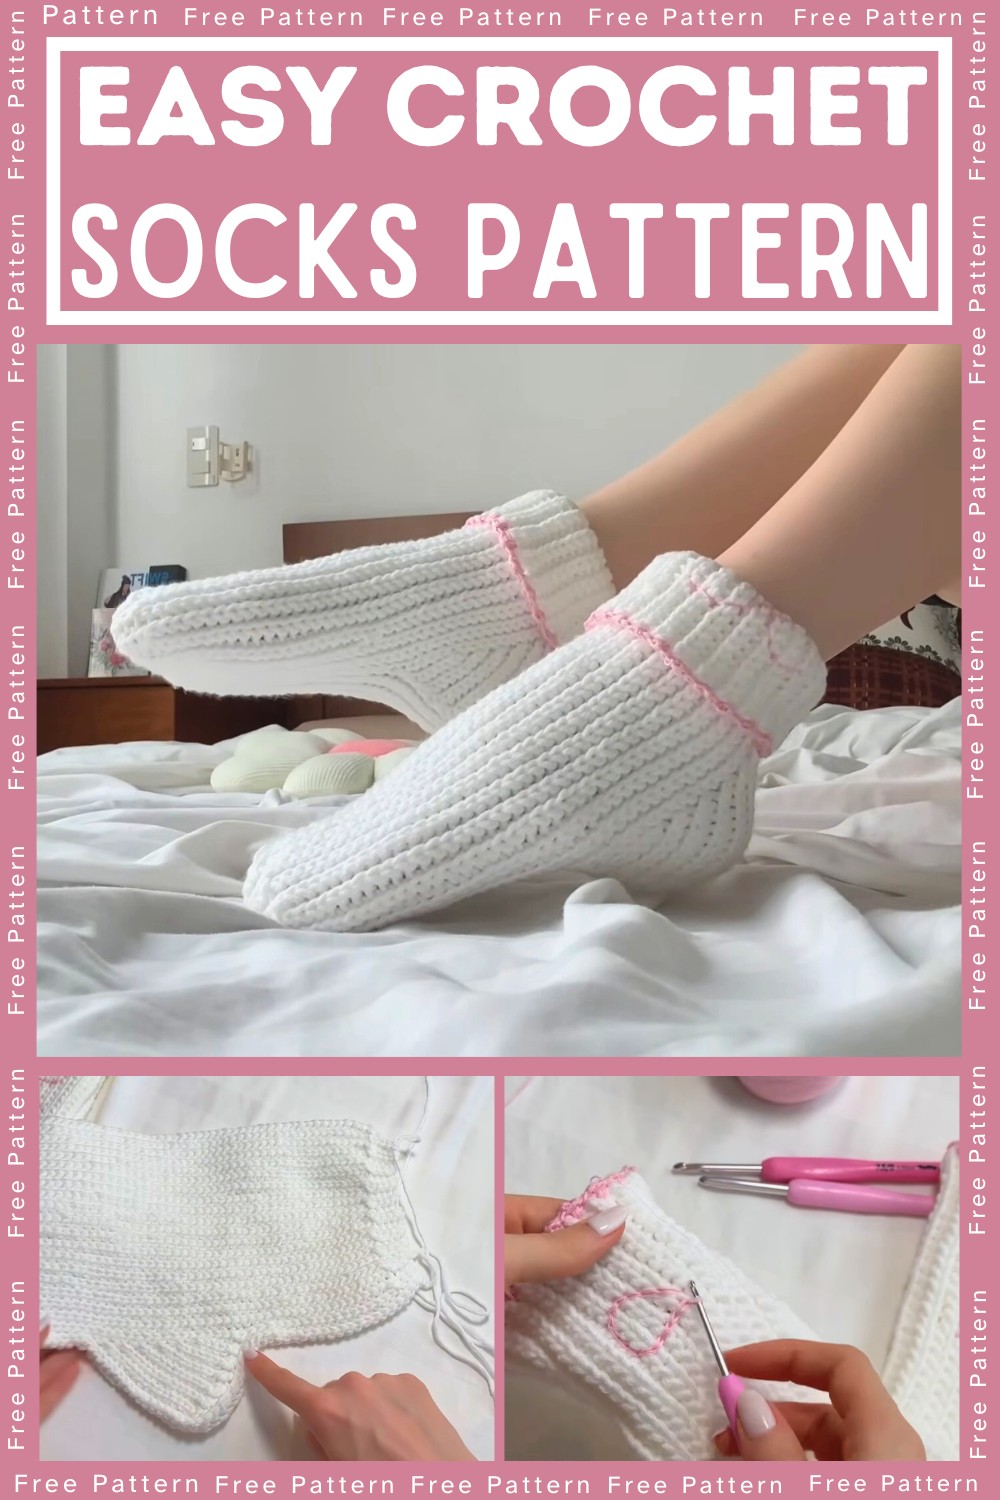
7. Edging and Embroidery (Optional)
- Use a smaller hook to crochet decorative edging along the top of the sock:
- Insert the hook between stitches and work SC–DC–SC clusters around.
- Embroider a bow design using slip stitches and carefully hide all ends to secure.
Pattern Question
Question: Can beginners crochet these socks?
Answer: Absolutely! This pattern is perfect for beginners with basic stitch knowledge. Follow the clear step-by-step instructions for a stress-free, rewarding experience.
Conclusion
Crocheting socks is an enjoyable and fulfilling project that balances creativity and practicality. Not only do they showcase your craftsmanship, but they’re functional, long-lasting, and customizable. Dive into this project today for cozy, handmade warmth!


