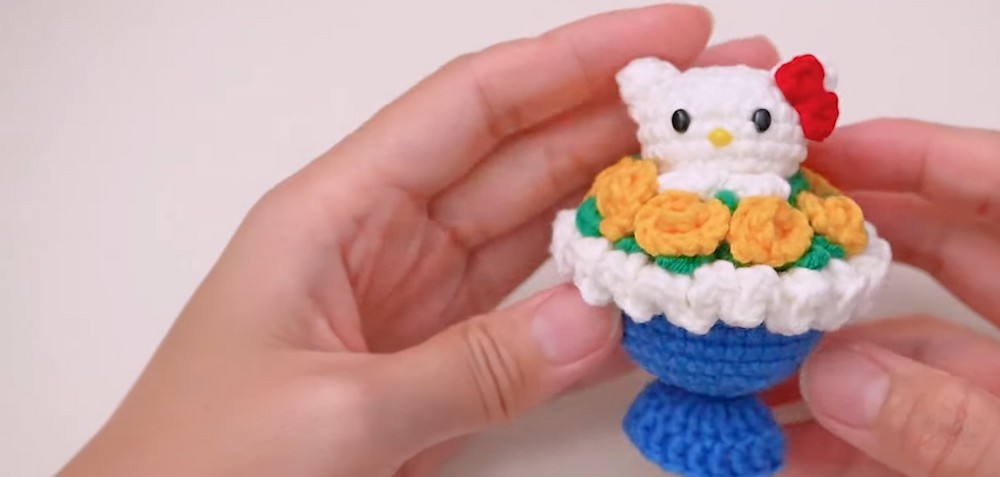
Turn your passion for crochet into a whimsical masterpiece with this adorable bouquet design that blends charm and creativity! This isn’t just an arrangement of flowers—it’s a vibrant bouquet bursting with personality. Featuring beloved Sanrio characters like Hello Kitty, My Melody, and Kuromi, this design transforms a traditional crochet project into something truly extraordinary that’s sure to bring smiles.
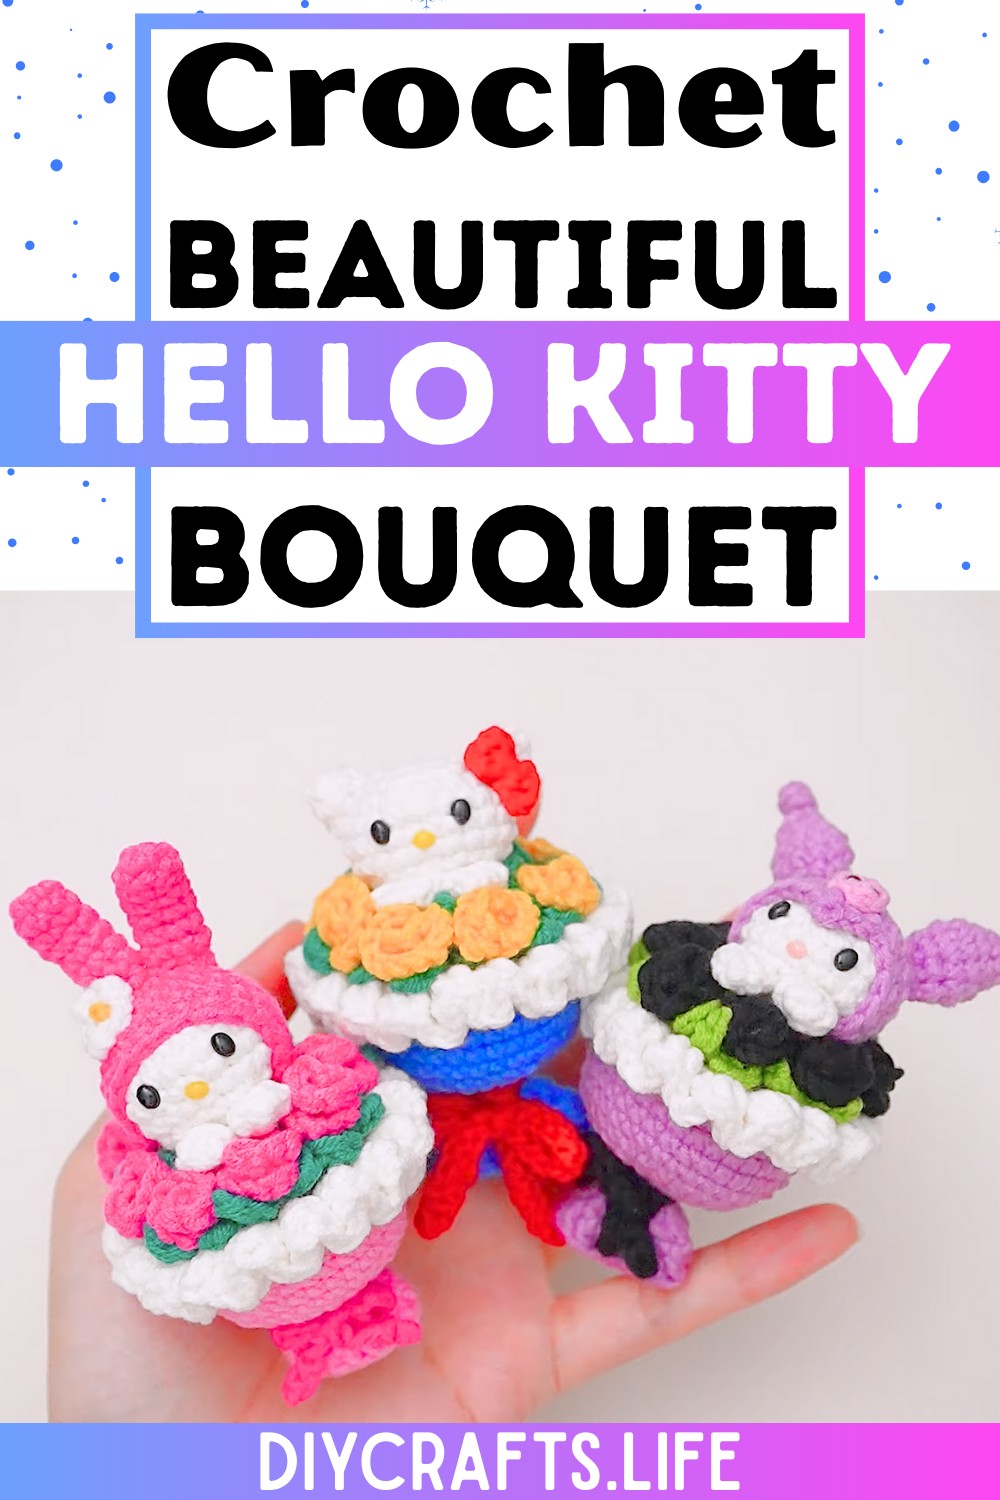
This crochet bouquet offers a mix of elegance and playfulness, with beautifully crafted spiral flowers, delicate leaves, and detailed character heads. The intricate yet straightforward instructions make it easy to create your own colorful bouquet, allowing you to personalize every element to match your style or occasion. Its delightful design is perfect as a gift or décor piece, blending craft with a touch of nostalgia in the form of your favorite characters.
CreditAnDesign_Craft
Materials & Tools Needed
To create this adorable Sanrio-themed crochet bouquet, you will need the following:
Yarn:
- 4-ply cotton yarn in various colors (choose colors based on your bouquet theme or the characters you want to feature: Hello Kitty, My Melody, and Kuromi).
Hook Size:
- 3.5 mm crochet hook.
Additional Tools:
- A needle (for sewing and assembling components).
- A pair of scissors (for cutting yarn).
- Tool for stuffing (optional: fiberfill for shaping).
- Beads for character features:
- Eyes: 0.4 mm beads.
- Nose: 0.3 mm beads.
- Optional: Safety plugs to secure beads or alternatively, you can melt the ends.
Finished Size & Customization Ideas
Approximate Finished Size:
The bouquet size will vary depending on your yarn choice, hook size, and stitching tightness but will typically result in a medium handheld bouquet.
Customization Ideas:
- Change Yarn Weight or Hook Size: Opt for bulkier or lighter-weight yarn to adjust the size of your bouquet and characters accordingly.
- Add or Swap Colors: Personalize your bouquet by using different color schemes to match decor, themes, or preferences.
- Flower Adjustments: Add larger or smaller flowers by increasing or decreasing the number of spiral rounds.
- Character Variations: Add or swap characters for different themes (other Sanrio characters could be crocheted and added).
- Bouquet Style: Consider lengthening or adding crocheted straps/ribbons for a wrapped bouquet look.
Pattern Abbreviations & Terminology
- ch: chain
- sc: single crochet
- hdc: half double crochet
- dc: double crochet
- inc: increase (two stitches in one stitch)
- dec: decrease (invisible decrease recommended)
- sl st: slip stitch
- blo/flo: back loop only/front loop only
- MR: magic ring
Terminology: US Crochet Terminology is used throughout this pattern.

Step-by-Step Crochet Instructions
This bouquet is broken into multiple components: flowers, leaves, Sanrio characters (heads, accessories), bouquet body, and ribbon.
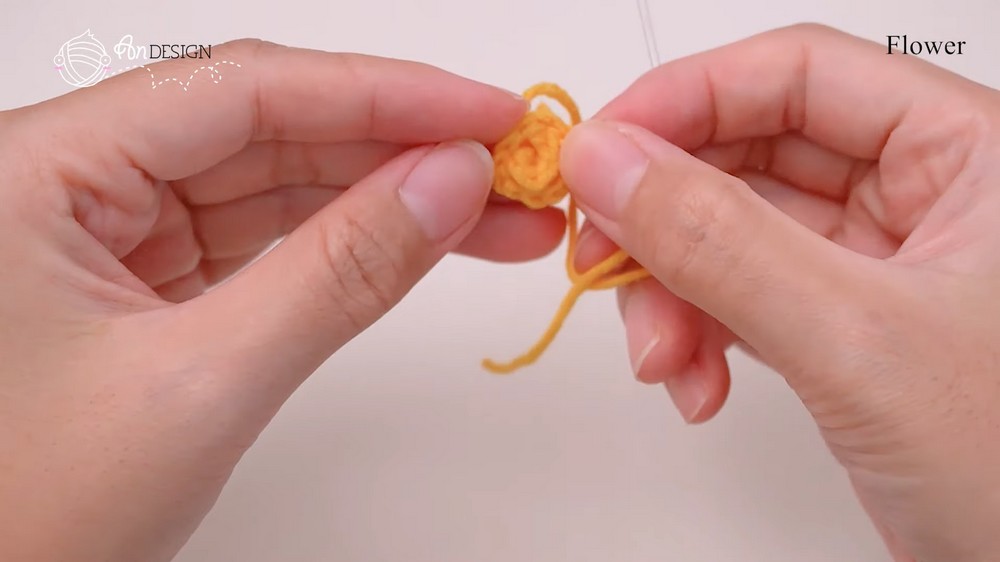
1. Crochet the Flowers
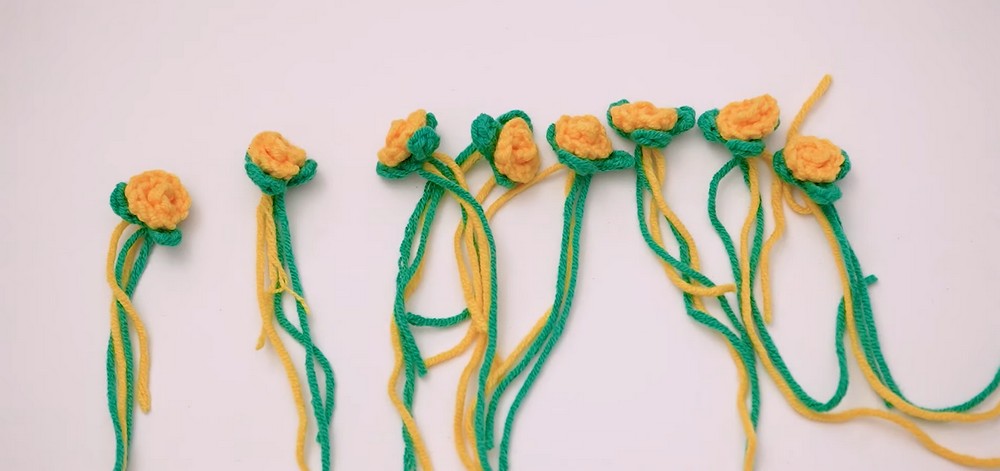
Each flower forms a spiral shape. Make 8 flowers for the bouquet using the steps below:
- Choose your desired flower color.
- Foundation Row: Create a starting chain of 6.
- Row 1:
- Chain 1.
- Insert the hook into the back bump of the chain.
- Do 1 single crochet followed by 1 increase in the next stitch.
- In the next section of stitches, do 3 single crochet in one stitch and repeat this sequence 4 times.
- Once completed, the piece will naturally coil into a spiral. Simply roll the spiral into a bloom-like shape and secure your flower by sewing the layers together using a needle and yarn.
- Repeat the above to create 8 flowers.
2. Crochet the Leaves
You will make 3 leaves continuously without cutting the yarn.
- Chain 3 as your starting foundation.
- Row 1:
- Chain 1 for turning.
- Work into the back bumps of the chains:
- Do 1 single crochet in the first bump.
- Do 1 half double crochet in the second bump.
- Slip stitch into the last bump.
- Repeat the same steps to form two more leaves, continuing the yarn without cutting.
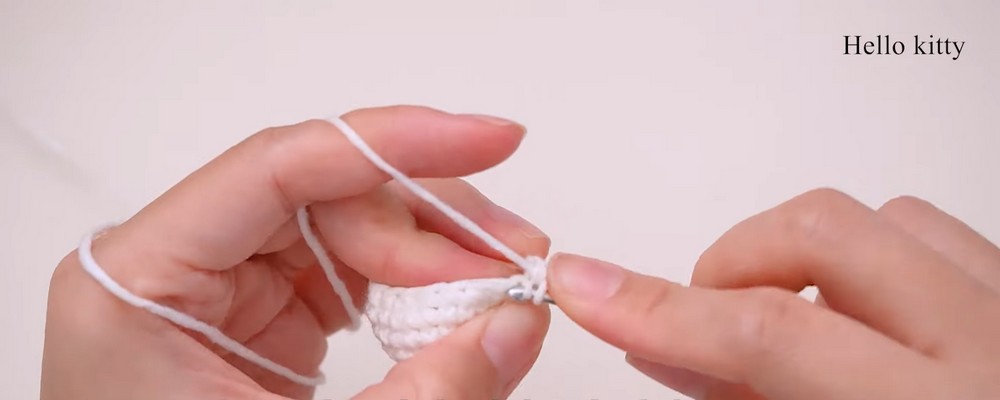
3. Crochet Hello Kitty Head
Create the head, ears, and accessories separately, and then sew them together.
Head:
- Begin with a magic ring and crochet 6 single stitches into the MR.
- Round 1: Increase in each stitch around (12 stitches total).
- Round 2: (SC 1, Inc) repeat around (18 stitches total).
- Round 3: (SC 2, Inc) repeat around (24 stitches total).
- Rounds 4-6: SC in each stitch (24 stitches total).
- Round 7: (Invisible dec, SC 2) repeat around (18 stitches total).
Add Beads: Place eyes (round 4, 4 stitches apart) and nose (round 5, between eyes). Secure beads with safety plugs or melt the ends to keep them in place.
Ears: Crochet and sew two to Hello Kitty's head between Rounds 2-4.
Ribbon:
- Create a magic ring.
- Chain 2, crochet two half double crochets into the ring.
- Chain 2, then slip stitch into the ring.
- Repeat the same to form the ribbon shape. Attach beside one ear.
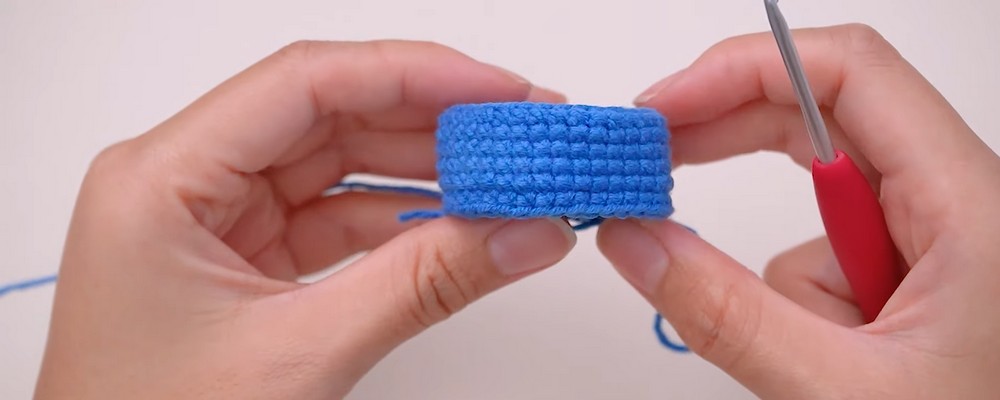
4. Crochet the Bouquet Body
- Round 1: Start with a magic ring and SC 6 into the MR.
- Round 2: Increase in each stitch (12 stitches total).
- Round 3: (SC 1, Inc) repeat around (18 stitches total).
- Rounds 4-6: SC in every stitch (work into BLO for round 6).
- For decoration: Single crochet into FLO of round 6 using white yarn.
- Add a ruffled decorative trim to the body: (3 double crochets into FLO, 3 double crochets into BLO) - repeat this until the full round is complete.
5. Assembly
- Arrange the 8 crocheted flowers, leaves, and Hello Kitty character on top, ensuring a balanced and pleasing layout.
- Sew the pieces securely onto the bouquet body.
- Insert polyester filling into the bouquet body for added structure.
6. Ribbon Tie
- Using red yarn, chain 55 to make a ribbon long enough to tie around your bouquet base.
- Wrap it around the neck of the bouquet and tie into a bow for a finishing touch.
Next Steps: Create Other Characters
Follow a similar process to create additional characters (My Melody, Kuromi):
- My Melody's Hat: Includes a small crocheted flower. Begin with a magic ring, chain 3, and repeat petals 5 times to form the flower. Attach to the hat beside the ear.
- Kuromi's Jester Hat: Begin with 4 single crochets into an MR and expand slightly to form the pointed design.