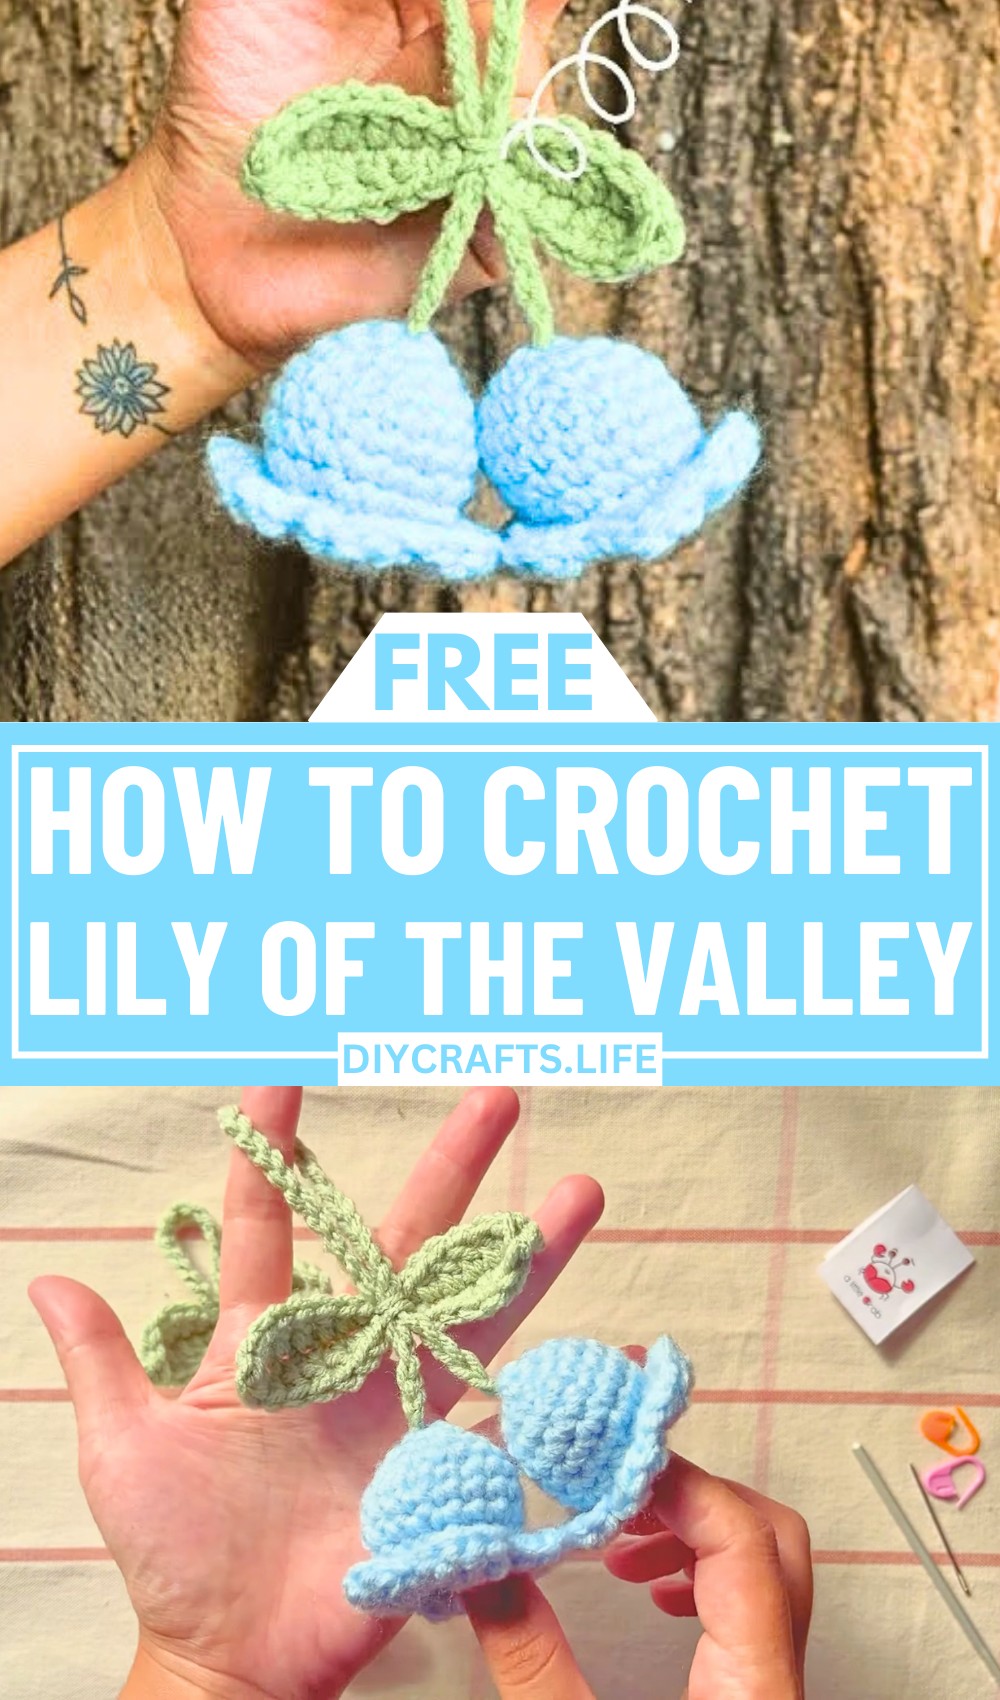
Bring nature’s charm to your everyday accessories with this adorable crochet lily of the valley flower keychain! This delicate design captures the essence of these elegant flowers, creating a timeless piece that you can carry wherever you go. It’s a perfect way to combine beauty and craftsmanship in an item that is practical yet stylish.
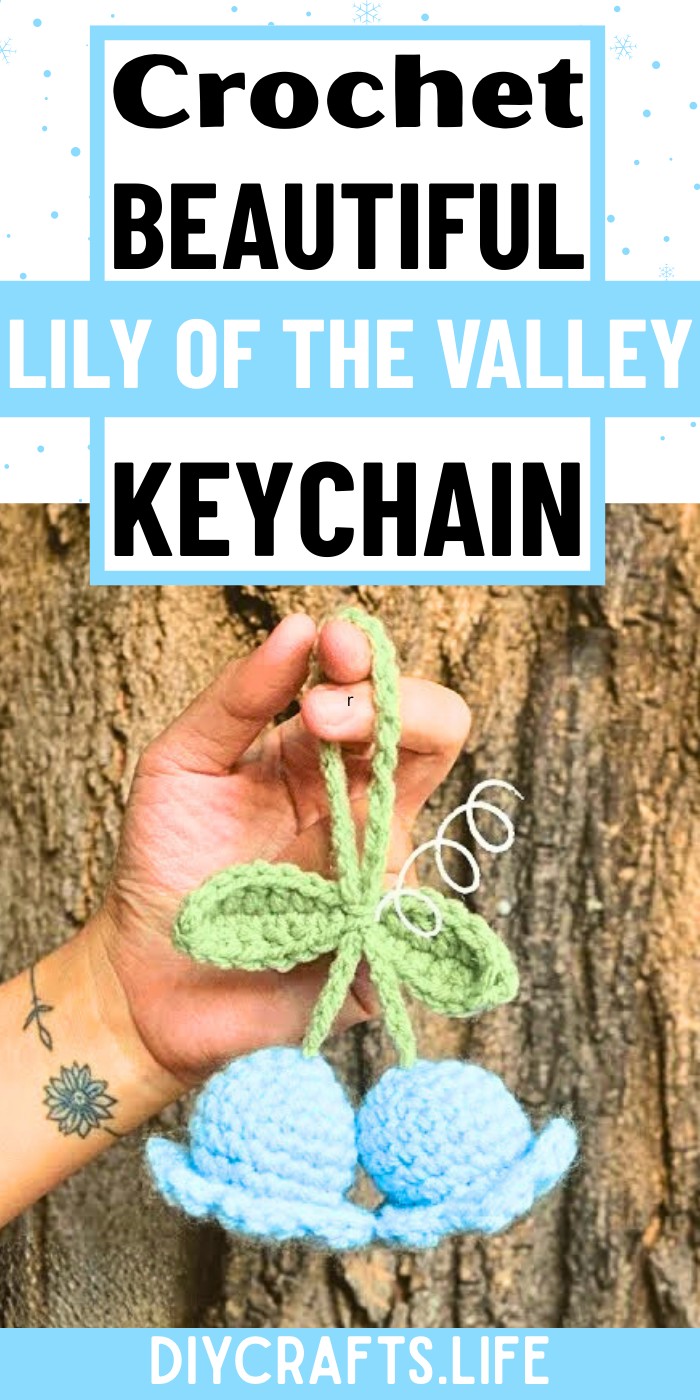
Crochet Lily of the Valley Keychain
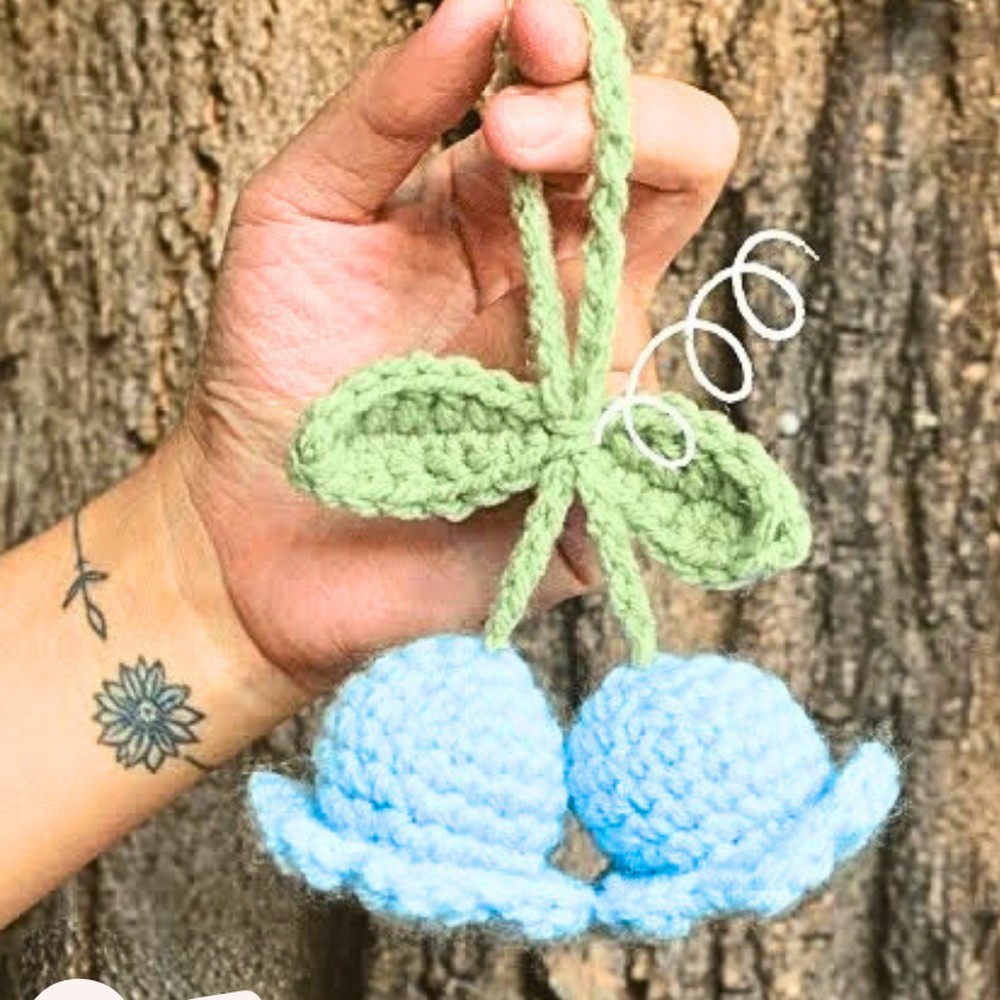
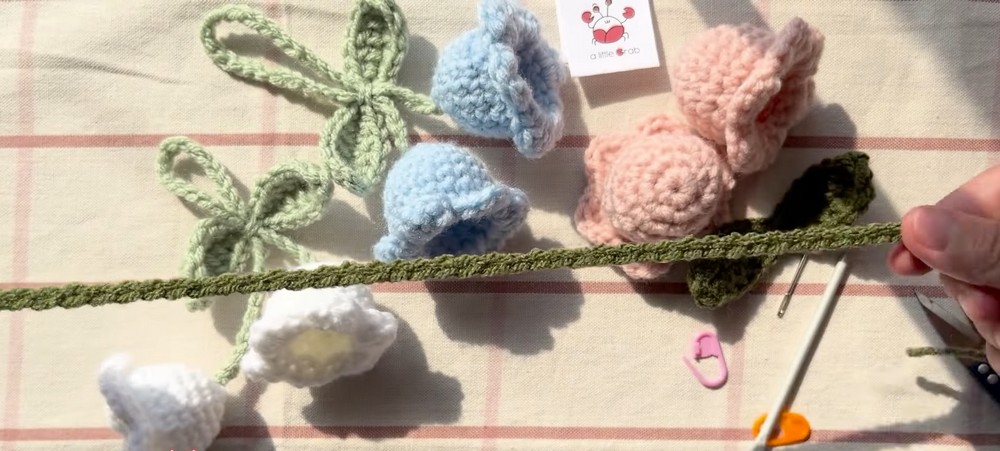
This keychain stands out with its lifelike flower details, crafted using simple crochet techniques to mimic the soft, drooping bells of the lily of the valley. The gentle curves of the petals and the vibrant green stalk add a touch of realism that’s sure to catch attention. Lightweight and versatile, this keychain is ideal for personal use or as a handmade gift. Plus, the design offers endless personalization by letting you choose your favorite colors to match your unique style.
Credit A Little Crab Crochet
Required Materials
- Yarn:
- Worsted/Medium-size yarn in rose pink (for the flowers).
- Worsted/Medium-size yarn in green (for the leaves and stem).
- Crochet Hook: Suitable for the yarn, ideally a 4 mm crochet hook.
- Scissors: For trimming excess yarn.
- Tapestry Needle: For weaving in ends and assembly.
- Removable Stitch Markers: To track the beginning of rounds.
Important Notes
- This project uses basic stitches, making it beginner-friendly.
- Stitches increase or decrease as indicated in the pattern to shape the flower.
- Always use a stitch marker to mark the first stitch of each round.
- Leave tails on the leaves, stem, and flowers for easier assembly.
- Weaving in and trimming any excess yarn helps maintain a neat finish.
Step-by-Step Instructions
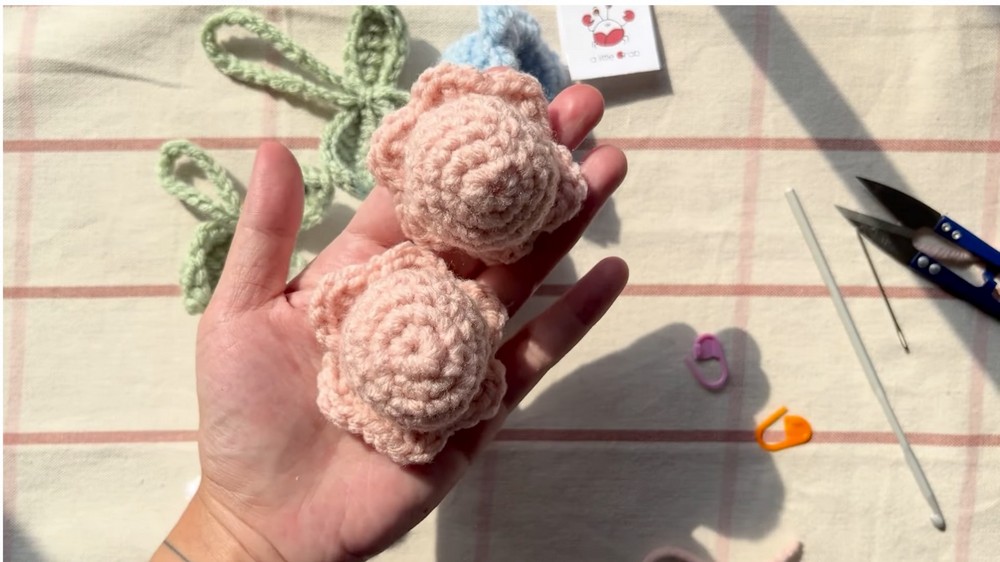
Part 1: Making the Flowers
- Begin with a Magic Ring:
- Make a magic ring and chain to secure.
- Round 1:
- Make 6 single crochets (SC) into the magic ring.
- Round 2:
- Increase stitches: Make an increase for each single crochet.
- (6 single increases = 12 stitches in total).
- Use a stitch marker to track your first stitch.
- Round 3:
- Crochet 1 single crochet (SC) in the first stitch.
- In the next stitch, make 1 single increase (2 SC in one stitch).
- Repeat: 1 SC, 1 single increase across the round.
- (Final round stitch count = 18).
- Rounds 4–7 (4 rows):
- Crochet 1 Single Crochet (SC) in every stitch around.
- Round 8 (Decrease Round):
- 1 Single Crochet (SC), 1 single decrease (decreasing two stitches into one).
- Repeat SC, decrease 6 times.
- Round 9 (Create Petals):
- For Each Petal:
- Crochet: 1 SC, 1 Half Double Crochet (HDC), 1 Double Crochet (DC) into one stitch.
- In the next stitch: Make 1 DC, 1 HDC, 1 SC.
- Repeat this 6 times to create 6 petals.
- After the last petal, make a slip stitch into the first single crochet of the first petal.
- For Each Petal:
- Finishing the Flower:
- Pull yarn through and cut, leaving a small tail.
- Weave in the yarn with a tapestry needle so it’s invisible.
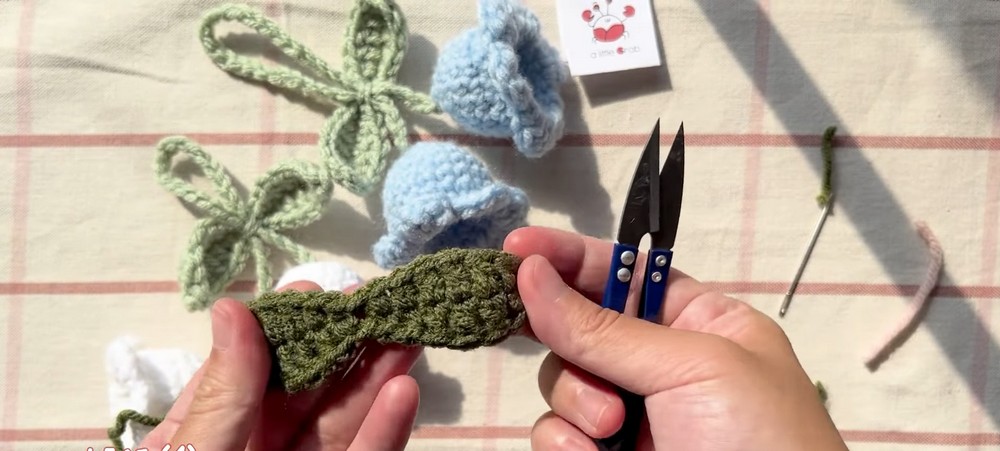
Part 2: Making the Leaves
- Start with Green Yarn:
- Create a knot and make 16 chain stitches.
- First Side of the Leaf: Work into the chains as follows:
- Chain 2: Skip the first chain from the hook.
- 1 SC, 1 HDC, 3 DC, 1 HDC, 1 SC, 1 slip stitch.
- Second Side of the Leaf: Turn and repeat the pattern:
- 1 SC, 1 HDC, 3 DC, 1 HDC, 1 SC, 1 slip stitch.
- Weave in Ends:
- After finishing the last slip stitch, cut the yarn and weave in the tail on the wrong side of the leaf.
Part 3: Making the Stem
- Using Green Yarn:
- Create a knot and make a chain of 40–45 chain stitches (depending on your desired length).
- Leave Enough Tails:
- Leave 10 cm tails at both ends of the stem for attaching the flowers and leaf.
Part 4: Assembly
- Attach the Flowers to the Stem:
- For each flower:
- Turn the flower slightly inside out.
- Insert one tail of the stem through the center hole of the flower.
- Tie the flower’s starting tail and the stem tail together securely.
- Trim any excess yarn.
- For each flower:
- Attach the Leaf:
- Use the tails of the stem to attach the leaf securely.
- Finishing Touches:
- Trim any leftover yarn. Adjust and arrange the flowers and leaves as desired.