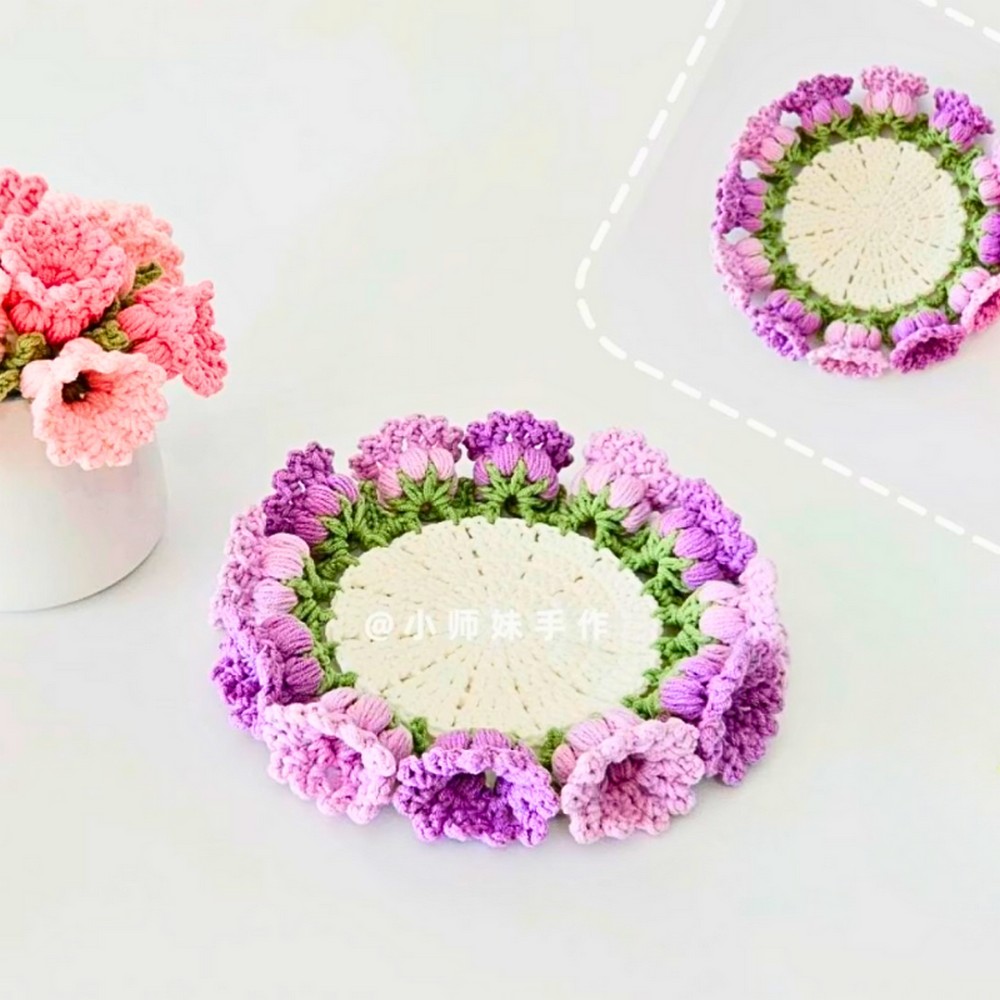
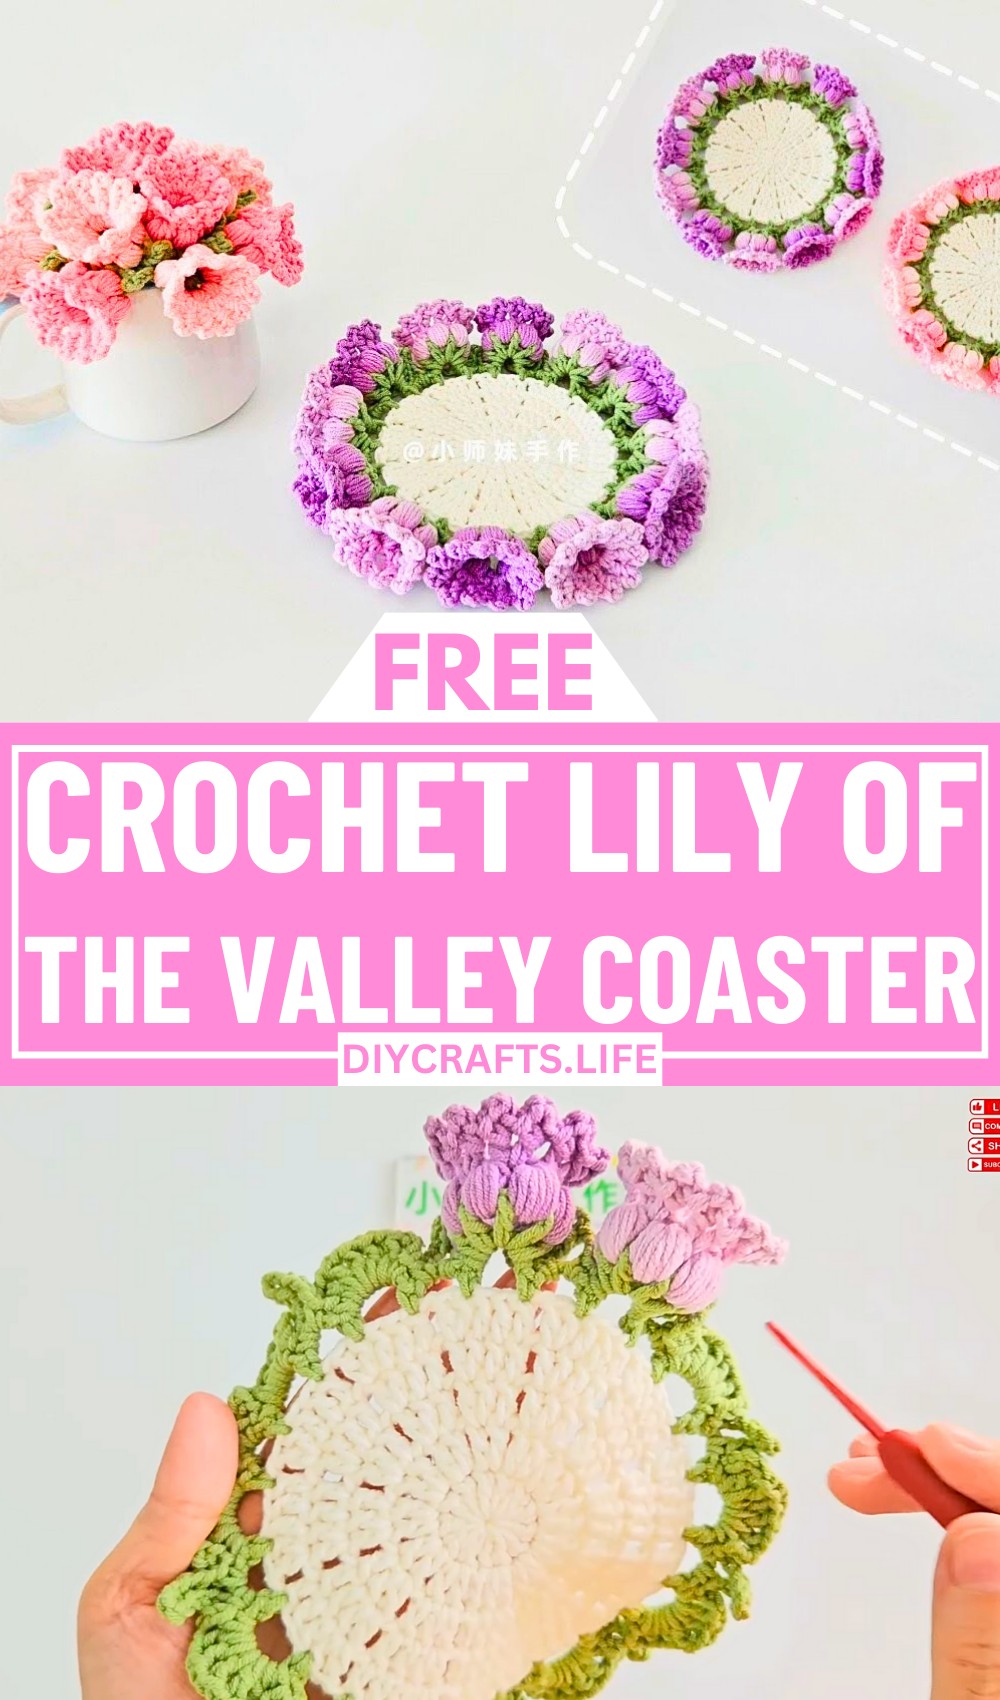
Bring the quiet elegance of a Lily of the Valley garden to your table with this floral crochet coaster. Where every petal becomes part of a design that feels both decorative and practical. Instead of looking like a simple flower placed on a mat, the blossom naturally spreads across the coaster while protecting it from everyday cup rings. A closer look reveals the small crochet design choice that gives the flower its graceful, finished appearance.
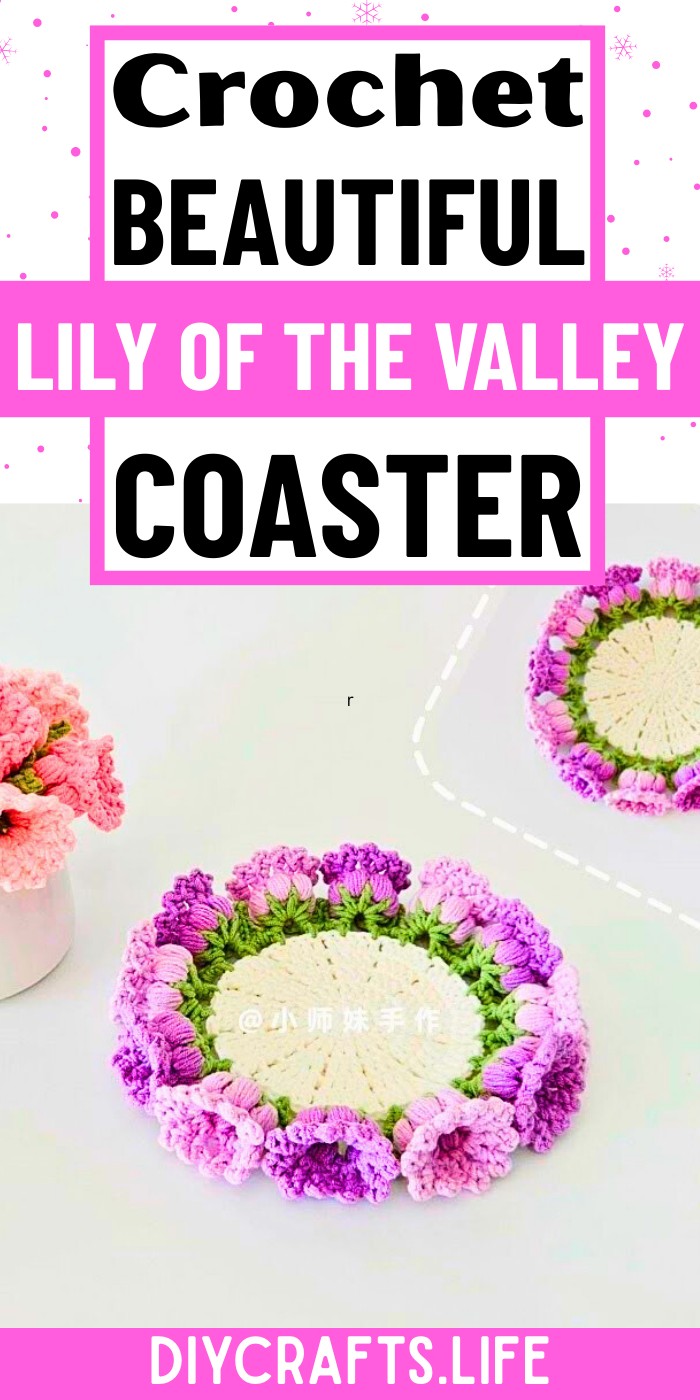
Watching this crochet coaster take shape is like building the bloom one gentle layer at a time. Until simple yarn turns into a textured floral piece with depth and character. The finished mat feels just as lovely beneath a favorite mug as it does displayed on its own. Making it a thoughtful handmade gift or a cheerful addition to your own space. That final floral crochet detail quietly brings the whole design together in a way you might not expect.
Credit Crochet Academy
Materials & Tools Needed
- Yarn: Milk cotton yarn in white (you may choose a lighter color for better visibility or adjust as desired).
- Hook: 3.0 mm crochet hook.
- Scissors: For cutting your yarn ends.
- Tapestry Needle: For weaving in ends.
Finished Size & Customization Ideas
- The final coaster size will depend on your tension and chosen yarn, but it should measure approximately 4–5 inches in diameter.
- Customization Ideas:
- Use a combination of pastel colors for the flowers and leaves to create a unique look.
- Add additional rounds to make a larger coaster or use thinner yarn for a smaller one.
- Block the finished piece to improve its shape and flatten the edges.
Pattern Abbreviations & Terminology
(Note: This pattern uses US Crochet Terminology)
- sl st: Slip stitch
- ch: Chain
- sc: Single crochet
- dc: Double crochet
- hdc: Half double crochet
- tr: Treble crochet
- st(s): Stitch(es)
- yo: Yarn over
- rep: Repeat
- lp: Loop
Step-by-Step Detailed Crochet Instructions
Step 1: Create the Base (Foundation Circle)
- Start with a Magic Ring (or ch 4 and join with a sl st to form a ring).
- Round 1:
- Ch 3 (counts as the first dc here and throughout).
- Work 11 dc into the ring. (Total: 12 dc, including the ch-3.)
- Close the round with a sl st into the top of the beginning ch-3.
- Pull the starting tail of the magic ring tight to close the center.
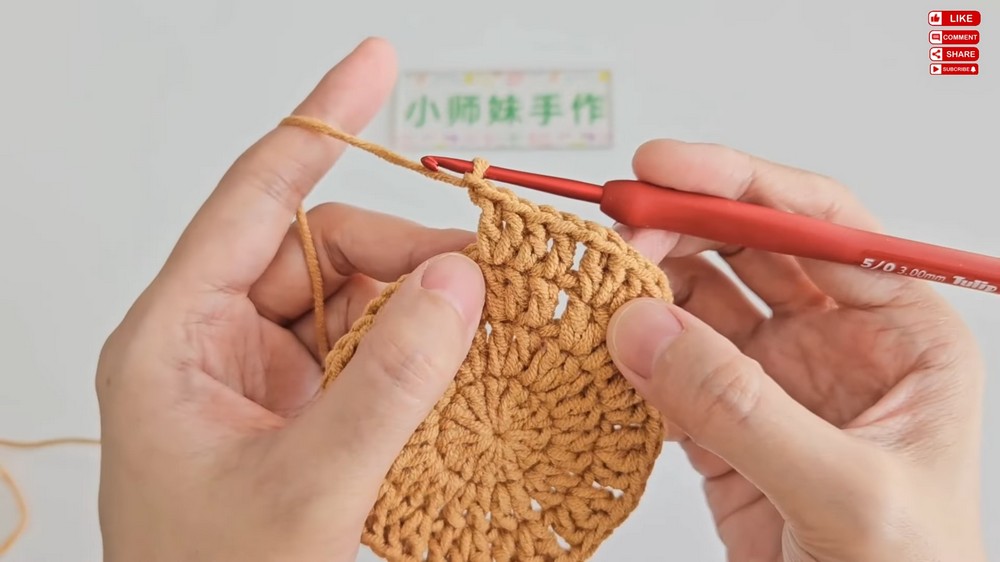
Step 2: Increasing Rounds for the Body
- Round 2:
- Ch 3 (acts as the first dc).
- Work 2 dc into the next st.
- 1 dc in next st, then 2 dc in the next.
- Rep around, alternating between 1 dc and 2 dc per st.
- Finish with a sl st into the top of the ch-3. (Total: 18 dc.)
- Round 3:
- Ch 3.
- Work 2 dc in the next st, 1 dc in the next 2 sts.
- 2 dc in the next st, then dc in the next 2 sts.
- Rep around.
- Join with a sl st at the top of the beginning ch-3. (Total: 24 dc.)
- Round 4:
- Ch 3.
- Work 2 dc into the first st, 1 dc into the next 3 sts.
- 2 dc in the next st, then 1 dc in the following 3 sts.
- Rep around.
- Finish with a sl st join. (Total: 30 dc.)
- Round 5:
- Ch 3.
- Work 2 dc in the first st, then 1 dc in the next 4 stitches.
- 2 dc in the next st, then 1 dc in the following 4 sts.
- Rep around.
- Join with a sl st. (Total: 36 dc.)
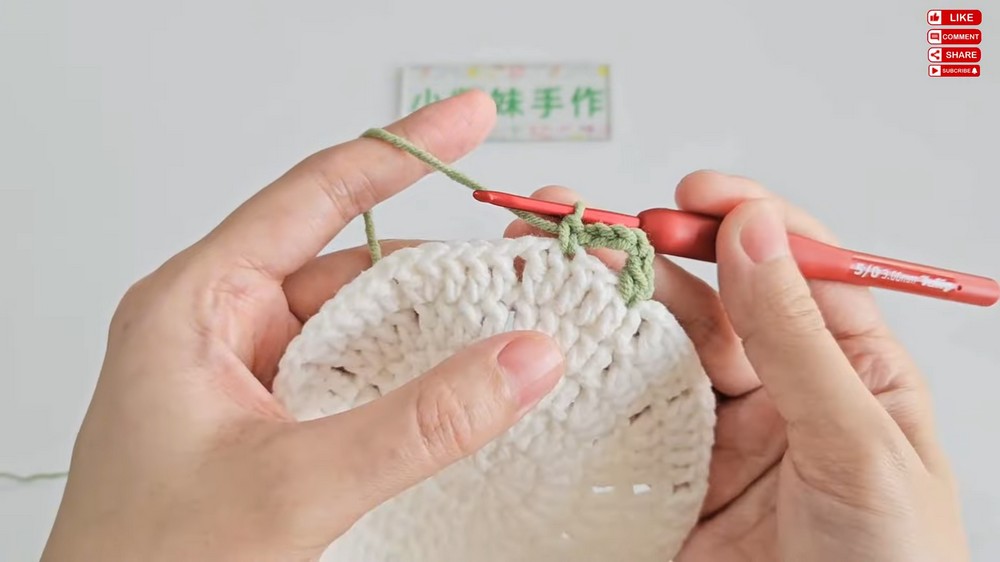
Step 3: Crocheting the Leaf Details
- Change to green yarn. Start work at any dc by joining yarn with a sl st.
- Ch 1, sc into the same st.
- Ch 5, skip 2 sts, sc into the next st.
- Rep the sequence around until there are 12 ch-5 loops.
- Join with a sl st into the first sc.
Step 4: Building the Leaf Design
- For every ch-5 loop:
- Work 1 sc, ch 3, 4 dc, ch 3, 1 sc into the loop and fasten it back into the same loop with 1 sc.
- This creates a small leaf shape.
- Repeat for all 12 loops around.
- Finish with a sl st into the first sc. Fasten off green yarn.
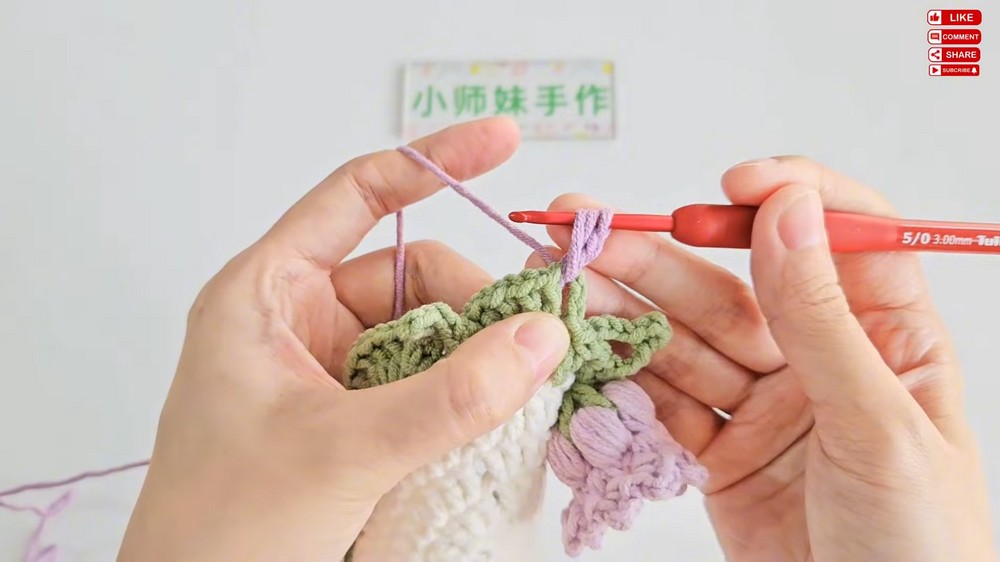
Step 5: Crocheting the Flower Design
- Rejoin white yarn in any ch-space from the leaves’ edges.
- Ch 2, work 6 unfinished dc into the same space.
- Yarn over and pull through all loops on the hook. Ch 1 to close the cluster.
- Repeat this process in every ch space around to form 12 flower clusters.
- Sl st to the top of the first cluster to finish the round.
Step 6: Edging the Flower Petals
- Ch 3 from any space between two flower clusters.
- 1 dc into the space, ch 3, sl st at the top of the dc (this creates a petal peak).
- Repeat for all spaces between flower clusters. (Total: 12 petals.)
- Sl st at the starting ch of the edging round.
Finishing Touches
- Cut the yarn and fasten off securely.
- Use a tapestry needle to weave in all loose ends on the back of the coaster.
- For a professional finish, lightly block the coaster to flatten it and shape the edges.