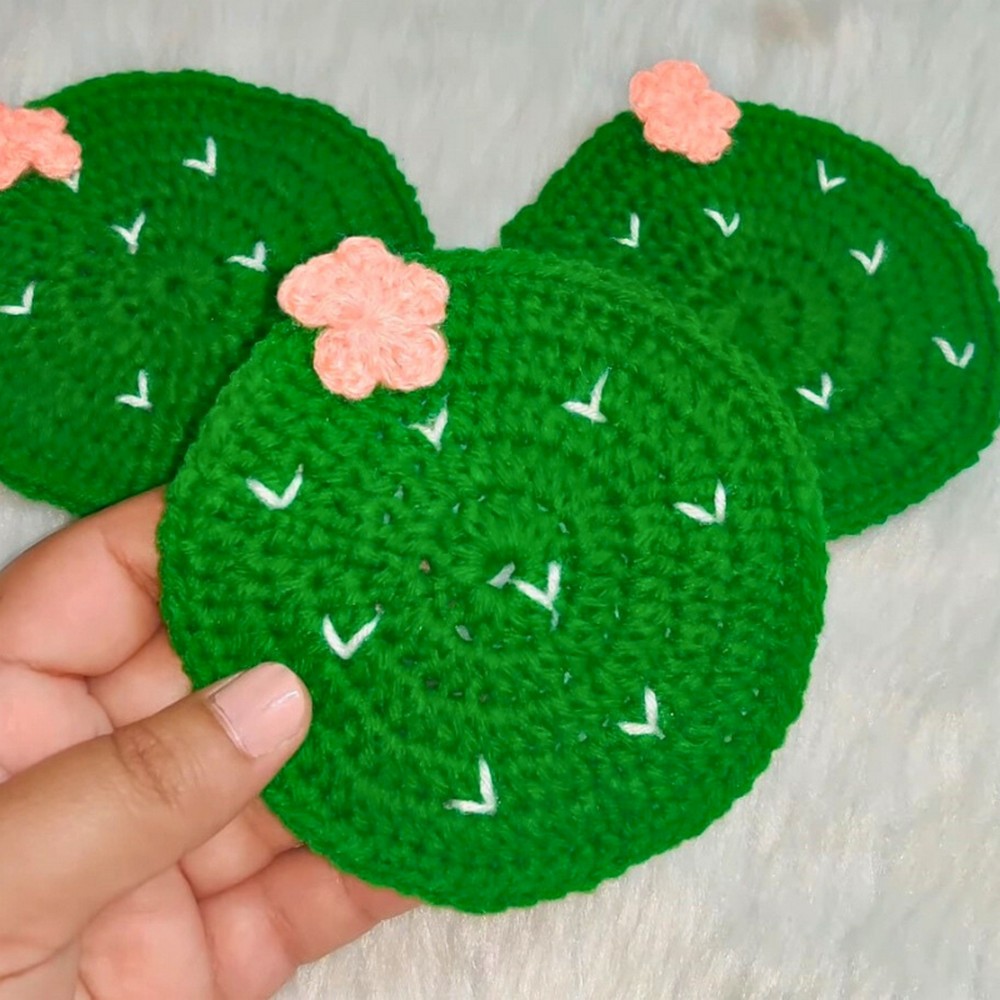
This cute and functional crochet cactus coaster is the perfect addition to any home. Not only is it beautiful and trendy, but it's also versatile and easy to customize with your favorite yarn colors.
These coasters stand out due to their durability, charming cactus design, and practical use. They protect your surfaces from heat and spills while adding a touch of desert-themed decor to your space.
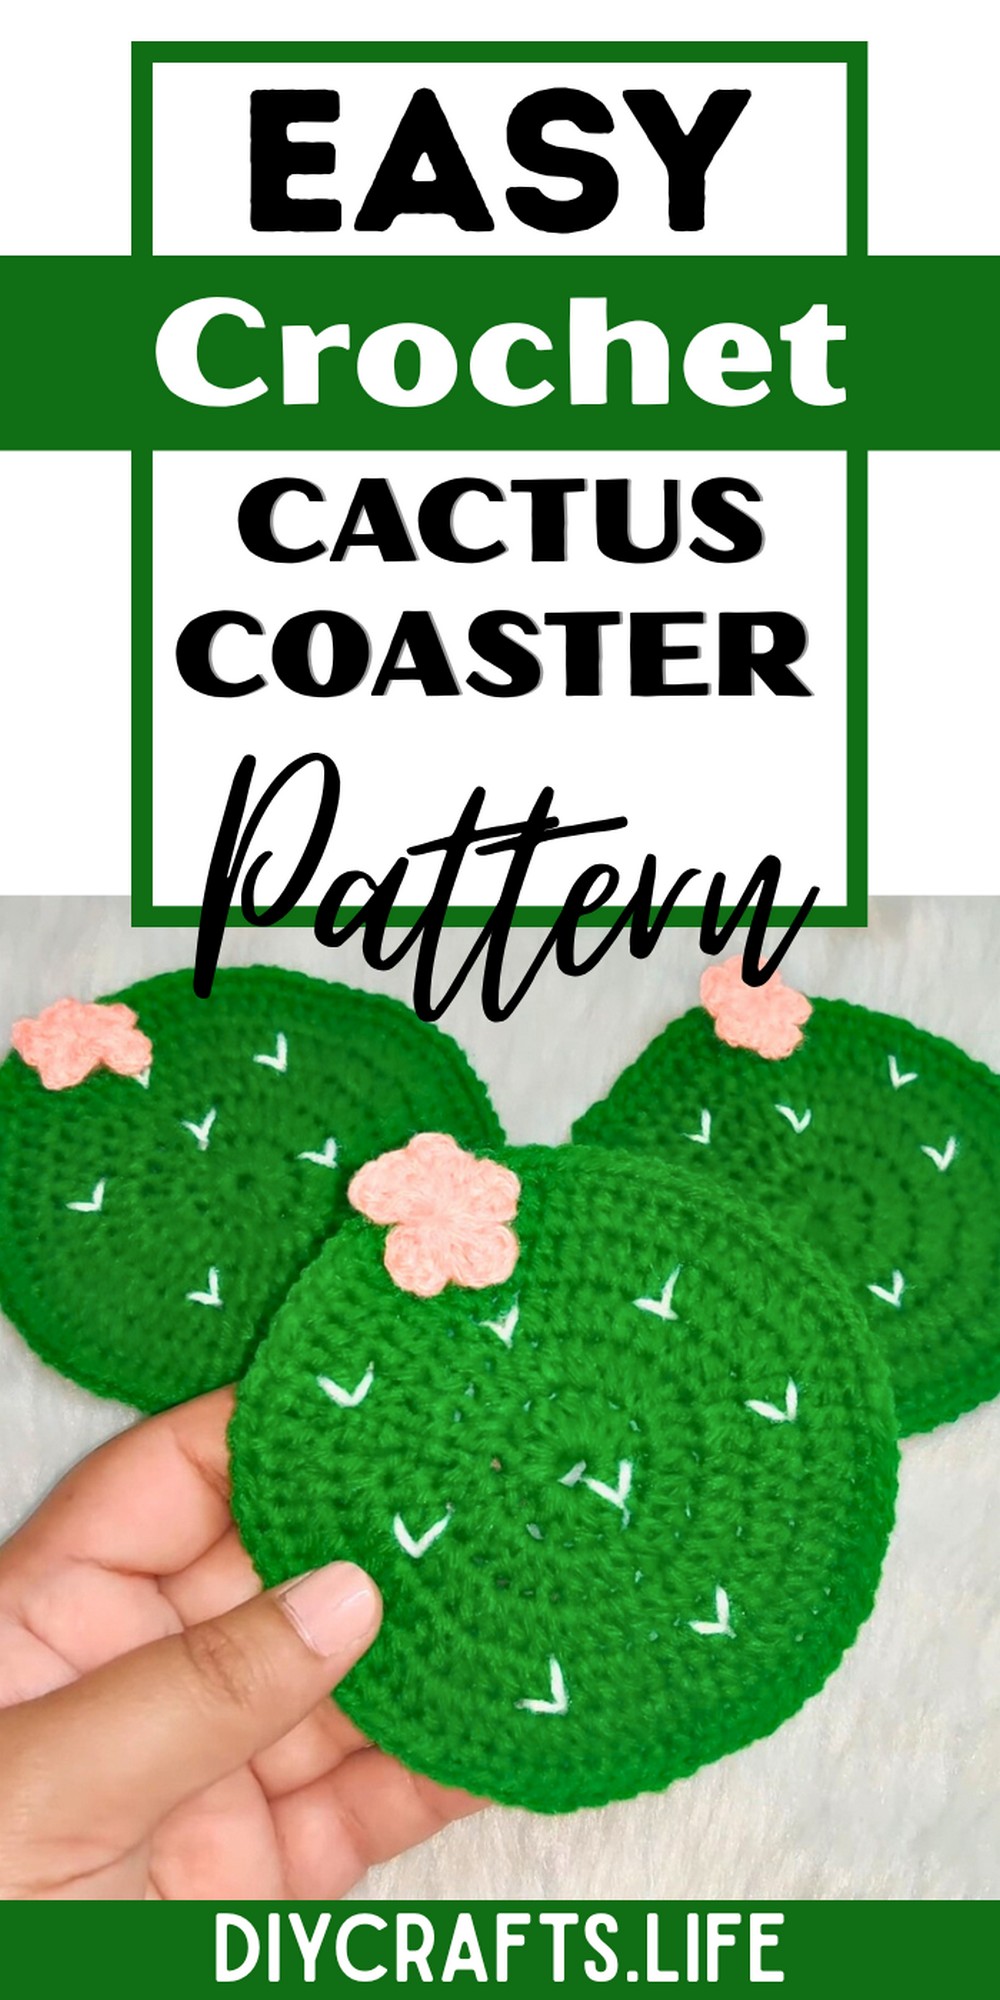
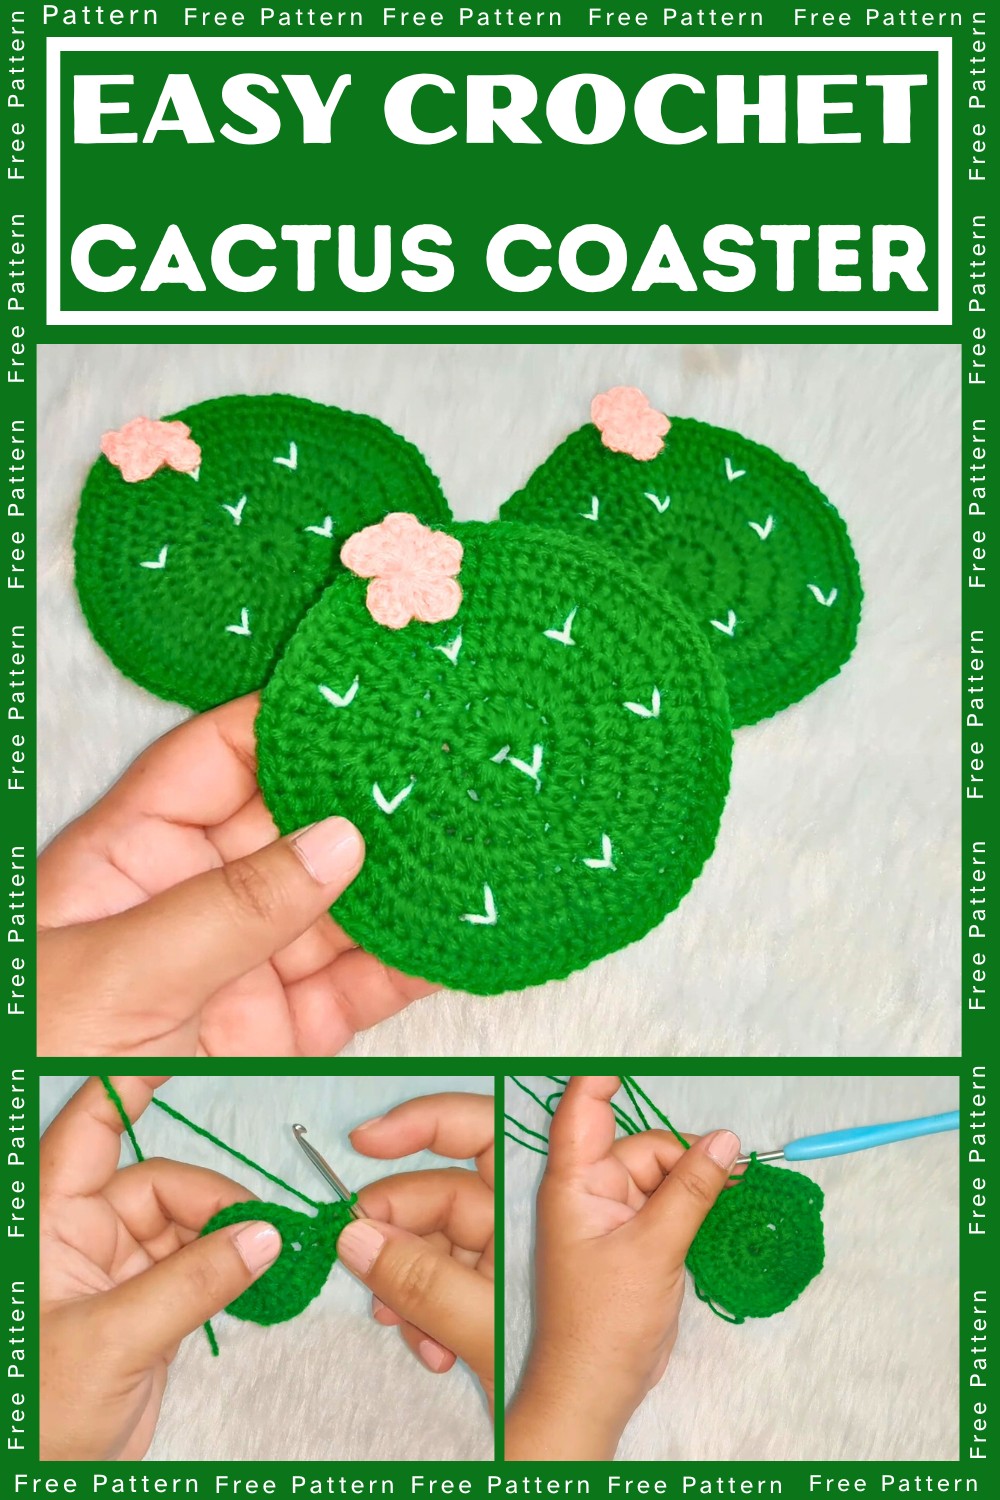
Crochet Cactus Coaster Pattern
Great for all skill levels, this project uses basic crochet stitches and can be customized with various yarn colors and embellishments. With step-by-step instructions, you'll enjoy bringing your creative ideas to life.
Materials and Preparation
Required Materials:
- Yarn: Green yarn for the cactus (Medium Weight Yarn; e.g., worsted weight)
- Hook: Size G/4.00 mm crochet hook
- Additional Tools:
- Tapestry needle for weaving in ends
- Scissors
- Yarn Weight Requirements: Medium weight (4) yarn
Abbreviations and Notes
Abbreviations:
- CH - Chain
- SC - Single Crochet
- HDC - Half Double Crochet
- DC - Double Crochet
- SL ST - Slip Stitch
- INC - Increase (2 SC in one stitch)
- DEC - Decrease (Single crochet two stitches together)
Notes:
- The pattern is worked in rounds unless specified otherwise.
- It’s helpful to use a stitch marker to mark the beginning of each round.
- Ensure to weave ends securely to avoid unraveling.
Gauge, Approximate Size, and Pattern Notes
Gauge:
- Gauge is not crucial for this project, but for reference, 4 inches in SC with the specified yarn and hook should be approximately 17 SC by 19 rows.
Finished Dimensions:
- The completed coaster should measure approximately 4 inches in diameter.
Pattern Notes:
- No need for a gauge swatch since it's a small project where exact sizing isn’t critical.
- The pattern involves simple increases and decreases to form the coaster shape.
Step-by-Step Pattern
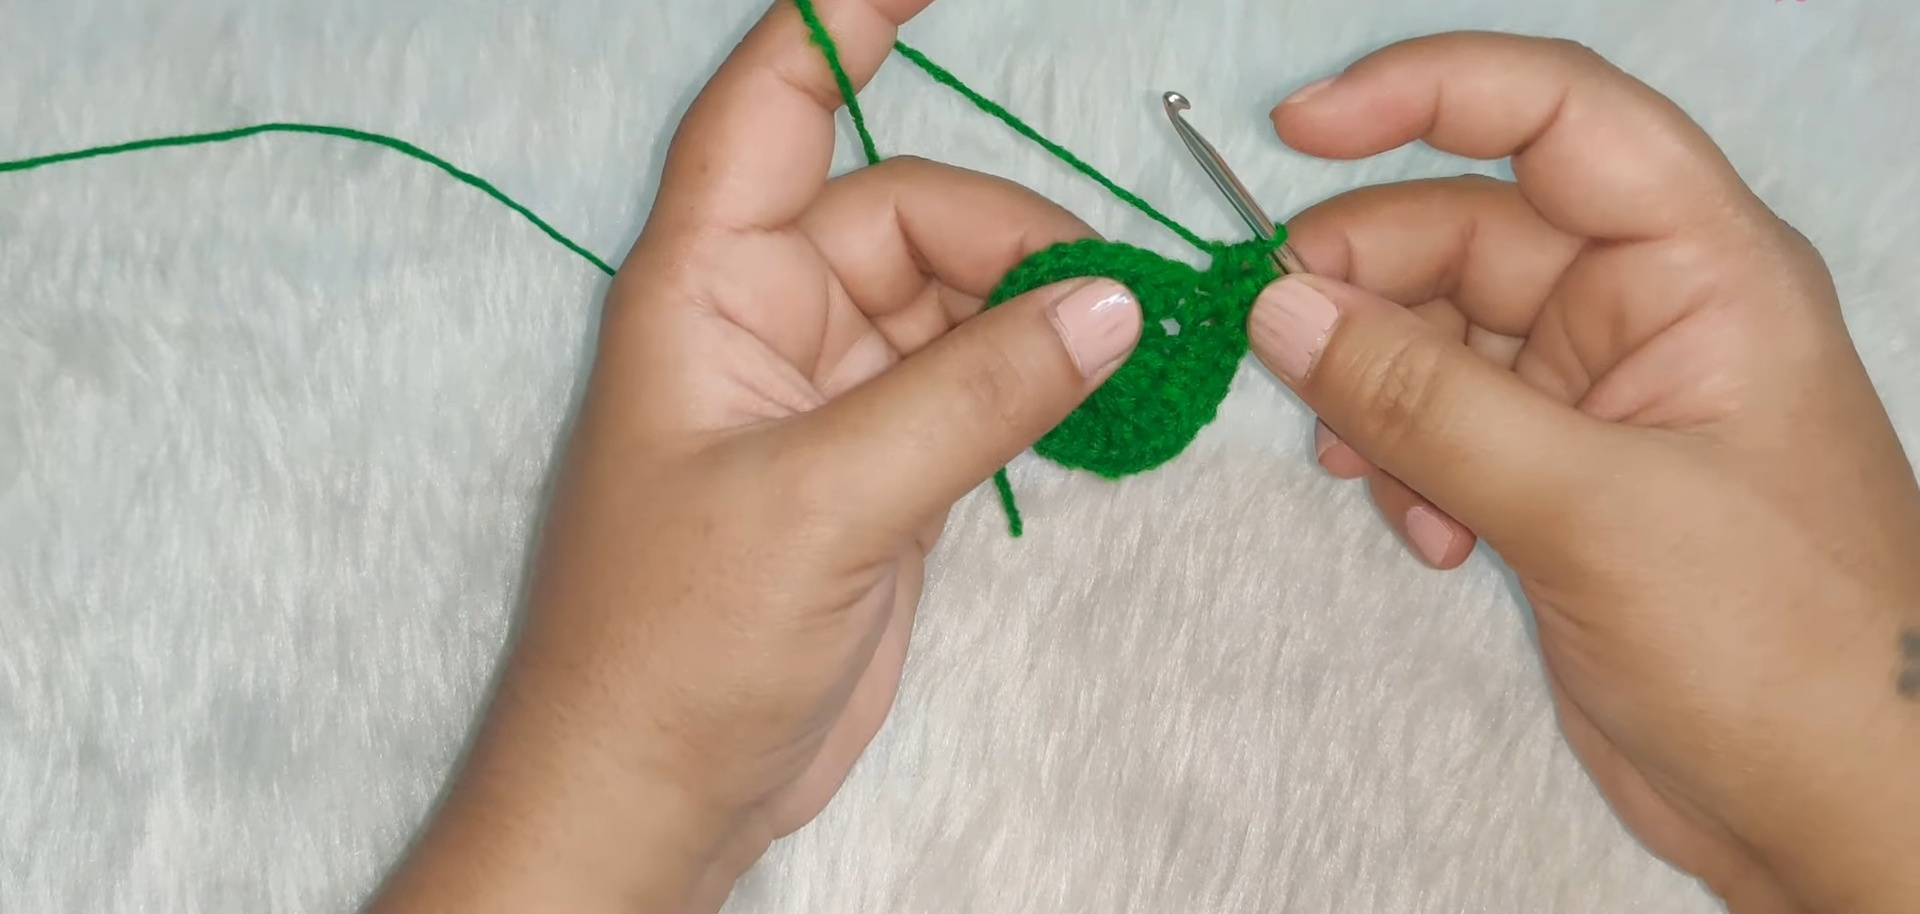
Base of the Cactus Coaster
- Start with a magic ring.
- Round 1: CH 1, 6 SC into the ring. SL ST to first SC to join. (6 SC)
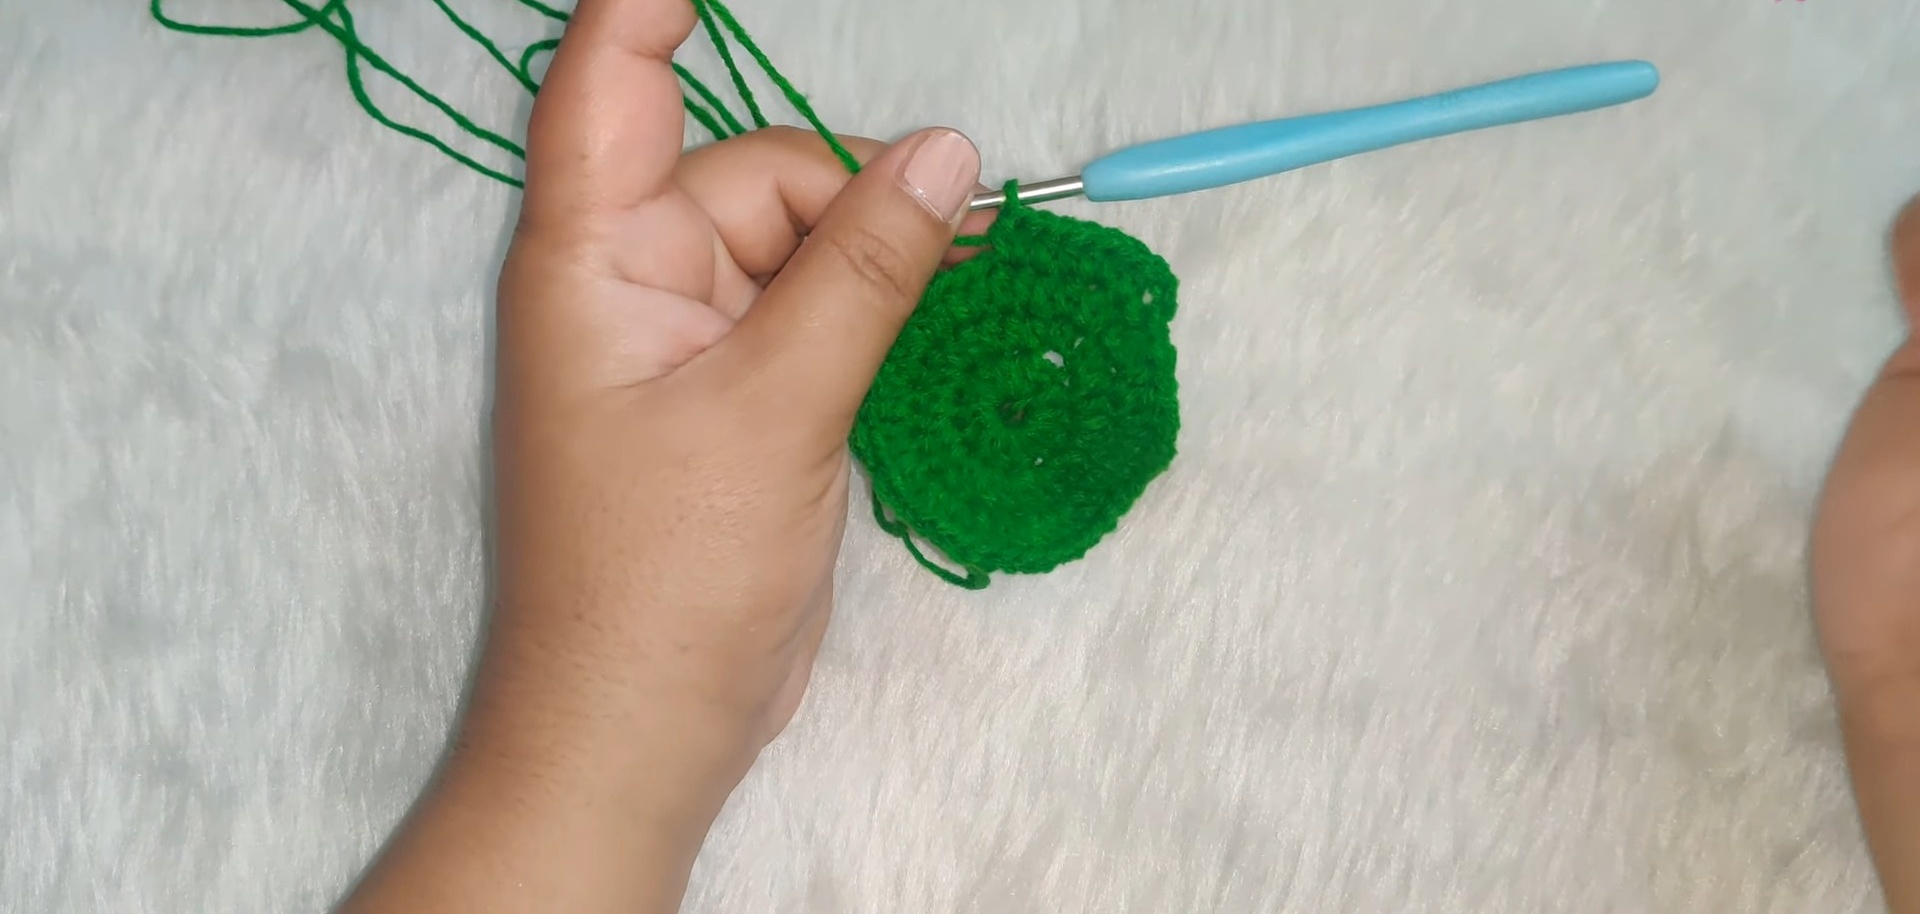
- Round 2: CH 1, 2 SC in each stitch around. SL ST to first SC to join. (12 SC)
- Round 3: CH 1, 1 SC, INC around. SL ST to first SC to join. (18 SC)
- Round 4: CH 1, 2 SC, INC around. SL ST to first SC to join. (24 SC)
- Round 5: CH 1, 3 SC, INC around. SL ST to first SC to join. (30 SC)
- Round 6: CH 1, 4 SC, INC around. SL ST to first SC to join. (36 SC)
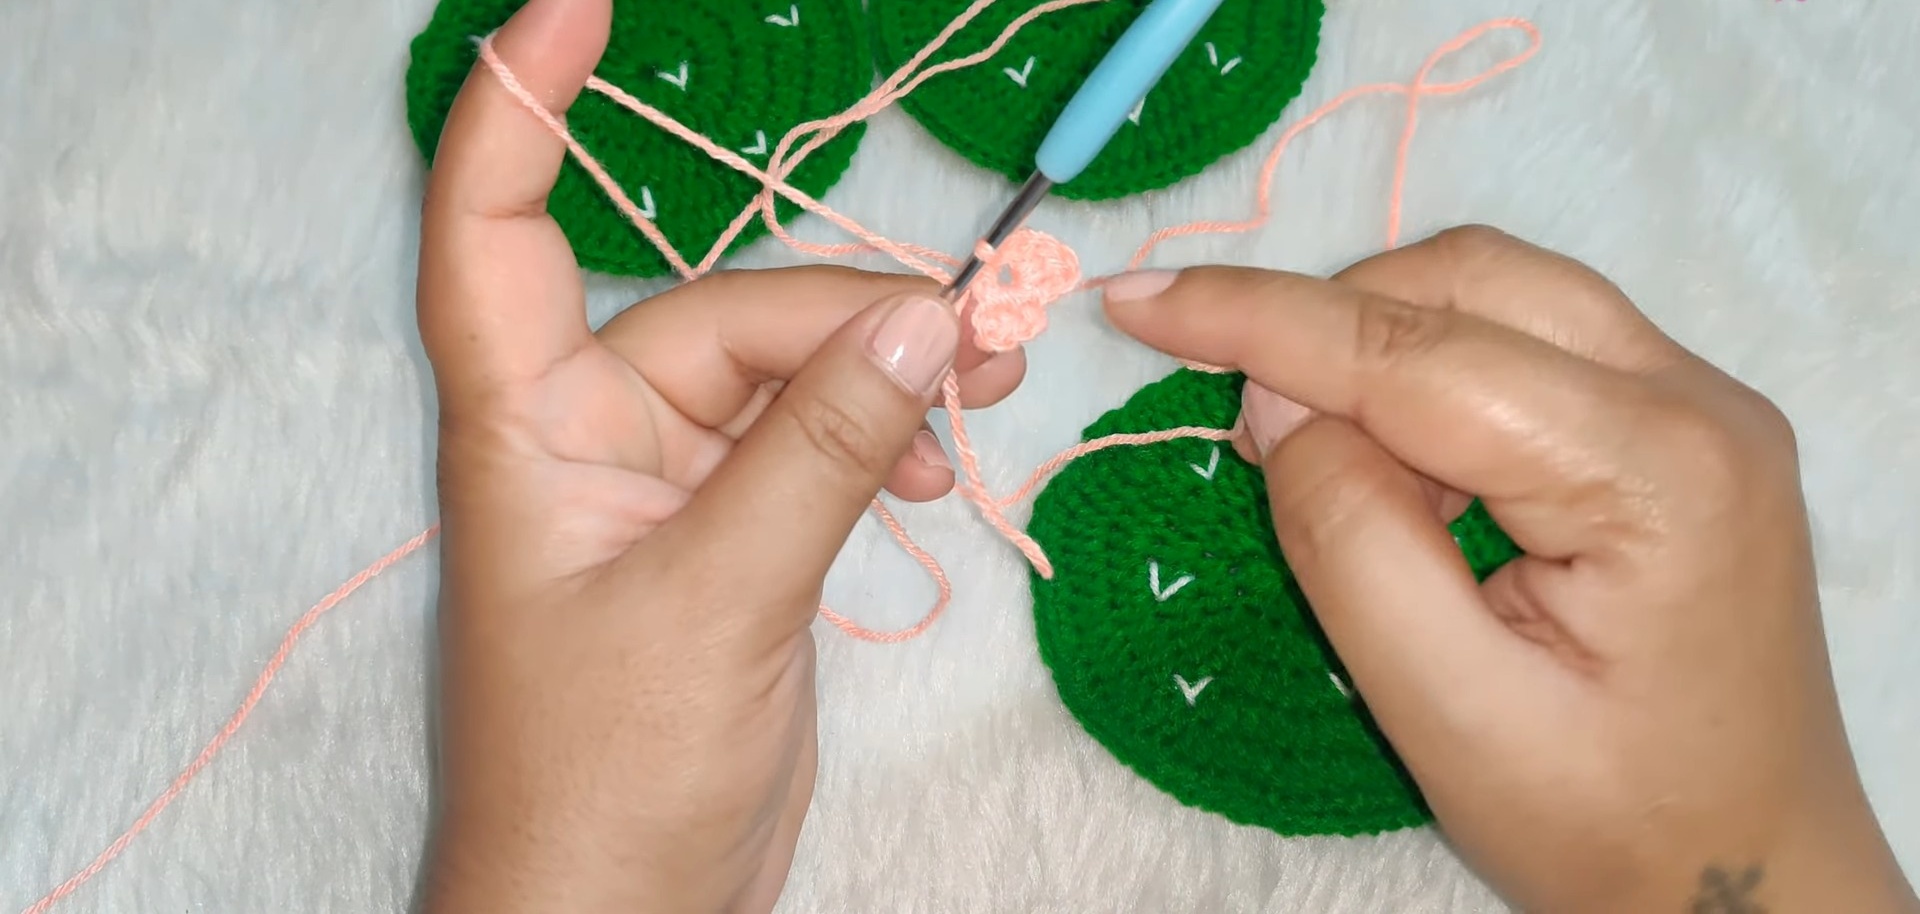
Arms of the Cactus
Create two smaller arms:
- Attach yarn at any stitch along the edge for the first small arm:
- CH 1, SC in the next 3 stitches, CH 1, turn.
- 2 SC, DEC, turn.
- SC across, turn.
- SC next two stitches together, SL ST to join. Fasten off.
- Repeat steps for another small arm starting in a stitch 5 stitches away from the first arm.
Final Touches
- Weave in all yarn ends securely using the tapestry needle.
- Optional: Add small white yarn stitches for texture to mimic cactus needles.
Pattern Question
Q: Can I use a different type of yarn for this pattern?
A: Yes, you can use any type of yarn you prefer. However, a four-ply cotton yarn is recommended for its durability and ease of handling.
Conclusion
Creating a crochet cactus coaster is both fun and rewarding. This project not only enhances your crochet skills but also results in a useful item that brings charm and functionality to any table.


