The Crochet Mushroom Zombie is an eye-catching and fun project perfect for crochet enthusiasts. This quirky design combines charm and creativity, making it not only a beautiful decor piece but also a thoughtful handmade gift. Its versatility allows for endless customizations to suit your style.
This crochet masterpiece is a durable and delightful addition to any shelf, desk, or gift collection. With its playful design, the Mushroom Zombie brings personality to any space. It’s easy to handle, long-lasting, and makes the perfect conversation-starter or spooky seasonal decoration.
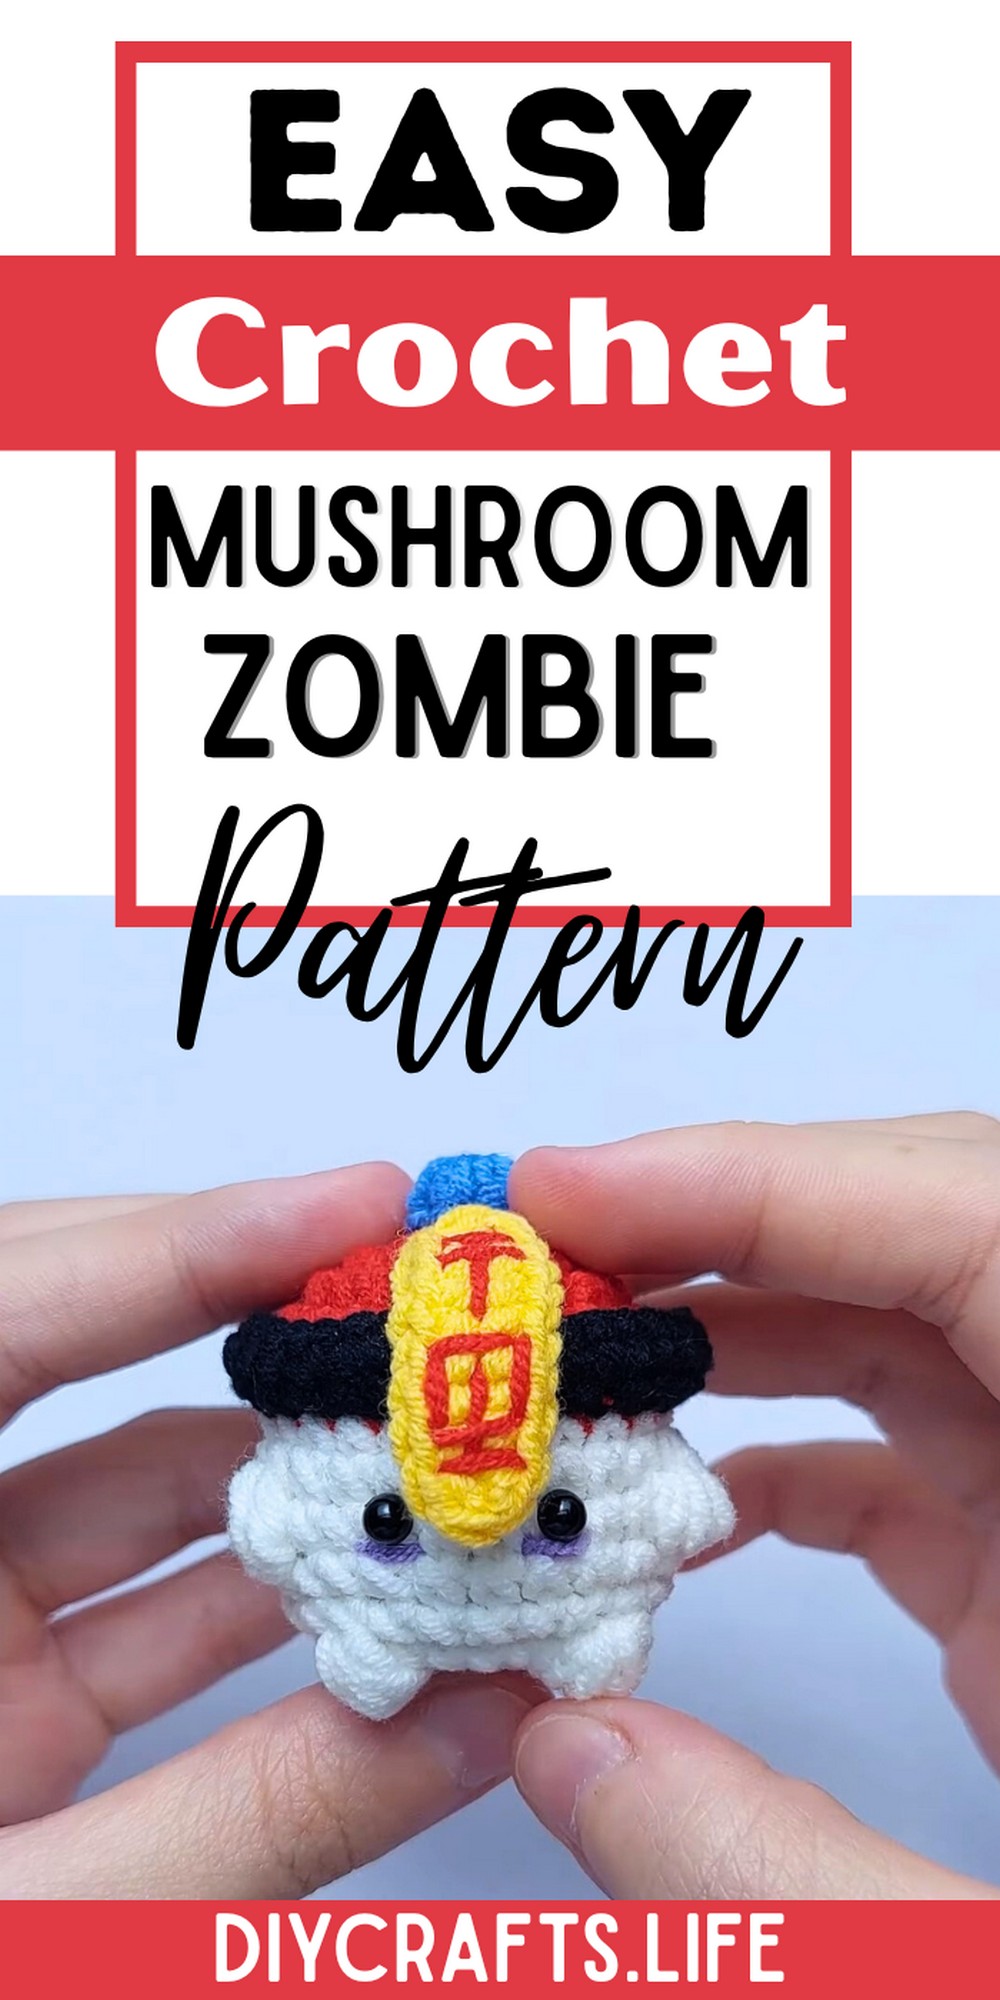
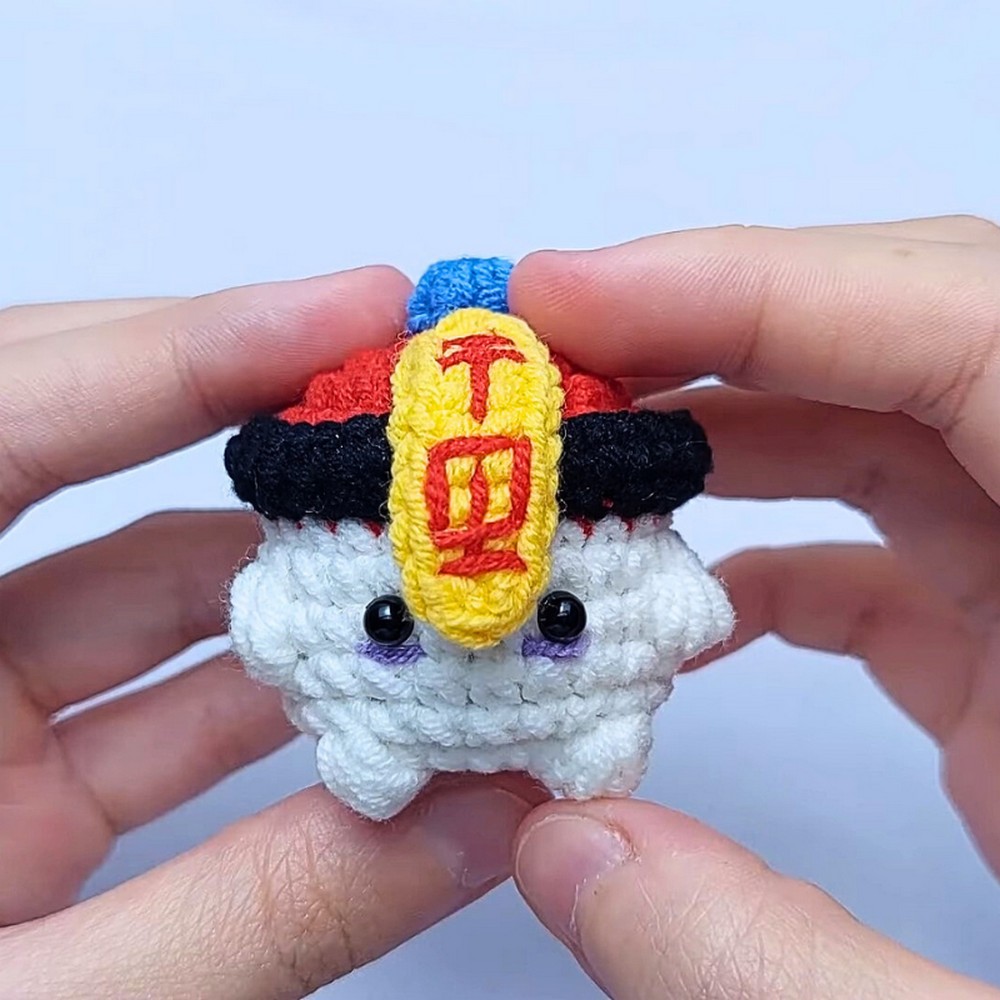
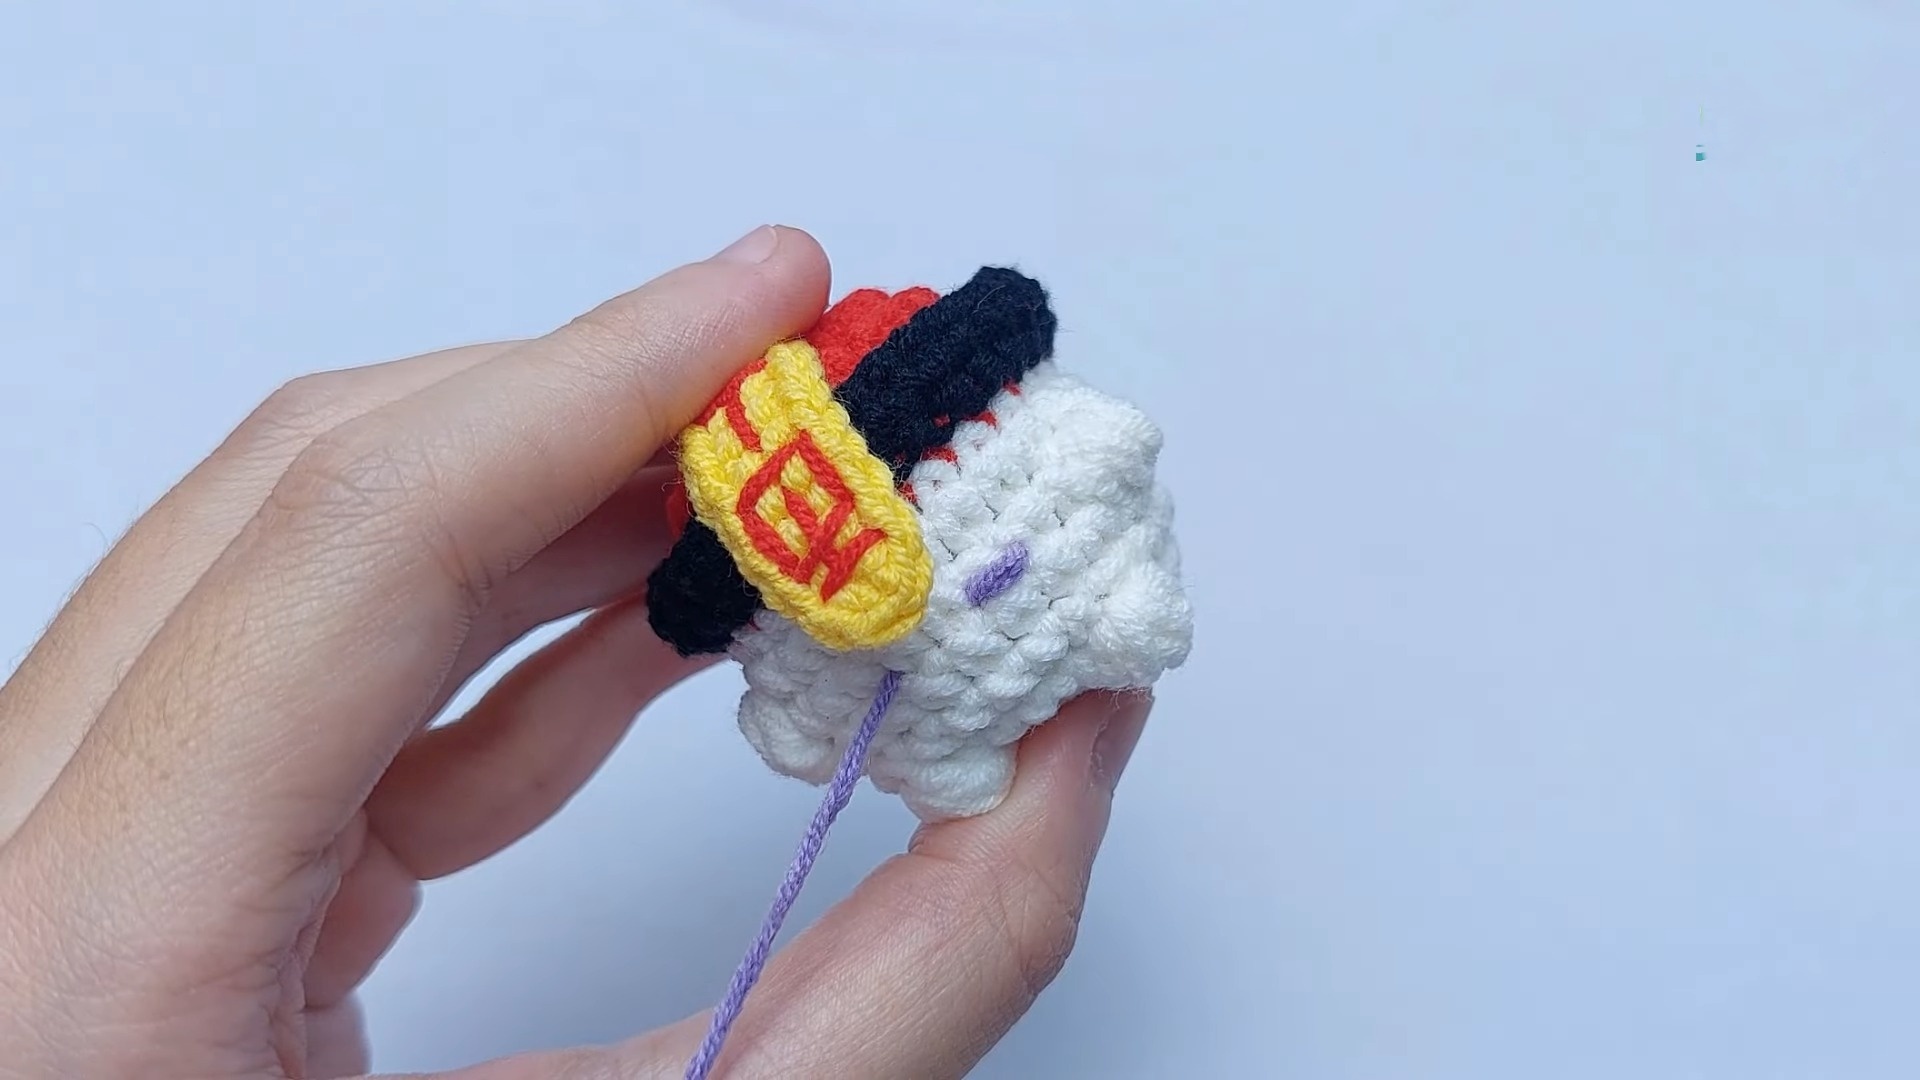
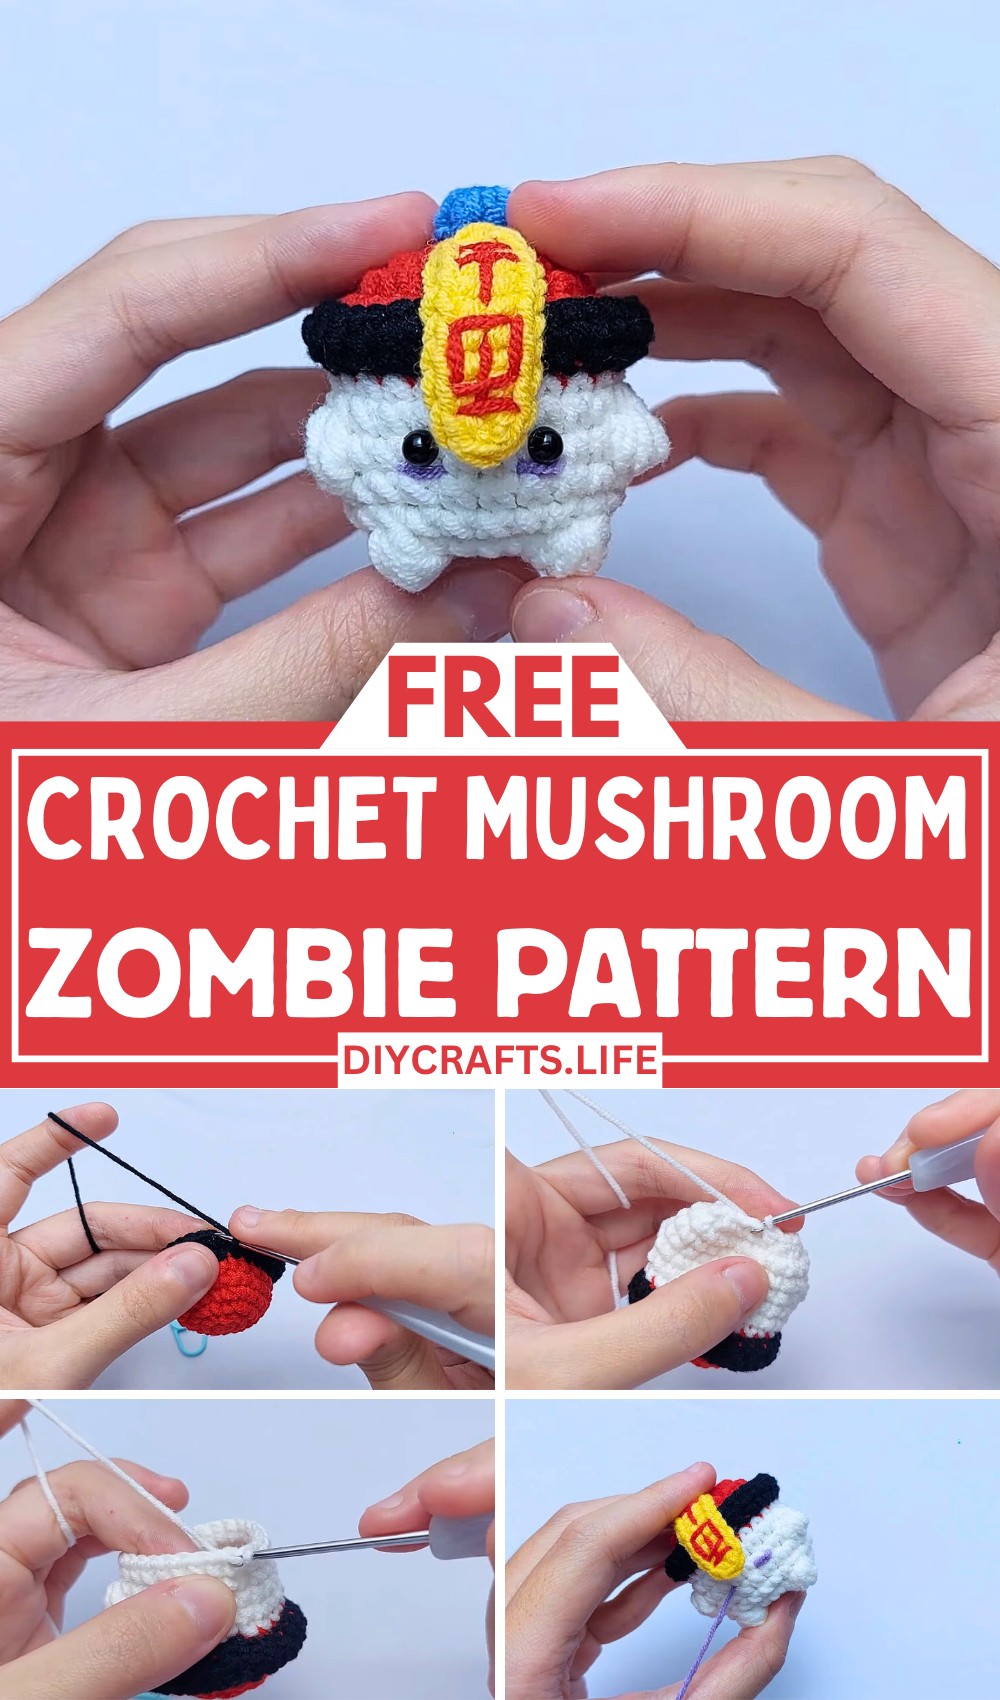
Crochet Mushroom Zombie
Creating the Crochet Mushroom Zombie is enjoyable for crafters of all skill levels. The instructions are straightforward, and you can customize the colors for a unique touch. Whether you’re a beginner or experienced, this project taps into your creativity and delivers satisfying results.
Materials and Preparation
Materials:
-
Yarn:
- Medium-weight or worsted yarn (size #4) in the following colors:
- Green (for zombie details)
- Red (for mushroom cap)
- Beige or light brown (for mushroom stalk)
- White (optional, for additional accents)
- Optional: Black yarn for embroidery details, or safety eyes.
- Medium-weight or worsted yarn (size #4) in the following colors:
-
Hook: Size 3.5mm–4mm crochet hook (adjust based on yarn weight).
-
Tools:
- Scissors
- Tapestry needle for sewing parts and weaving ends
- Polyester fiberfill for stuffing
-
Extras:
- Stitch markers (optional, to track rounds).
- Safety eyes (if preferred, size 6mm or 8mm)
Abbreviations and Notes
Crochet Abbreviations:
- SC: Single Crochet
- HDC: Half Double Crochet
- INC: Increase (work 2 SC in the same stitch)
- DEC: Decrease (work 2 SC together to form 1 stitch)
- CH: Chain
- SL ST: Slip Stitch
- ST: Stitch
Notes:
- The project is worked in rounds. Use a stitch marker or scrap yarn to mark the beginning of each round.
- Be mindful of tension, as tighter stitches are recommended for amigurumi to prevent fiberfill from showing through.
- Safety eyes should be placed before completely stuffing and closing the head/cap components.
Gauge, Approximate Size, and Pattern Notes
Gauge:
- Gauge is not strictly important for amigurumi projects. Use consistent tension to ensure proportional sizing.
Approximate Size:
- Finished mushroom zombie measures approximately 5–7 inches tall, depending on tension and materials.
Special Techniques:
- Invisible Decrease: Recommended for avoiding gaps in stitches when decreasing.
- Color Changes: When switching yarn colors, carry the unused yarn strand neatly to avoid loose threads.
- No Gauge Swatch Required: This is an amigurumi project, so gauge isn’t critical, but smaller hook sizes result in tighter stitches.
Step-by-Step Pattern
Mushroom Cap (Zombie Top):
-
Foundation Circle:
- With red yarn, make a magic ring and CH 1.
- Work 6 SC into the ring. Pull the ring tight and place a stitch marker at the start of the round. (6 ST)
-
Increase Rounds:
- Round 2: INC in each stitch around. (12 ST)
- Round 3: [SC, INC] repeat around. (18 ST)
- Round 4: [SC 2, INC] repeat around. (24 ST)
- Continue increasing this way until the cap is 36–42 ST wide, based on desired circumference.
-
Zombie Damage:
- Switch to green yarn anywhere in the cap to crochet jagged edges and holes. Use SC and SL ST for irregular patterns to mimic damage.
-
Finish:
- Fasten off and leave a long tail for sewing onto the stalk later.

Stalk (Body & Legs):
-
Foundation Base:
- With beige yarn, make a magic ring and CH 1.
- Work 6 SC into the ring. Pull tight and place a stitch marker. (6 ST)
-
Increase Rounds:
- Round 2: INC in each stitch around. (12 ST)
- Round 3: [SC, INC] repeat around. (18 ST)

-
Cylinder Shape:
- Round 4+: SC around without increases to form the stalk’s length. (18 ST per round).
- Repeat rounds until the stalk reaches desired height (about 3–4 inches).
-
Zombie Damage & Legs:
- Switch to green yarn – mimic wounds with jagged edges using irregular rows of SC and SL ST.
- Split into two smaller cylindrical shapes to create “zombie legs,” keeping them proportional.

Assembly and Finishing Touches
-
Stuffing:
- Fill the stalk/body and mushroom cap with polyester fiberfill. Use enough to hold shape but avoid overstuffing.
-
Sew Parts Together:
- With the tapestry needle, sew the mushroom cap securely to the top of the stalk.
-
Adding Facial Details:
- Attach safety eyes to the stalk (place them about halfway up the body).
- Use black yarn to embroider a mouth, scars, or other zombie features.
-
Optional Additions:
- Crochet or embroider small white dots on the mushroom cap to mimic a spotted toadstool mushroom.
-
Finish Off:
- Weave in all yarn tails neatly.
Pattern Question:
Question: Can I adjust the size of the pattern?
Answer: Yes! You can easily adjust the yarn thickness and hook size to make your Mushroom Zombie larger or smaller based on your preference.
Conclusion:
The Crochet Mushroom Zombie is a delightful mix of creativity and fun, making it worth trying. Whether adding to your decor or gifting to a friend, this project is practical, enjoyable, and offers a wonderful sense of accomplishment.


