Engage yourself in the whimsical world of Pokemon with the Crochet Pokdonut Amigurumi Pattern. This beautiful crochet pattern combines the love for Pokemon and donuts into a charming decor item. It features a cute Pikachu face on a small, donut-shaped plushie, but you can pick any Pokemon character you adore. With various facial expressions to choose from, these donut amigurumis become a perfect plaything for children and a sweet touch of nostalgia for adults.

What size is the Crochet Pokdonut Amigurumi?
The Pokdonut Amigurumi varies in size but typically fits in the palm of your hand, making it an adorable mini plushie.
Materials:
- 2.5 mm cotton yarn (Rainbow cotton 8/8)
- Yellow
- Red
- Black
- Brown
- 10mm kawaii style safety eyes
- Synthetic cotton filling
- 2.5 mm crochet hook
- Wool needle
- Scissors
Abbreviations:
- Ch - Chain
- st (s)- Stich (s)
- slst - Slip stich
- SC - Single crochet
- hdc - Half double crochet
- dc- Double crochet
- dhp - Double high point
- inc- Increase
- dec- Decrease
- BLO- Back loop only
- FLO- Front loop only
- R.1- Round 1
Step By Step Pattern
Donut:
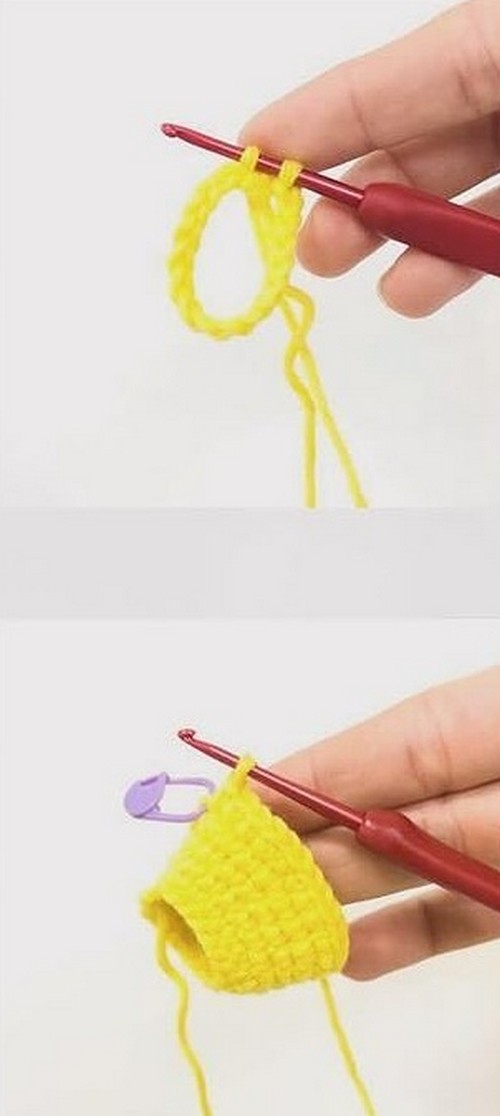
With yellow cotton yarn.
- R.1 18 ch (18)
Join the last chain to the first with a sl st to form a circle. - R.2 - R.4 1 sc (18)
- R.5 2 sc, 1 inc (24)
- R.6 1 inc, 3 sc (30)
- R.7 4 sc, 1 inc (36)
- R.8 1 inc, 5 sc (42)
- R.9 6 sc, 1 inc (48)
- R.10 1 inc, 7 sc (54)
- R.11 8 sc, 1 inc (60)
- R.12 R.15 1 sc (60)
- R.16 8 sc, 1 dec (54)
- R.17 1 dec, 7 sc (48)
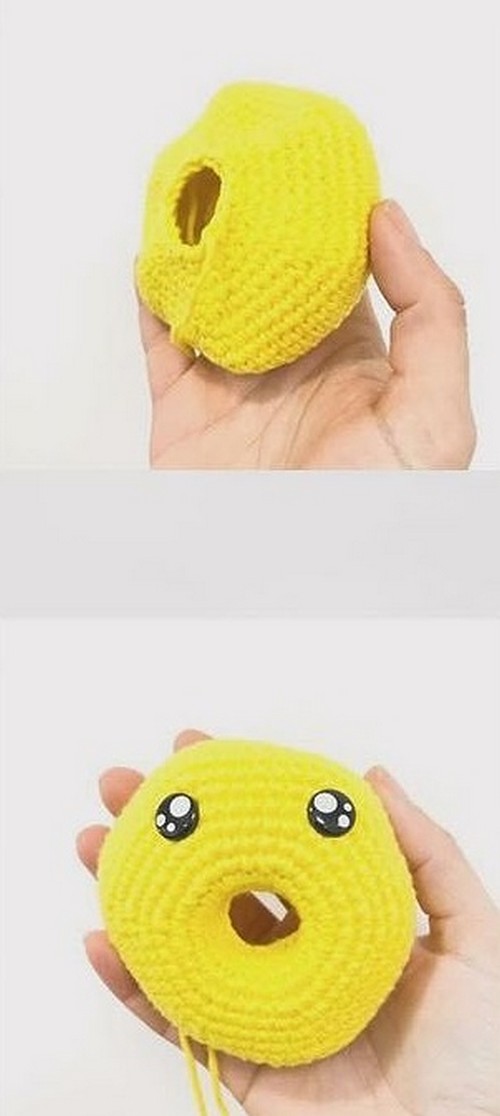
- Place the safety eyes between R.9 and
- R.10 8 sc apart.
- R.18 6 sc, 1 dec (42)
- R.19 1 dec, 5 sc (36)
- R.20 4 sc, 1 dec (30)
- R.21 1 dec, 3 sc (24)
- R.22 2 sc, 1 dec (18)
Fasten off with sl st, leave a long strand and with a wool needle join both parts to close the donut.
Stuff the donut while you are sewing it.
With black cotton yarn and a wool needle, embroider a nose on R.7.
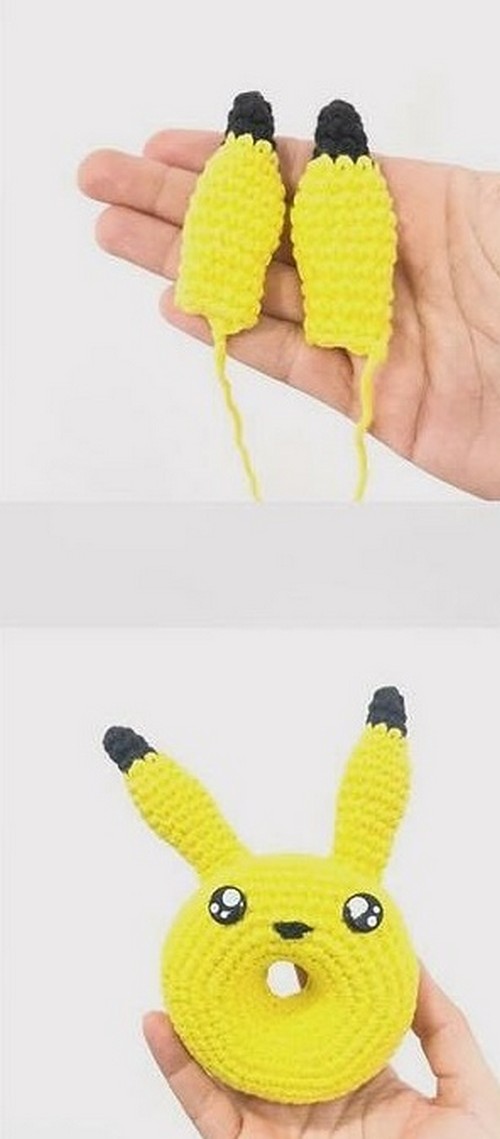
Ears:
With black cotton yarn.
- R.1 4 sc in a magic ring (4)
- R.2 1 sc, 1 inc (6)
- R.3 1 sc (6)
- R.4 2 sc, 1 inc (8)
Switch to yellow color.
- R.5 3 sc, 1 inc (10)
- R.6 1 sc (10)
- R.7 4 sc, 1 inc (12)
- R.8 R.10 1 sc (12)
- R.11 4 sc, 1 dec (10)
- R.12 R.14 1 sc (10)
Fasten off with sl st, stuff lightly and sew between R.14 and R.15 with 6 sc apart.
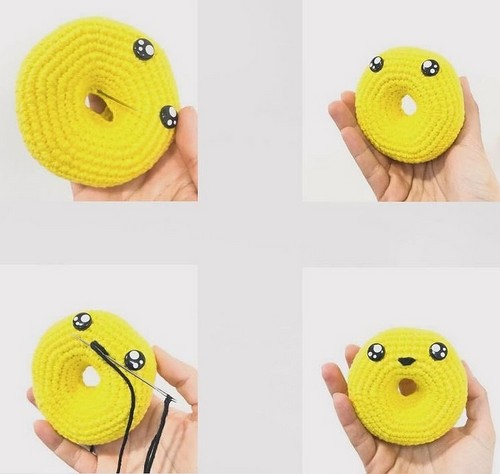
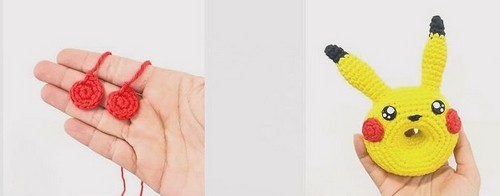
Cheeks:
With red cotton yarn.
- R.1 6 sc in a magic ring (6)
- R.2 6 inc (12)
Fasten off with sl st, leave a long strand and sew between R.9 and R.12.
Tail:
Make two equal pieces.
This piece is worked in rows, in each round we will make a sc and turn the piece, this sc counts as the first sc of each round. With yellow cotton yarn.
- R.1 9 ch (9)
- R.2 go back over the chain. skipping a ch and work 8 sc (8)
- R.3 ch, turn and work 7 sc (8)
- R.4 ch, turn and work 7 sc (8)
- R.5 ch, turn and work 3 sc (4)
- R.6 ch, turn and work 3 sc (4)
- R.7 ch, turn and work 3 sc (4)

Fasten off with a sl st and leave a long strand on one of the pieces to join them together later. At the same stitch where we cut the yellow strand, hook a brown strand.
- R.8 4 sc (4)
- R.9 3 ch, go back over the chain skipping the first ch and work 5 sc, sl st. (6)
Leave a long strand on one of the pieces to be able to join them. Place one piece on top of the other and sew both pieces with a wool needle. The tail is not stuffed.
Sew to the back of the doughnut.
Details:
- With brown cotton yarn and a wool needle make two lines on the back.
- With brown cotton yarn and a wool needle, make a few small lines on the bottom of the doughnut to make the topping.
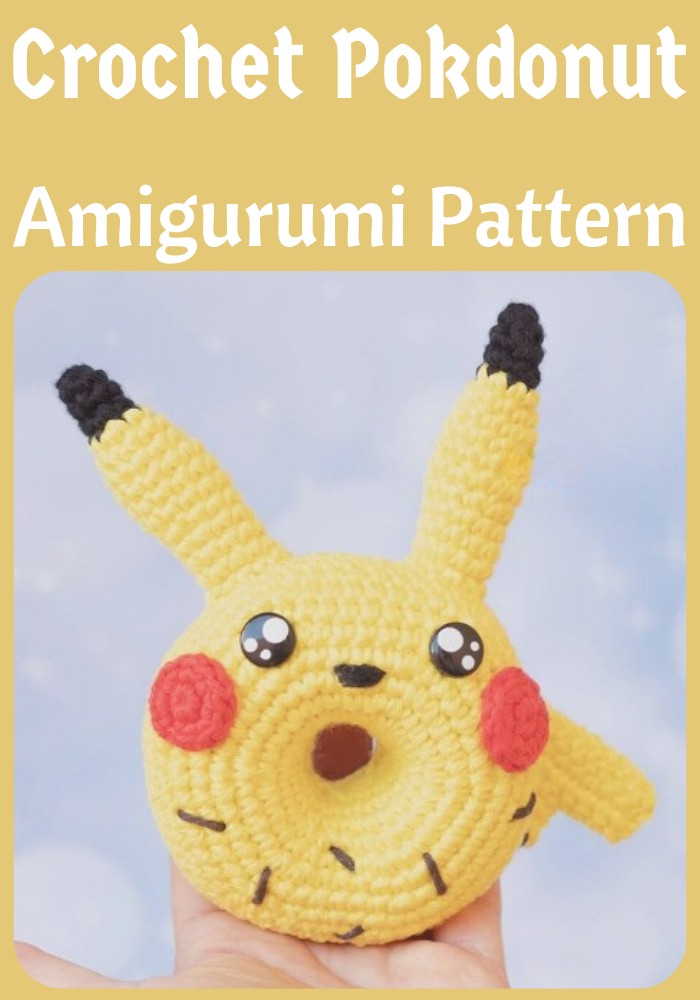
Designer: Xicotet_amigurumis On Instagram


