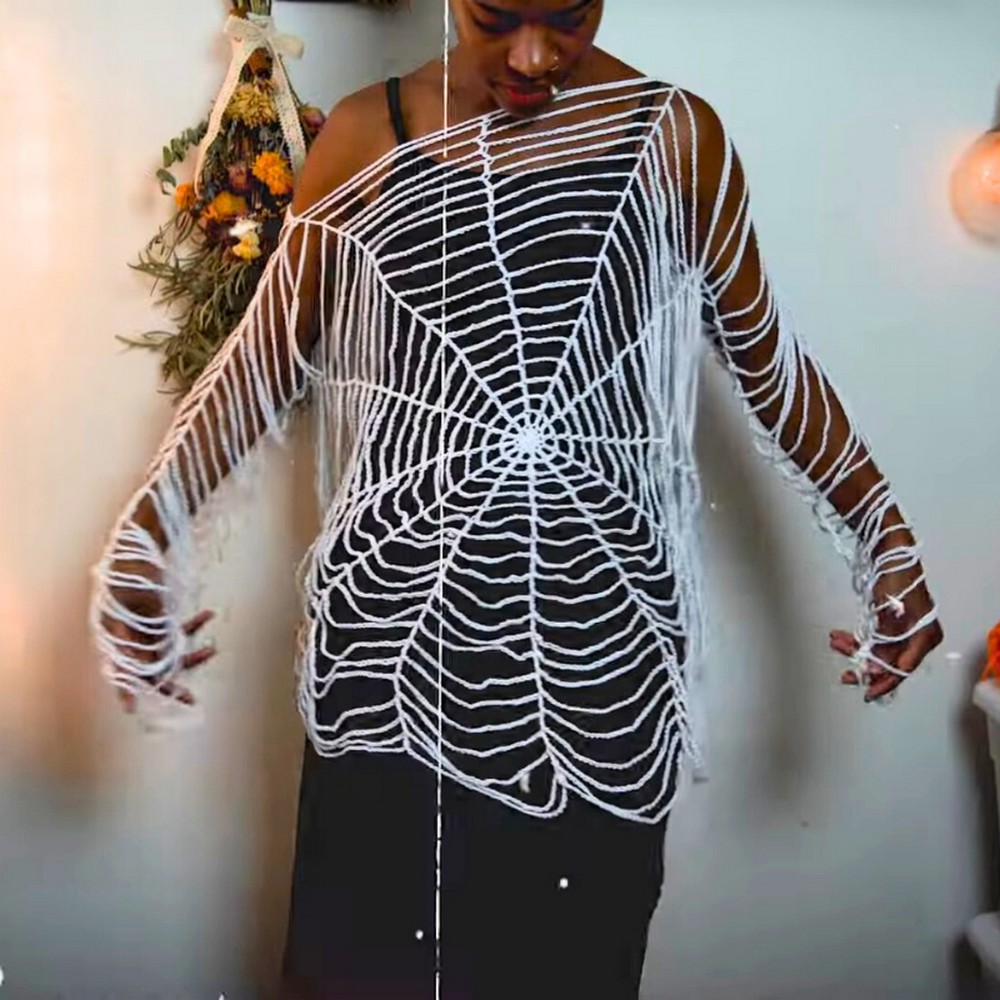
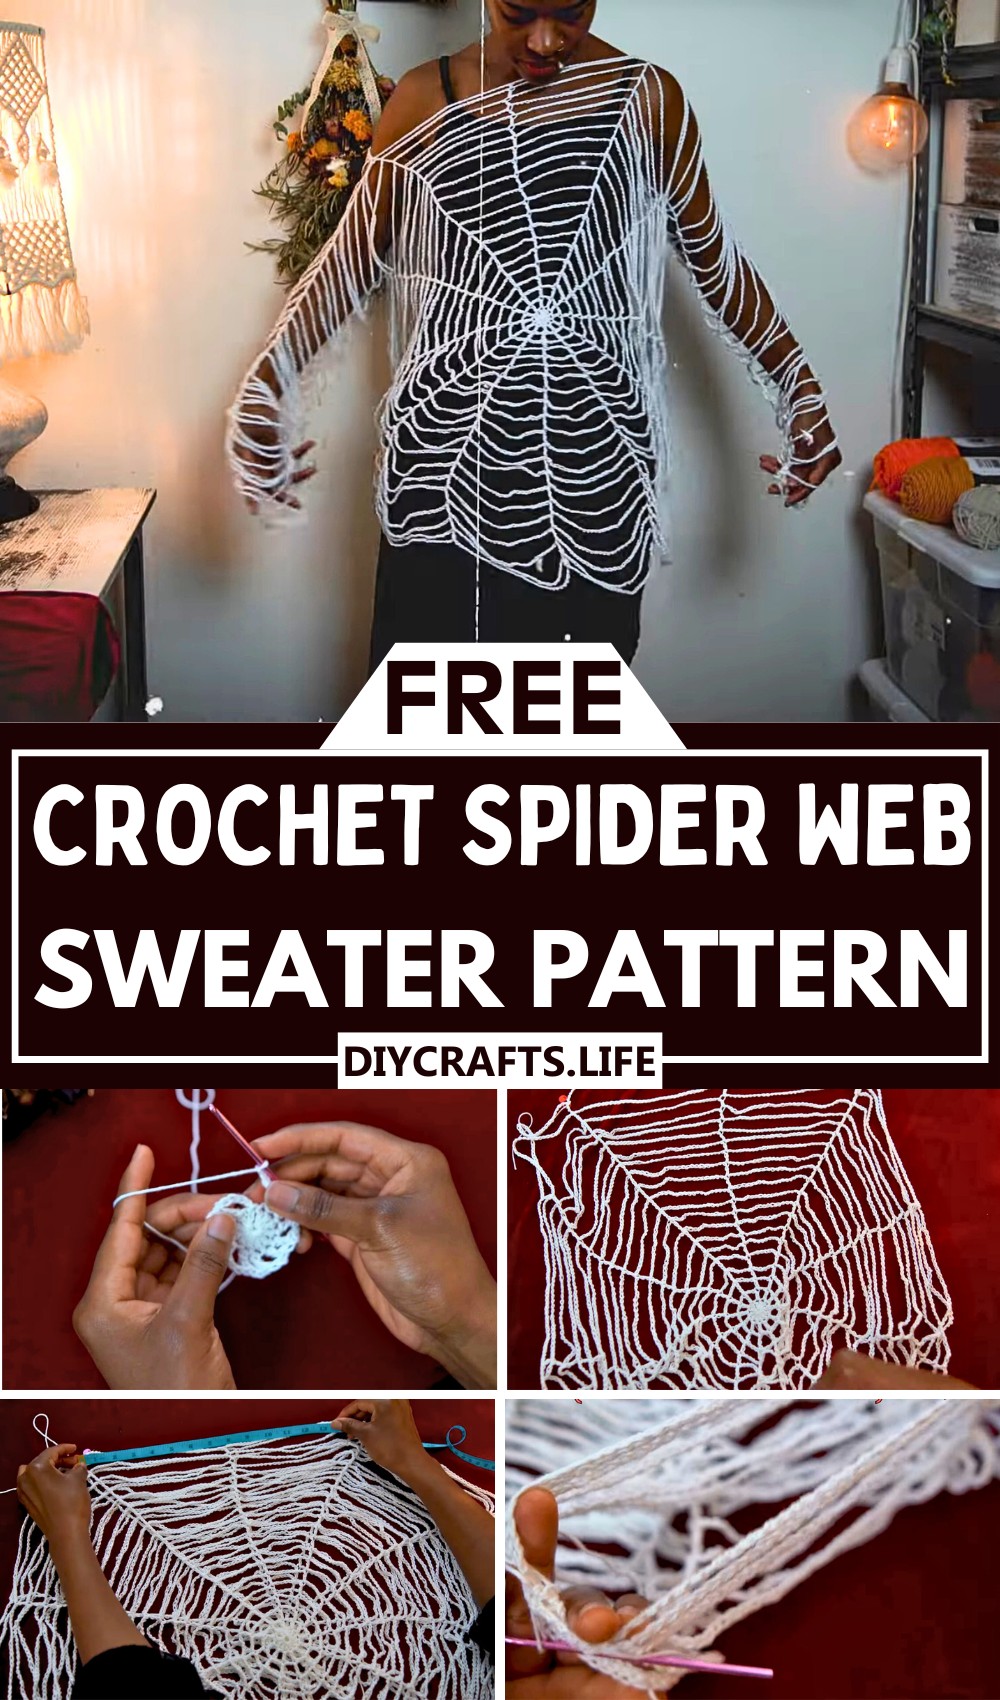
Create a stunning Crochet Spider Web Sweater that's as captivating as it is versatile. This distressed design combines bold style with everyday comfort, making it perfect for all seasons. Its intricate web pattern adds a touch of uniqueness, ideal for layering or making a solo statement.

This sweater stands out for its lightweight durability and distinct spiderweb design, making it a remarkable addition to any wardrobe. Perfect for Halloween events or casual outings, it’s functional yet stylish. Its breathable fabric offers comfort, and the pattern’s stretch ensures it suits all body types beautifully.
Crochet Spider Web Sweater
Crafting the Crochet Spider Web Sweater is easier than it looks! Whether you're a beginner or an expert, this project suits all skill levels. The step-by-step instructions make it easy to customize for sizes XS to 5XL. The design’s creative potential lets you play with colors and textures, showing off your individuality.
Materials and Preparation
Materials Needed:
- Yarn: Medium-weight yarn (specific brand not mentioned in the video – choose a yarn suitable for sweaters with good drape).
- Crochet Hook: Recommended size to match yarn weight (size not explicitly provided – a 4.0mm–6.0mm hook works well for medium-weight yarns).
- Stitch Markers or Sewing Clips: For marking edges and specific stitches.
- Scissors: For cutting yarn.
- Yarn Needle: To weave in ends.
Optional: Purchase the written pattern (available in sizes XS–5XL) from the creator’s online shop (linked in the video description) for exact stitch counts.
Abbreviations and Notes
Abbreviations:
- CH: Chain
- DC: Double Crochet
- SC: Single Crochet
- SL ST: Slip Stitch
- St(s): Stitch(es)
Notes:
- The beginning CH 3 in each row is counted as a DC.
- The sweater is worked in separate panels (front and back) that are sewn together, with openings for the neckline and armholes.
- Sleeves are attached later and worked in rounds.
- Customize sizing by adjusting the number of stitches in the neckline and sleeve sections or adding rows.
Gauge, Approximate Size, and Pattern Notes
Gauge:
- The gauge is not explicitly mentioned in the tutorial. A swatch is recommended if you want exact sizing.
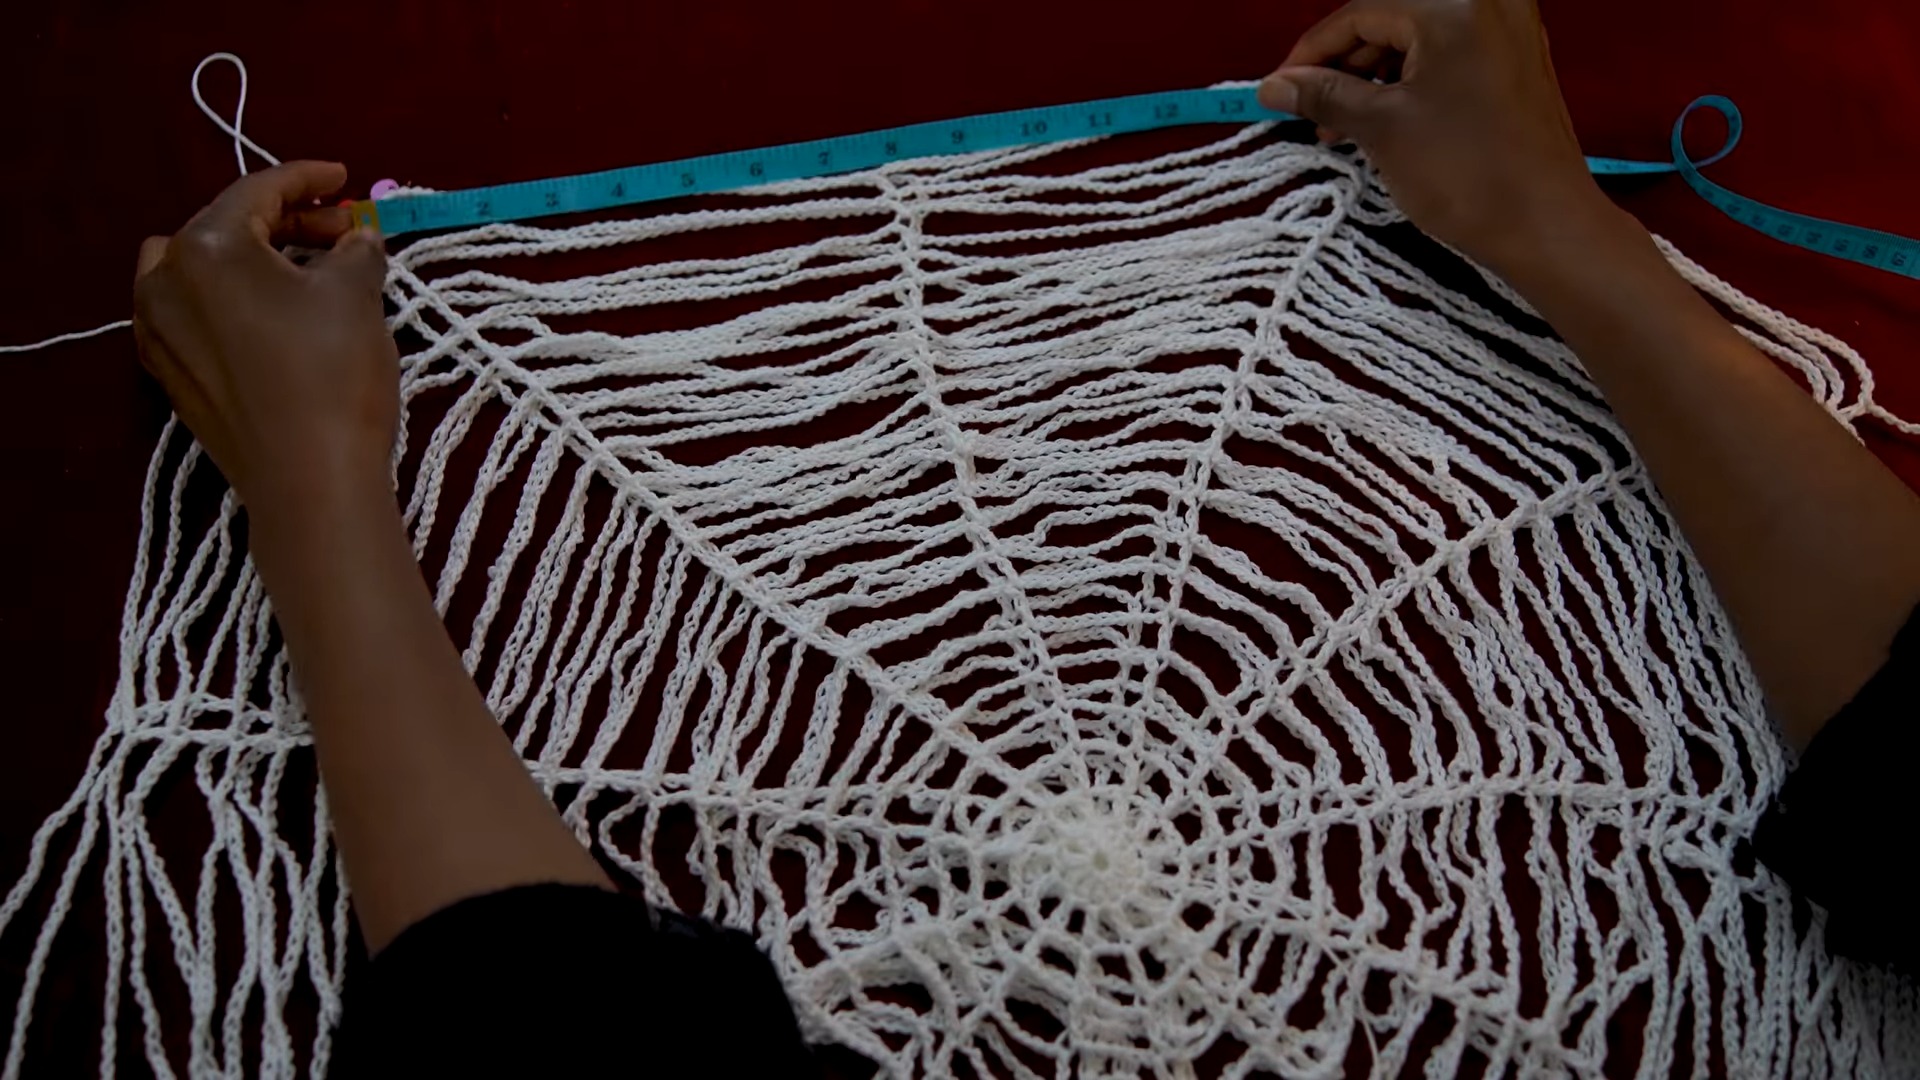
Approximate Size:
- The example demonstrates a neckline measuring 16 inches across with 40 chain spaces per panel. Adjust the chain spaces for alternate sizing if needed.
Special Techniques:
- Magic Ring: Used to work a circular foundation.
- Invisible Stitch: Used for seamless joins when connecting panels and creating side seams.
Step-by-Step Pattern
Front and Back Panels:
-
Row 1:
- Start with a magic ring.
- Chain 3 (counts as DC) and work 11 DC into the ring (you'll have 12 DC total).
- Pull the magic ring closed and SL ST into the third chain of the initial CH 3.
-
Row 2:
- Chain 5 (CH 3 as DC + CH 2 as space).
- Mark the third chain with a stitch marker for clarity.
- Work (DC, CH 2) into each of the 12 stitches around.
- End with a SL ST into the third chain of the initial CH 3.
-
Rows 3–21:
- Chain 3 (counts as DC) and chain 2 more than the previous row's chain space.
- For Row 3, CH 4 between each DC.
- Continue increasing the chain space by 2 chains per row until Row 21 (ending with a chain space of 40 chains between each DC).
- Always end with a SL ST into the third chain of the initial CH 3.
-
Repeat: Follow the same steps to create the back panel as you did for the front.
Assembly:
-
Connect the front and back panels at the neckline and armholes.
- Leave 16 inches (or desired measurement) for the neckline. Use stitch markers to mark the corners of the collar.
- Use an invisible stitch to connect the panels along the top shoulder edges and bottom of the armholes.
- Test fit and adjust for comfort, adding or removing stitches if necessary.
-
For the side seams, work SL ST into the back loops only of the DC stitches from the bottom of the armhole to the hemline on both sides.
Sleeves:
-
Row 1:
- Attach yarn to the bottom of the armhole with a SL ST and CH 3 (counts as DC).
- Chain 40 and work DC into the next stitch of the armhole seam.
- Repeat (CH 40, DC) around the armhole until the row is complete.
- End with a SL ST into the third chain of the initial CH 3.
-
Rows 2–20:
- Chain 3 (counts as DC) and chain 40 between each DC.
- Continue working around the armhole and end with a SL ST into the third chain of the initial CH 3.
-
Row 21:
- Start with CH 3 (counts as DC) and work 1 more DC in the same stitch to increase.
- CH 40, work 2 DC into the next DC, repeat until the end.
- Finish with a SL ST into the third chain of the initial CH 3.
-
Rows 22–30:
- Chain 3 (counts as DC) and chain 40 between every 2 DC stitches.
- Continue increasing the sleeve length as desired.
- Once your sleeve reaches Row 30, tie off and weave in the ends.
-
Repeat: Create the second sleeve using the same steps.

Finishing Touches:
- Once both sleeves are complete, block the sweater if necessary to shape it properly.
- Test fit, make adjustments as needed, and trim any excess yarn.
Pattern Question
Question: How many stitches are needed for the neckline?
Answer: For the neckline, use 40 chains on each side, which should measure 16 inches across. You can adjust the chain count based on the fit you prefer.
Conclusion
The Crochet Spider Web Sweater blends creativity, comfort, and uniqueness. Its stunning design and practical versatility make it a must-try project for crochet enthusiasts. Whether for a themed event or everyday wear, this sweater brings charm and functionality to your wardrobe.


