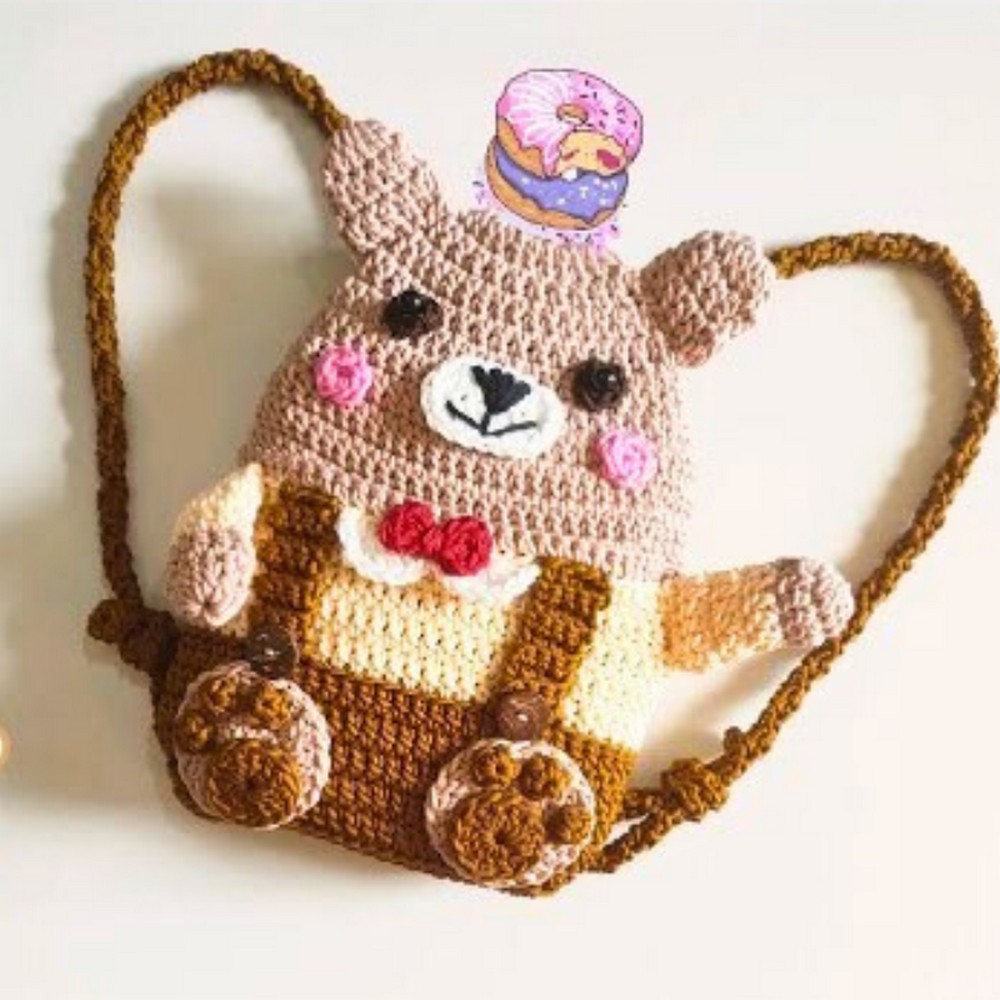
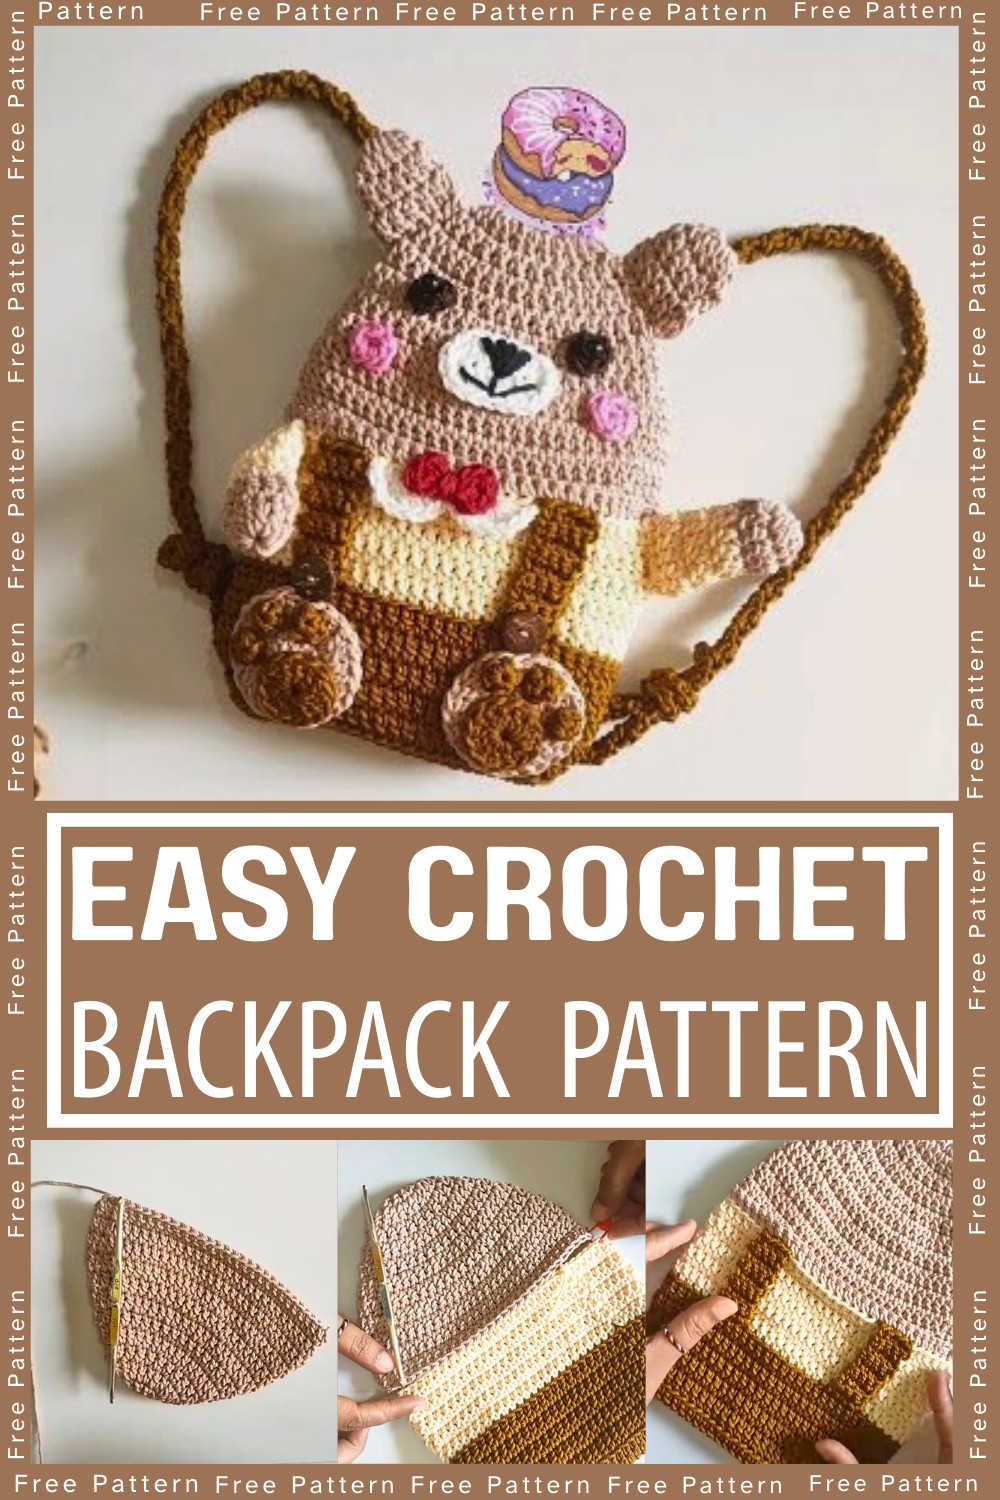
Looking for the perfect blend of adorable and practical? The Crochet Bear Backpack is ideal for kids and crochet lovers alike. Its cute bear-shaped design, generous storage capacity, and soft texture make it both stylish and functional. With this project, you can create a memorable handmade accessory for everyday use or gifting!
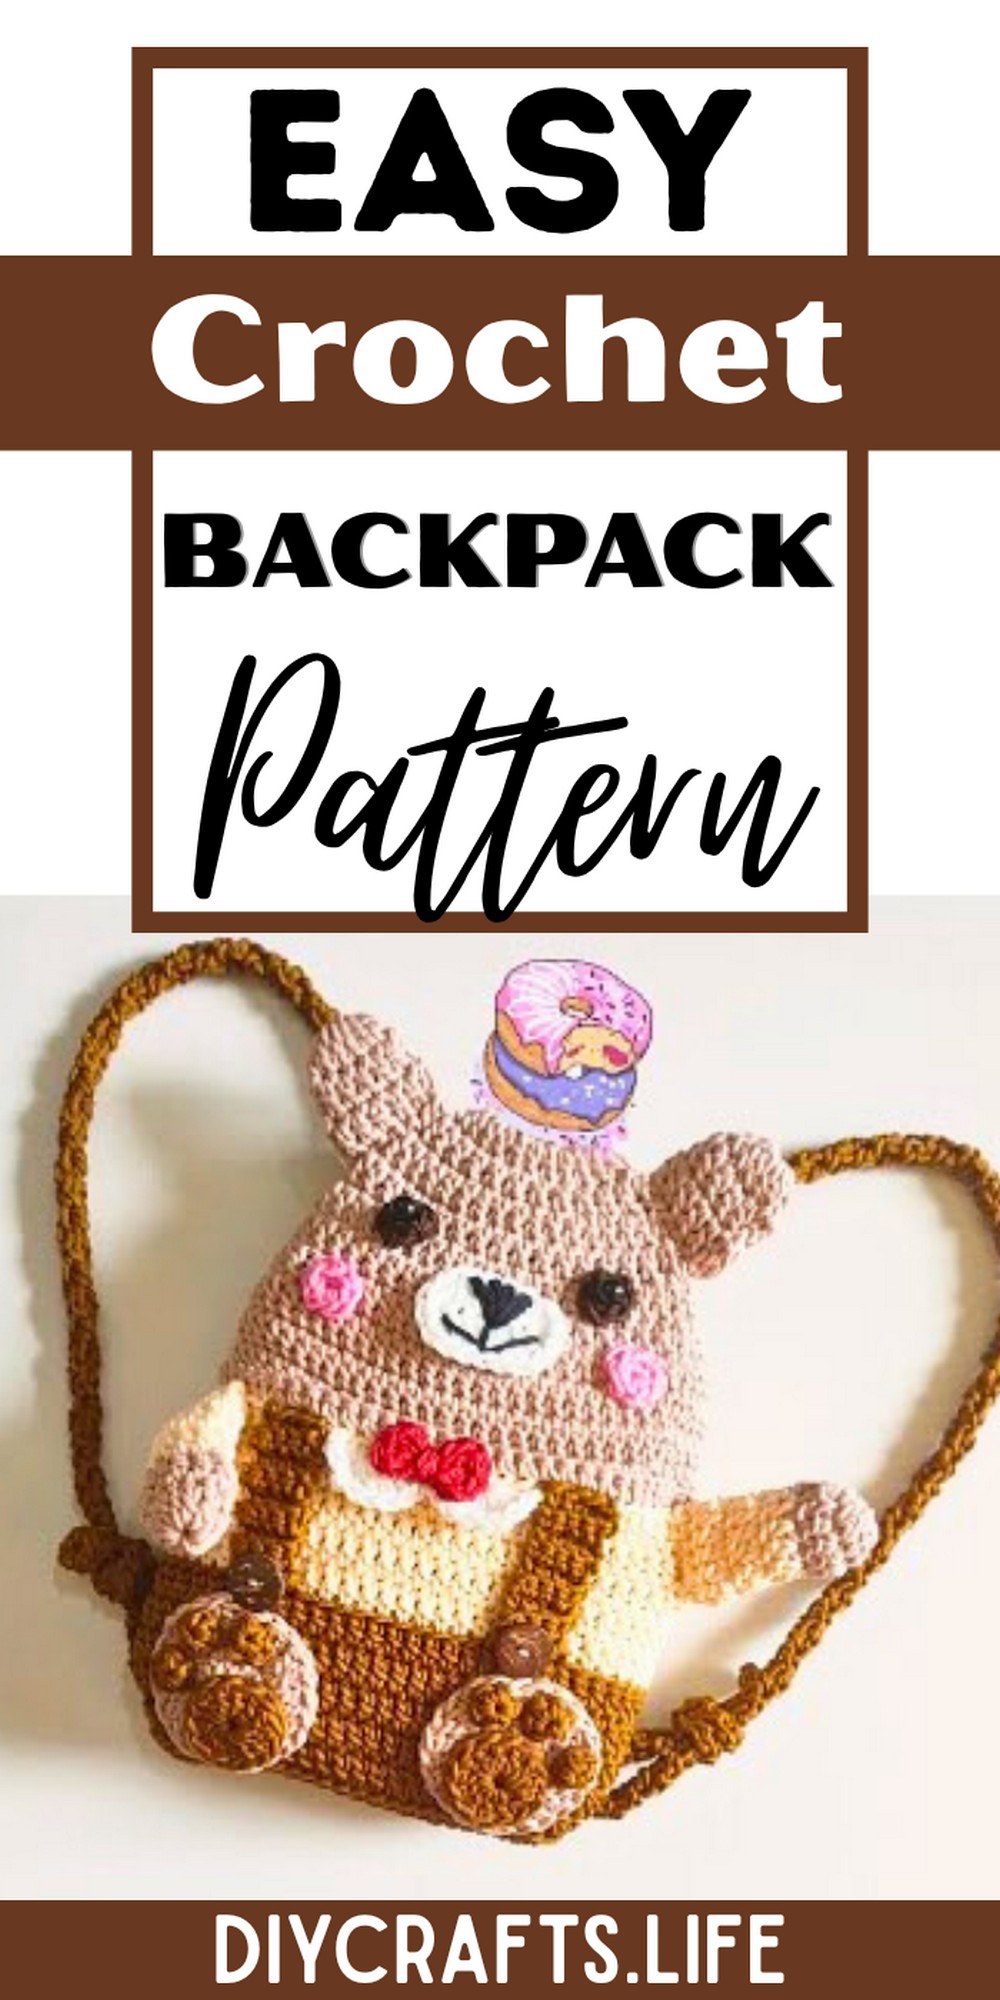
The Crochet Bear Backpack is more than eye-catching—it’s durable, lightweight, and versatile. Perfect for carrying small essentials, this backpack is ideal for kids and on-the-go adults. Its charming bear design adds a playful touch, while the sturdy yarn and thoughtful craftsmanship ensure it is built to last.
Crochet Backpack Pattern
Whether you are new to crochet or a seasoned crafter, this project is tailored for all skill levels. The process includes manageable steps with opportunities to personalize colors and details. Crafting this backpack is not just rewarding but an outlet for creativity, allowing you to produce a functional yet whimsical accessory!
Materials and Preparation
Materials:
- Yarn:
- Onitsuga Polythick Yarn in brown and cream (main colors for the backpack's body).
- White yarn (for decorative details like the collar).
- Hook: Tulip 6/0 crochet hook (4 mm).
- Additional Tools:
- Tapestry needle (for sewing parts together).
- Sewing needle and thread (for the zipper and rings).
- Lighter or match (for finishing the thread edges).
- Two round rings (1.5 cm diameter for straps).
- Zipper (for backpack closure).
- Optional: Ribbon for decoration.
Preparation:
Ensure proper lighting and a comfortable workspace with all materials readily accessible. Optional: familiarize yourself with the process of making Romanian cord ropes (used for straps) if necessary.
Abbreviations and Notes
Abbreviations:
- CH: Chain
- SC: Single Crochet
- DC: Double Crochet
- SS: Slip Stitch
- Back loop only: Crochet into the back loop of the stitch only (used for texture).
- Increase: Two stitches worked into the same space.
Pattern Notes and Tips:
- The backpack body is worked in both standard loops and back loops for added texture.
- Be careful when switching colors to maintain clean transitions.
Gauge, Approximate Size, and Pattern Notes
Gauge:
Not explicitly provided, but use the suggested tools and yarn to replicate the size in the tutorial.
Approximate Size:
- Finished backpack dimensions: Roughly 25 cm x 20 cm (based on video visuals).
Special Techniques:
- Back loop SC/DC for the textured body.
- Fan motif stitches for decorative details on the collar.
Gauge swatch is optional but recommended to ensure sizing aligns with the tutorial.
Step-by-Step Pattern
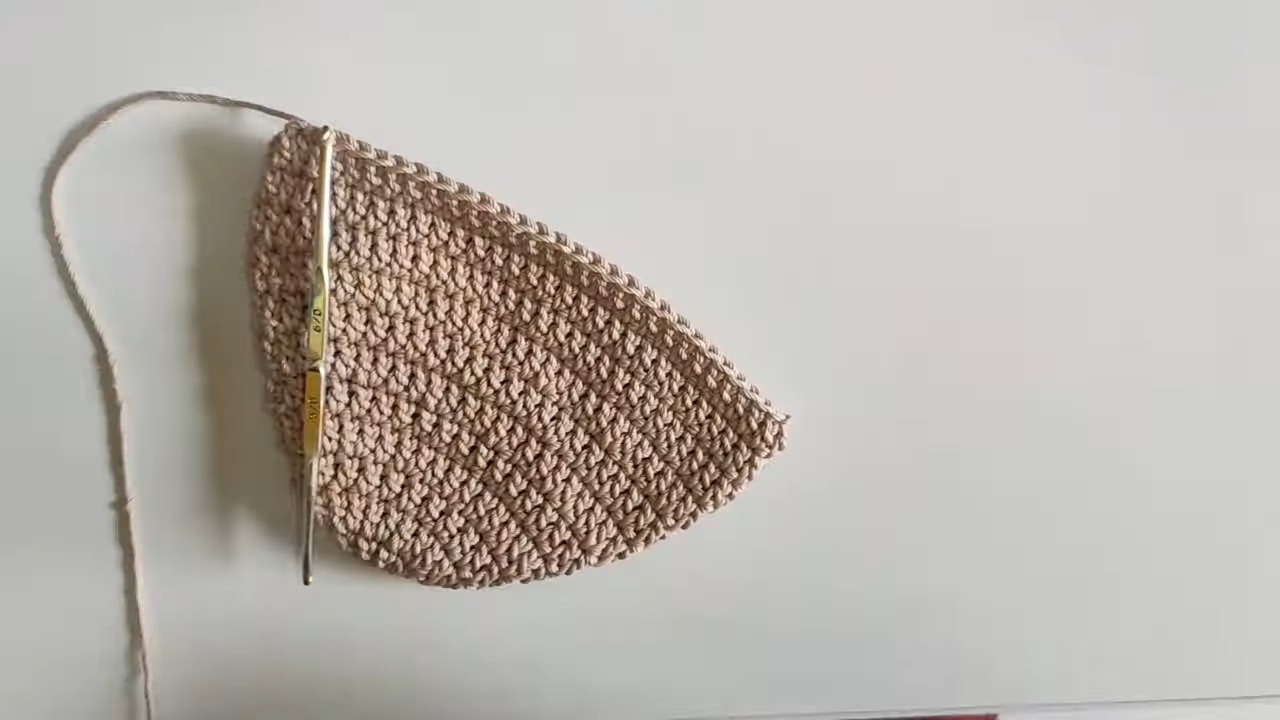
Part 1: Backpack Body
- Foundation: Bottom Base
- Make a slip knot and CH 25.
- Skip 3 CH from the hook. DC 4 in the same stitch.
- DC across the next 20 CH.
- In the last CH, make 5 DC. Turn and work along the opposite side: DC across the next 20 CH.
- SS to join. (Row 1 total: 50 DC).
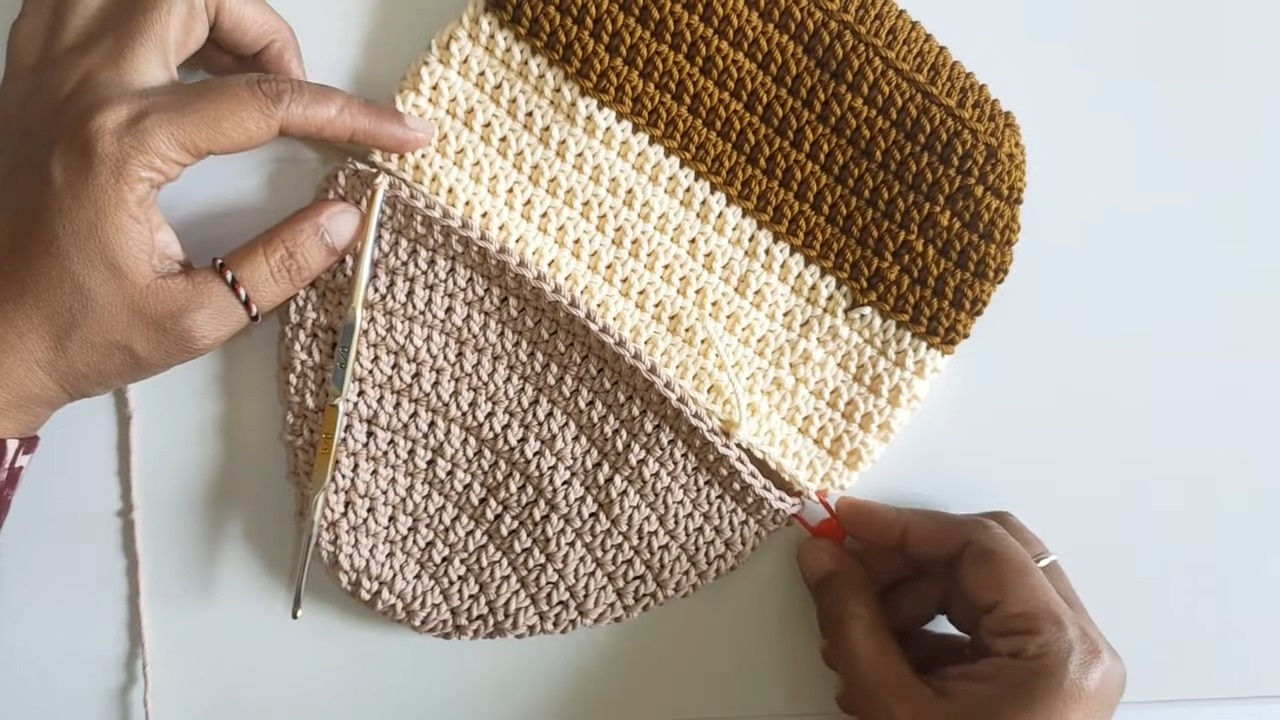
- Rows 2–6 (Brown Yarn):
- Begin each row with 2 CH. Work DC into the back loops only for texture.
- Row 3: Incorporate increases every few stitches for shaping. (Row total: 60 DC).
- Rows 4–6: Continue working texture with back-loop DC, maintaining consistent stitch count (60 DC total per row). Break off brown yarn.
- Rows 7–11 (Cream Yarn):
- Switch to cream yarn and repeat back-loop DC technique across all rows, maintaining stitch count. After Row 11, fasten off cream yarn.
Part 2: Bear Head
- Foundation Circle
- Make a slip knot and CH 5. Join with SS to form a ring.
- CH 2 and work 12 DC into the ring. SS to join. (Row 1: 12 DC).
- Rows 2–6
- Row 2: CH 2, then make 12 increases (24 DC total). SS to join.
- Row 3: CH 2, DC evenly into each stitch (24 DC total). SS to join.
- Row 4: Use a pattern of 1 DC, 1 DC increase. Repeat 12 times (36 DC). SS to join.
- Row 5: DC evenly into each stitch (36 DC). SS to join.
- Row 6: Work a pattern of 2 DC, 1 DC increase for shaping (48 DC). SS to join.
- Row 7
- CH 25 to create the backpack opening. Skip 20 stitches and join the chain to the next stitch. Resume DC along the rest of the row. SS to join.
- Rows 8–11
- Continue working DC evenly into each stitch, including the CH 25 section. SS to join.
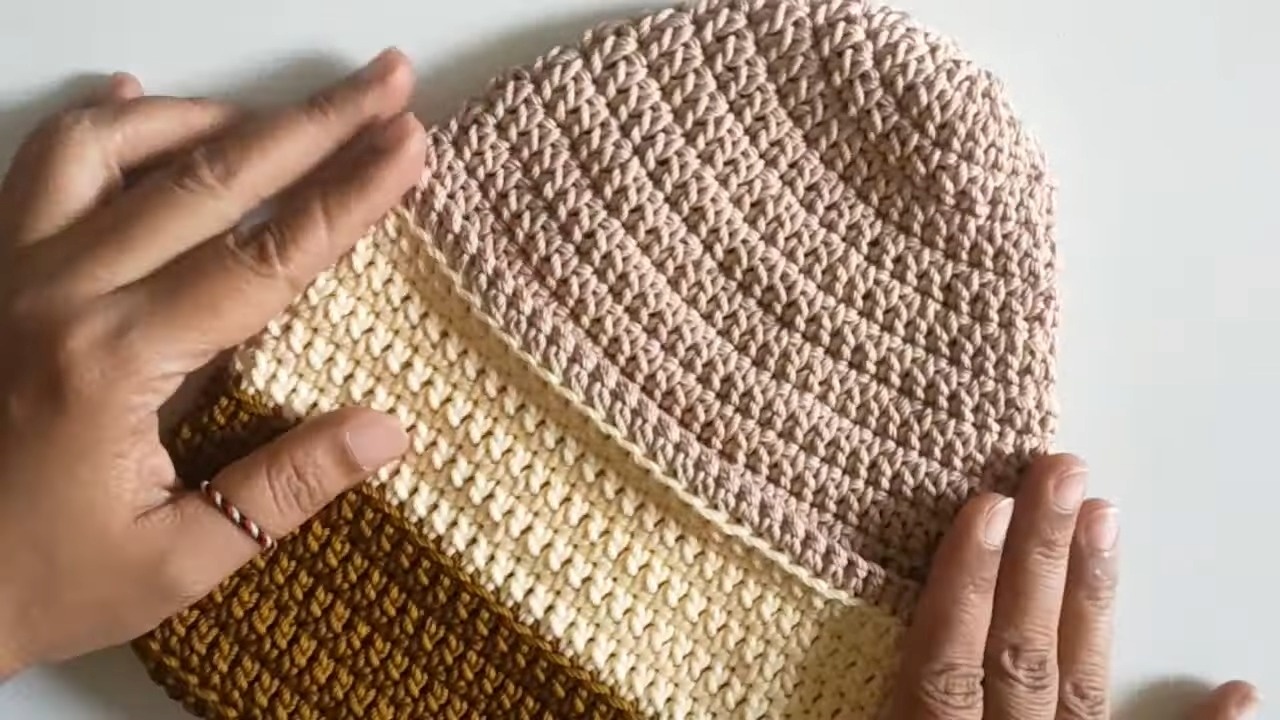
Part 3: Assembly
- Joining Body and Head
- Align the backpack body and head. Use SC stitches to join:
- Top (brown section): Insert into two loops.
- Bottom (cream section): Insert only into back loops for texture.
- Align the backpack body and head. Use SC stitches to join:
- Straps
- Skip 6 stitches from the body’s side and attach brown yarn.
- Create a strap by working SC back loops for 9 rows. Repeat on the opposite side.
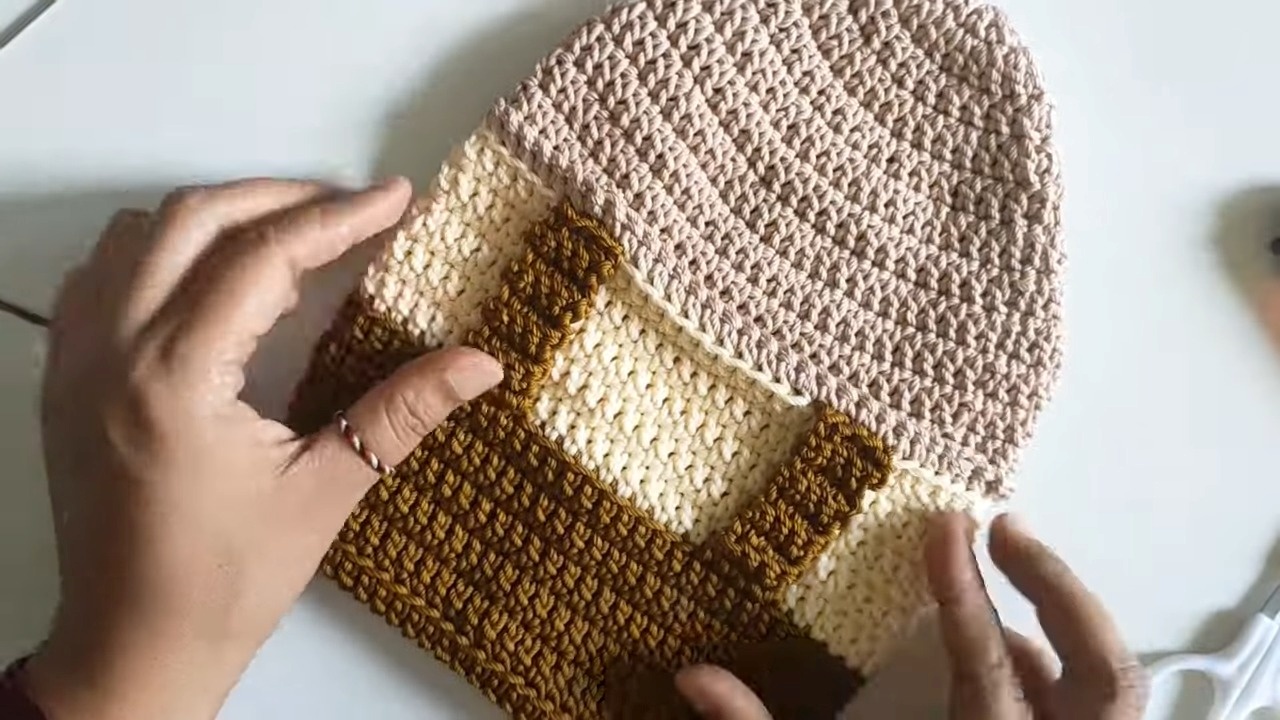
Part 4: Details and Decorations
- Collar
- In white yarn: Work fan motifs by skipping two stitches and filling the next stitch with 7 DC. Alternate with SC, skipping two stitches between motifs.
- Ears, Hands, and Feet
- Follow the "Bear Head" pattern for smaller parts (reduce stitch counts and rows for size).
- Final Touches
- Attach zipper and rings.
- Sew straps and decorative elements using tapestry needle and thread.
- Finish any loose ends with lighter, then trim neatly.
Pattern Question
Question: Can I adjust the size of the backpack?
Answer: Absolutely! You can easily scale the size by altering the number of foundation chains and rows. Adjusting yarn thickness and hook size also allows for larger or smaller variations to suit your needs.
Conclusion
The Crochet Bear Backpack is fun to make, practical to use, and irresistibly cute. Whether as a personal project or a gift, it’s an ideal way to combine creativity with functionality. Take on this delightful challenge, and craft an accessory that’s truly one of a kind!


