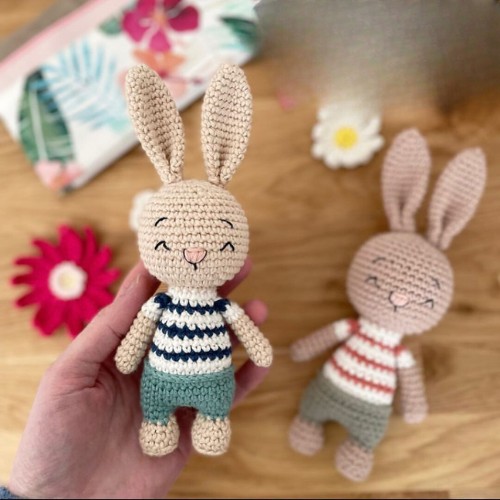
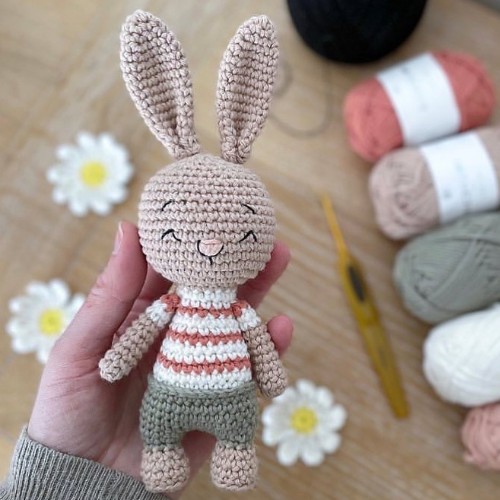
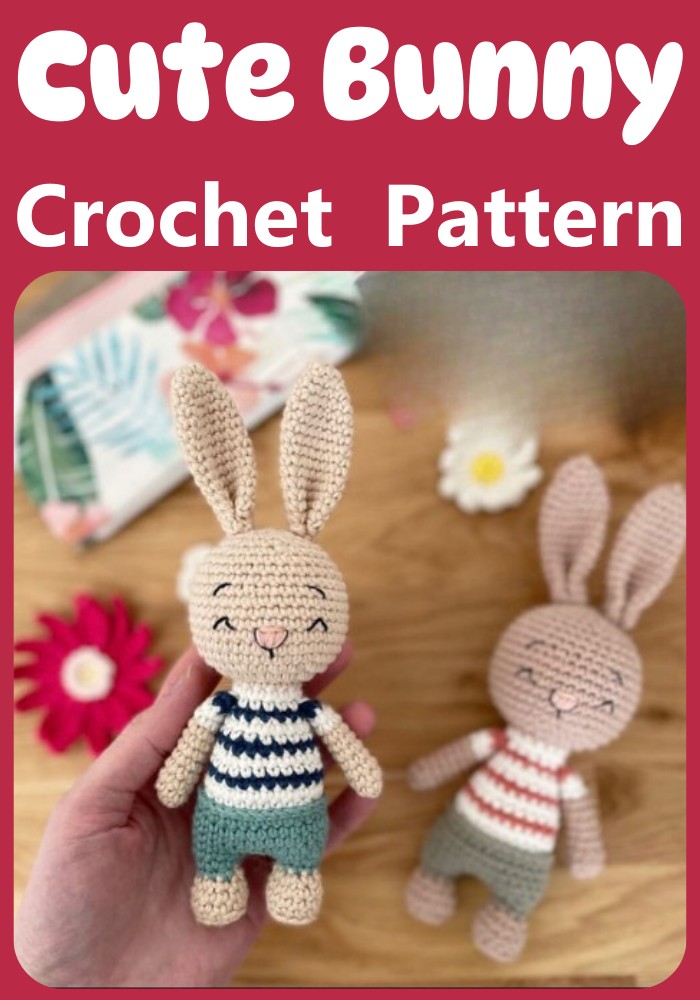
The Crochet Bunny Amigurumi Pattern introduces a tiny-sized, irresistibly cute bunny, uniquely dressed and sporting long, alert ears, offering an option for complete color customization across its entire body. Adding to its adorable charm are the detailed facial features, meticulously created with black yarn, enhancing its overall appeal. This pattern allows crafters to personalize their bunny, making it a perfect and thoughtful handmade gift.
Materials:
- Crochet 2.5 mm
- Needle
- scissors
- Fibrefill
- yarn: beige (055), white (002), pink (067), green (076), orange (069)
- Thin black yarn
Abbreviations:
- Sc - single stitch
- slst- slip stitch
- ch - chain
- inc - increase
- dec - decrease
- BLO - back loop only
Step By Step Pattern
Arms x 2:
With the beige yarn:
- 1. 8 sc in a magic ring (8)
- 2-8. 8 sc (8) (7 rounds)
- With the white yarn:
- 9-10. 8 sc (8) (2 rounds)
With the orange yarn:
- 11. 8 sc (8)
Fasten off and weave the yarn end. You don't need to keep a tail for sewing as we will directly crochet the arms to the body. Don't stuff the arms.
Legs x2:
With the beige yarn:
- 1. 8 sc in a magic ring (8)
- 2. (1 sc, 1 inc) x 4 (12)
- 3 BLO 12 sc (12)
- 4-5.12 sc (12) (2 rounds)
- 6. (1 sc, 1 dec) x 4 (8)
With the green yarn:
- 7. 8 sc (8)
- 8. (1 sc, 1 inc) x 4 (12)
Fasten off and weave the yarn end.
Make the second leg in the same way but don't cut the yarn at the end and follow the instructions:
- 9. 3 ch, 12 sc in the second leg, 3 sc (along the chain), 12 sc in the other leg, 3 sc (along the other side of the chain).
Put the stich marker in the last stitch. The round counts 30 stiches. Stuff firmly the legs.
Body:
- With the green yarn
- 1-4. 30 sc (30) (4 rounds)
Make 15 sc and put the stich marker. Respect the indicated colors for each round to make the stripes of the t-shirt. - 5. (8 sc, 1 dec) x 3 in the BLO (27) white
- 6. 27 sc (27) white
- 7. (7 sc, 1 dec) x 3 (24) orange
- 8. 24 sc (24) white
- 9. (6 sc, 1 dec) x 3 (21) white
- 10. 21 sc (21) orange
- 11. (5 sc, 1 dec) x 3 (18) white
- 12. 18 sc (18) white
- 13. (4 sc, 1 dec) x 3 (15) orange
In the next round, you will crochet the arms (taking the two opposite stiches).
- 14. 4 sc, 3 sc with the arm, 5 sc, 3 sc with the second arm (15) white
- 15. 15 sc (15) white
Make 4 sc and and put the stich marker. Stuff firmly the body and don't cut the yarn. With a green yarn, make 27 slst in the front loops of the round 5 positionning the rabbit with the head facing you and the feet facing out.
Head:
With beige yarn
- 16. 15 sc (15)
- 17. (4 sc, 1 inc) x 3 (18)
- 18. 18 inc (36)
- 19. (5 sc, 1 inc) x 6 (42)
- 20-25. 42 sc (42) (6 rounds)
- 26. 6 sc, (1 dec, 12 sc) x 2, 1 dec, 6 sc (39)
- 27. 39 sc (39)
- 28. (11 sc, 1 dec) x 3 (36)
- 29. 36 sc (36)
- 30. (4 sc, 1 dec) x 6 (30)
- 31. (3 sc, 1 dec) x 6 (24)
- 32. (2 sc, 1 dec) x 6 (18)
- 33. (1 sc, 1 dec) x 6 (12)
- 34. 6 dec (6)
Stuff firmly the head. Fasten off and weave the yarn end.
Ears x2:
With beige yarn
- 1. 6 sc in a magic ring (6)
- 2. (1 sc, 1 inc) x 3 (9)
- 3 9 sc (9)
- 4. (2 sc, 1 inc) x 3 (12)
- 5. (3 sc, 1 inc) x 3 (15)
- 6-16. 15 sc (15) (11 rounds)
Don't stuff the ears. Close with 7 sc. Fasten off and keep a long yarn for sewing. Finally, fold the ears lengthwise and sew the very bottom
Last step:
- Embroider the noise with pink yarn at round 22, the eyes with the thin black yarn at round 23, and eyebrows at round 26.
- Sew the ears at the top of the head at round 31-32.
Designer: Galounette_crochete On Instagram


