Create a cozy and stylish chunky pumpkin pillow that’s perfect for decorating your home or gifting. With super fluffy yarn and simple crochet techniques, this project offers a beginner-friendly way to craft something both beautiful and functional for fall.
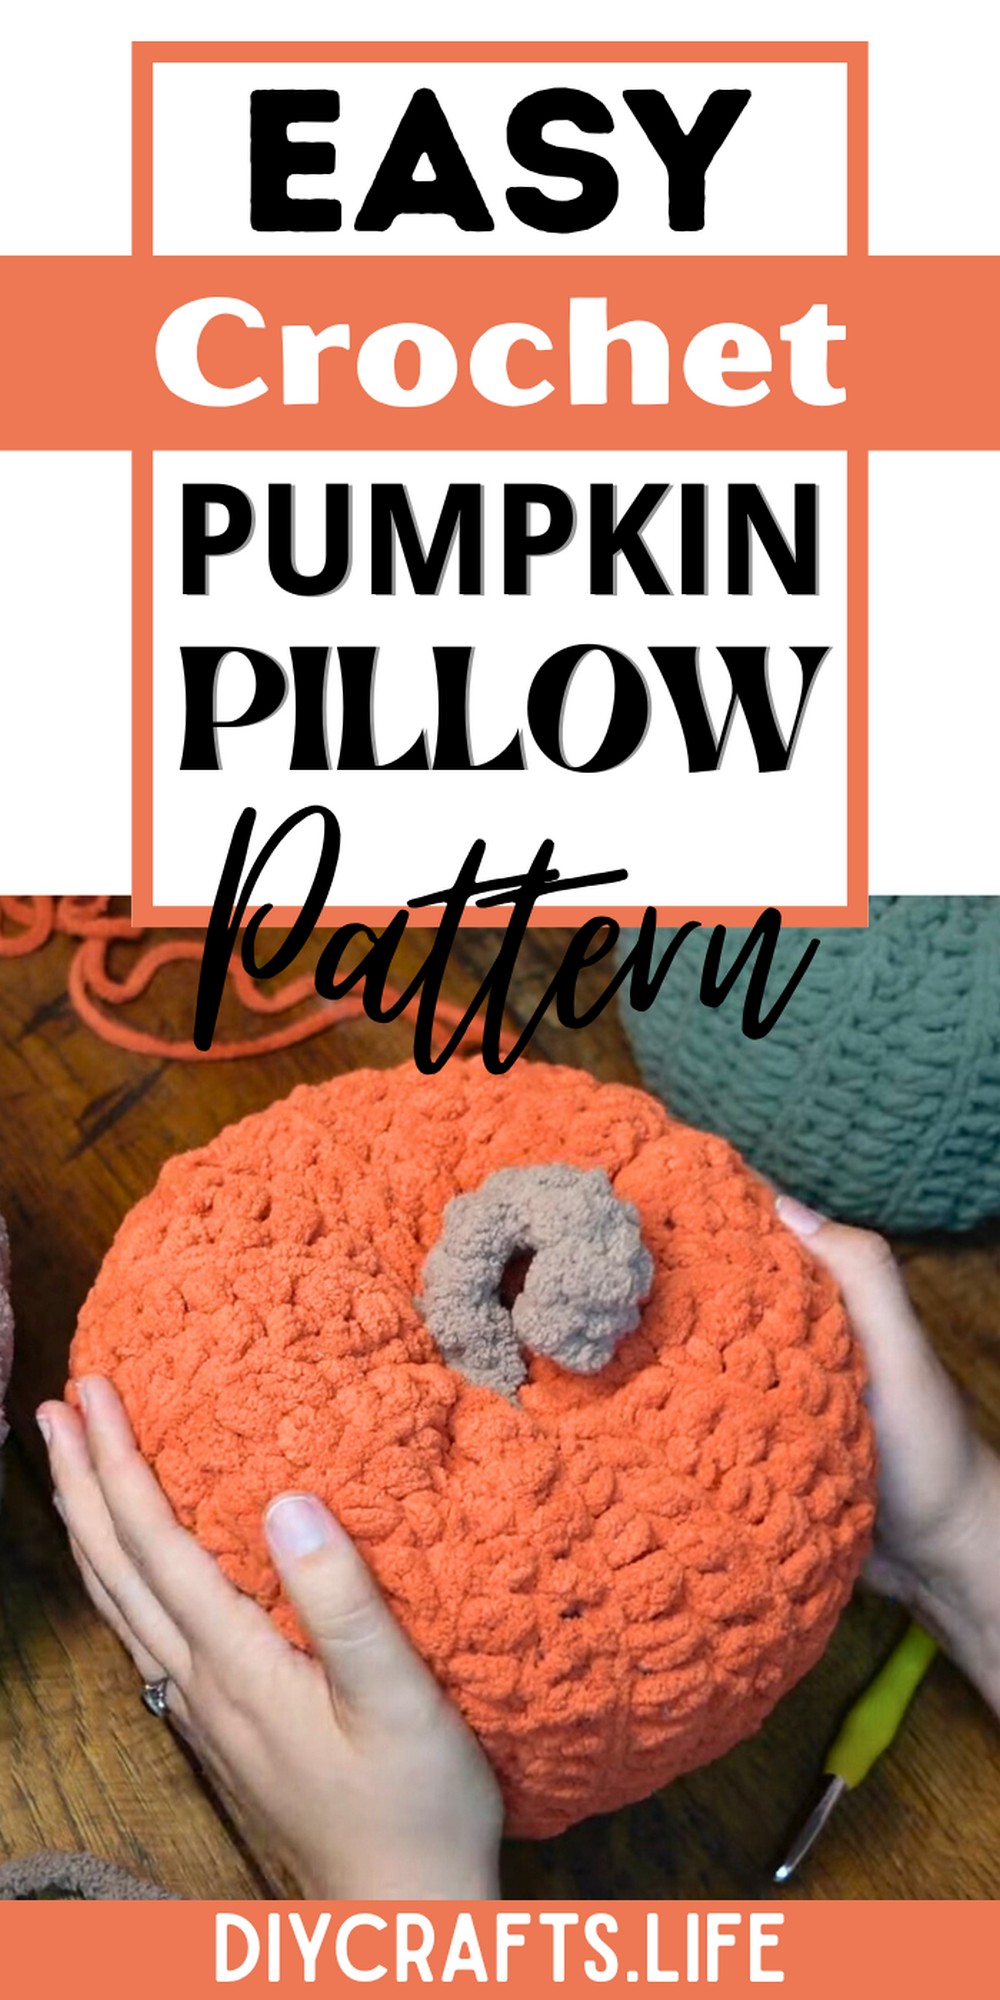
The pumpkin pillow is soft, durable, and charming—ideal for seasonal decor or for use as a comfortable throw pillow. Its chunky texture adds warmth and personality to any space, while its handmade quality makes it a standout piece that’s functional and full of character.
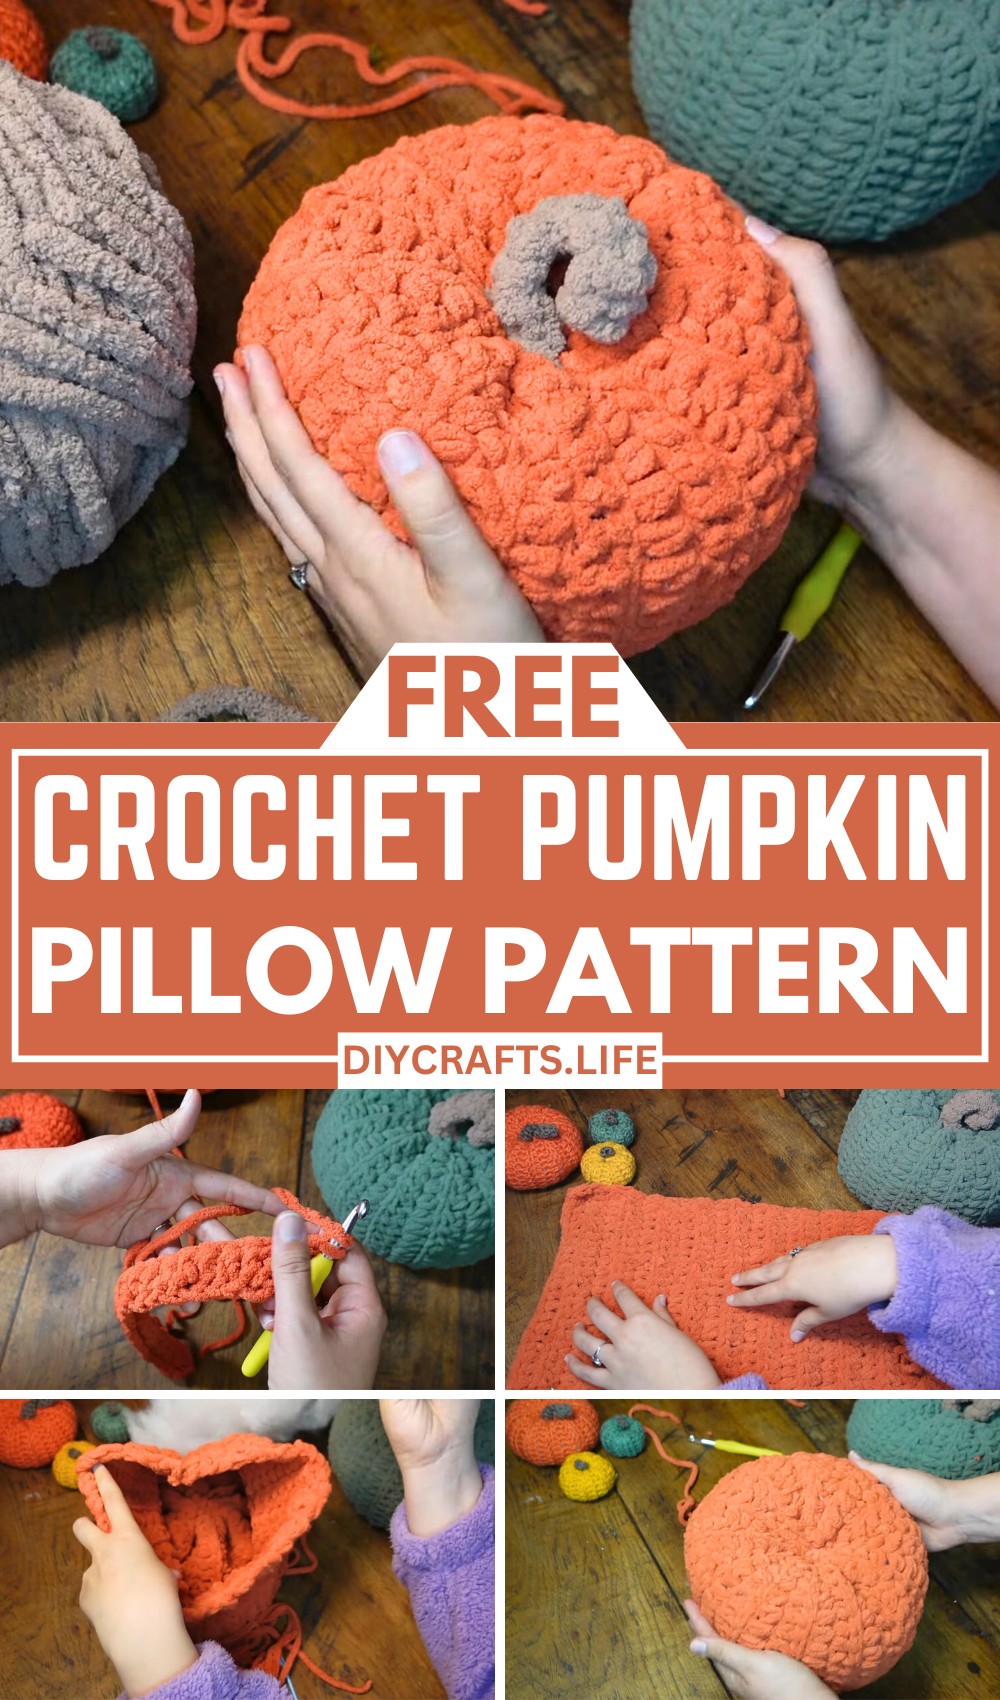
Crochet a Pumpkin Pillow
This pumpkin pillow is easy to crochet, even for beginners, and offers endless possibilities for customization in size and color. Its simple sewing and crochet steps enable you to unleash your creativity while creating a fun and satisfying project suitable for any skill level.
Materials and Preparation
To create this chunky crochet pumpkin pillow, gather the following materials:
- Yarn: Bernat Baby Blanket Yarn by Yarnspiration
- Pumpkin body: Color "Orange Leaf"
- Stem: Color "Mushroom"
- Hook: 8mm crochet hook
- Needle: Large darning needle (with thick eye hole, suitable for super bulky yarn)
- Stuffing: Polyfill or alternative (e.g., pillow stuffing, paper towels, tissue paper)
Optional Notes:
Using super bulky yarn ensures the project will work up quickly, but keep in mind that fuzzy yarn can make it harder to see stitches. Be patient, especially if you're a beginner.
Abbreviations and Notes
Abbreviations:
- CH: Chain
- HDC: Half Double Crochet
- SC: Single Crochet
- YO: Yarn Over
Pattern Notes:
- Tip for beginners: If your tension changes as you work, this could lead to unwanted shaping (e.g., triangular distortions). Focus on maintaining even tension.
- Important Step: Remember to chain 2 at the end of rows when crocheting the body – this prevents the project from "shrinking" into a triangle shape.
- Special Technique: For a textured, ridged effect on the pumpkin body, work only into the back loop of stitches.
Gauge, Approximate Size, and Pattern Notes
Gauge:
Gauge isn’t crucial for this pattern, but aim for even tension throughout using bulky yarn.
Finished Dimensions:
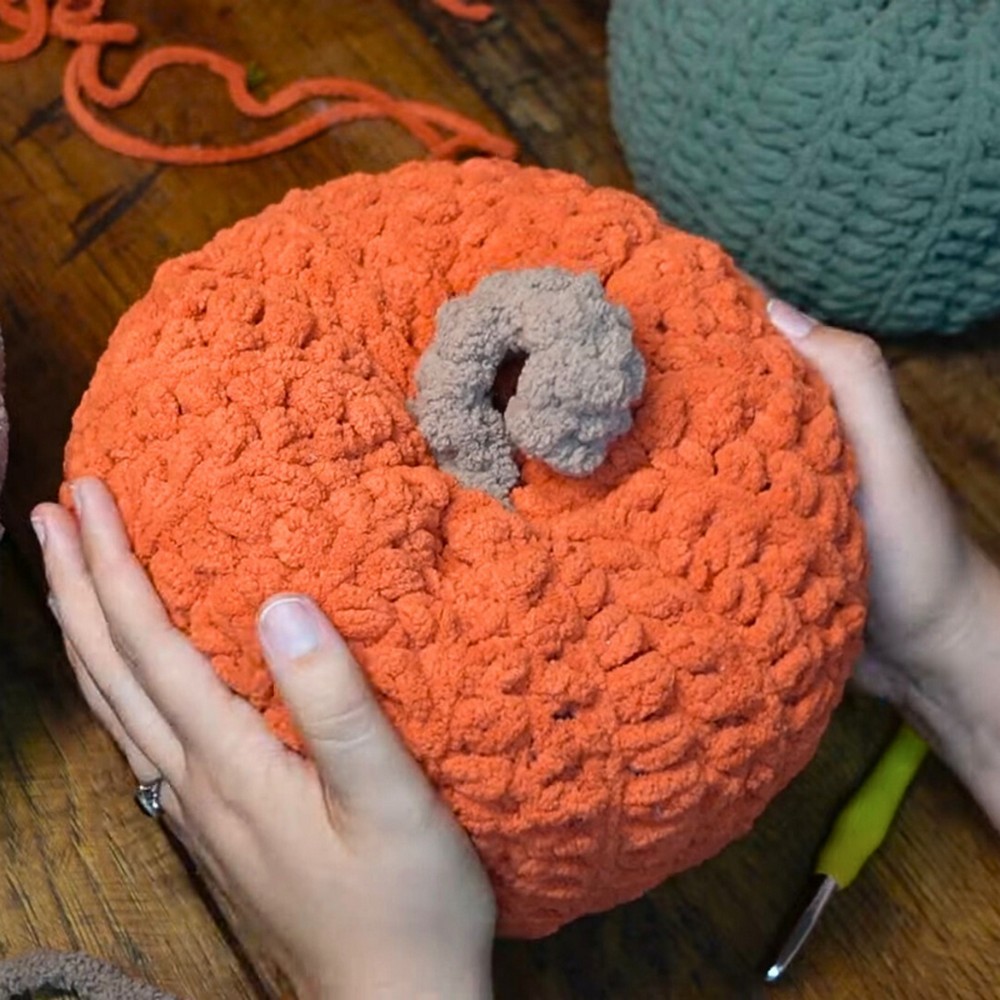
The completed pumpkin pillow features 13 ridges and is approximately the size of a small decorative pillow, ideal for placing on couches or beds.
Pattern Style:
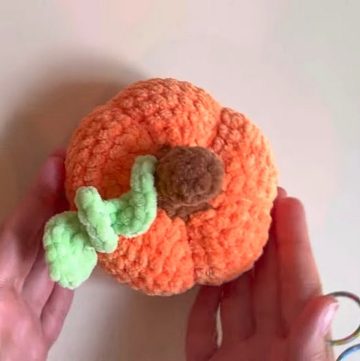
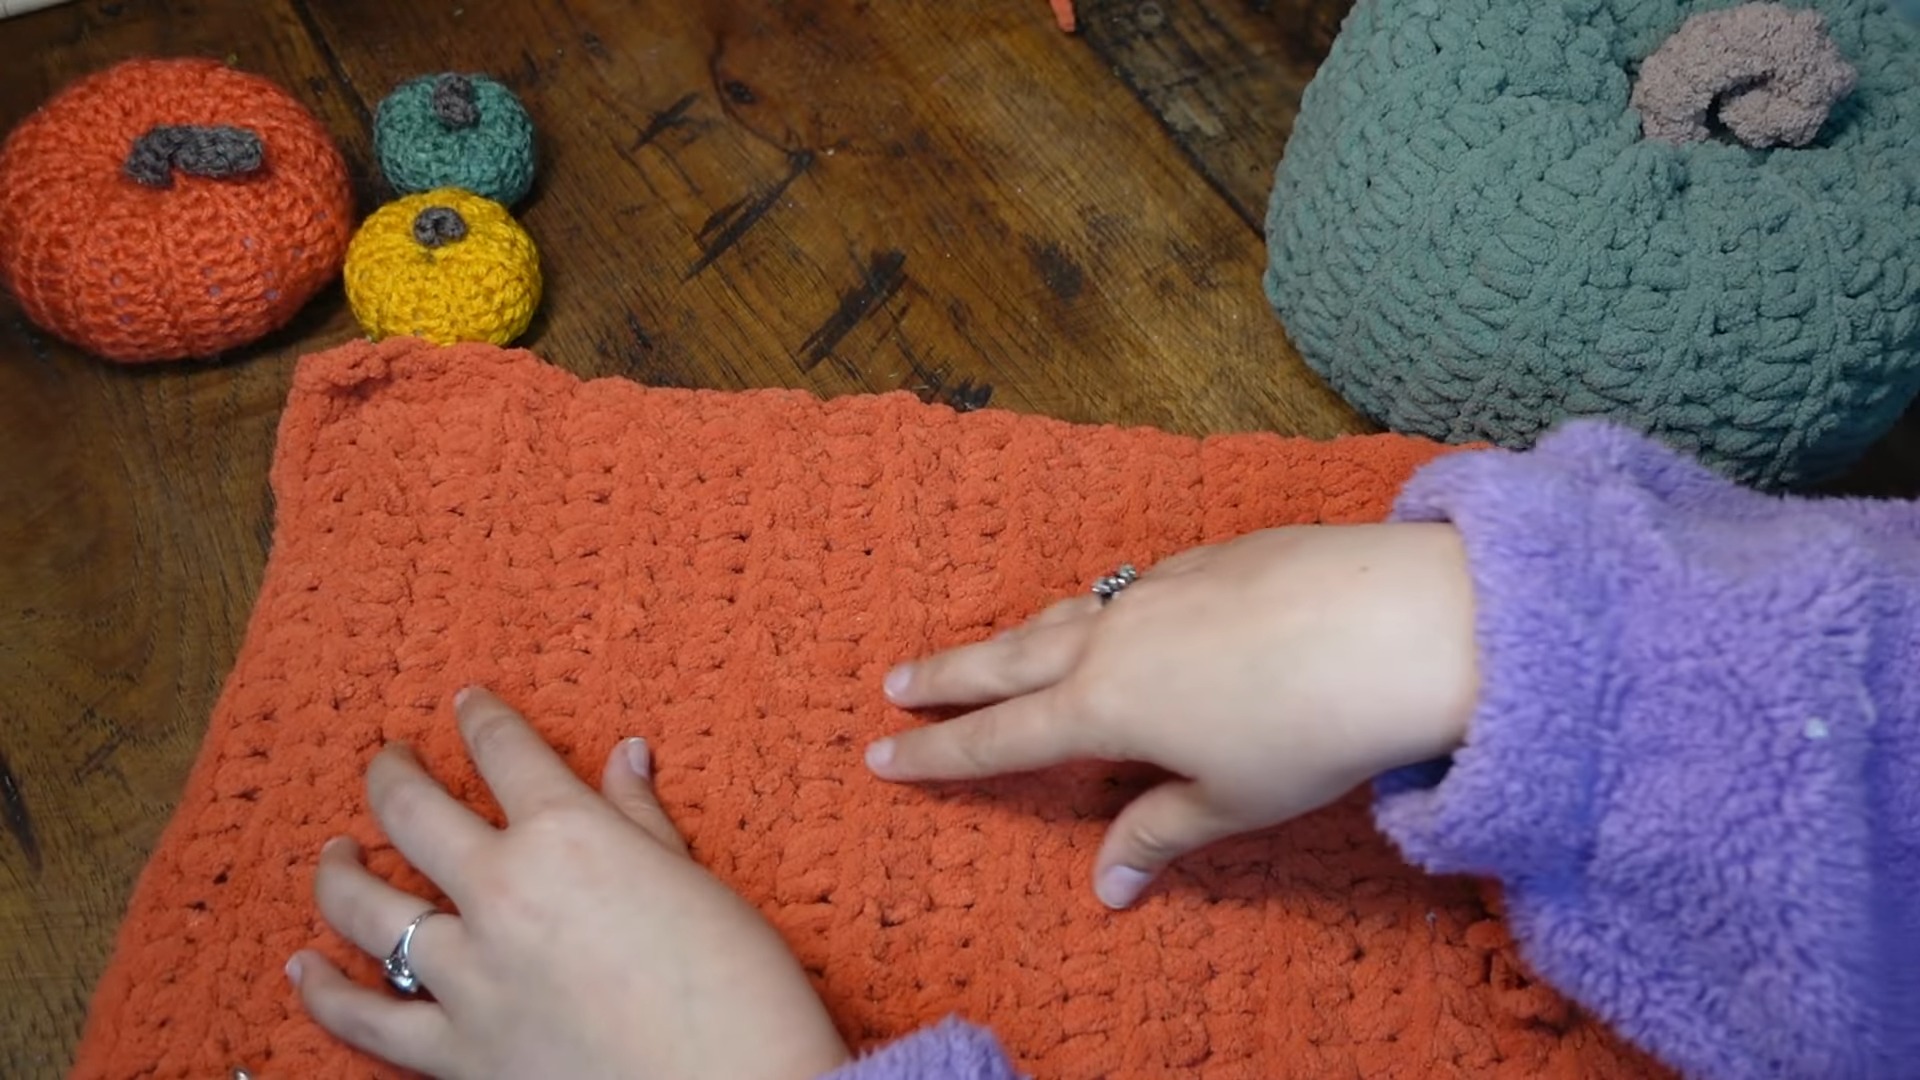
- The pumpkin is made by creating a rectangular body through rows of half double crochet, sewing it into a cylindrical shape, and cinching the top and bottom to form the pumpkin texture.
- The stem is crocheted separately and attached after shaping the pumpkin.
Step-by-Step Pattern
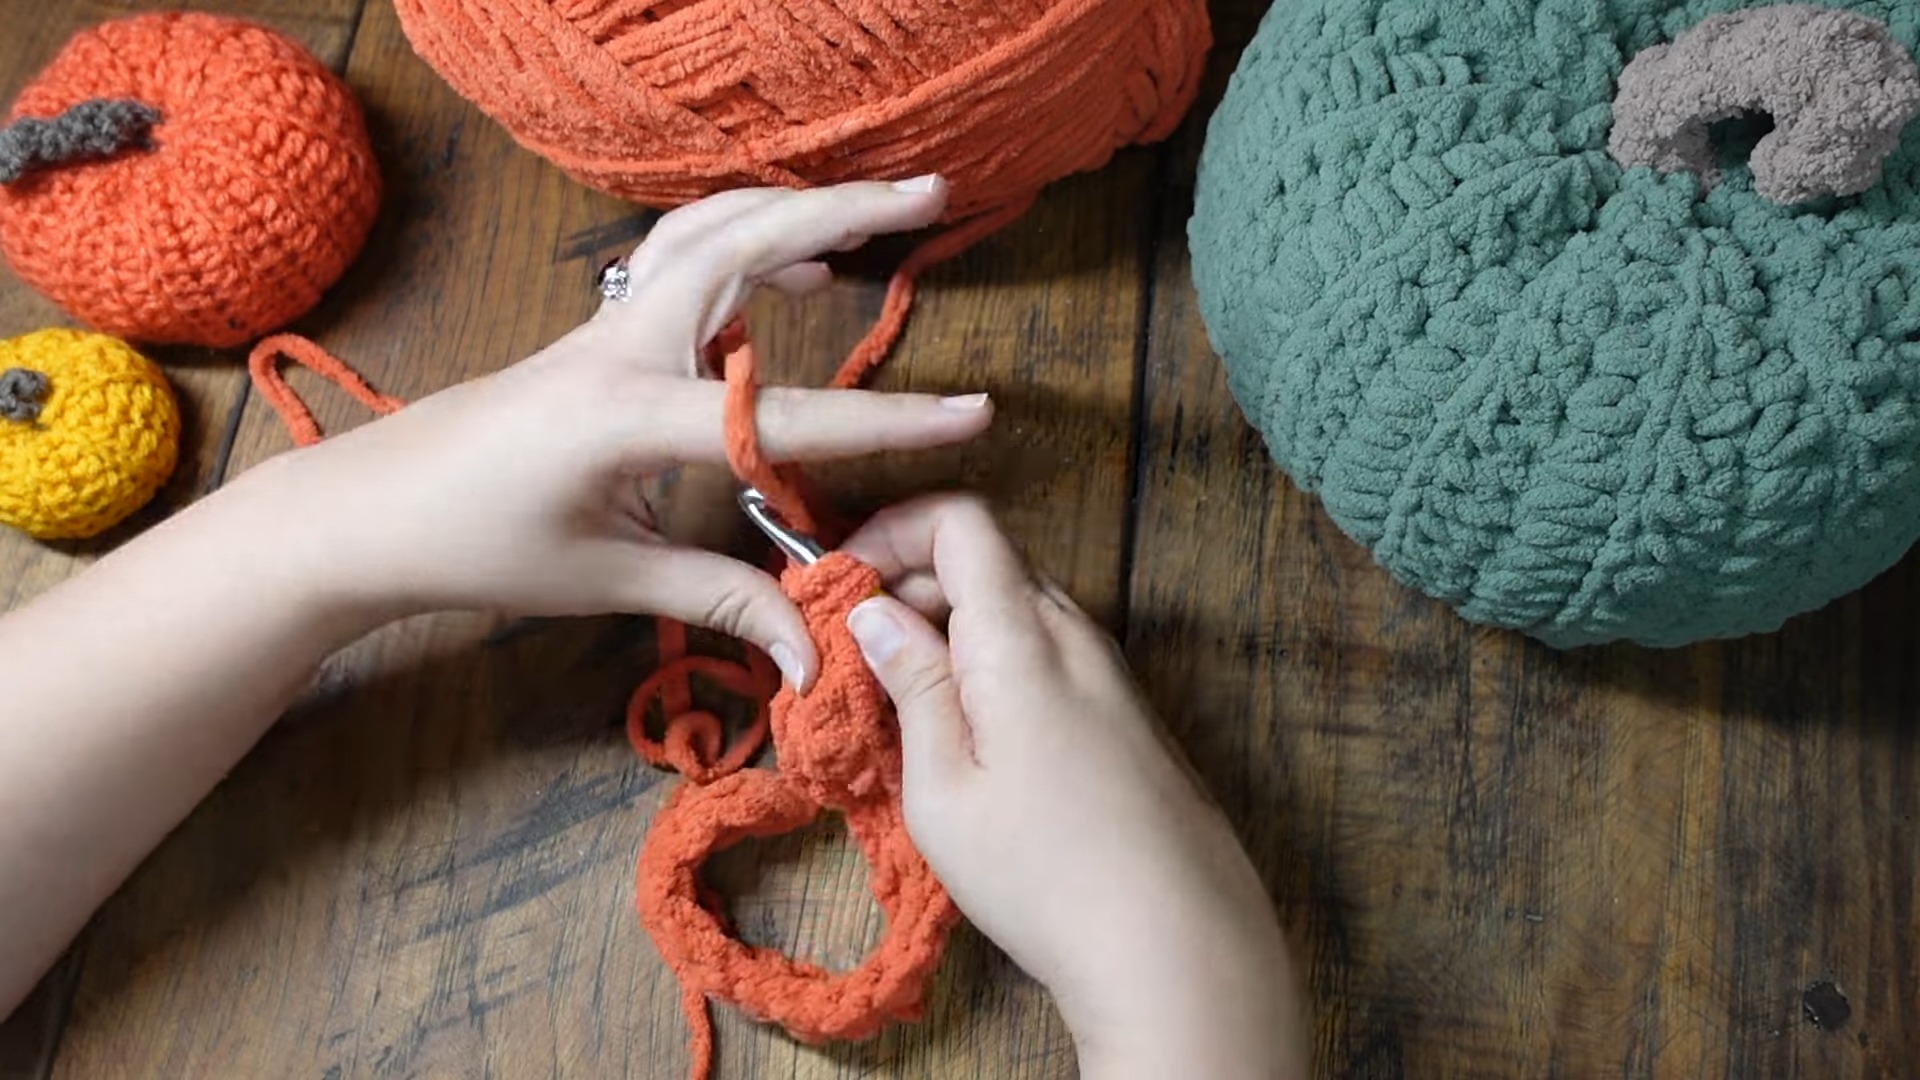
Step 1: Create the Pumpkin Body
-
Start with the foundation:
- Make a slip knot with the "Orange Leaf" yarn and attach your 8mm crochet hook.
- CH 25 loosely to form your foundation chain.
-
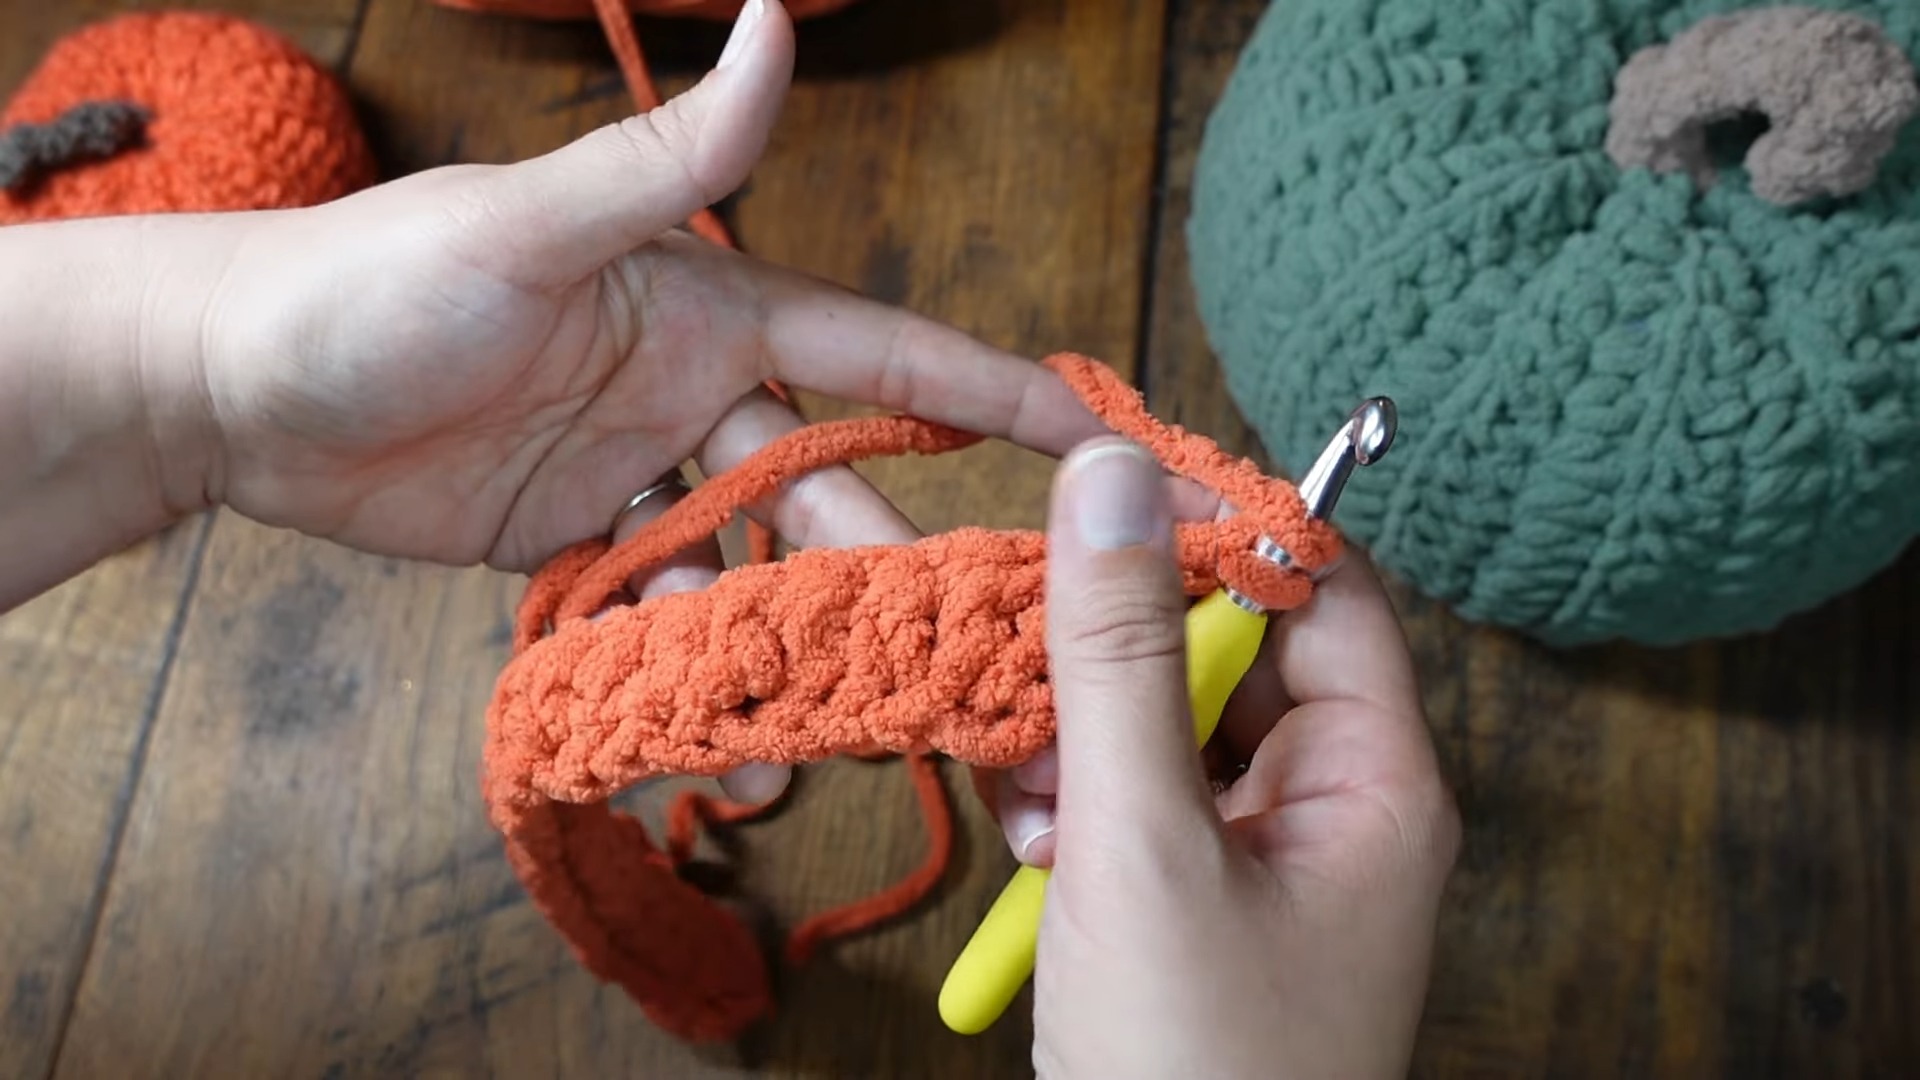
Row 1:
- HDC across: Skip the first stitch and insert the hook into the back loop of the second chain.
- Half-double crochet across the row, leaving the last chain unworked.
<details><summary>How to work a half-double crochet:</summary>- Step 1: **YO** and insert the hook into the back loop. - Step 2: **YO** again, pull through the loop (you will have 3 loops on the hook). - Step 3: **YO** once more and pull through all 3 loops at once. </details>
-
Row 2 and Beyond:
- At the end of the row, chain CH 2, flip your work, and continue with HDC stitches into the back loops only.
-
Repeat until the ridged texture is complete:
- Continue crocheting rows of back-loop-only HDC stitches until you have 13 ridges.
-
Finish the rectangular body:
- Complete your final row. Leave a long tail of yarn (about 18-24 inches) for sewing later and finish off the project by pulling the tail through the last loop.
Step 2: Shape the Pumpkin
-
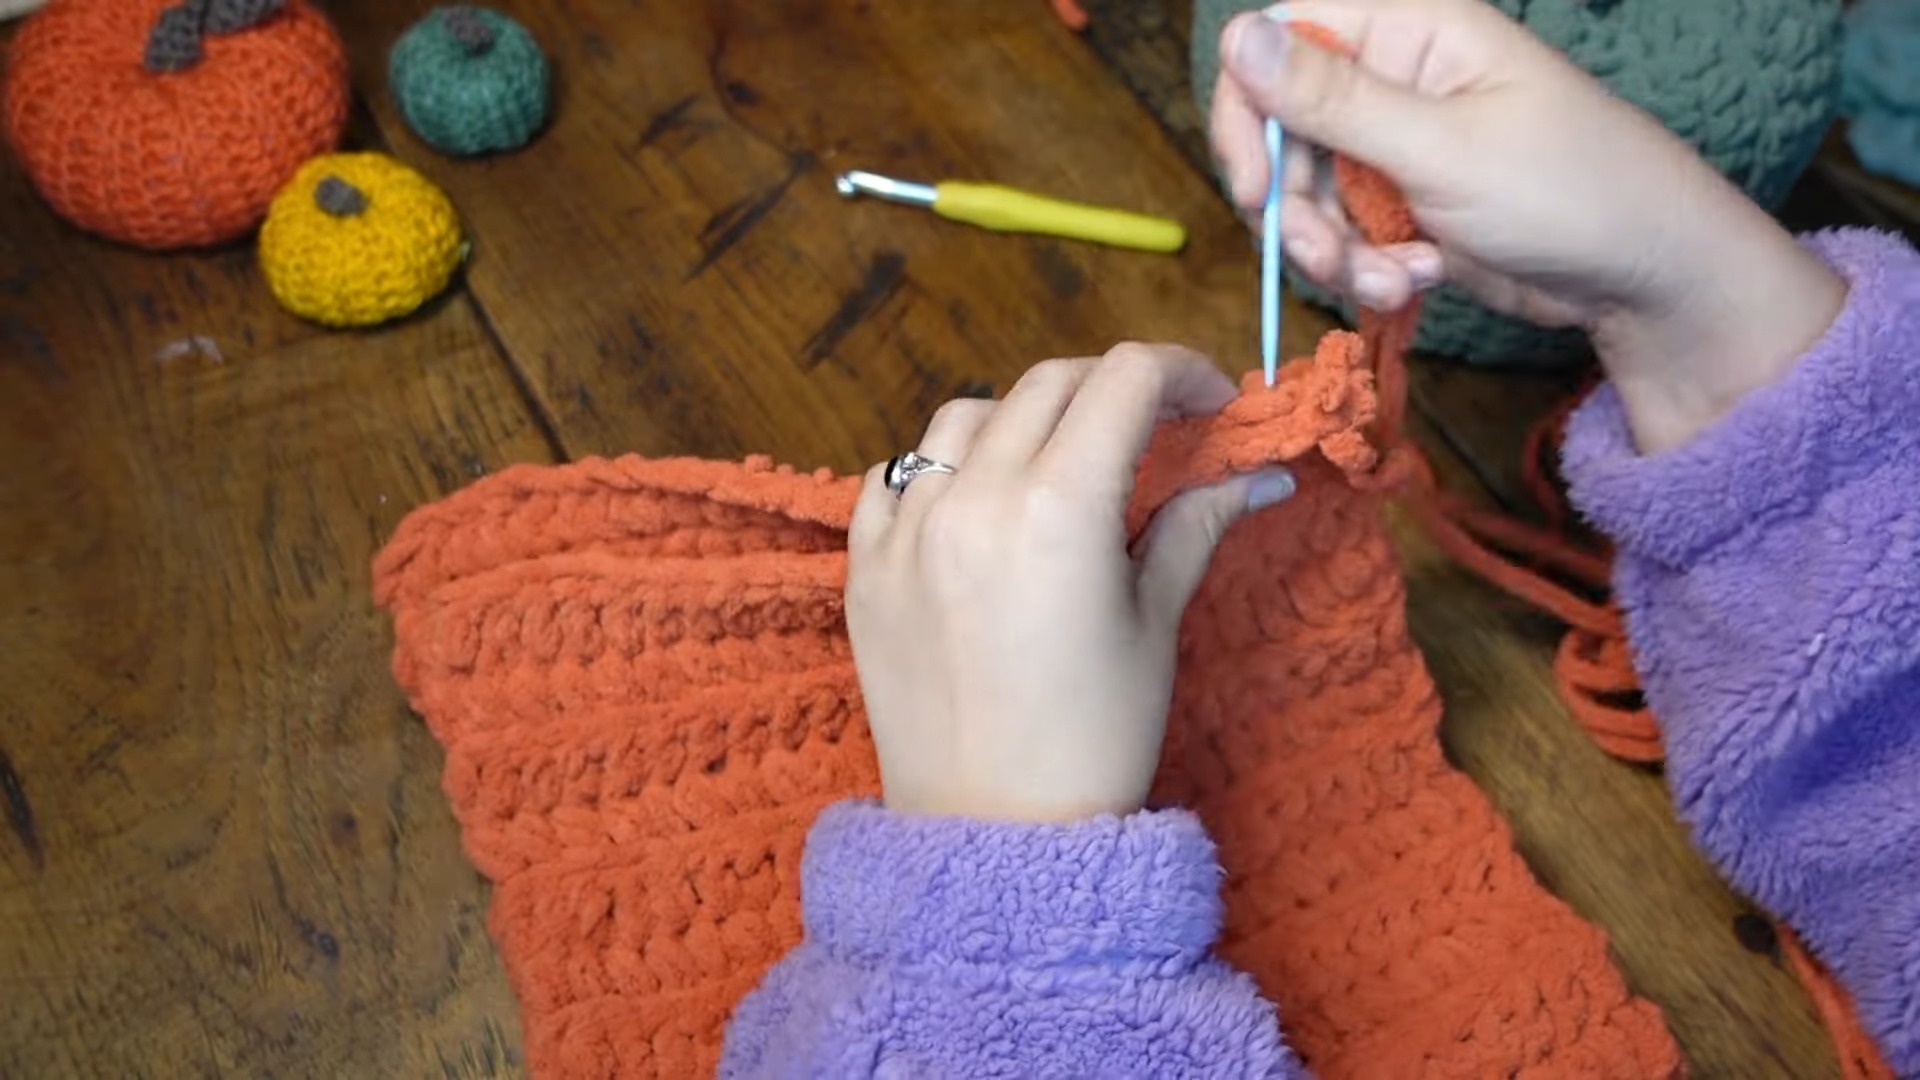
Fold and sew the sides:
- Fold your rectangle in half lengthwise.
- Use the long tail and a darning needle to sew the short ends together, forming a cylindrical shape.
-
Close the bottom:
- Weave the yarn in and out around the bottom edge of the cylinder. Pull tightly to cinch the bottom closed, forming the first part of the pumpkin shape. Secure with a knot and sew through multiple times to reinforce.
-
Add stuffing:
- Flip the project inside out, so the seams are hidden.
- Add polyfill or your chosen stuffing material, filling enough to give the pumpkin a plump, fluffy look.
-
Close the top:
- As with the bottom, weave through the top edge, cinch tightly, and tie off the yarn securely.
-
Form the pumpkin ridges:
- To create the ridges, thread yarn onto your needle and sew up and down from the top of the pumpkin to the base. Pull tightly to create an indented, textured look. Repeat until satisfied with the pumpkin ridges.

Step 3: Crochet and Attach the Stem
-
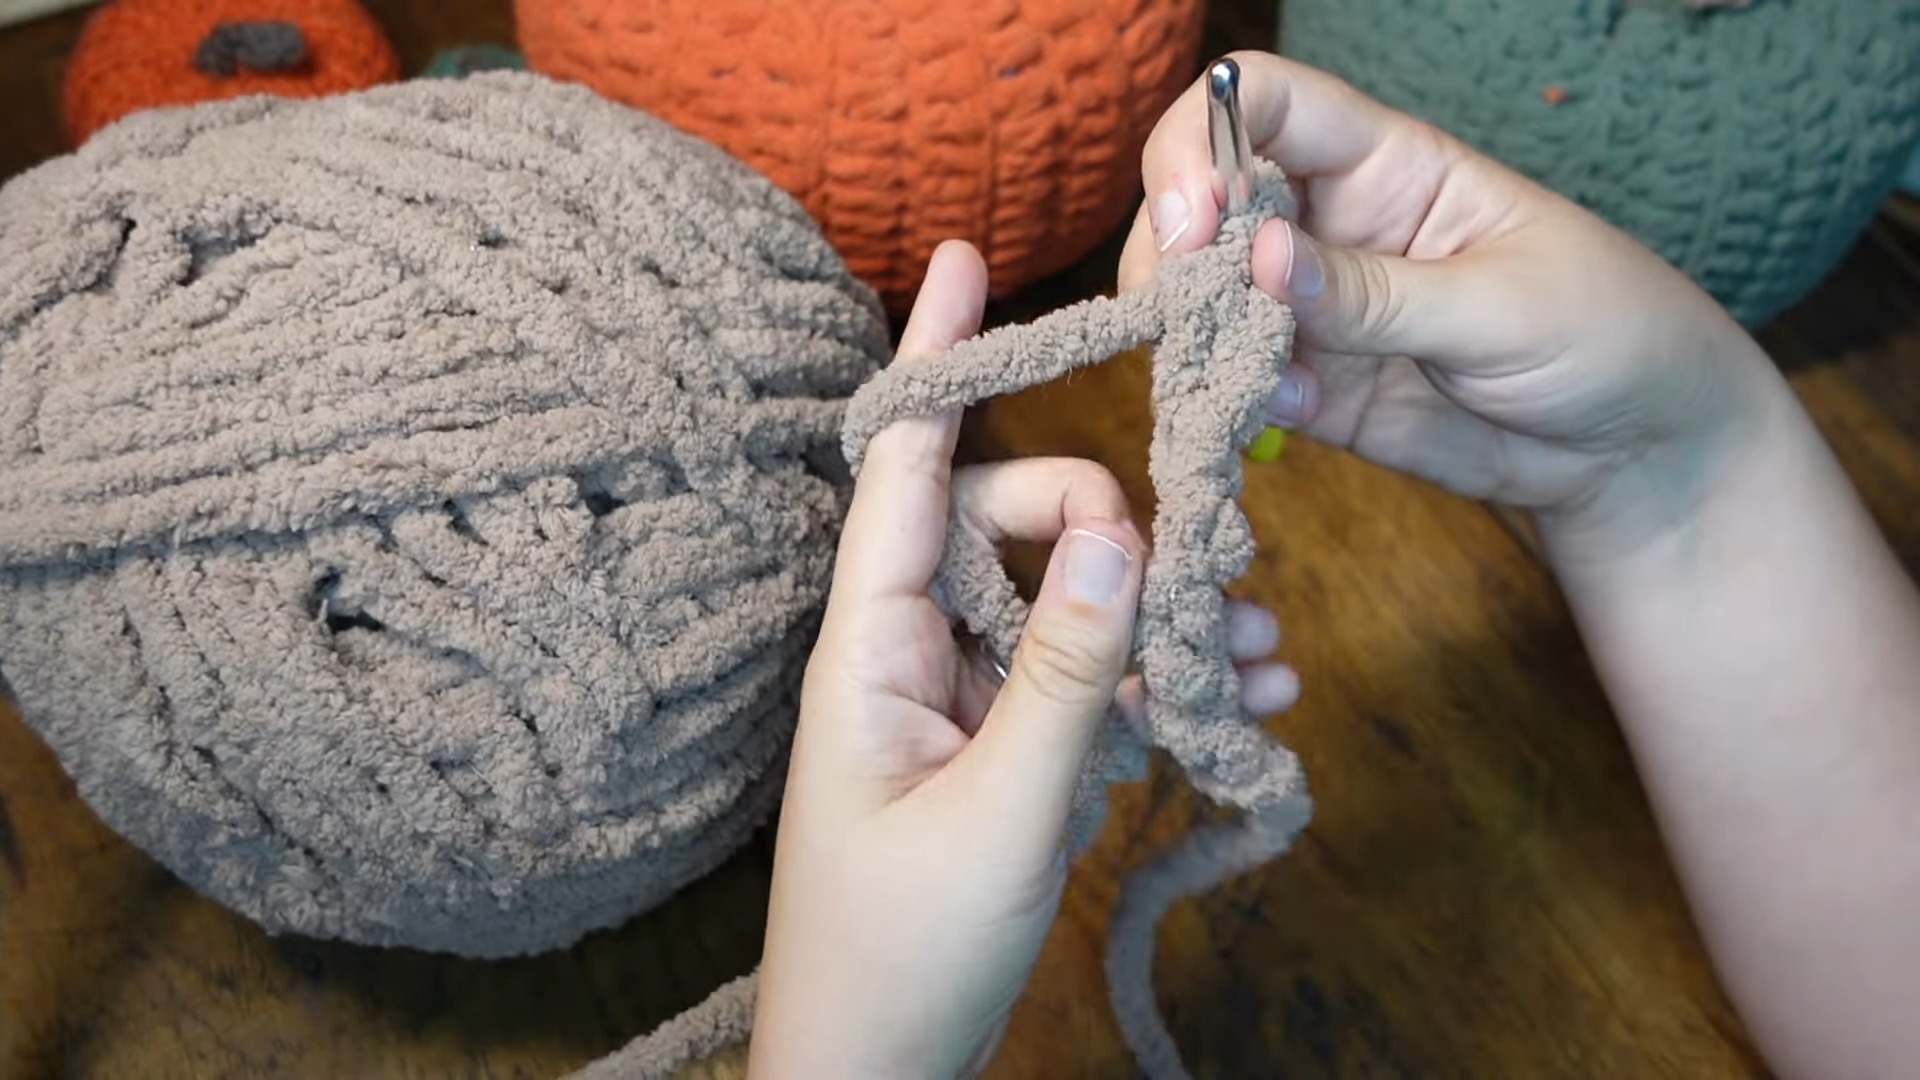
Create the stem:
- Using the "Mushroom" yarn, make a slip knot and chain CH 8.
- Row 1: Single crochet across the chain.
- Continue for additional rows (if needed) to create your desired stem width.
-
Finish the stem:
- Leave a long tail of yarn, pull the tail through the last loop, and bind off.
-
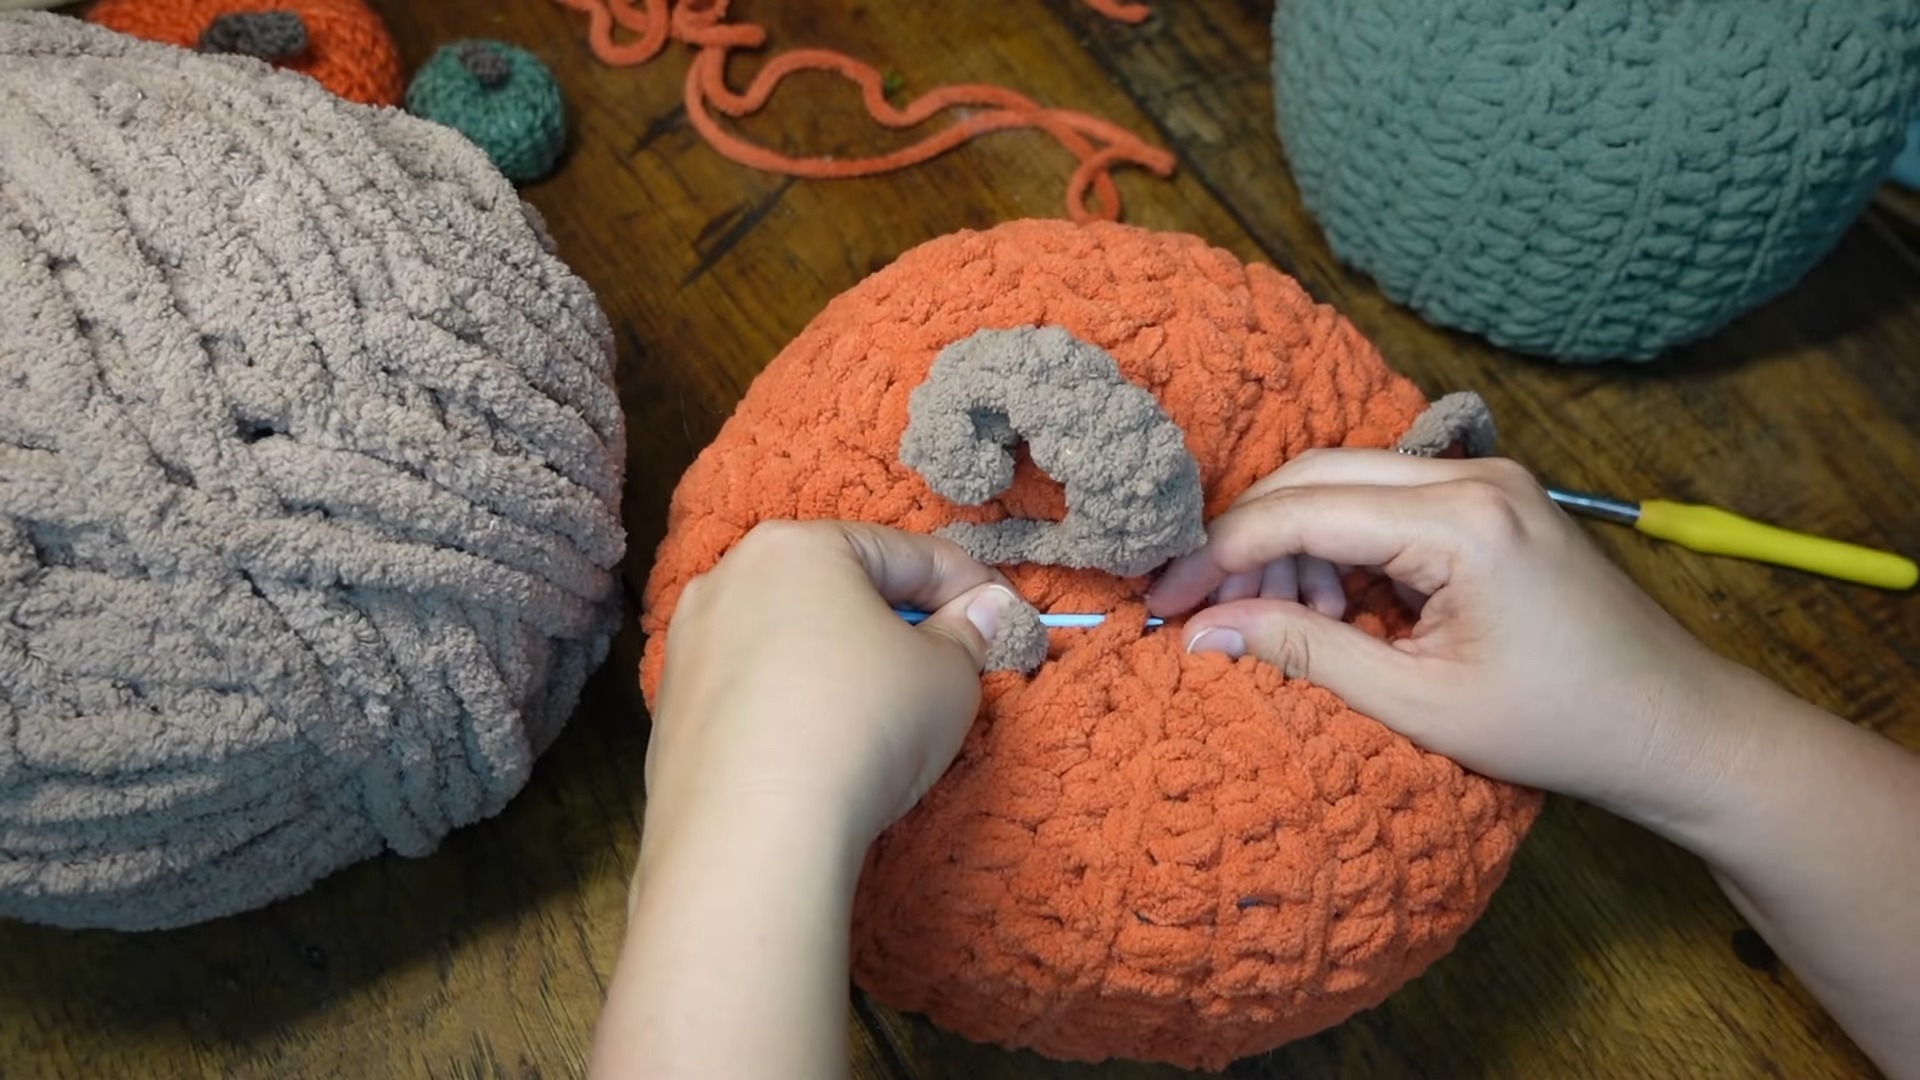
Attach the stem:
- Place the stem on top of the pumpkin. Using a darning needle, sew the stem securely to the pumpkin. Tie off any remaining yarn and tuck loose ends inside the pumpkin.
Final Touches
- After the stem is securely attached, adjust stuffing if needed for the desired fullness.
- Squish and shape the pumpkin to achieve the perfect decorative look.
Enjoy your cozy, handmade chunky pumpkin pillow! Feel free to craft in different sizes and colors to create a stunning autumn display!
Pattern Question:
Question: How do I ensure my edges stay straight while crocheting the pumpkin body?
Answer: Always chain two at the end of each row before flipping your work. This prevents unintentional narrowing and keeps the edges straight.
Conclusion:
Making a chunky pumpkin pillow is a perfect blend of creativity and usefulness. It’s fun to craft, brings cozy fall vibes to your space, and makes for a delightful handmade touch. If you’ve ever wanted to crochet, this is an easy and rewarding project to try.