Design a charming crochet Christmas ball ornament that’s both beautiful and practical. With its elegant and sturdy construction, this festive piece enhances holiday decor and can be customized to fit any style. Perfect for gifting or decorating, it’s a delightful seasonal addition!
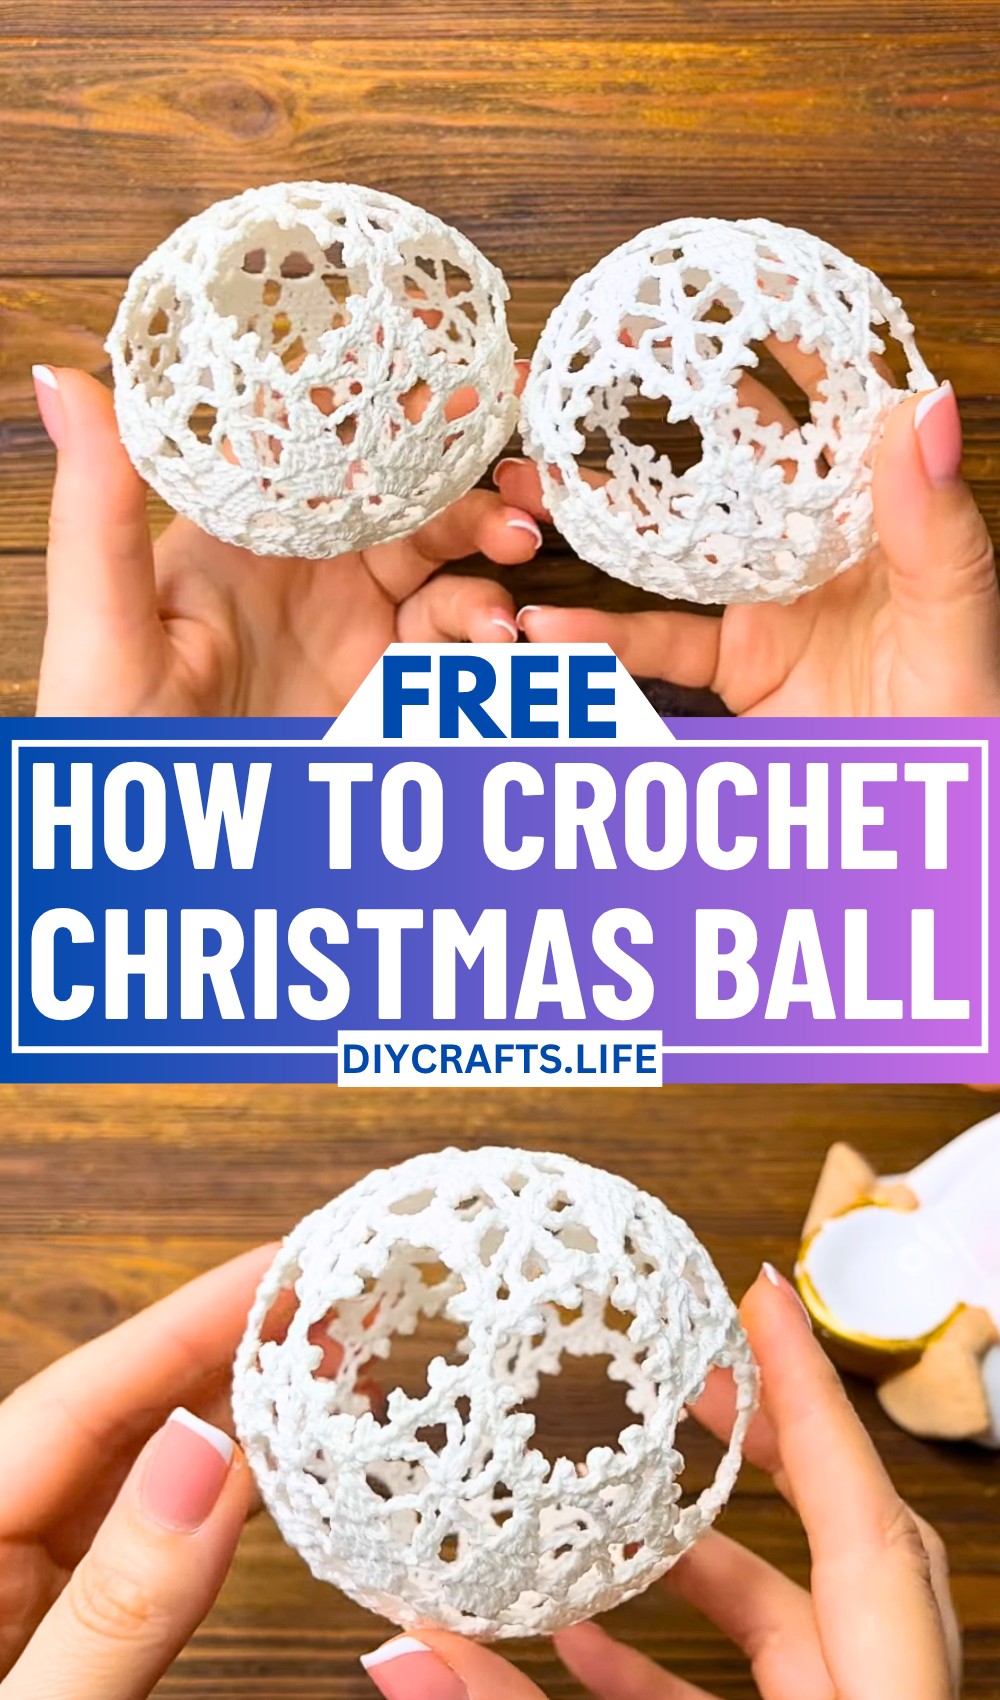
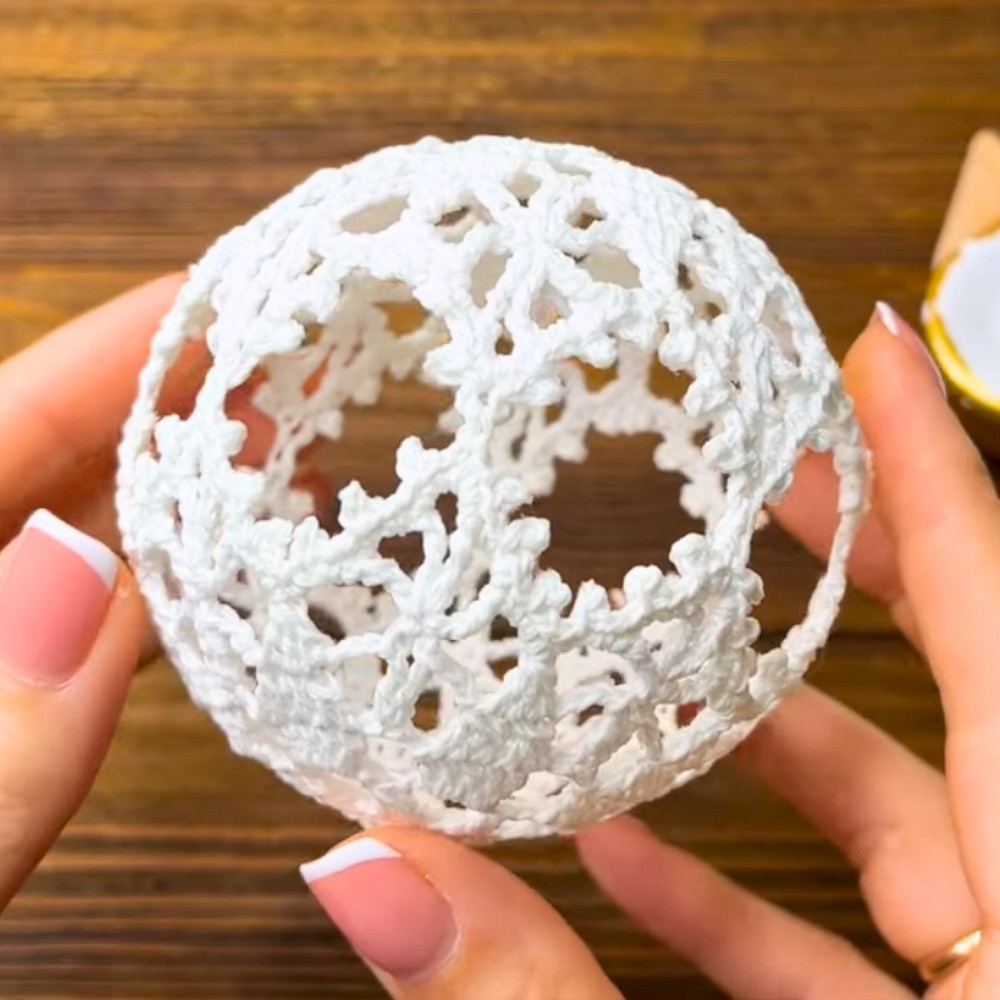
The crochet Christmas ball ornament is durable, lightweight, and visually appealing. Its intricate design highlights fine craftsmanship and makes it ideal for decorating trees, garlands, or table arrangements. Treated with starch for long-lasting firmness, this ornament holds its shape beautifully.
Crochet Christmas Ball Ornament
Suitable for beginners and experts alike, this crochet Christmas ball project is fun, creative, and customizable. With easy-to-follow instructions, you can craft unique ornaments in various colors and designs, adding a personal touch to your holiday decor. Enjoy the joy of handmade creativity!
Credit Irina Tsokalo
Materials and Preparation
To create your Crochet Christmas Ball Ornament, you’ll need the following materials:
Materials:
- Yarn: YarnArt Violet – 50g/282m (lightweight, cotton thread).
- Hook: Crochet hook, size 1.5mm.
- Additional Tools:
- Small balloon with a round bottom.
- Scissors.
- Solution to stiffen the ball (e.g., potato starch mixed with boiling water).
Yarn Weight:
The required yarn is lightweight (#0 lace). Substitute with similar crochet thread if needed.
Abbreviations and Notes
Below is a list of abbreviations used within the pattern:
- CH: Chain.
- SC: Single Crochet.
- DC: Double Crochet.
- TR: Treble Crochet.
- SL ST: Slip Stitch.
- PICOT: Chain three, then slip stitch into the first chain (creates a small decorative loop).
- DC TOG: Double Crochet two together (decrease by combining two DC stitches).
- 3 DC TOG: Three Double Crochet together.
Notes:
- Work tight stitches to create a sturdy and ornate structure.
- Hide central yarn tails before joining two hemispheres.
- Stiffening the ball with a starch solution ensures durability and preserves the shape.
- Ensure the balloon used is round and fits the desired size of the crochet ball.
Gauge, Approximate Size, and Pattern Notes
Gauge:
Gauge isn’t critical for this project, as it is decorative, but working with tight stitches helps create an ornate design.
Approximate Size:
- Finished ball size: About 8–10 cm (3–4 inches) in diameter, depending on the balloon size.
Pattern Notes:
- Work in rounds for seamless construction.
- Handle PICOTS carefully to ensure they face outward during stiffening.
- Joining the two hemispheres requires simultaneous crocheting.
A gauge swatch is not necessary, but ensure your tension matches the lightweight thread to keep proportions consistent.
Step-by-Step Pattern
Part 1: Base and First Hemisphere
- Foundation: Begin with a CH 8, join to form a circle using a SL ST.
- Round 1: Work 16 DC into the circle. SL ST into the 3rd CH to close the round.
- Round 2: Pattern: (Work 2 DC TOG, then CH 5) repeat 8 times. SL ST to close.
- Round 3: Pattern: SL ST under the nearest CH.
- Next: Work 5 DC, then CH 3, followed by SL ST again.
- Continue: Work 2 DC TOG, 1 DC, and CH 3 into the middle loop.
- Round 4: Pattern: Work 1 TR, CH 3, 1 TR, CH 3 into each middle loop. SL ST at the end.
- Round 5: Next, work 3 DC TOG. Then in the middle loop of each arch, work (1 TR, CH 3) x 3, followed by 1 TR. SL ST to close.

Part 2: Second Hemisphere
Repeat Part 1 instructions to create the second hemisphere.
Part 3: Joining the Hemispheres
- Crochet the LAST round of one hemisphere while joining it to the other simultaneously:
- Under each chain (except the central chain):
- Work 1 SC / PICOT / 1 SC.
- Under the central chain:
- Work 1 SC / PICOT / 1 SC / CH 3 / 1 SC / PICOT / 1 SC.
- Under each chain (except the central chain):
- Hide the central yarn tails of both hemispheres before fully joining them.
- Continue working CH 1, then 1 SC into one of the hemispheres' central chains. Repeat the SC, PICOT, SC process under the same central chain until both hemispheres are joined.
- When finished, cut the yarn and fasten off. Hide any visible tail ends.
Part 4: Shaping and Stiffening
- Create a thick starch solution by mixing potato starch and boiling water. Stir to your desired consistency.
- Submerge the crocheted ball into the solution for about 5 minutes. Do not wring it out completely; leave some solution on the ball.
- Insert the balloon inside the wet ball and inflate until the ball forms a symmetrical round shape. Tie the balloon.
- Adjust the PICOTS so they face outward and allow the ball to dry completely for at least 1 day.
Finishing Touches
Once dry:
- Carefully pop the balloon and remove it from inside.
- Inspect the ball for any loose tails or imperfections, trimming and adjusting as necessary.
Optional Customization:
- Add glitter or shine to the ball by sprinkling glue and glitter before it dries.
- Attach a loop for hanging using yarn or ribbon.
Pattern Question
Question: How do I make the ornament firm enough to hold its shape?
Answer: Use a thick starch solution prepared with potato starch and boiling water. Soak the ornament, lightly dry it, and shape it with a balloon until firm. Allow it to fully dry for about one day.
Conclusion
Crocheting this Christmas ball ornament is a joyful and rewarding way to elevate your holiday decor. Its unique style, practicality, and simplicity promise an enjoyable project for anyone, making it a perfect creative endeavor this festive season.


