Create a charming crochet truck that's both beautiful and functional. With detailed step-by-step instructions using DK-weight yarn and a 3mm hook, you can craft this versatile truck to store small items, decorate a room, or give as a unique handmade gift. Its bed can hold anything from crochet characters to personalized messages.
This crochet truck is durable and visually appealing, making it a delightful addition to any space. Its truck bed can be filled with small toys, trinkets, or other crochet characters, making it practical for storage or as a playful gift. The sturdy design ensures it will withstand frequent use and handling.
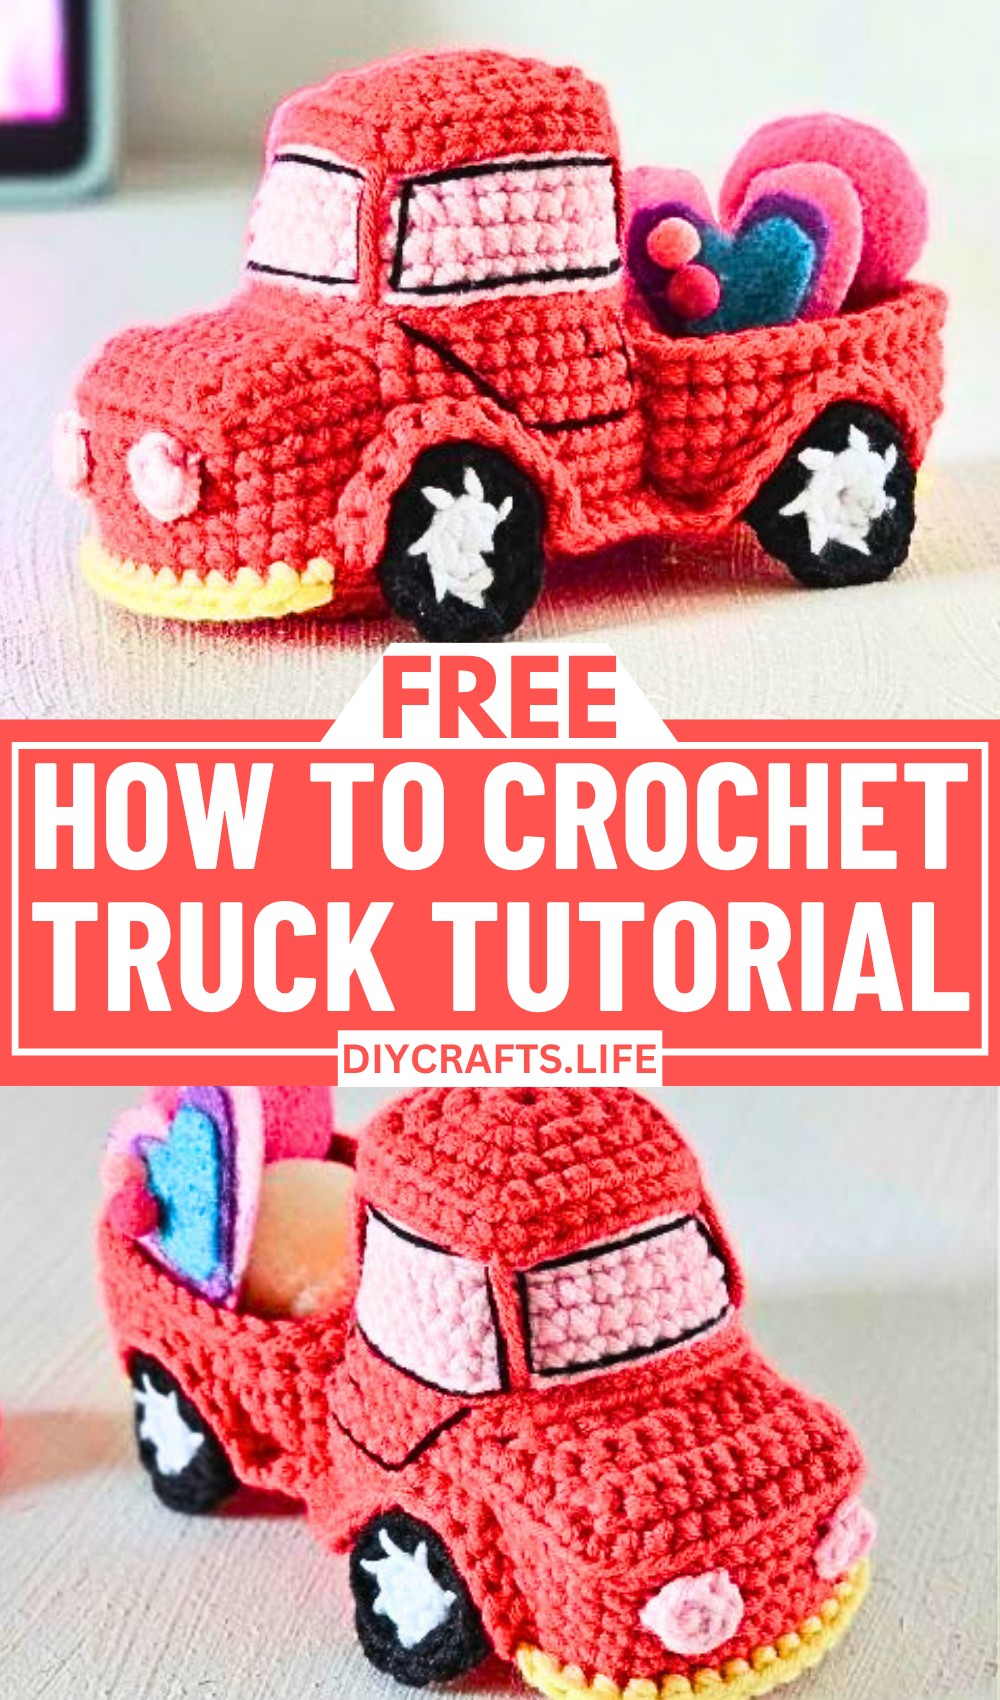
Crochet A Truck
Crafting this crochet truck is an enjoyable and rewarding process. You will start with creating a magic ring and work through detailed instructions for forming the cab, hood, and bed. With materials like embroidery floss and stuffing, you'll add unique details and ensure that your truck looks professional and cute.
Credit The Kindness Company
Materials and Preparation:
To crochet your adorable truck, you'll need the following materials:
Yarn:
- DK weight yarn (light worsted weight yarn):
- White: Approximately 1.5g
- Black: Approximately 2.5g
- Red: Approximately 26g
- Pink: Approximately 3.5g
- Pastel Yellow: Approximately 1g
Hook and Tools:
- Crochet Hook: 3mm hook (though you can use a larger one, such as a 4mm hook, with a heavier yarn).
- Stuffing (Fiberfill)
- Yarn Needle
- Stitch Markers
- Embroidery Floss (for details like windows)
- Scissors
Abbreviations and Notes:
Below are the commonly used abbreviations in the pattern:
- MR: Magic Ring
- SC: Single Crochet
- INC: Increase (2 SC in 1 stitch)
- DEC: Decrease (combine 2 stitches into 1)
- SC3TOG: Single Crochet 3 Together
- SL ST: Slip Stitch
- CH: Chain
- BL: Back Loop Only
- FL: Front Loop Only
Important Notes:
- This pattern uses joined rounds for several sections, requiring a slip stitch and chain 1 at the end of each round.
- Be cautious to avoid over-stuffing the truck body. Stuffing it too full could distort its shape and sharp edges.
- For extra stability, optional cardboard or felt inserts can be used inside the hood or cab. Avoid these additions for items intended for pets or children.
- To build confidence, practice magic rings and changing colors beforehand if you're new to these techniques.

Gauge, Approximate Size, and Pattern Notes:
This project doesn't require a strict gauge; however, the finished truck's approximate size will depend on your yarn and hook choice.
With DK-weight yarn and a 3mm hook, the truck is likely to be 4-6 inches long once completed. Adjust sizing by selecting a thicker yarn or a larger hook.
Special Techniques:
- Magic Ring: The base, cab, bed, and hood all start with magic rings for neat circles.
- Color Changes: Seamless transitions are achieved by color-changing during slip stitches.
Step-by-Step Pattern:
Part 1: Truck Cab
- Round 1:
- Form an MR and add 8 SC into the ring. SL ST to the first SC, CH 1 to start the next round.
- Round 2:
- Place 2 SC in each stitch (INC) all the way around (16 stitches total).
- Round 3:
- Follow the parentheses pattern: (SC in next 3 stitches, 3 SC in the next stitch). Repeat 4 times. End with SL ST and CH 1 (24 stitches total).
- Round 4:
- SC in the next 4 stitches, 3 SC in the next stitch, SC in the next 5 stitches, and repeat as directed to build a square shape.
- Round 5: Begin working BL Only: Place 1 SC in each back loop. Change yarn color from red to pink here via SL ST.
- Rounds 6-11: Create layers for the cab by adding SC rounds in joined rows, alternating between BL Only and front/back loops.
Part 2: Hood
- Row 1:
- Attach yarn to the 16th stitch of the cab panel (this creates alignment). SC in the next 10 stitches along the hood. Turn and CH 1.
- Rows 2-5:
- SC across 10 stitches, CH 1, and turn (work is flat, not in rounds).
- Attach the hood to the cab: Whipstitch the edges of the hood to the cab securely.

3: Truck Bed
- Round 1:
- Begin with an MR again. Place 8 SC inside and close. Continue as before for joined rounds.
- Rounds 2-5:
- Gradually increase the stitches across repeated rounds to form a rectangular base for the truck bed.
- Start working BL Only for the edges.
- Rounds 6-13:
- Continue SC rounds to add height. Switch to FL Only for texture at Round 14.
- Round 16:
- SC3TOG stitches are placed along corners to taper the bed edges and finalize its rectangular shape.
Assembly and Finishing Touches:
- Attach Truck Bottom:
- Using a long tail left from the truck bed foundation, whipstitch the truck base to the cab bottom. Leave small openings for stuffing before sewing them closed fully.
- Windows and Details:
- Embroider window frames using black floss. Add cross-stitches to divide the side windows and the front windshield using simple stitches.
- Stuffing:
- Carefully stuff the cab, hood, and bed. Do not overfill—maintain sharp edges!
- Optional Final Details:
- Add wheels or lights (which can be crocheted separately), then sew them onto the truck for added flair.
Pattern Question:
Q: Can I use a different weight yarn and hook size than suggested?
A: Yes, you can use different weights and hook sizes, but make sure to adjust the yarn yardage accordingly. Using a larger weight yarn and hook will require more yarn.
Conclusion:
Creating this crochet truck is a delightful and fulfilling experience. By following the clear and detailed steps provided, you can craft a truck that's as functional as it is charming. Perfect as a gift or a decorative piece, it's sure to be a hit with anyone who sees it.


