Bring a fun, spooky touch to your crochet projects with this zombie face mask! Whether for costume parties or Halloween, this accessory combines creativity with practicality. Choose your favorite colors, learn to embroider eerie details like eyes and a stitched mouth, and express your unique style.
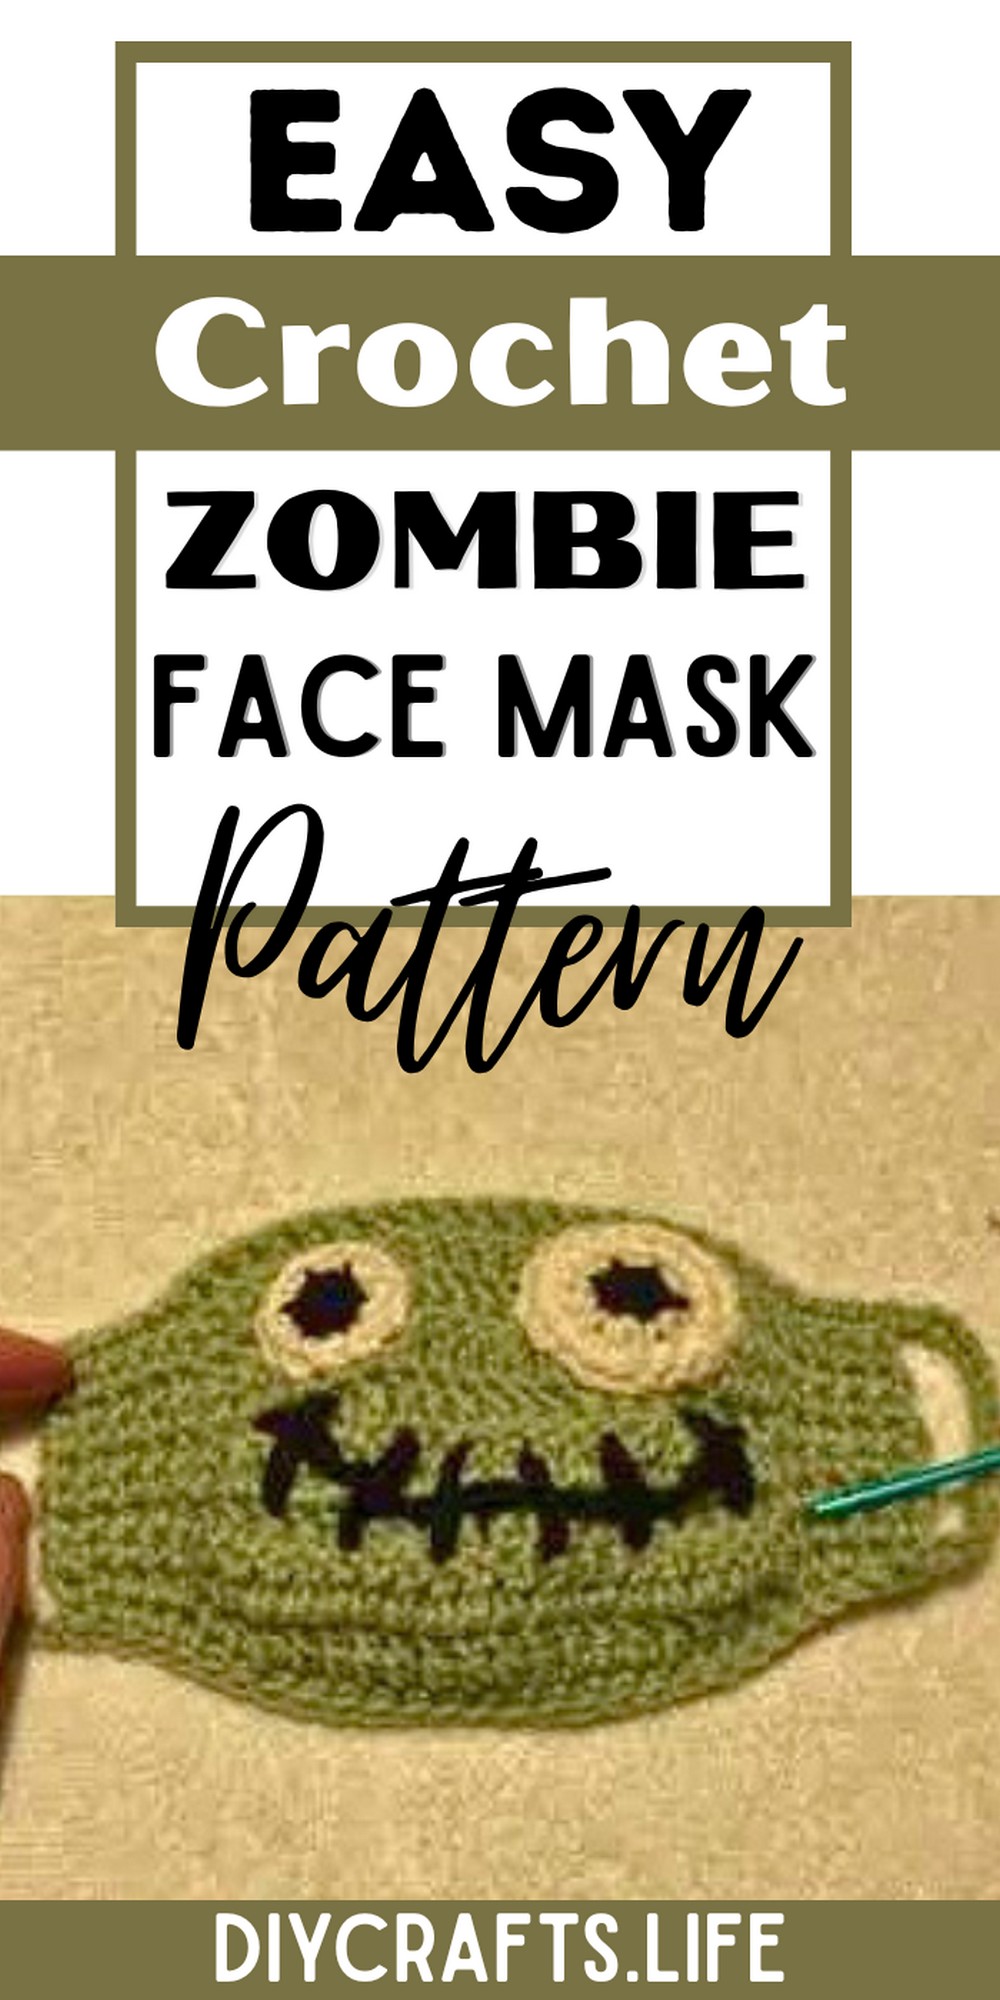
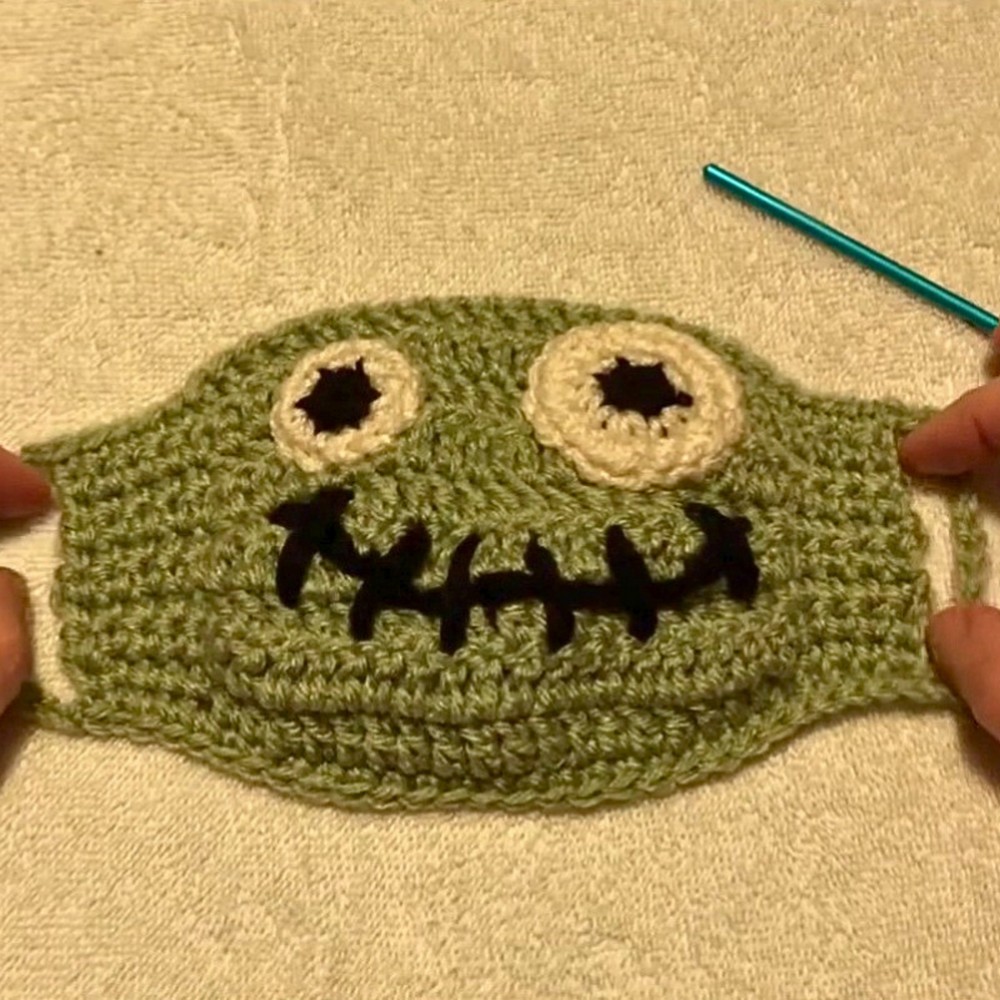
This zombie face mask is as functional as it is fun, offering flair for themed events or even cozy indoor fun. Its double crochet base ensures durability, while the embroidered eyes and mouth add an eye-catching spooky charm. Sized for adults or children, it’s practical, reusable, and fully customizable.
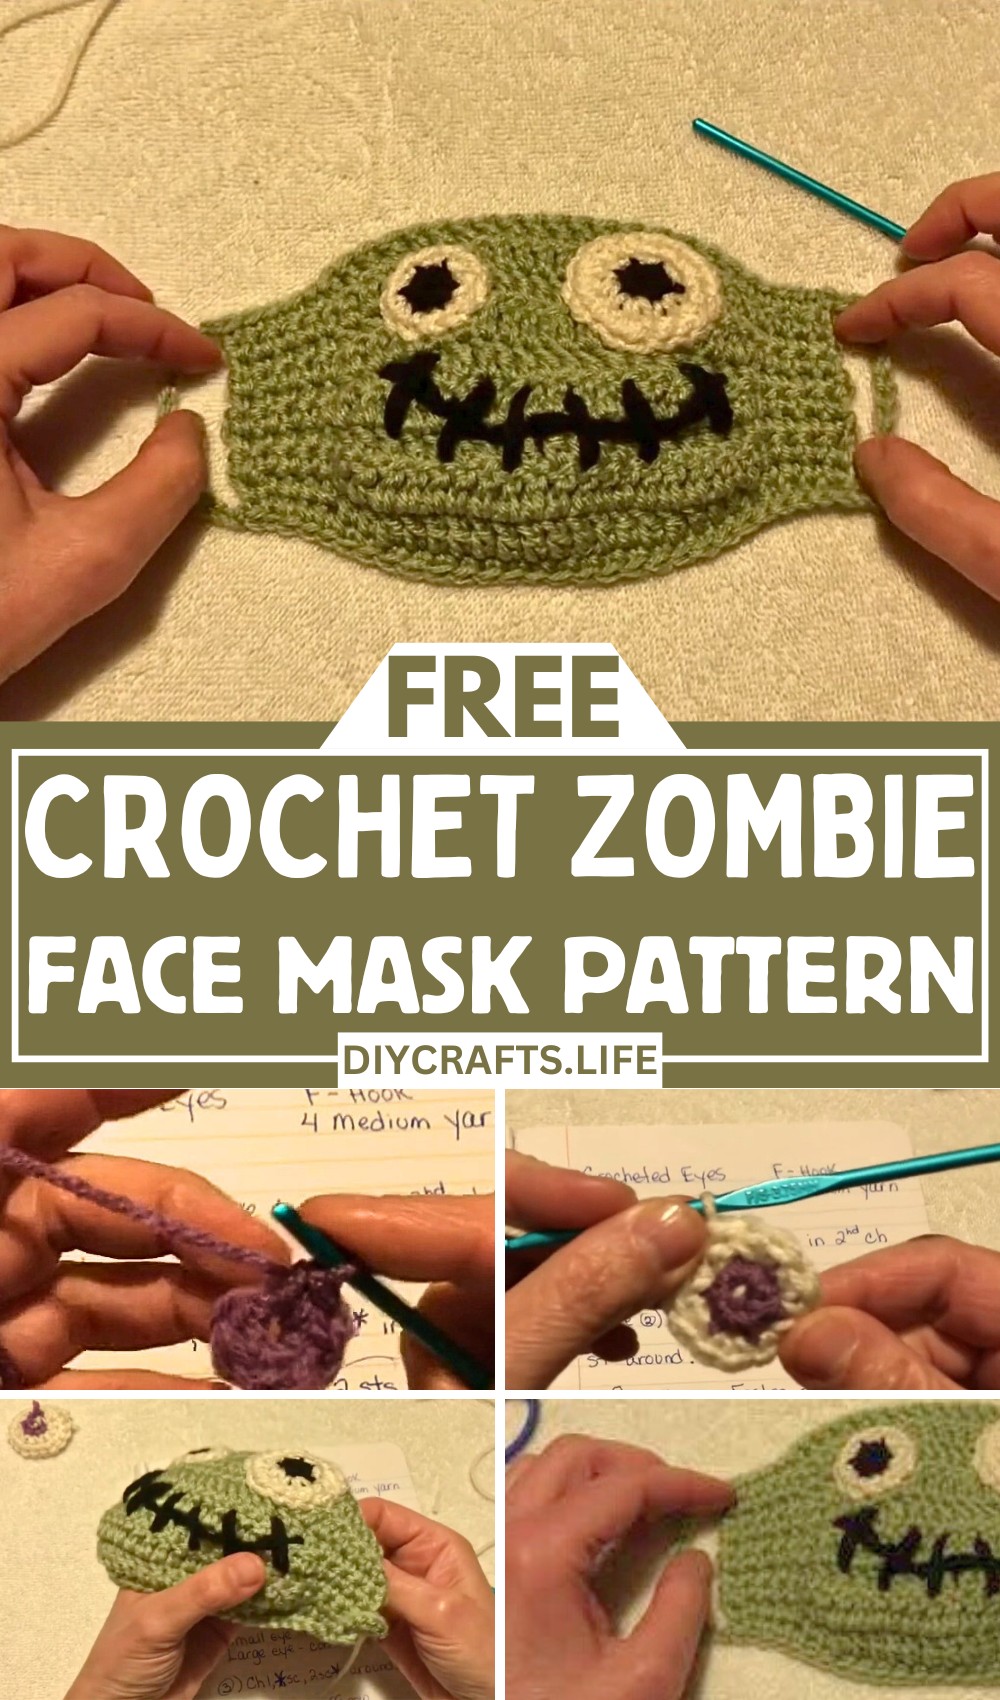
Crochet a Zombie Face Mask
The mask is simple to make, with clear steps suitable for beginners and pros alike. Add your personal touch by choosing colors, adjusting sizing, or altering the expression. From sewing dimensional eyes to stitching a quirky mouth, this project sparks creativity and allows for endless customization!
Materials and Preparation
To crochet your zombie face mask, you'll need:
-
Yarn:
- Green 4-medium weight yarn for the mask (zombie-themed).
- Black yarn for the eye centers (or purple for better visibility while working).
- Off-white or light-colored yarn for the outer eye circles.
- Black yarn (two strands used together) to create the mouth.
-
Crochet Hook:
- Size F (3.75mm) hook for all stitches.
-
Additional Tools:
- Scissors (to cut yarn).
- Yarn needle (with a head large enough for the yarn).
Optional Preparation Tips
- If you haven’t already made the base face mask, refer to Rebecca’s other video tutorial for the face mask pattern (adult or child-sized).
- Feel free to experiment with different colors to customize your zombie face mask.
Abbreviations and Notes
Crochet Abbreviations:
- SC: Single Crochet
- CH: Chain
- SL ST: Slip Stitch
Key Notes:
- Be sure to work into the correct loops when sewing on the eyes or mouth for more dimension (use the outer loops of stitches to make the details pop).
- For the mouth embroidery, use two strands of black yarn together to make the stitches bold.
Gauge, Approximate Size, and Pattern Notes
Gauge:
Gauge is not critical for this project; however, using 4-medium weight yarn and a size F hook yields a standard eye and mouth dimension that complements the base face mask.
Approximate Finished Size:
The sizes of the eyes may vary based on the number of rows completed:
- Small eye (two rows): ~1" diameter.
- Large eye (three rows): ~1.5" diameter.
Special Techniques or Notes:
- The mask is worked in double crochet stitches while embellishments are done with single crochet and embroidery techniques.
- No gauge swatch is required; focus on maintaining consistent tension throughout.
Step-by-Step Pattern
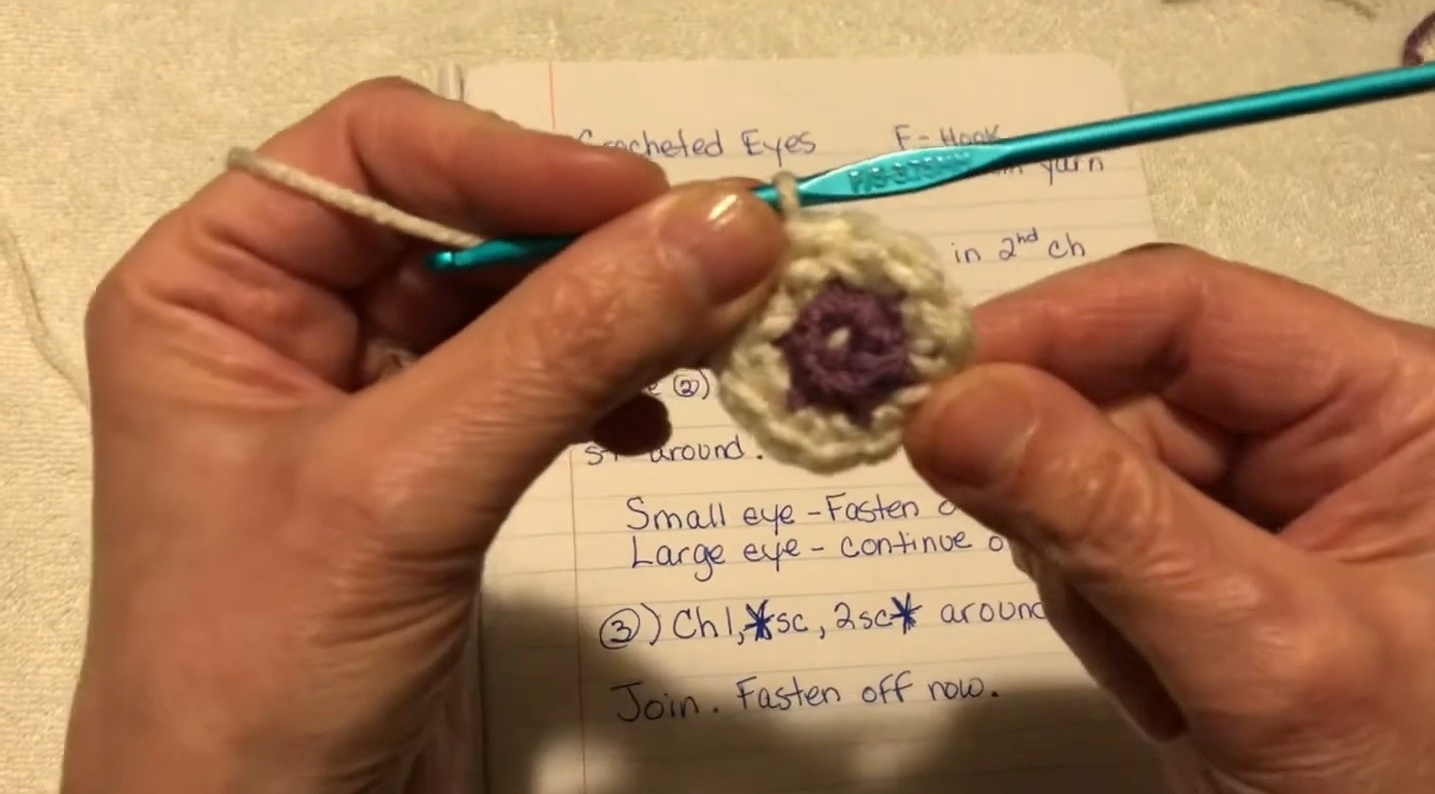
Creating the Eyes:
Small Eye (2 rows):
-
Begin the center (black/purple yarn):
- Start with a slip knot; leave a short tail.
- CH 2, then crochet 6 SC into the second chain from the hook.
- Do not fasten off yet.
-
Switch to the outer color (off-white):
- Cut the black yarn, leaving about 6 inches of tail for securing later.
- Knot and join the outer color.
-
Expand the circle:
- Join to the first SC of the previous row.
- CH 1, then make 2 SC in each stitch around.
- After completing this row, you should have 12 stitches total.
-
Fasten off:
- CH 1, cut yarn, leaving a long end (~12 inches) to sew the eye onto the mask.

Large Eye (3 rows):
-
Follow steps 1–4 for the small eye.
-
Add a third row for larger size:
- CH 1 to begin.
- Work the following pattern in each stitch around: 1 SC, 2 SC in the next stitch.
- Repeat until the end of the row. You should now have 18 stitches total.
-
Fasten off as before, leaving a long tail (~12 inches).
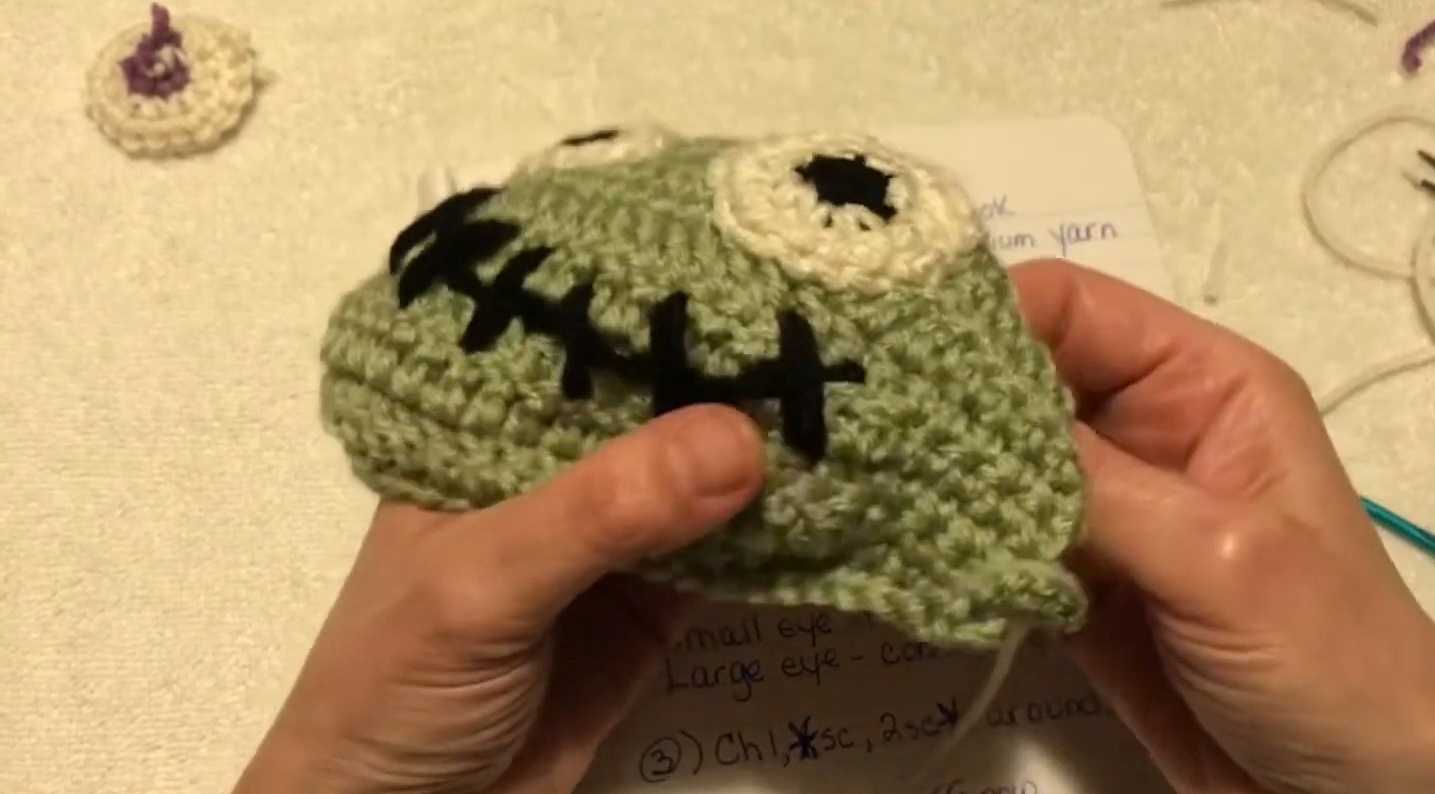
Attaching the Eyes:
-
Fold the base mask in half and determine symmetrical placements for the eyes. Avoid counting the edges; center the eyes based on the outer rounds of the DC stitches.
-
Sew each eye on using the yarn tails left from finishing them. Use a yarn needle to stitch through only the outer loops of the mask stitches. This creates added dimension so the eyes appear slightly raised.
Creating and Attaching the Mouth:
-
Use two strands of black yarn threaded onto your needle.
-
Start in the middle of the mask, using large, bold movements to create a smile (or frown!) shape.
-
For sharp, zombie-like teeth:
- Stitch upward and downward motions along the smile or frown.
- Use a "backstitch" style to overlap as needed, ensuring no gaps occur.
-
Tie any loose ends securely and weave them into the back of the mask.
Optional Finishing Touches:
- Add extra embroidery for scars, bites, or other zombie-themed details using scraps of yarn or thread.
- Customize colors to match your unique zombie vision!
Pattern Question:
Q: Can I adjust the mask size for small children?
A: Yes! Start with the smaller pattern size provided in the original face mask video. By using lightweight yarn and a smaller hook size, you can create a snug, child-friendly fit.
Conclusion:
This zombie face mask is a playful crochet project with endless possibilities. Uniquely spooky yet easy to make, it’s ideal for learning new skills or simply having fun. Whether for costumes or crafting joy, it’s a project worth trying!


