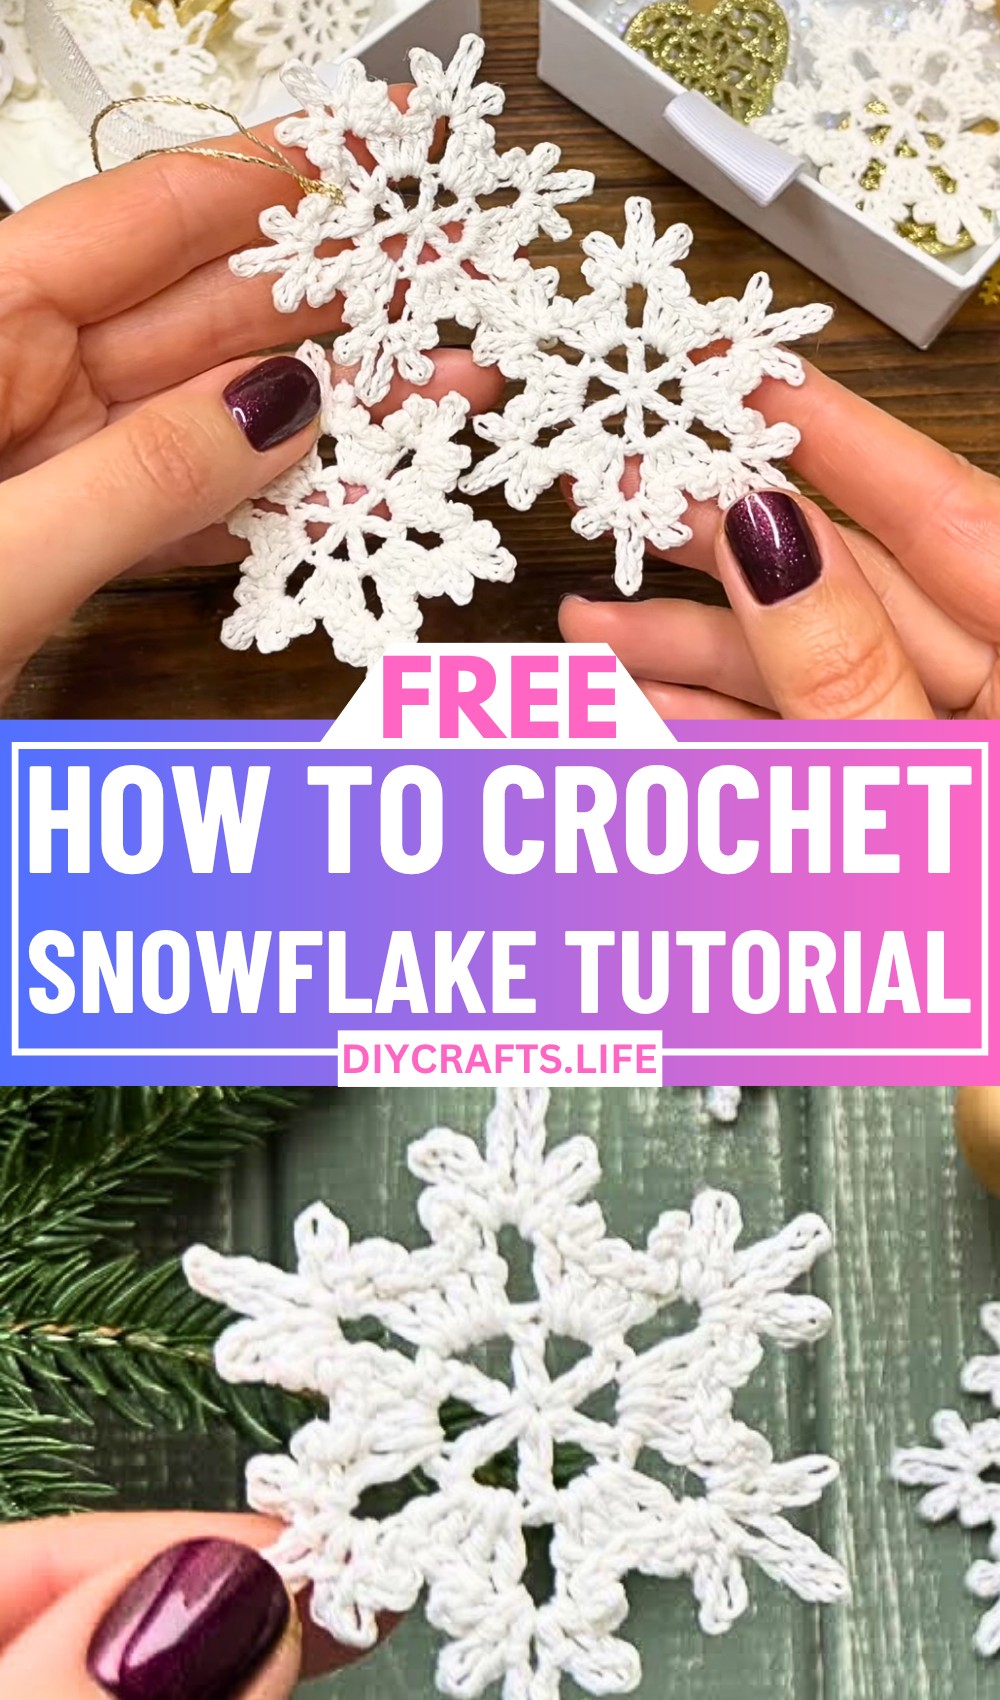
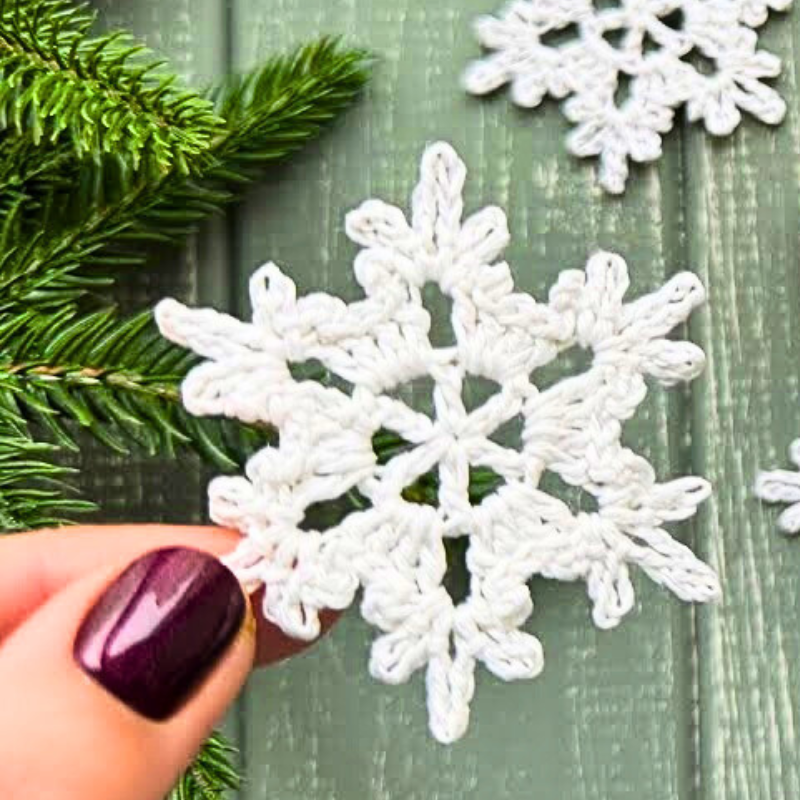
Create a beautiful and delicate crochet snowflake with just three rounds! Perfect for winter decor, this snowflake can be customized in size using your choice of yarn and hook thickness. Versatile and charming, it’s an easy yet elegant project suitable for any crochet enthusiast.
Crochet snowflakes are perfect for festive decor, ornaments, or embellishments for various handmade projects. Their intricate yet sturdy design ensures durability while showcasing a timeless aesthetic. Plus, you can stiffen them for extra functionality and long-lasting appeal.
Crochet A Snowflake
This crochet snowflake project is ideal for beginners and experienced crafters alike. With straightforward steps and only three rounds, it’s quick and enjoyable to create. Easily adjust the size or style with different yarns and hooks, letting your imagination customize these dazzling designs!
Credit Irina Tsokalo
Materials and Preparation
To create this beautiful crochet snowflake, gather the following materials:
- Yarn: Thin yarn (Example: 50g/169m) – your snowflake’s size will depend on the yarn thickness.
- Crochet Hook: 2.1mm hook (adjust if using a different yarn thickness).
- Additional Tools:
- Scissors
- Tapestry needle for weaving in ends
- Blocking pins (optional)
- Potato starch solution for stiffening the finished snowflake
Abbreviations and Notes
Here’s a list of abbreviations you’ll encounter:
- ch: Chain
- sl st: Slip Stitch
- dc: Double Crochet
Pattern Notes
- Magic Ring: A foundational technique to start your snowflake. If you’re unfamiliar, check YouTube tutorials for clear instructions.
- Customization: Snowflake size varies based on the yarn thickness and hook size you select.
- Blocking Tips: To stiffen the snowflake, use a potato starch solution and block it by pinning the chains (especially chains of 7).
Gauge, Approximate Size, and Pattern Notes
Gauge
This snowflake does not require a specific gauge, but ensure consistency in your stitches for a crisp, even shape.
Approximate Size
Using the 50g/169m yarn and a 2.1mm hook, your snowflake will be medium-sized. Adjust materials to make smaller or larger snowflakes.
Special Techniques
- Magic Ring: Used for starting the project.
- Blocking: Enhances shape and stiffness, especially for decorative purposes.
Step-by-Step Pattern
Round 1
- Start with a magic ring.
- ch 3, then ch 2 (this counts as the first double crochet chain space).
- 1 dc, ch 2 – repeat 5 more times to create 6 dc separated by 6 ch-2 spaces.
- sl st into the 3rd chain of the starting ch-3 to close the round.
Round 2
- sl st under the first chain space.
- In the chain space: 4 dc, ch 2, then sl st into the 3rd loop.
Round 3 (Building Arms of the Snowflake)
- 3 sl st, then begin the arm:
- ch 3, sl st.
- ch 5, sl st.
- ch 7, sl st.
- ch 5, sl st.
- ch 3, sl st into the top of the 1st dc.
- Repeat the arm sequence for all the remaining chain spaces (6 total).

Final Touches
- sl st, ch 1, fasten off the yarn.
- Weave in the ends with your tapestry needle.
Optional: Stiffening and Blocking
To stiffen your snowflake:
- Prepare a potato starch solution (1 tablespoon starch dissolved in warm water).
- Soak the snowflake, then pin it on a foam board or flat surface, focusing on the chains of 7.
- Allow it to fully dry for a crisp, sturdy snowflake.
Pattern Question
Question: How do I ensure my snowflake keeps its shape?
Answer: You can stiffen the snowflake using a potato starch solution and block it by pinning the larger chain loops. This ensures durability and a clean, crisp look.
Conclusion
Crafting crochet snowflakes blends beauty with creativity. Their elegant design, customization options, and practical uses make them both enjoyable and rewarding. Perfect for winter crafts, this project is a must-try for crochet lovers of all skill levels!


