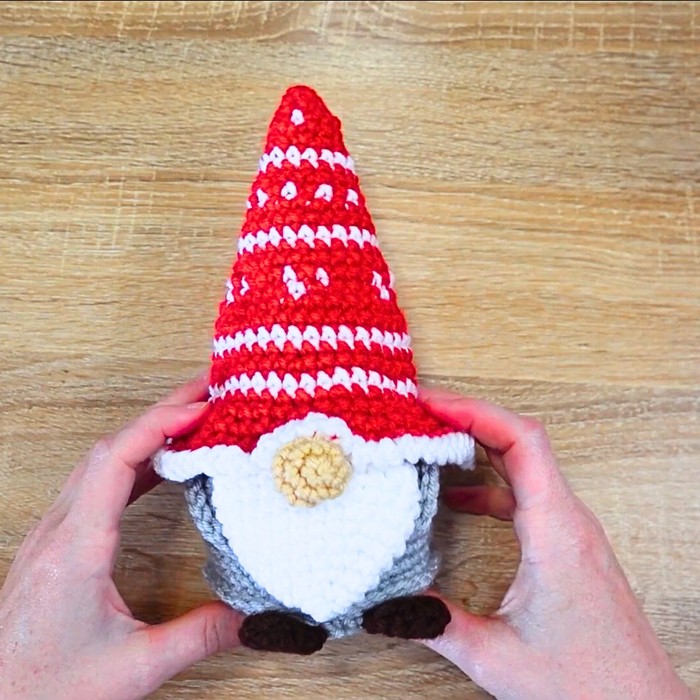
Create your own delightful Crochet Gnome Amigurumi, featuring a festive red hat, charming beard, and customizable size options. This adorable design is perfect for any season, whether as a whimsical holiday decoration or a unique touch to liven up your indoor plant displays.
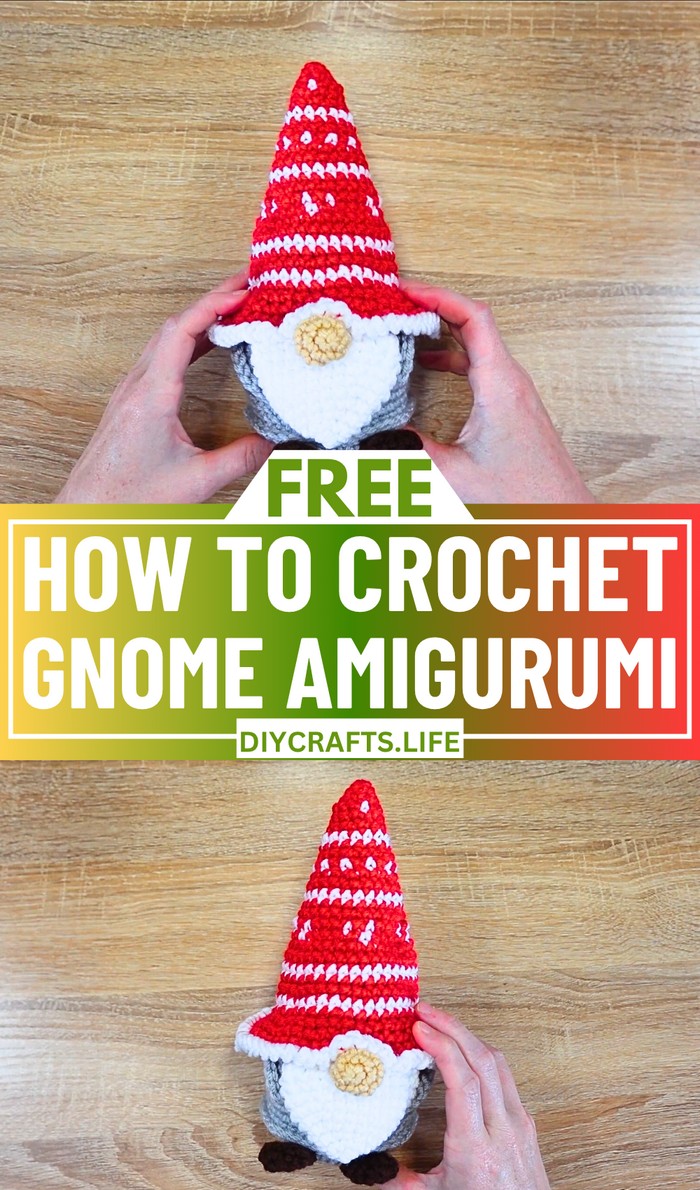
This Crochet Gnome Amigurumi is versatile and durable, made to last with the yarn of your choice—sport, DK, or plush. Its snug design and intricate details, like a textured beard and stand-out hat, make it an eye-catching accent for your home. Use it as décor, a gift, or a playful keepsake.
Crochet Gnome Amigurumi
With a 4mm hook and simple materials, crafting Norbert the Gnome becomes an engaging and rewarding project. Follow step-by-step magic ring tutorials, color changes, and structured rows as you construct his head, beard, arms, feet, and iconic red hat. A perfect project for crochet enthusiasts.
Credit The Kindness Company
Materials and Preparation
To make the Crochet Gnome Amigurumi, you will need the following materials:
- Yarn: Worsted weight yarn in four main colors: silver/gray (body), white (beard), powder/cream (nose), and red (hat). Use sport weight, DK, or plush yarn as desired (adjust hook size and safety eyes accordingly).
- Crochet hook size: 4mm. Adjust this size based on your yarn weight.
- Safety eyes (size may vary depending on yarn and your preference).
- Stuffing (fiberfill or your preferred stuffing material).
- Yarn needle for weaving and sewing.
- Scissors.
- Optional: Stitch markers for marking your rounds.
Preparation
- Choose your yarn colors to match the festive or decorative theme you want for your gnome.
- If you use a lighter or heavier yarn weight, adjust the crochet hook size and accessories proportionally to achieve the desired result.
- Prepare all your materials so you can complete your project without interruption.
Abbreviations and Notes
Below are the commonly used crochet terms in this project:
| Abbreviation | Meaning |
|---|---|
| MR | Magic Ring |
| SC | Single Crochet |
| DEC | Decrease |
| INC | Increase (Two SC in the same stitch) |
| ST | Stitch |
| CH | Chain |
| Back Loop (BL) | Work into the back loop only of a stitch |
| Slip Stitch (SS) | Insert hook, yarn over, pull through both loops |
| FO | Fasten Off |
Notes:
- Magic Ring Tip: Take your time to master this technique, as it's essential for this project! Reference the detailed instructions in the video to perfect it.
- Stitch markers: These will help you keep track of rounds, especially in spiral patterns.
- You’ll be working in spirals (not joining rounds), except for the hat and details where color changes occur.
Gauge, Approximate Size, and Pattern Notes
- Gauge: Not strictly required but should be consistent throughout. Ensure your stitches are tight enough to create a firm shape that holds stuffing well.
- Size: The approximate dimensions of the finished gnome will depend on the yarn and hook used. With worsted weight yarn and a 4mm hook, the finished size measures approximately 6–8 inches tall.
Special Techniques:
- Magic Ring: Essential for this project. This technique is used to start most pieces (body, beard, legs, hat, etc.), ensuring a tight center for all round objects.
- Color changes: The hat alternates between red and white stripes in several rounds, so clean color transitions are necessary. Refer to the video on how to switch colors seamlessly.
- Working in Back Loop: This technique is used in select rounds to create a raised effect (e.g., the bottom edge of the robe).
Step-by-Step Pattern
1. Body and Head
Materials: Silver/Gray Yarn
- Start with a magic ring in silver/gray yarn.
- Round 1: Make 6 SC in MR. Pull the magic ring tightly closed and mark the first stitch with your stitch marker.
- Round 2: Make 6 INC (12 stitches).
- Round 3: (SC, INC) 6 times. (18 stitches)
- Round 4: (SC, SC, INC) repeat 6 times. (24 stitches)
- Round 5: (SC, SC, SC, INC) repeat 6 times. (30 stitches)
- Round 6: (SC, SC, SC, SC, INC) repeat 6 times. (36 stitches)
- Rounds 7–9: SC in 36 ST evenly across each round. (Do not increase or decrease stitches.)
- Rounds 10–20: SC in each ST (36 ST per round). This creates the straight body shape of the gnome.
- Check that the work isn't flipped inside-out (the tail from the MR should be on the inside).
- Add stuffing before moving to round 26, ensuring the bottom sits flat.
2. Beard
Materials: White Yarn
- Start with a magic ring in white yarn.
- Round 1: Make 6 SC in MR.
- Round 2: (SC, SC, INC) repeat 2 times. (10 stitches)
- Round 3: Start with an INC, then (SC, SC). Continue with 2 INC, (SC, SC) and another INC. (16 stitches)
- Continue building shape with similar patterns through Round 7–9, ending each round with SC in each ST.
- Round 10: Decrease around the top of the beard and fasten off.
- Sew the top of the beard closed (no stuffing required) and attach to round 10 of the body.
3. Nose
Materials: Powder/Cream Yarn
- Start with a magic ring in cream-colored yarn.
- Round 1: Make 5 SC in MR.
- Round 2: Put an increase in every ST for 10 stitches total.
- Round 3: SC in each of the 10 ST, evenly around.
- Round 4: Work decreases into every ST until closed. (5 stitches)
- Attach the nose over the beard, securing it firmly with a yarn needle.

4. Arms
Materials: White Yarn
- Start by chaining 10 ST after forming a slip knot.
- Row 1: Begin in the 2nd chain from the hook. Slip stitch across the chain.
- Fasten off and leave a long tail for sewing.
- Make two arms total and attach them evenly on either side of the body near round 10, 4 ST from the beard.
5. Feet/Legs
Materials: Chocolate Brown Yarn
- Create another magic ring with chocolate-colored yarn.
- Round 1: Make 6 SC inside the MR.
- Round 2: (SC, INC) repeat 3 times. (9 stitches)
- Round 3–4: SC evenly in 9 stitches per round.
- Leave the legs unstuffed. Sew the tops closed.
- Make two legs and attach them on the bottom of the body, aligning them with round 21.
6. Hat
Materials: Red Yarn and White Yarn
- Start with red yarn and perform a magic ring.
- Round 1: Make 6 SC in MR.
- Round 2–3: SC evenly in all 6 ST.
- Round 4 onward: Begin working red and white stripes by alternating color in each round according to the video instructions. Every other round will involve clean color changes.
- Use increases spaced according to the pattern in rounds 9, 11, and 15 to shape the hat into a long and tapered cone.
- Continue alternating colors until the desired length is achieved (about 20 rounds).
- Leave some tail to sew the hat onto the top of the gnome’s head.
Finishing Touches:
- After securing the hat onto Norbert’s head, use your yarn needle to ensure all tails are woven.
- Add final stuffing if needed before closing the hat or other parts securely.
- Optional: Attach safety eyes, buttons as decorations, or place Norbert on your mantle/desk for display!
Congratulations! You have completed Norbert the Crochet Gnome Amigurumi!
Pattern Question
How can I adjust the size of the gnome?
To adjust the size, vary the yarn type and hook size. Use sport yarn for a small gnome or plush yarn for a larger version. Ensure you match the scale of your safety eyes and other accessories to the chosen size.
Conclusion
Norbert the Crochet Gnome is a fun and festive project that adds a touch of charm to any space. With clear step-by-step guidance, customizable sizing, and adorable details, creating this amigurumi is a delightful experience. Pair it with a matching gift card for a one-of-a-kind handmade present!


