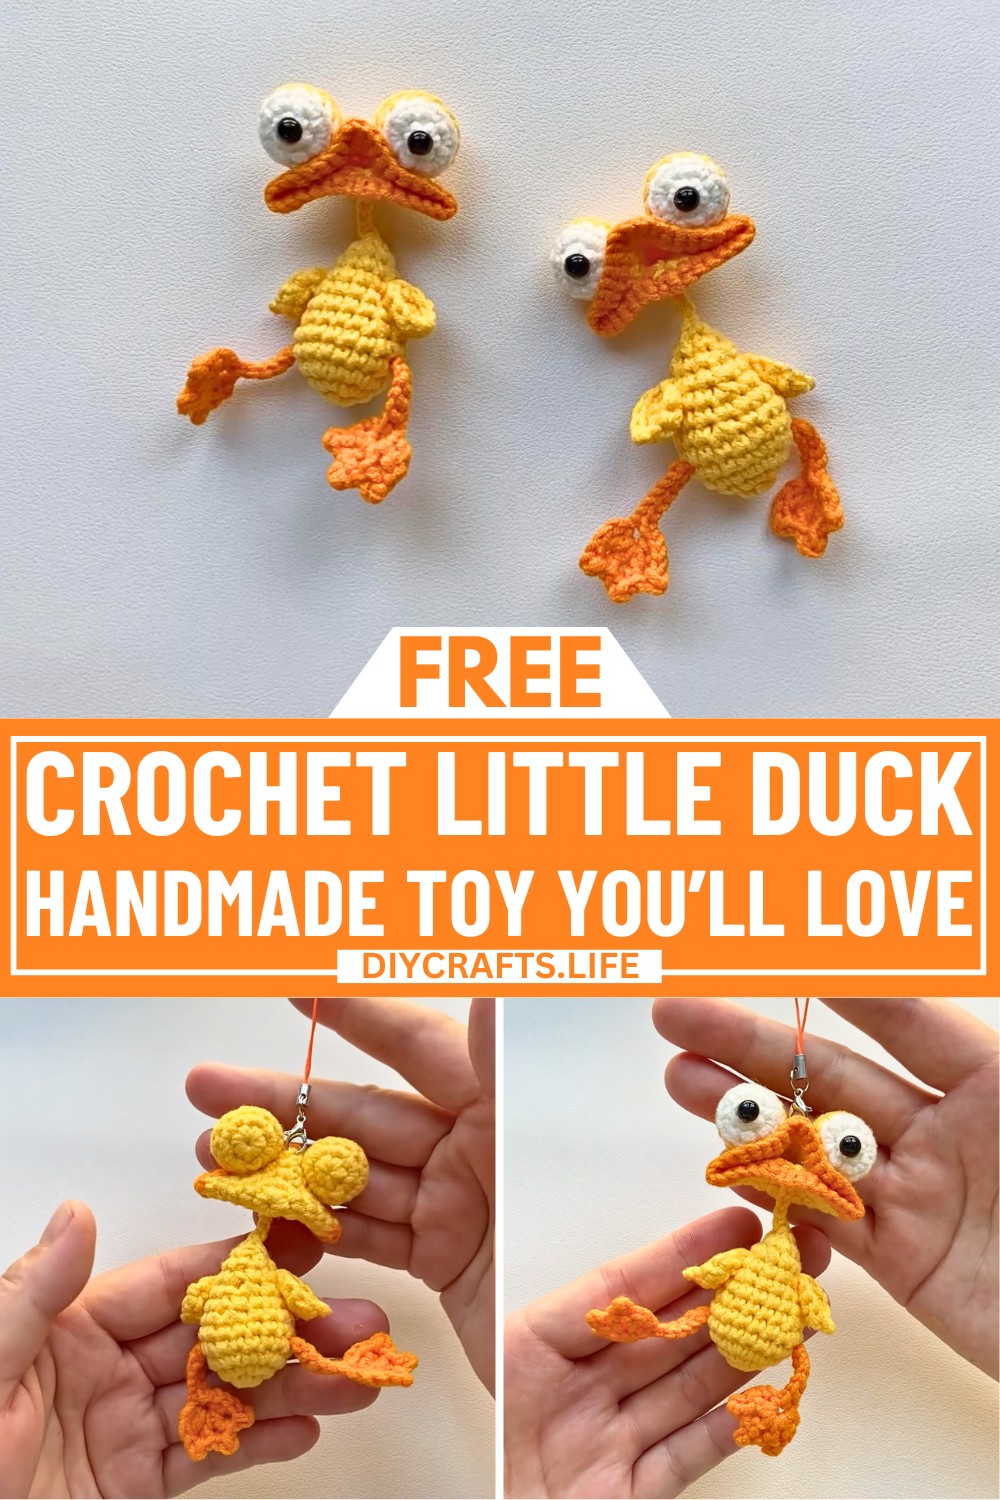
Looking for something small, cute, and fun? This crochet little duck is perfect! It's a tiny, cheerful creation that brings so much joy. Whether you want a playful toy, a sweet decoration for shelves or desks, or a charming handmade gift for someone special, this little duck fits the bill perfectly!
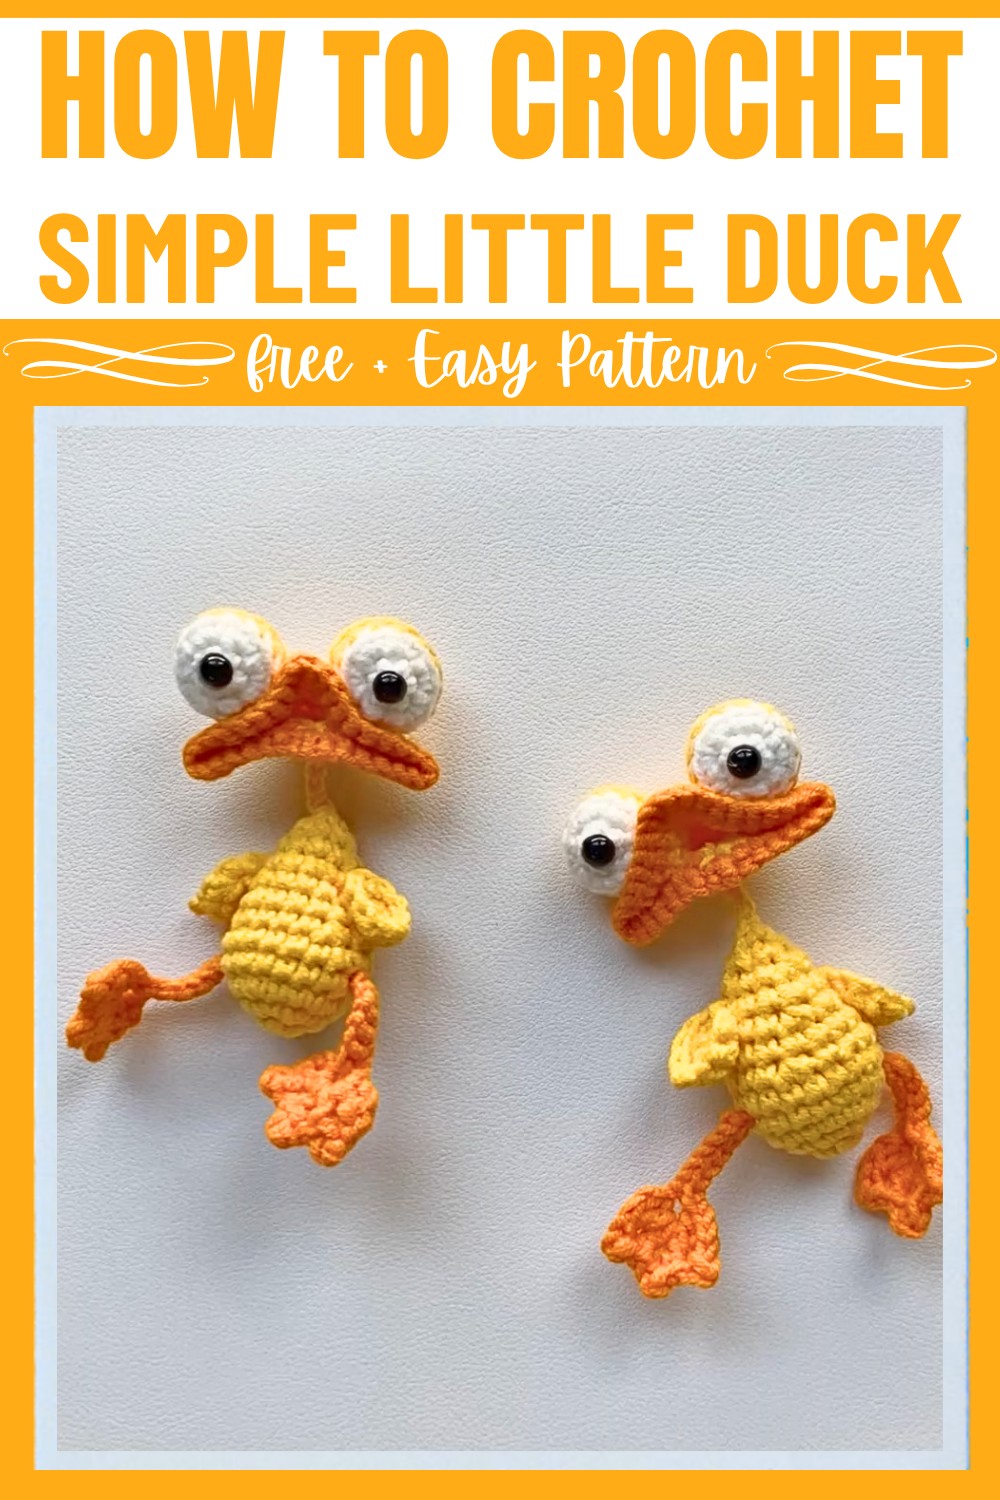
Making this cute duck is simple and refreshing. The step-by-step process ensures a relaxed crafting experience while watching your creation take shape. You’ll only need basic supplies, and seeing the duck come to life is so satisfying. With just a bit of yarn and patience, you can create something heartwarming that's always ready to brighten anyone's day. Perfect for all ages to enjoy!
Credit Ada's Handmade
Materials & Tools Needed
- Crochet Hook: 2.5 mm hook
- Yarn: 4-ply cotton yarn in yellow (main body), orange (beak and feet), and black (optional for facial details—embroidered eyes or accents).
- Stuffing: Polyester fiberfill or any soft stuffing material
- Tapestry Needle: For sewing and finishing
- Scissors
Finished Size & Customization Ideas
- Approximate Size: The duck will measure around 3-4 inches tall, depending on your tension and yarn thickness.
- Customization Ideas:
- Use safety eyes instead of embroidered eyes for a playful look.
- Add a tiny bow tie or scarf to accessorize your duck.
- Experiment with pastel or variegated yarns for a whimsical version of the duck.
Pattern Abbreviations & Terminology
Crochet terminology used in the pattern:
- ch: Chain
- sc: Single crochet
- inc: Increase (2 single crochets in the same stitch)
- dec: Decrease (single crochet 2 stitches together)
- hdc: Half double crochet
- slst: Slip stitch
- Rnd: Round
- Magic Ring/Loop: Adjustable loop to begin projects in the round
Note: The pattern follows US terminology.
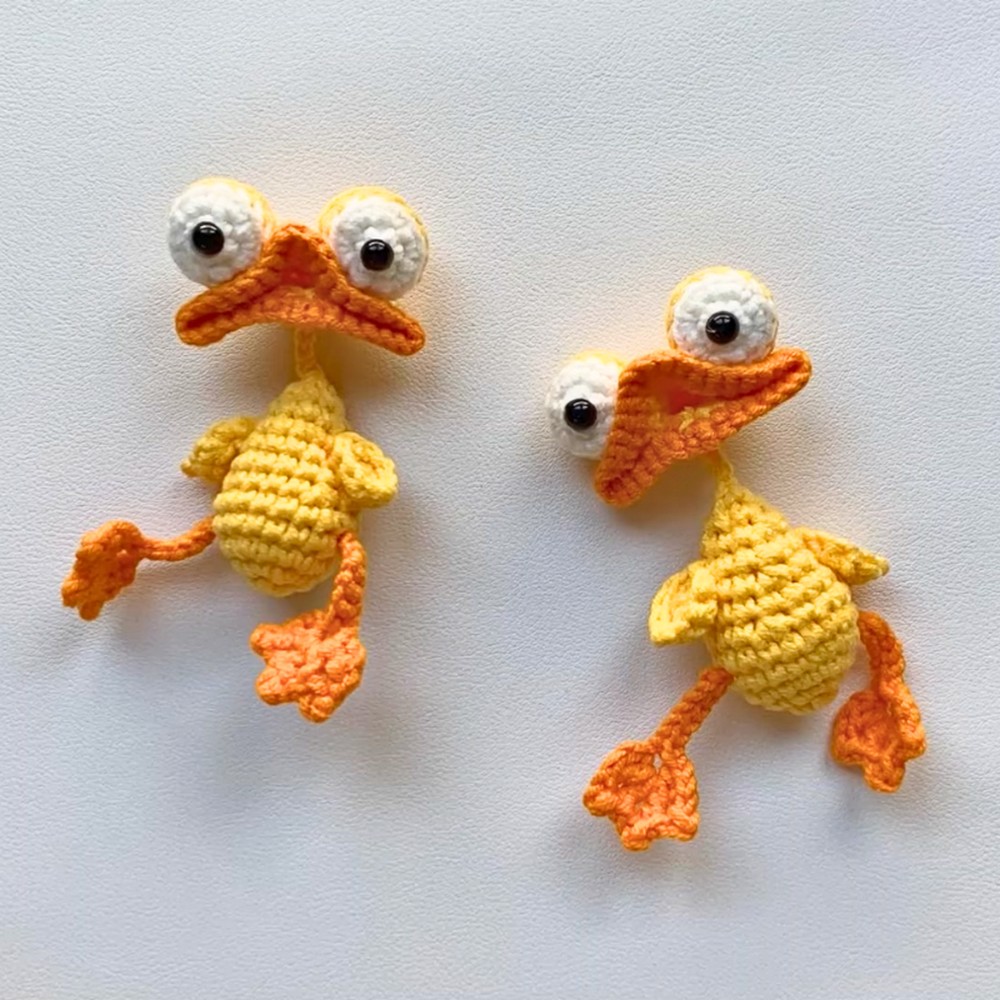
Step-by-Step Crochet Instructions
Below are detailed instructions broken down into components: Body, Head, Wings, Beak, and Feet.
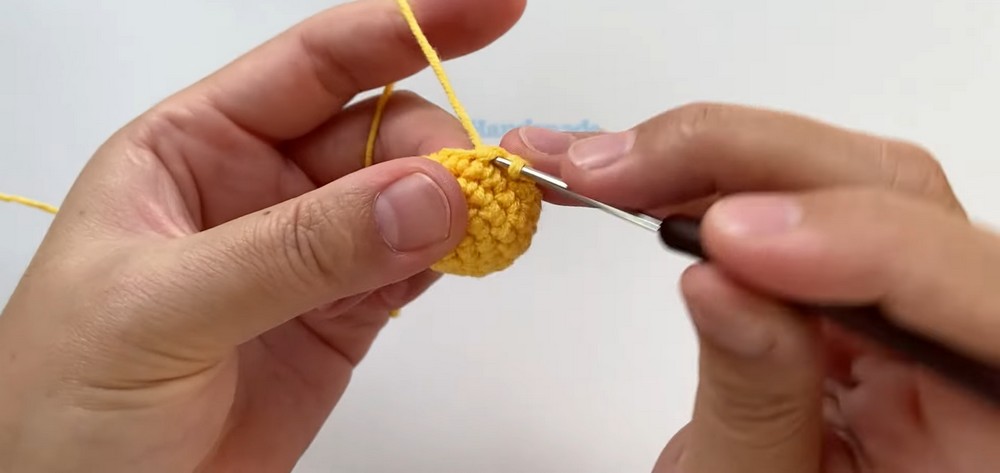
1. Body
Using yellow yarn:
- Rnd 1: Make a magic loop, and crochet 6 sc into the loop. Pull the loop tight. Join with a slst in the first sc, then ch 1. (6 sc)
- Rnd 2: Inc in each stitch (2 sc in each stitch) around. Join with slst; ch 1. (12 sc)
- Rnd 3: (1 sc, inc) repeat 6 times. Join with slst; ch 1. (18 sc)
- Rnd 4: (2 sc, inc) repeat 6 times. Join with slst; ch 1. (24 sc)
- Rnd 5: (3 sc, inc) repeat 6 times. Join with slst; ch 1. (30 sc)
- Rnd 6: (4 sc, inc) repeat 6 times. Change to a new yarn color at the last stitch if desired. Join with slst; ch 1. (36 sc)
- Make an invisible slip stitch at the end and cut the yarn, leaving a tail for sewing.
2. Head
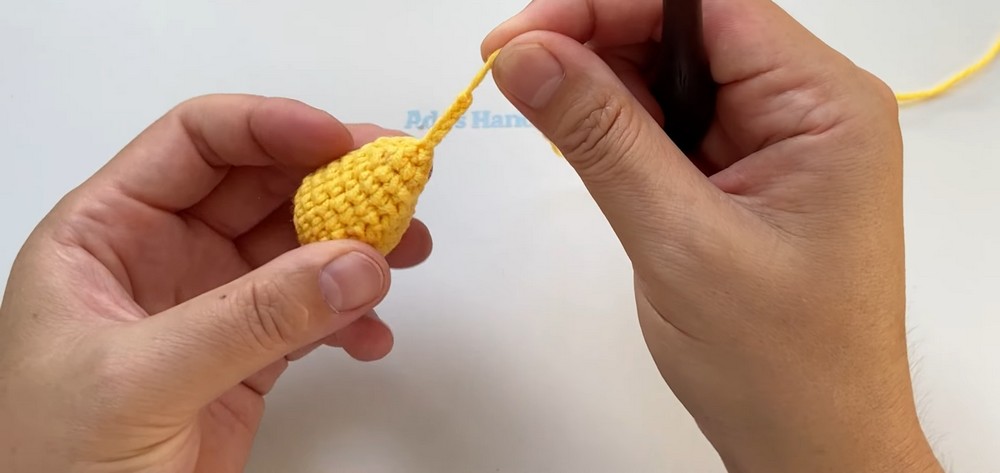
Using yellow yarn:
- Rnd 1: Make a magic loop, and crochet 6 sc into the loop. Pull tight, join with slst; ch 1. (6 sc)
- Rnd 2: Inc in each stitch (2 sc in each stitch) around. Join with slst; ch 1. (12 sc)
- Rnd 3: (1 sc, inc) repeat 6 times. Join with slst; ch 1. (18 sc)
- Rnd 4-5: 1 sc in each stitch around for 2 rounds. Join with slst; ch 1. (18 sc per round)
- Rnd 6: (4 sc, dec) repeat 3 times. Join with slst; ch 1. (15 sc)
- Rnd 7: 1 sc in each stitch around. Join with slst; ch 1. (15 sc)
- Rnd 8: (3 sc, dec) repeat 3 times. Join with slst; ch 1. (12 sc)
- Rnd 9: 1 sc in each stitch around. Add stuffing at this point. Join with slst; ch 1. (12 sc)
- Rnd 10: (2 sc, dec) repeat 3 times. Join with slst; ch 1. (9 sc)
- Rnd 11: (1 sc, dec) repeat 3 times. Join with slst; cut the yarn, leaving a long tail for sewing.
- Attach the head to the body securely using the long tail of yarn and a tapestry needle.
3. Wings (Make 2)
Using yellow yarn:
- Rnd 1: Make a magic loop, and crochet 6 sc into the ring. Pull tight, join with slst; ch 1. (6 sc)
- Rnd 2: Inc in each stitch (2 sc in each stitch) around. Join with slst; ch 1. (12 sc)
- Rnd 3: 1 sc in each stitch around. Join with slst; ch 1, then cut the yarn, leaving a long tail for sewing. (12 sc)
- Sew the wings onto the sides of the body.
4. Beak
Using orange yarn:
- Ch 8.
- Row 1: 1 dc in the third chain from the hook, ch 2, slst into the second chain.
- Repeat the process: 1 dc, ch 2, slst. Continue across the chain to form a ridged, textured beak shape.
- Slip stitch down the sides of the beak for a clean edge. Cut yarn, leaving a long tail for sewing.
- Attach the beak to the center of the head, slightly below the midpoint.
5. Feet (Make 2)
Using orange yarn:
- Rnd 1: Make a magic loop, and crochet 5 sc into the loop. Pull tight; join with slst; ch 1. (5 sc)
- Rnd 2: (inc, sc, hdc) pattern to shape the foot:
- Inc in the first stitch.
- Sc in the next.
- Hdc in the next.
- Ch 2, slst into the second chain.
- Sc in the next stitch.
- 3 sc across.
- Join with slst; ch 1, cut the yarn. Leave a long tail for sewing.
- Sew the feet onto the base of the body.
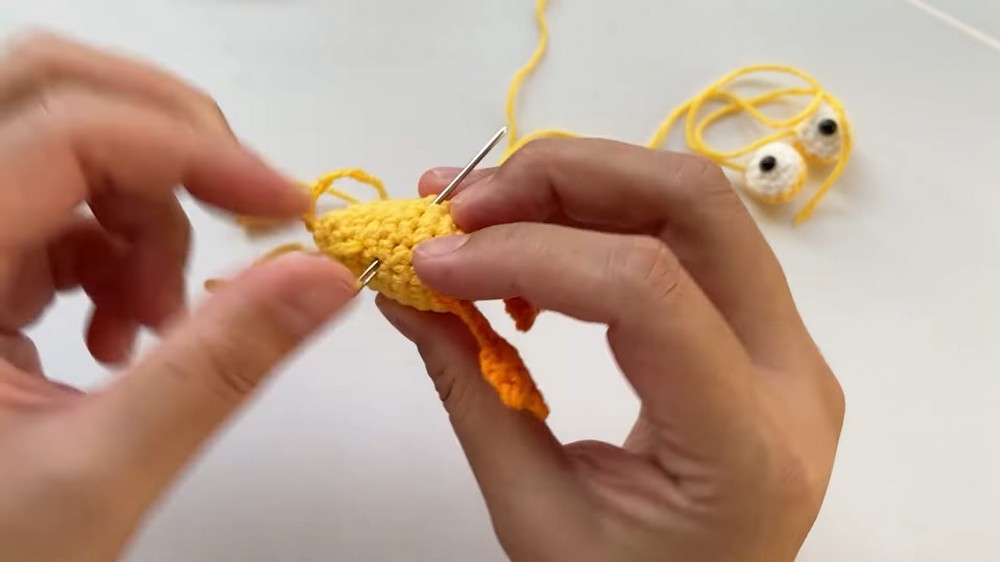
6. Final Assembly
- Use black thread or yarn to embroider eyes onto the head if safety eyes are not used.
- Ensure all components are firmly attached. Use whip stitch or invisible stitching methods to maintain a professional finish.
- Adjust stuffing if needed to help shape the duck firmly.