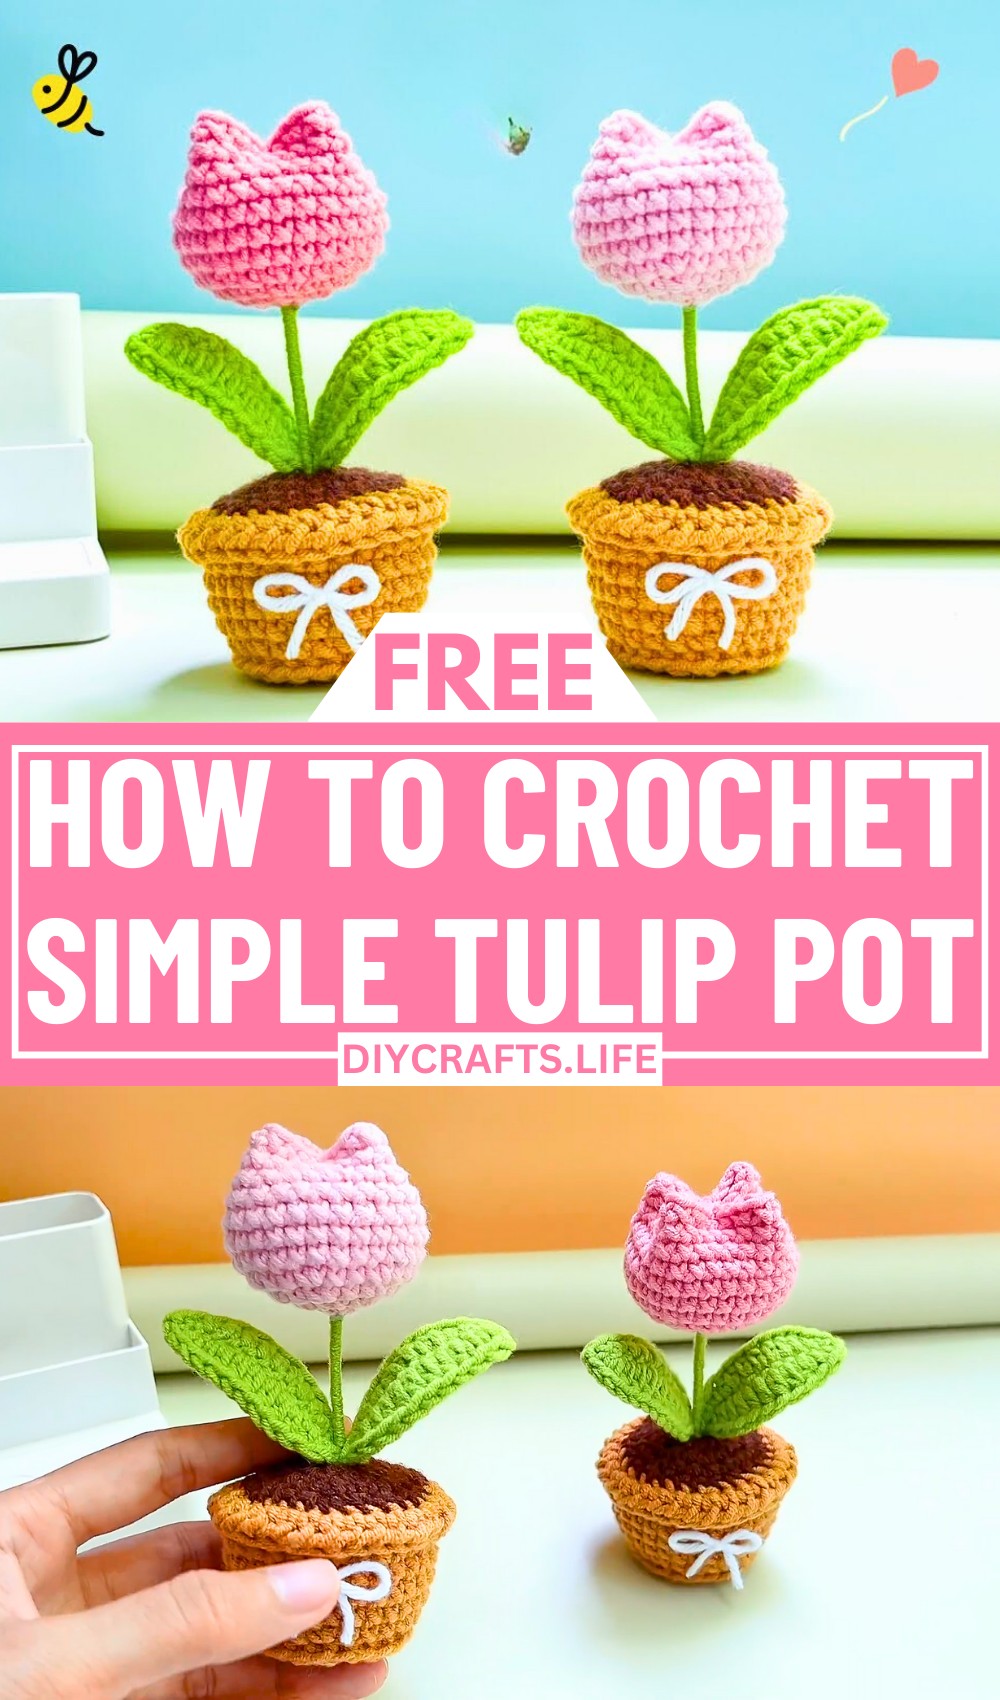
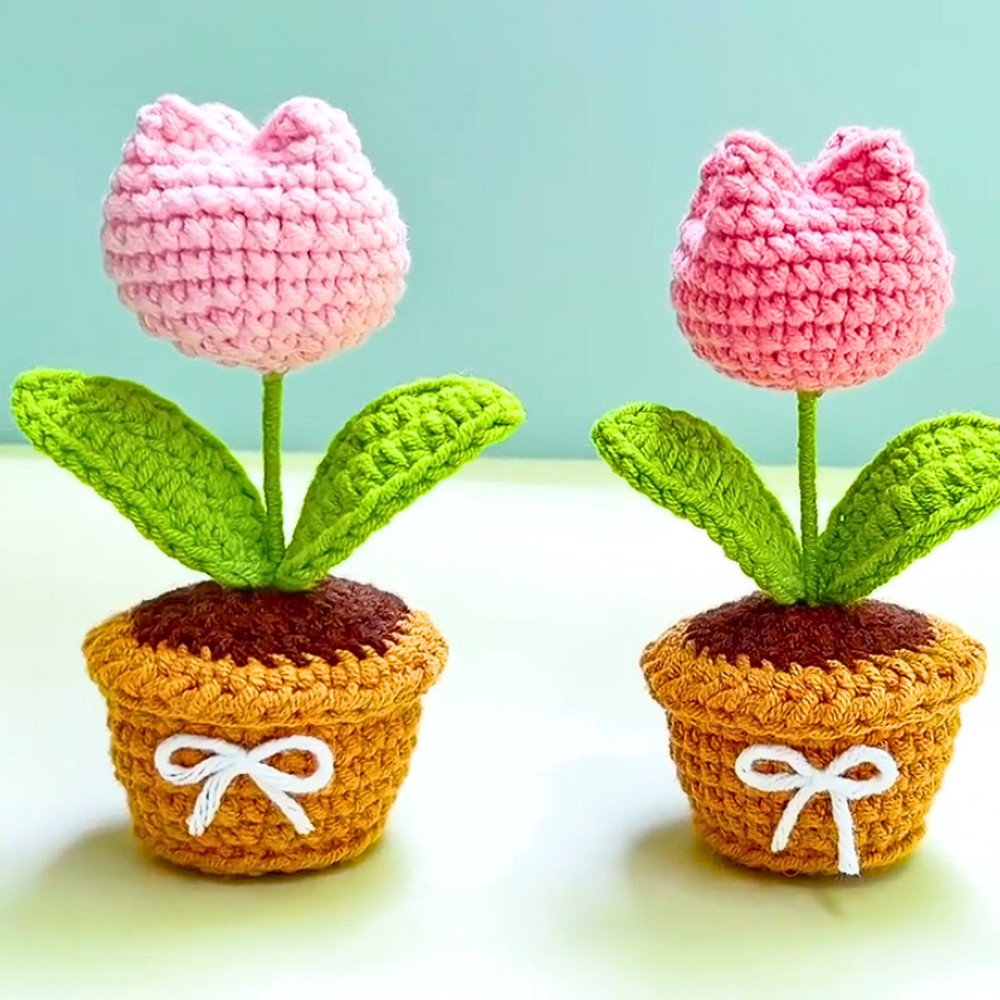
Create a touch of beauty and whimsy with this charming crochet pattern that transforms simple yarn into a delightful mini potted tulip. Perfectly blending vibrant textures and soft details, this design brings the essence of spring right into your hands. Whether you’re decorating a cozy study spot or crafting a heartfelt gift, this project captures the warmth and thoughtfulness of handmade art.

Crochet Mini Tulip Pot
This intricate yet approachable design features a detailed tutorial to craft everything from the pot to the tulip bud and leaves. What makes it special is the creative addition of wire for shaping and structure, allowing the leaves to maintain their elegant form. Its layered details, including the textured "soil" and realistic touch of wrapped yarn branches, make it stand out as both creative and practical. With endless color possibilities, this pattern is perfect for expressing your personal style, while adding charm to any space.
Credit DIY Yarn Crafts
Required Materials:
- Yarn in the following colors:
- Pot color
- Tulip bud color (your choice)
- Green yarn for leaves and branch
- Crochet hook (appropriate size for the yarn being used).
- A piece of 15 cm wire (for the leaves and branch).
- Cotton stuffing.
- Scissors.
- Hot glue gun and glue sticks.
- Stitch markers.
Important Notes:
- The crochet pattern uses magic rings and continuous rounds for certain parts.
- When increasing stitches, remember to crochet 2 stitches into the same stitch.
- For certain rows, crochet into only the back loops or front loops as specified.
- Keep your tension consistent for a neat finish.
- Attach the parts securely (e.g., tulip bud, leaves, and pot).
- Stuff the parts (pot, soil, and tulip bud) with cotton to achieve proper shaping.
Step-by-Step Instructions:
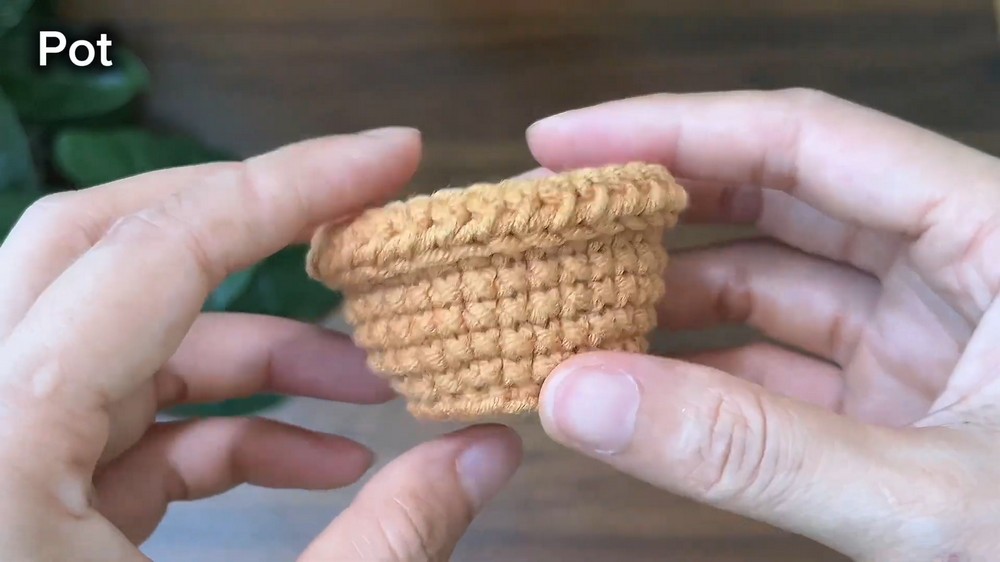
Step 1: Create the Pot
- Row 1: Make a magic ring. Crochet 6 single crochets (sc) into the magic ring. Pull the yarn tightly and make a slip stitch into the first stitch. Chain 1 to start the next row.
- Row 2: Make 2 single crochets (increase) into each stitch (total: 12 stitches). Slip stitch into the first stitch.
- Row 3: Chain 1. Repeat the pattern: 1 single crochet, then an increase (2 single crochets into the same stitch). Repeat 6 times (total: 18 stitches). Slip stitch into the first stitch.
- Row 4: Chain 1. Crochet 2 single crochets, then 1 increase per repeat, 6 times (total: 24 stitches). Slip stitch into the first stitch.
- Row 5: Chain 1. Work in back loops only for this row. Crochet 1 slip stitch into each back loop (total: 24 stitches). Slip stitch into the first stitch at the end.
- Row 6: Chain 1. Crochet 3 single crochets, then 1 increase per repeat, 6 times (total: 30 stitches). Slip stitch into the first stitch.
- Row 7: Chain 1. Create 30 single crochets in total. Slip stitch into the first stitch.
- Rows 8 – 11: Repeat Row 7 (30 single crochets per row).
- Row 12: Chain 2, then work in front loops only. Make 1 half-double crochet (hdc) into each stitch (total: 30 hdc). Slip stitch into the first stitch, fasten off, and weave in the yarn ends.
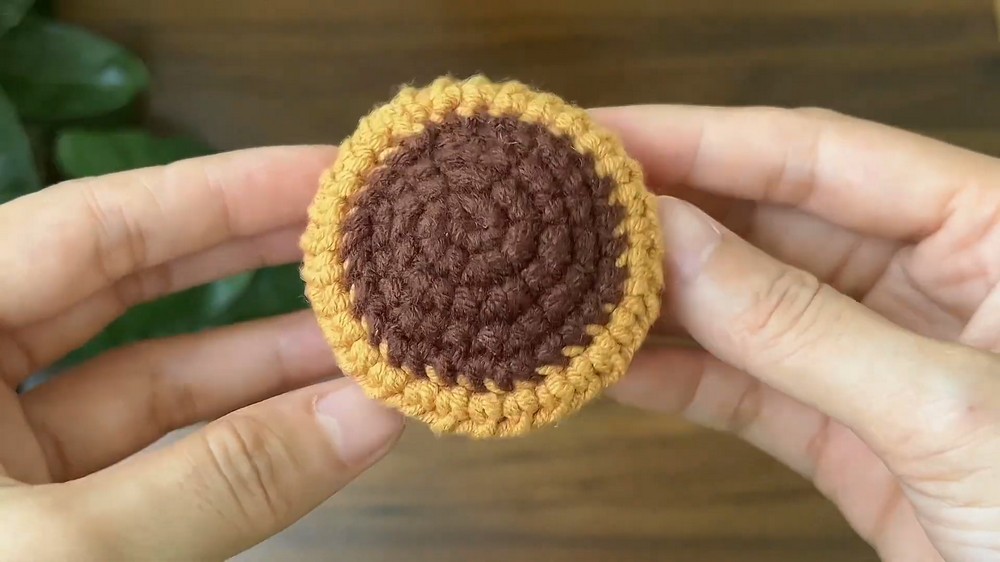
Step 2: Create the Soil
- Row 1: Make a magic ring. Crochet 6 single crochets into the ring. Leave a small hole for inserting the flower later. Slip stitch into the first stitch.
- Follow the same pattern as Rows 2 – 4 of the pot.
- Fasten off, leaving a long yarn tail for sewing.
- Stuff the pot with cotton and sew the soil firmly into the top of the pot.
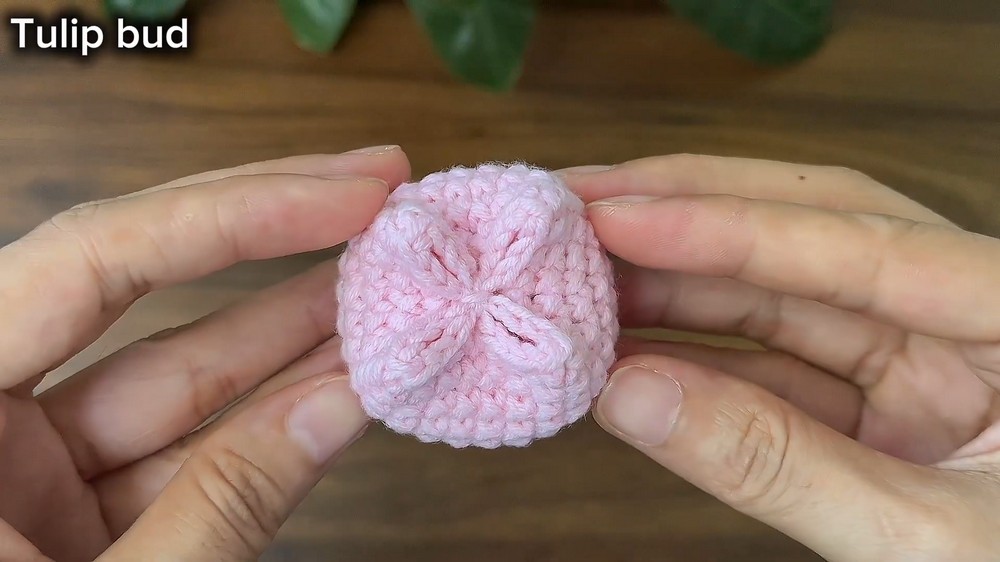
Step 3: Create the Tulip Bud
- Row 1: Make a magic ring. Make 7 single crochets into it. Pull tightly. Work in continuous rounds for the tulip bud.
- Row 2: Crochet 7 increases (2 single crochets in each stitch, total: 14 stitches). Use a stitch marker for the first stitch of each round.
- Row 3: Work a repeat of 1 single crochet, then 1 increase around (total: 21 stitches).
- Row 4: Work 2 single crochets, then 1 increase (repeat 7 times; total: 28 stitches).
- Row 5: Crochet 1 single crochet into each stitch (total: 28 single crochets).
- Rows 6 – 11: Repeat Row 5 (28 single crochets per row).
- Fasten off, leaving a long tail for sewing. Stuff the tulip bud with cotton for shaping.
- Sew a cross-stitch pattern into the last row of the tulip bud for detailing.
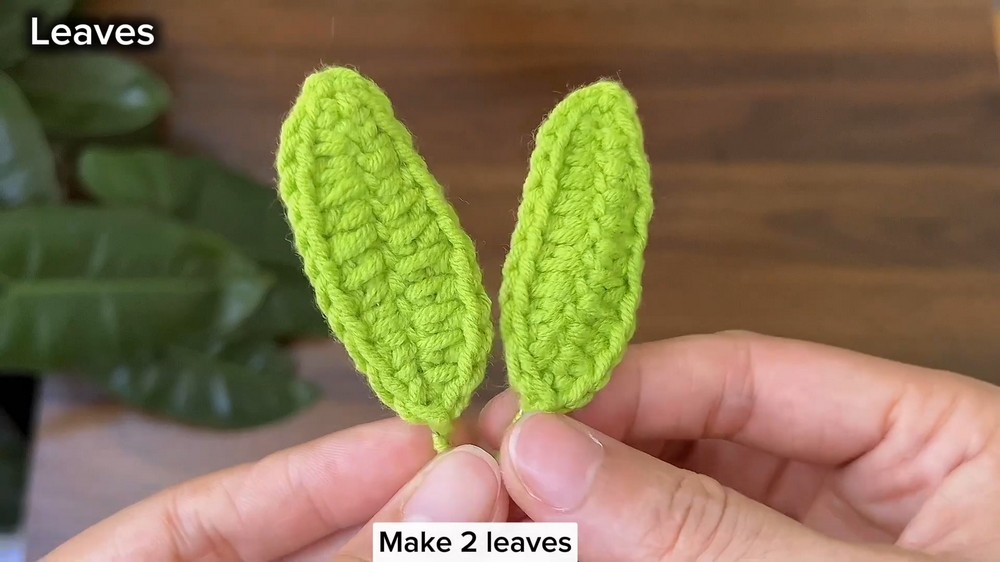
Step 4: Create the Leaves with Wire
- Start with a slip knot. Chain 12.
- Place the wire on the working yarn, positioning it under the hook. Crochet over the wire while working the following stitches:
- Single crochet (sc) in the 2nd chain from the hook.
- Half-double crochet (hdc) in the next 7 chains (one hdc per chain).
- Single crochet (sc) in the last 2 chains. Chain 2 to work on the other side.
- Repeat the same pattern on the opposite side of the chain, making a symmetrical leaf.
- Fasten off and leave yarn tails to wrap around or attach the leaf.
- Wrap the remaining exposed wire in matching green yarn and secure with knots.
Step 5: Assemble the Tulip Flower
- Apply hot glue to the wire (branch) and wrap it with green yarn to create the stem.
- Insert the wrapped wire into the hole of the soil and firmly attach it using glue.
- Use hot glue to secure the tulip bud to the end of the wire stem.
- Tie the leaves to the stem using yarn or glue them in place. Wrap green yarn around the entire branch to conceal the attachments.
- Secure the ends of the yarn with glue for a neat finish.
Your Mini Crochet Tulip Pot is now complete! You can use it to decorate your space or gift it to loved ones.