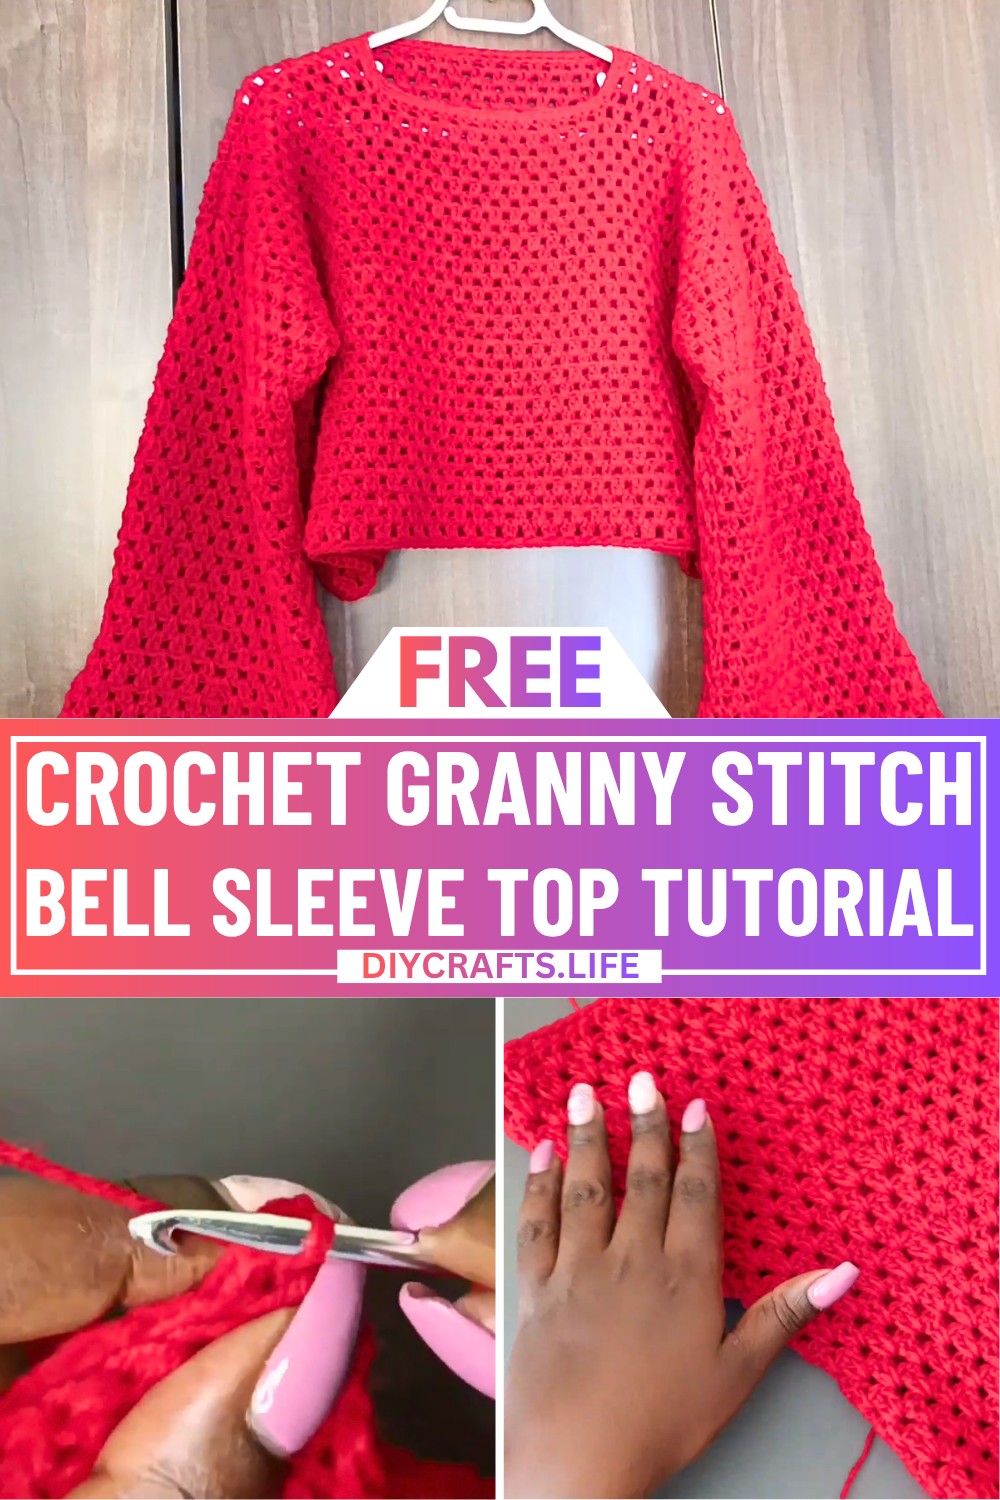
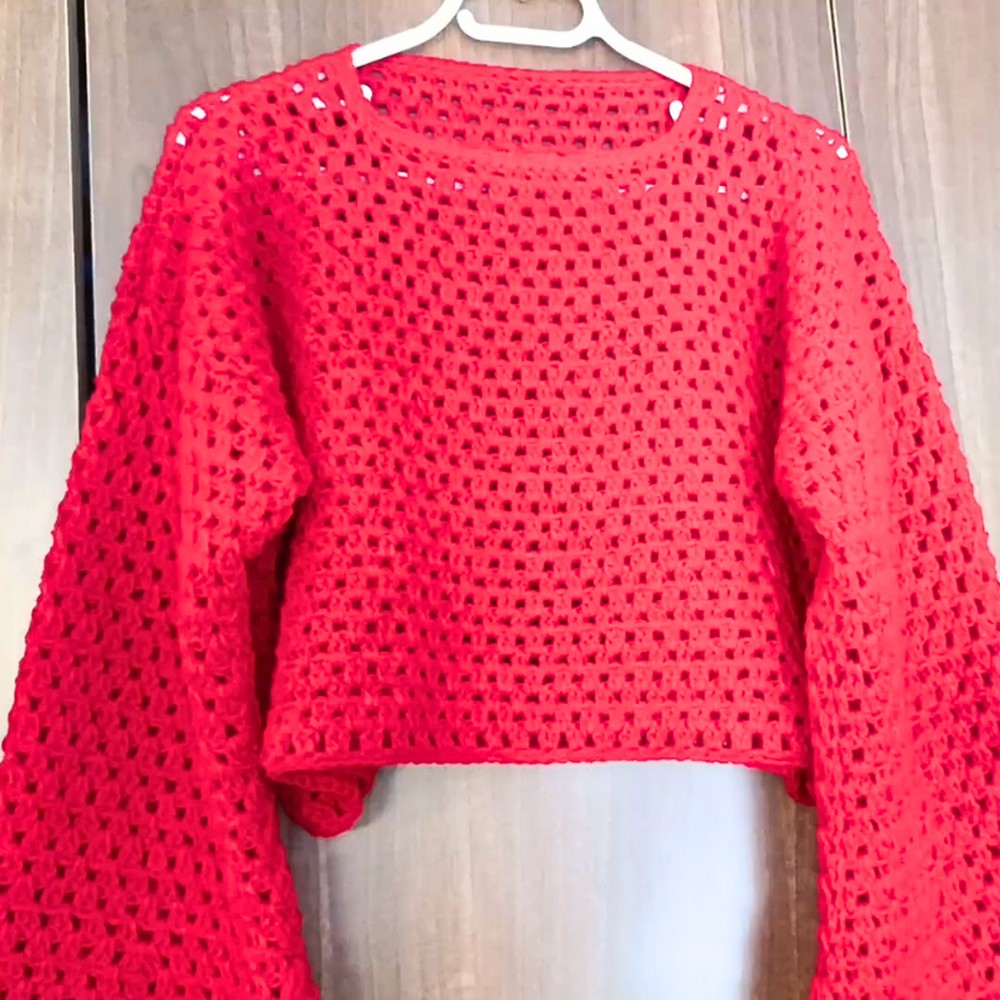
The Crochet Granny Stitch Bell Sleeve Top is a lightweight and stylish handmade garment perfect for casual outings or cozy evenings. Made using the classic granny stitch, this top features beautiful bell sleeves that add elegance and flair to your look. With its customizable size and vibrant design, this top highlights the charm of crochet while giving you a comfy and trendy clothing piece.
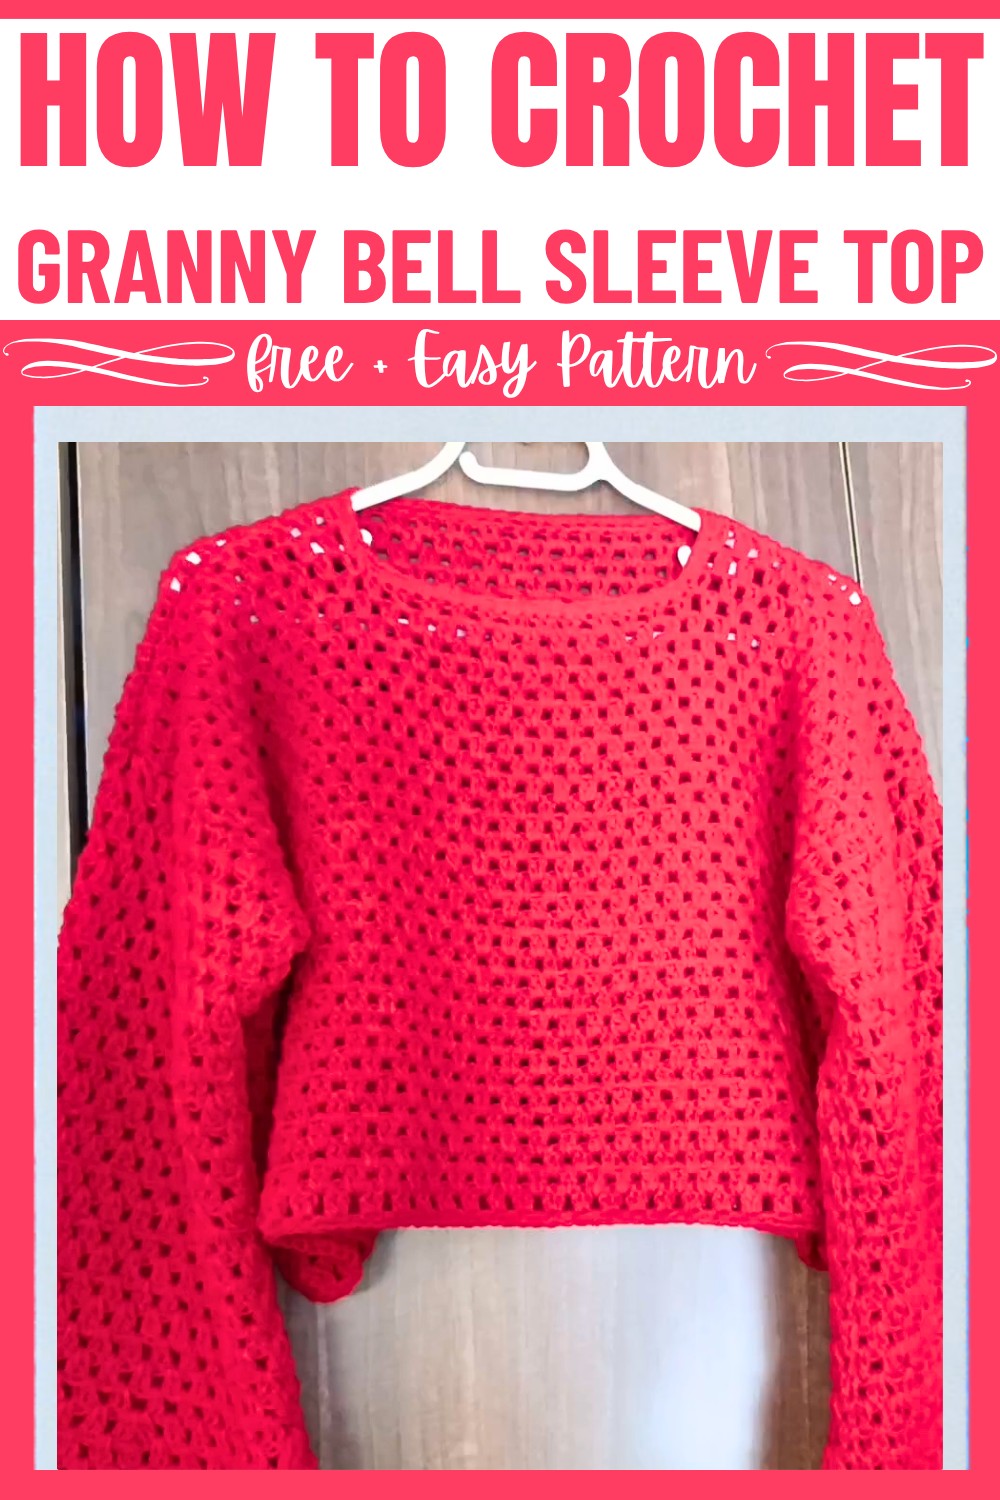
This crochet top design is great for beginners and allows you to create a wearable piece with minimal steps. Using a medium-weight yarn and simple stitches, you'll work on panels for the front, back, and sleeves, which are joined to form the top. The bell sleeves are unique as you incorporate gradual increases for a perfect shape. This wearable art can be tailored to your preferred length and size, making it a personal and versatile closet addition.
Credit LaDenser Crochets
Materials & Tools Needed
- Medium-weight yarn (#4) in your preferred color (red was used in the tutorial)
- 4.5 mm crochet hook
- Yarn needle
- Stitch markers (at least 2)
- Pair of scissors
- Measuring tape
Finished Size & Customization Ideas
- Finished Size: The tutorial creates the top for a size XL with the following dimensions:
- Bust measurement (BU): Half of the bust measured at 23 inches using a chain of 71. Each 2 rows result in approximately 1 inch.
- Front Panel Rows: 31 rows.
- Back Panel Rows: 34 rows.
- Sleeves: 24 foundational rows + 20 to 24 bell sleeve rows (depending on the desired length).
- Customization:
- For different sizes, adjust the starting chain:
- Small to Medium: Chain 51.
- Large: Chain 61.
- Larger than XL: Increase beyond 71 (adjust based on BU divided by 2, ensuring the chain is an odd number).
- Follow the same general instructions but adjust the length, width, or sleeve size as needed.
- To reduce yarn consumption or time, follow fewer increases for the bell sleeve section.
- For different sizes, adjust the starting chain:
Pattern Abbreviations & Terminology
- Ch: Chain
- St/sts: Stitch(es)
- DC: Double Crochet
- Sp/spaces: Space(s)
- YO: Yarn Over
- Slip Stitch: Slip stitch into the first chain or stitch
- Row: A complete pass across the piece (worked horizontally)
Note: This pattern uses US crochet terminology.
Step-by-Step Detailed Crochet Instructions
Overview:
This pattern is broken into the following components:
- Front and Back Panels
- Joining Panels (Shoulders, Sides)
- Sleeve Construction (Including Bell Sleeves)
- Edging (Bottom and Neckline)
Part 1: Front and Back Panels
- Starting Chain:
- Measure your BU (half of your full bust circumference) and divide by 2. Stretch your chain slightly to ensure it matches the measurement.
- Example Chains for sizes:
- Small/Medium: 51 chains.
- Large: 61 chains.
- XL: 71 chains (as in the tutorial).
- Chain an odd number.
- Row 1:
- After completing the chain, hold the last chain, and ch 3 (acts as the first DC).
- DC into the held chain.
- Skip 1 ch, and into the next ch, place 2 DCs.
- Repeat: Skip a chain, then place 2 DCs into the next chain across the entire row.
- At the end, place 2 DCs into the last chain.
- Rows 2+:
- Ch 2, turn.
- Work 2 DCs into each space between the DC sets from the previous row. Do not work into the chain stitches.
- The first DC set will also be placed directly into the top of the chain 3 from the previous row.
- Basic Repeat: All even-numbered rows alternate between rows starting/ending with 2 DCs. Repeat until your desired panel length is achieved.
- Front Panel:
- Number of Rows: Work 3 fewer rows than the back panel.
- For size XL: 31 rows total.
- Adjust based on size preferences, ensuring consistent alternation of Row 2 and Row 3 instructions outlined above.
- Back Panel:
- Number of Rows: For size XL: 34 rows.
Tip: Each 2 rows = approximately 1 inch. Adjust the length to your preference.
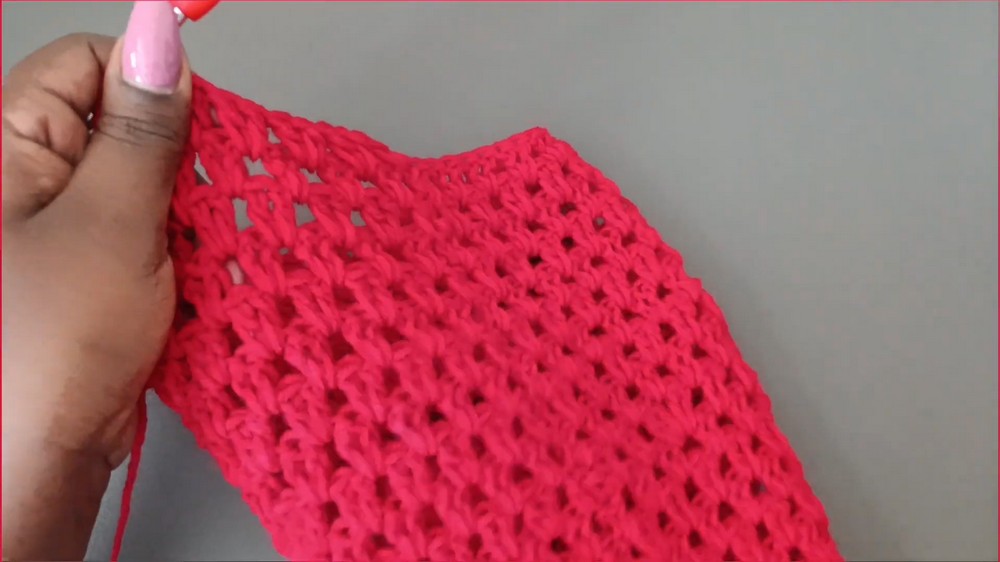
Part 2: Joining the Panels
- Neckline Shaping for Front Panel:
- Locate the middle stitch at the top of the panel. Use a stitch marker to divide the neckline into halves.
- Count 5 spaces on each side of the marked middle, placing markers to form the neckline boundary.
- Extend both shoulder sections by 3 additional rows of granny stitches (total 34 rows for XL to match the back panel).
- Shoulder Seams:
- Place the right sides of the front and back panels together.
- Use a stitch marker to align the top corners.
- Join the shoulders using single crochet or slip stitches from end to end (approximately 5 spaces or your desired width).
- Side Seams:
- From the bottom edge, measure 9 inches for the armholes and mark with stitch markers.
- Single crochet or slip stitch the side seams from the bottom up to the markers.
- Tie off and weave in ends.
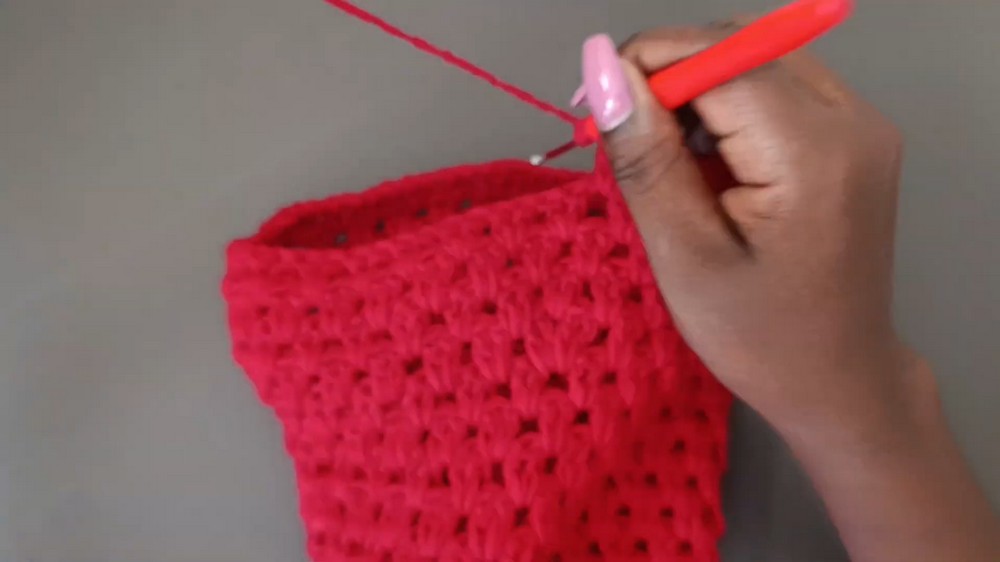
Part 3: Sleeves
- Sleeve Set-Up Rows:
- Attach yarn to the armhole opening at the seam.
- Work evenly around the armhole in double crochet, ensuring symmetry with 1 DC per row of the panels.
- Follow the pattern: Work 2 DC in one row, then 1 DC in the next 2 rows, repeating until the round is completed.
- Slip stitch to join the round.
- Foundational 24 Rows:
- Follow the Granny Stitch Pattern:
- Work 2 DCs in each space around.
- Slip stitch at the end of each round, chain 2, and turn.
- Repeat for 24 rows to establish the fitted portion of the sleeve.
- Follow the Granny Stitch Pattern:
- Bell Sleeve Extensions with Increases:
- Start increases at Row 25 and repeat after every 4th row.
- Row 25: After every 5 sets/spaces, work an increase: (2 DC, ch 1, 2 DC in the same space).
- Row 26-28: Regular granny stitch rows (no increases).
- Row 29: Increase again after 6 sets/spaces.
- Continue the 4-row repeat and add 1 additional set/space between each increase row until the bell sleeves reach your desired width and length (e.g., 44 total rows in the tutorial).
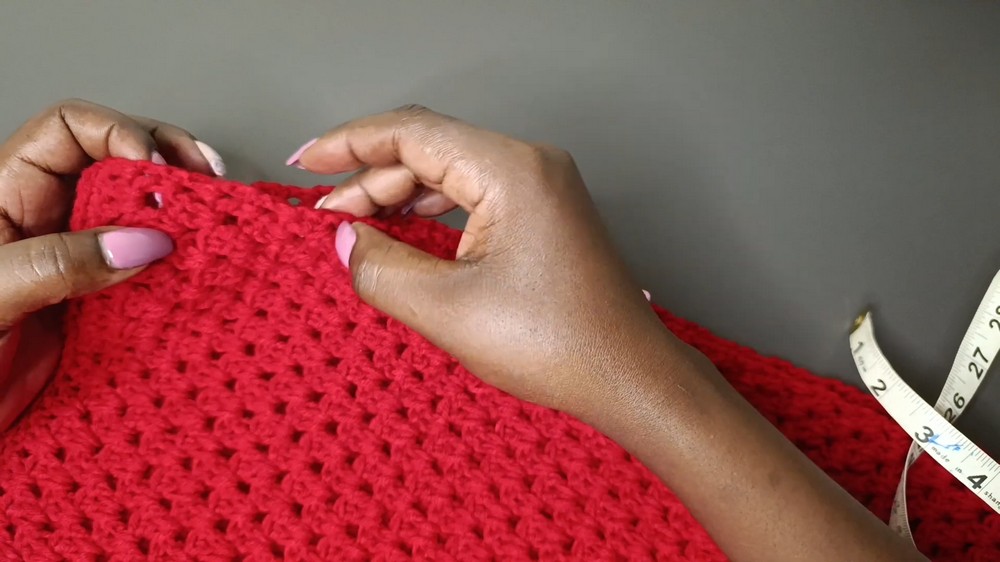
Part 4: Edging
- Bottom Hem:
- Work 1 round of single crochet evenly across the bottom edge of the top.
- Slip stitch to join, chain 1, and fasten off.
- Neckline:
- Work 2 rounds of single crochet evenly around the neckline, ensuring smooth edges.
- Mark the first stitch with a stitch marker to locate the start when joining with a slip stitch.
Finishing Touches
- Fasten off any remaining yarn and weave in all loose ends with a yarn needle.
- Block your top if needed to ensure smoothness.