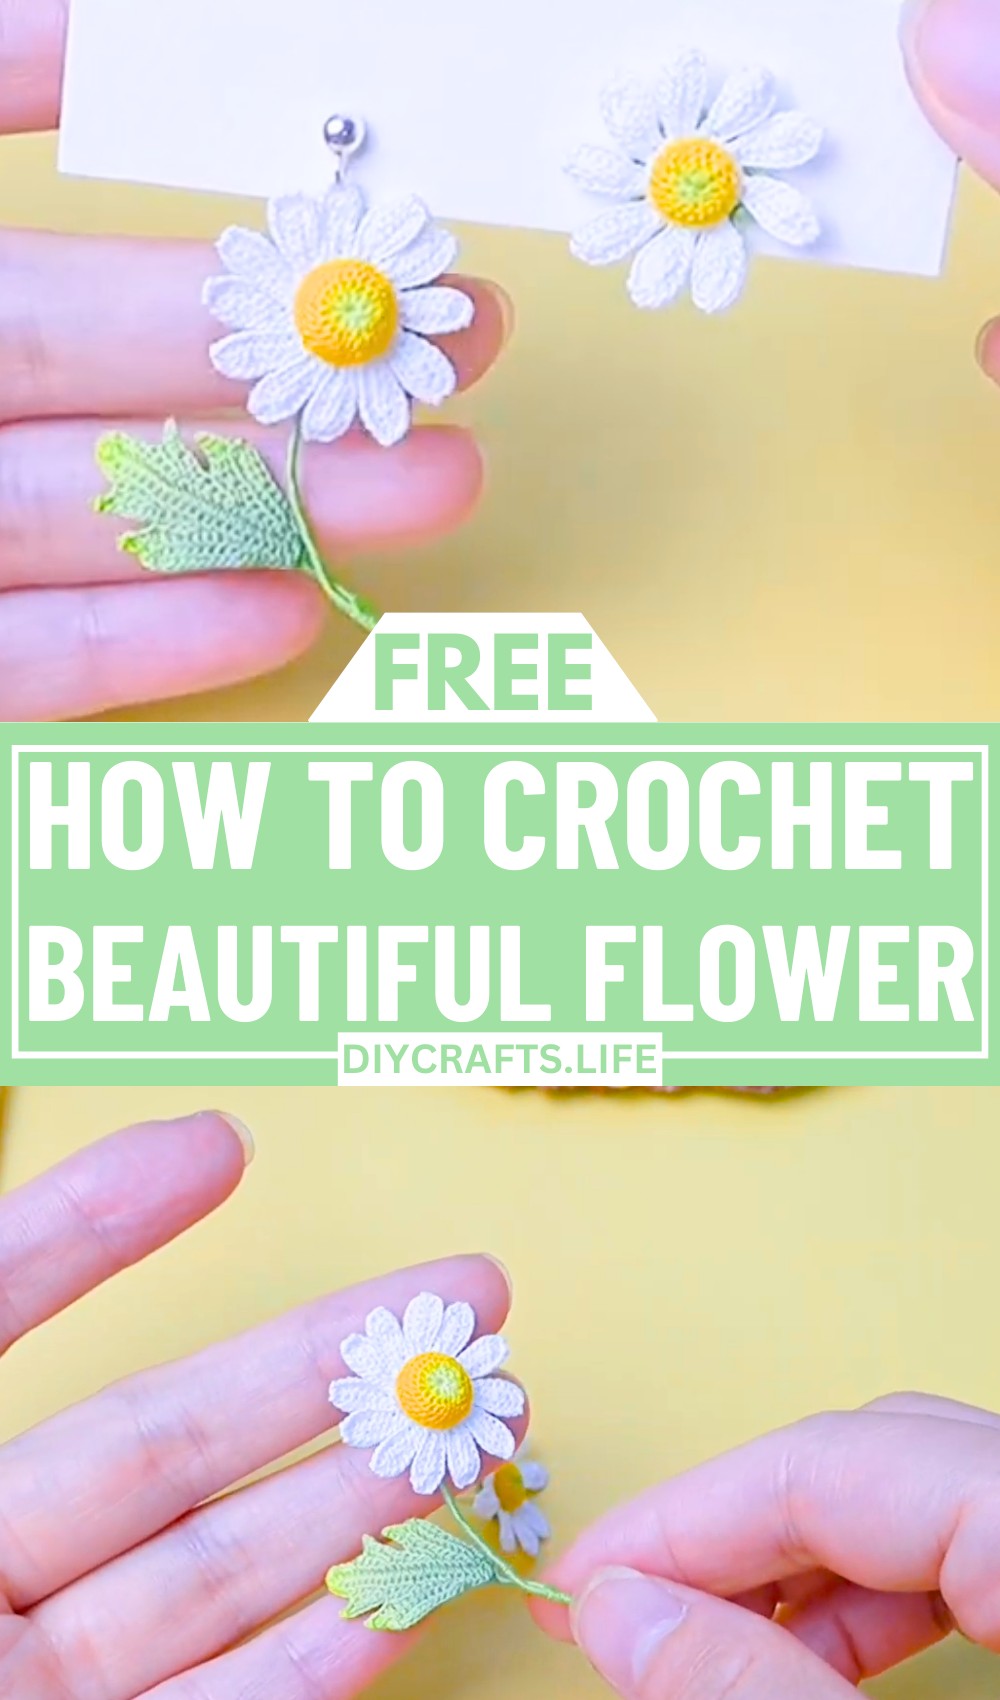
Tiny, elegant, and packed with charm! The Easy Micro Crochet Flower is a lovely project that balances simplicity with artistic finesse. Perfect for turning a simple thread into a delightfully small masterpiece, this design lets you craft beauty in the tiniest forms. These charming little flowers are great for adding an extra-special touch to clothing, accessories, or even home decorations.
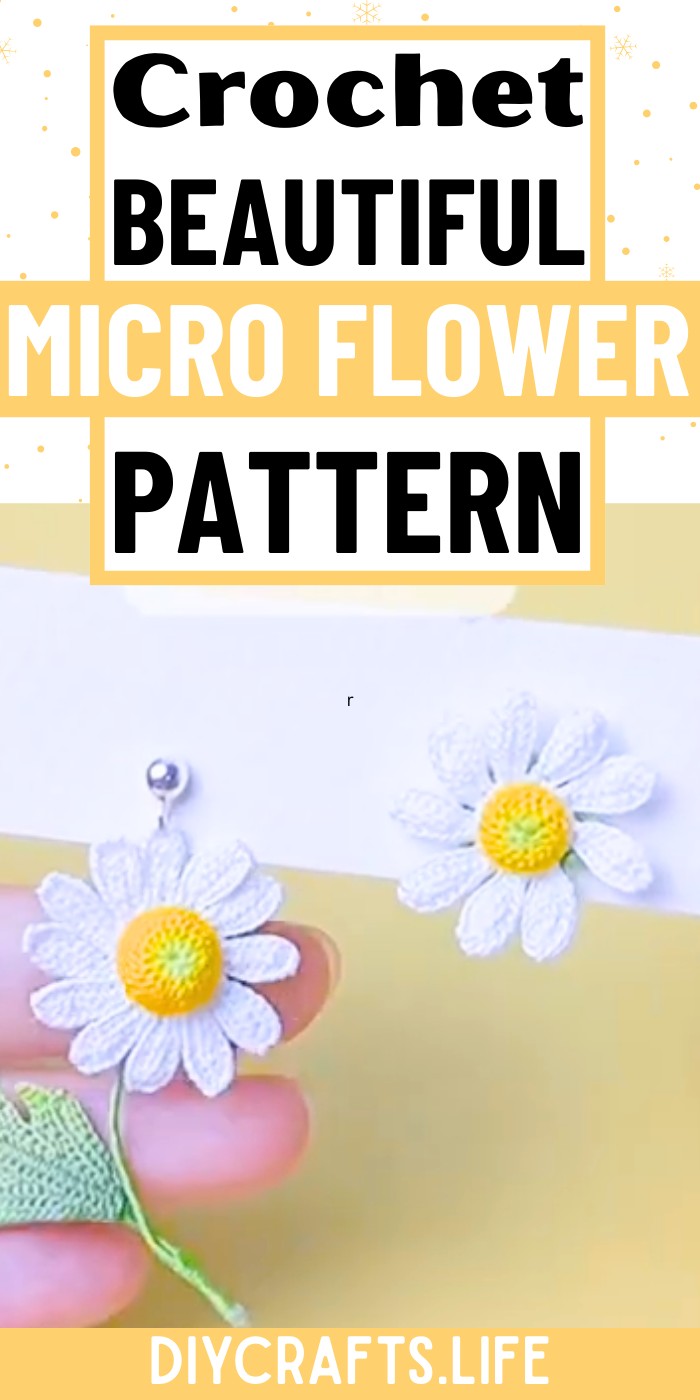
Micro Crochet Flower
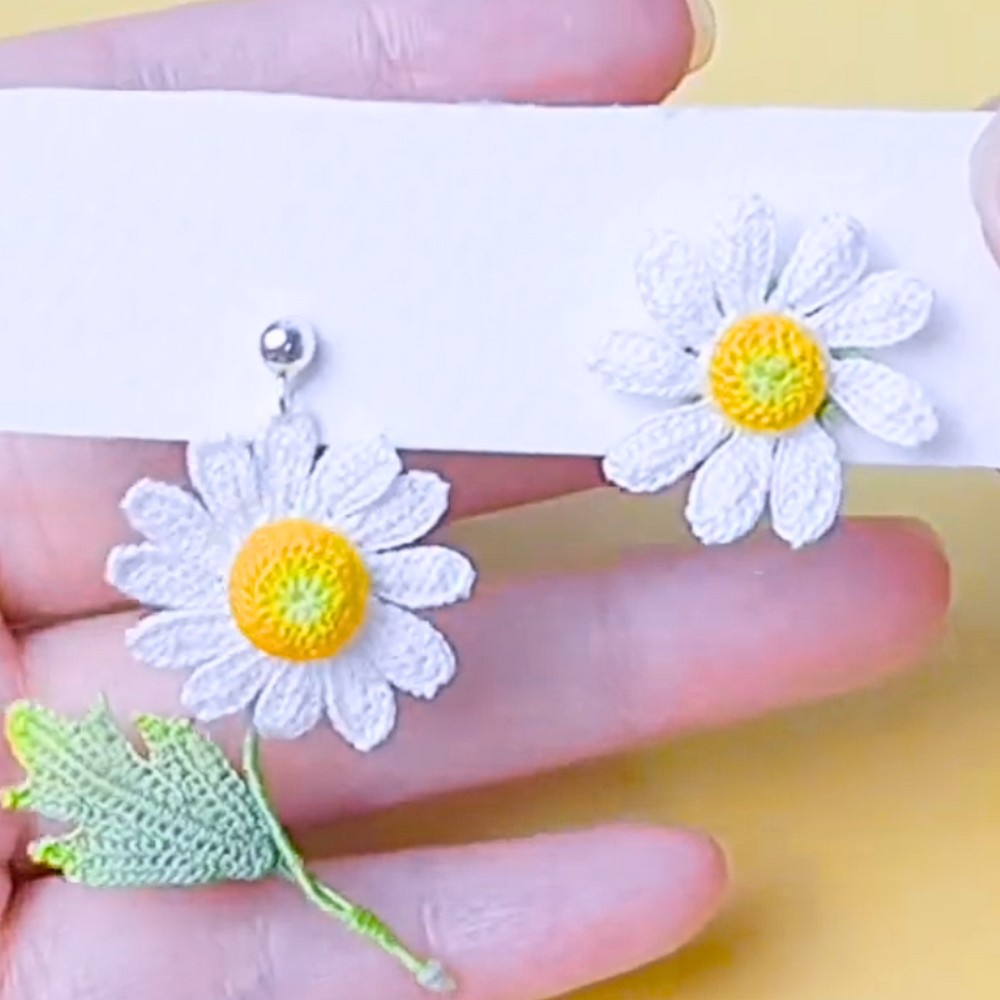
This pattern stands out for its minimalistic style and detailed structure despite its small size. Its delicate petals and seamless design create a soft, eye-catching texture ideal for any creative project. Whether used as an accent on jewelry or as a part of larger crafted pieces, this micro flower adds personality and detail. Plus, it's quick to make, making it perfect for both beginners and experienced crocheters looking for a fulfilling, small-scale project.
Credit MIMO The Craft Room
Required Materials
To create the micro crochet flower, you will need:
- Size 80 lace thread (or any fine thread you have available)
- 0.2mm crochet hook (or a hook that matches your chosen thread)
- Stuffing (for the 3D flower center)
- Tapestry needle (for sewing pieces together)
- Tweezers (for adjusting small details like petals and sepals)
- Paint or dye (yellow, light green, and dark green for coloring)
- Paintbrush (for adding delicate color to the flower)
- Water (to prepare for color blending and softening the piece)
- Earring posts/studs (if making earrings)
Important Notes
- This project is delicate and requires patience, especially since you’re working with very fine thread and a small hook.
- Start with a magic ring to ensure a clean and compact flower base.
- Each round begins with chaining 1, which does not count as a stitch.
- All petals and sepals are made separately and assembled at the end for a professional finish.
- Coloring is optional, but it gives the flower a realistic touch. If you don’t have paint or dye, you can use matching yarn for this step.
- Be sure to blot excess moisture when painting to prevent colors from bleeding into unwanted areas.
Detailed Step-by-Step Instructions
Part 1: Crochet the Flower Center
- Wrap the thread twice around your pinky, guide it over your index finger, and wrap it twice around your middle finger to create a magic ring.
- Work 8 single crochets (sc) into the magic ring, then pull the thread to tighten and close the ring.
- Rounds 1–4:
- At the beginning of each round, chain 1 (ch 1), which does not count as a stitch.
- Round 1: Crochet 2 single crochets (sc) into each stitch (total: 16 stitches).
- Round 2: Work 1 single crochet, 1 increase (2 sc in the same stitch); repeat this pattern 8 times (total: 24 stitches).
- Round 3: Crochet 1 single crochet into each stitch (no increases; total: 24 stitches).
- To build the height of the center, crochet 1 single crochet in each stitch for 3 rounds.
- Begin decreasing:
- 1 single crochet, then 1 decrease (join 2 stitches together); repeat 8 times around.
- Fasten off and leave a long tail for later assembly. The raised flower center creates a more realistic chamomile look.
Part 2: Crochet the Petals
- Choose a stitch on the flower center to start your petal. Chain 9 (ch 9).
- Skip the first chain, then crochet across the chain:
- 1 single crochet (sc),
- 3 half double crochets (hdc),
- 3 single crochets (sc).
- Slip stitch into the next stitch on the flower center to anchor the petal. Flip your work and continue crocheting the petal:
- Slip stitch to position, then work: 2 single crochets, 2 half double crochets, and 3 single crochets.
- Flip your work again to complete the other side of the petal:
- Slip stitch, then work: 1 single crochet, 3 half double crochets, 2 single crochets.
- Slip stitch to anchor the petal to the center.
- Skip one stitch on the flower center, slip stitch into the next to start the next petal. Repeat the petal sequence until you have 12 petals.
- Check your work to ensure all 12 petals are complete, and then fasten off.
Part 3: Crochet the Sepals
- Start by making a magic ring and crochet 8 single crochets (sc) into the ring.
- Follow Rounds 1–4 from the flower center (as described earlier).
- After Round 4, crochet the sepals:
- Chain 4. Skip 1 chain, then work: 1 slip stitch, 1 single crochet (sc), 1 half double crochet (hdc). Finally, slip stitch into the flower base.
- Repeat this process to create 12 sepals, spaced evenly around the base.
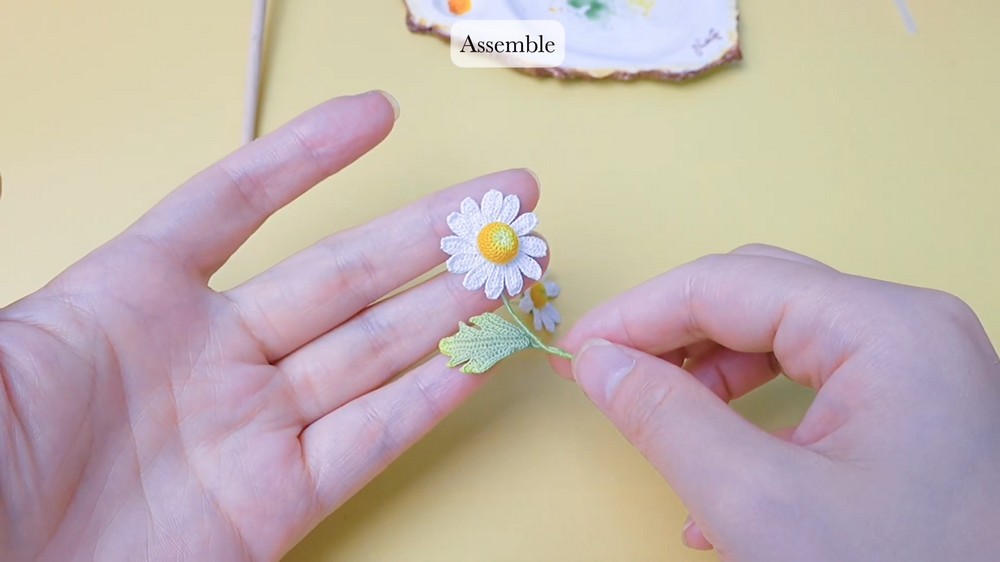
Part 4: Assembly
- Use the tapestry needle or glue to attach the flower center to the petals. Make sure the extra tail from the flower center is pulled to the bottom before securing.
- Add a small amount of stuffing to the flower center to give it dimension.
- Use a clean needle or tweezers to adjust and shape the petals and sepals into their final form.
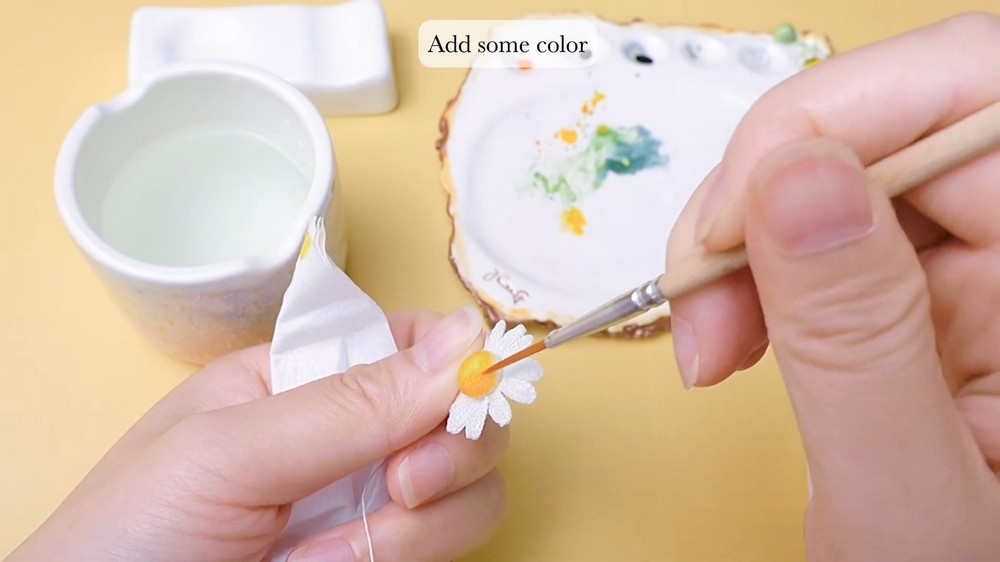
Part 5: Coloring (Optional)
- Prepare water and mix your colors:
- Use light green and dark green for the sepals.
- Use a mix of yellow and green for the flower center.
- Soak the crocheted flower slightly in water, then blot off excess moisture with a clean tissue.
- Use a paintbrush to apply green coloring to the sepals, ensuring both sides are painted evenly.
- For the flower center, lightly add yellow paint and blend it into the center outward.
- Continue to blot excess moisture periodically, and allow the piece to air dry once you’re finished.
Part 6: Adding Earring Posts (Optional)
- If making earrings, stitch or glue the earring post into the flower center.
- Adjust the petals around the earring post to hide any excess stitching.
- Assemble the second flower, attach the earring post, and finish your pair of asymmetrical chamomile earrings.