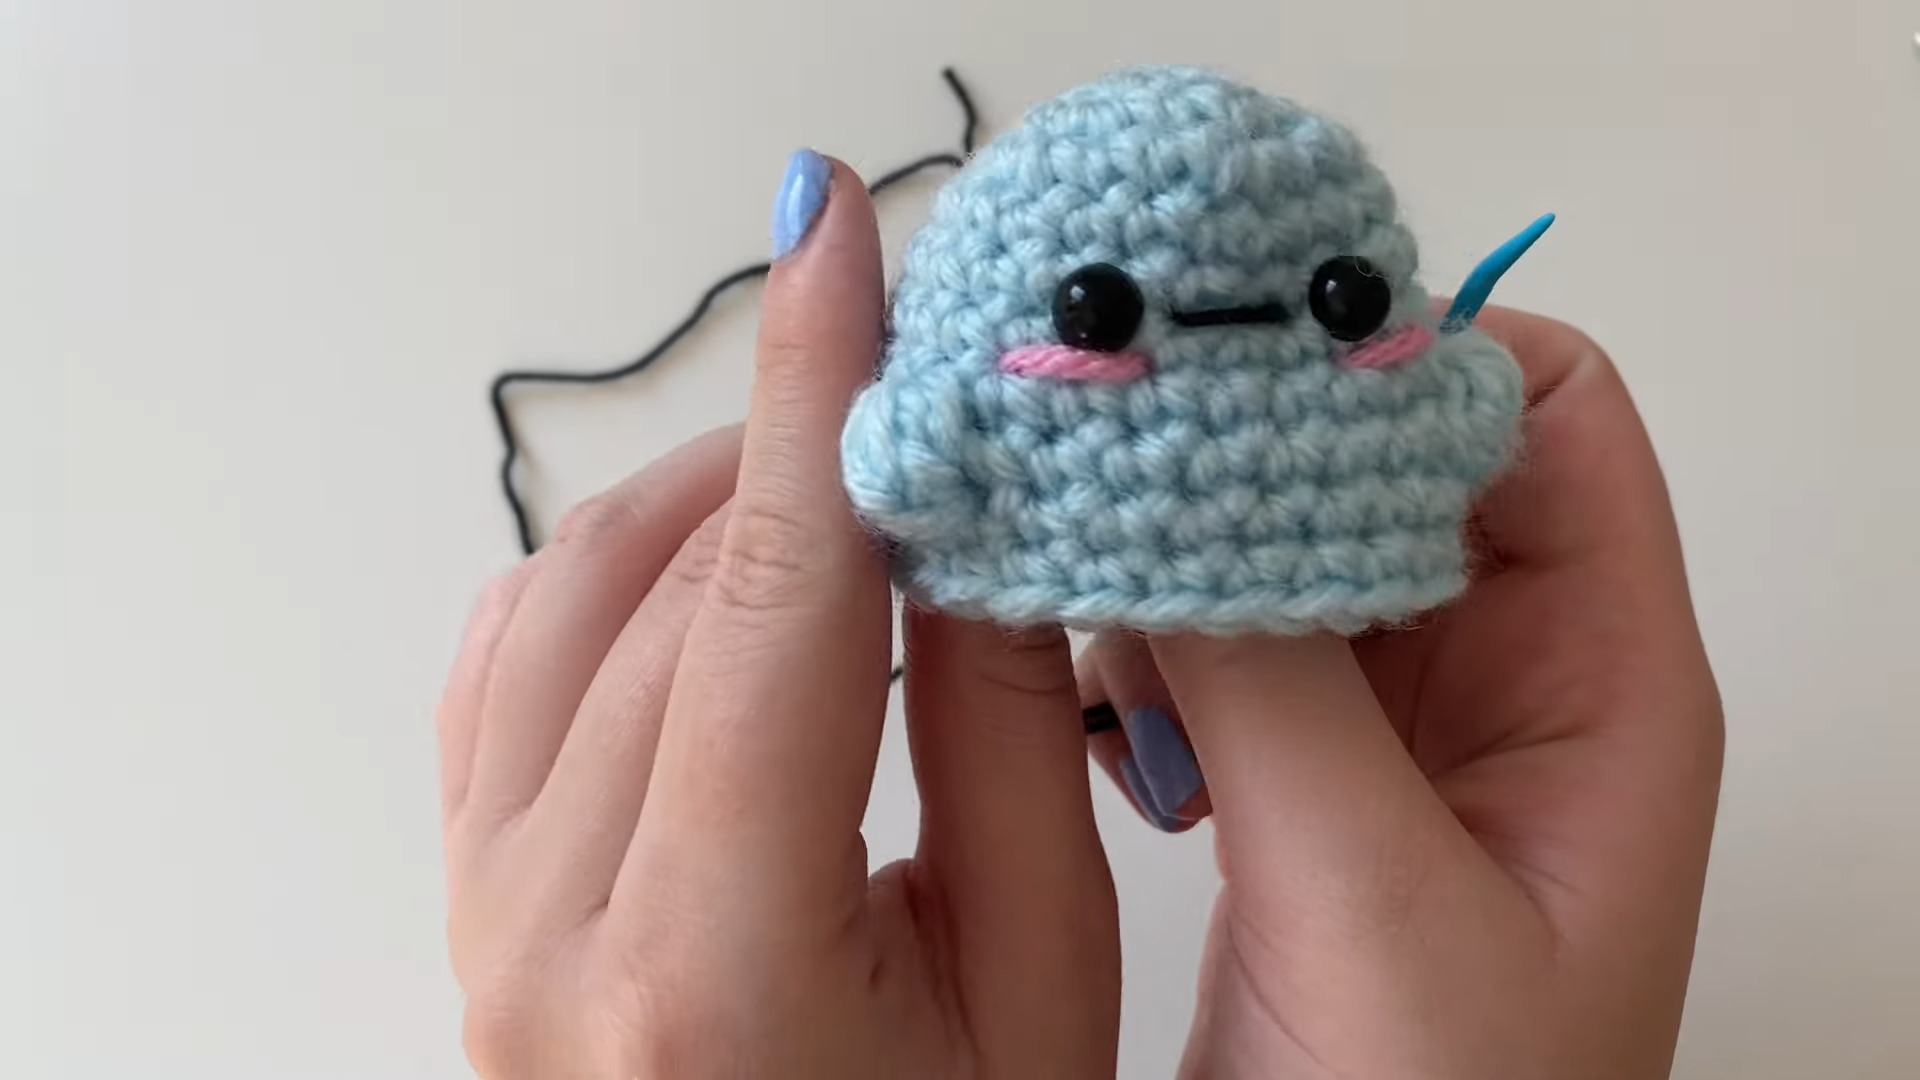
Create a delightful crochet ghost perfect for seasonal decor or gifting. This project features charming details, like a ruffled base, rosy blush, and a playful smile. It's an approachable and versatile craft, allowing you to customize yarn and accents for a unique look.

This crochet ghost is durable, squishy, and full of character. Its adorable bobble arms, stitched face, and soft stuffing make it perfect as a spooky decoration or a cuddly gift. Its compact size and timeless charm let it double as a keepsake or playful plush.
Crochet an Adorable Ghost
This project is great for crafters of any skill level. Beginners can master foundational stitches, while more experienced crocheters will enjoy customizing colors and features. With simple steps and room for creativity, crocheting this ghost is satisfying and fun.
Materials and Preparation
To crochet this adorable ghost, you’ll need the following materials:
- Yarn:
- main ghost body: weight 4 medium acrylic yarn (e.g., white, or light-colored yarn for practice)
- optional details: weight 3 yarn in pink (for blush) and black (for the smile)
- optional plush version: blanket or plush-style yarn for extra softness
- Hook Size: 4.0 mm crochet hook (adjust to match your yarn weight)
- Additional Tools:
- crafting scissors
- a darning/sewing needle
- 8 mm safety eyes (or size suitable for your yarn)
- polyfill or teddy bear stuffing (for filling)
- a stitch marker (to track the rounds)
Abbreviations and Notes
Abbreviations:
- SC: Single Crochet
- HDC: Half Double Crochet
- INC: Increase (2 SC in one stitch)
- DEC: Decrease (combine two stitches into one)

Special Notes:
- Magic Circle: The project starts with a Magic Circle (used to create a tight, seamless starting point). If you're unfamiliar, a tutorial link is provided in the video's description.
- Safety Eyes Placement: Add safety eyes in round 6-7, approximately four stitches apart.
- Stuffing: Use polyfill lightly while leaving space to work toward the end. Finish with extra stuffing just before the final stitches.
- Work in Back Loops Only (BLO): Round 12 involves crocheting in BLO to create the foundation for the ghost's ruffle.
Gauge, Approximate Size, and Pattern Notes
Gauge:
- A gauge swatch isn’t critical due to amigurumi flexibility. Ensure stitches are close and tight to prevent visible stuffing.
Approximate Size:
- With weight 4 yarn and a 4.0 mm hook, the finished ghost is about 4 inches tall. For a larger plush ghost, use plush/blanket yarn with an appropriately sized hook.
Pattern Notes:
- The ghost’s cute ruffle effect is created using the unused front loops from Round 12.
- You’ll practice various techniques such as working in rounds, Bobble Stitch (to create arms), and sewing small details.
Step-by-Step Pattern
Base and Body (Rounds 1-11)
-
Start with Magic Circle:
- Make a Magic Circle and secure it (or use an alternate start).
-
Round 1: SC 6 into Magic Circle. (6 stitches)
-
Round 2: INC in every stitch. (12 stitches)
-
Round 3: [SC, INC] repeat around. (18 stitches)
-
Round 4: [SC, SC, INC] repeat around. (24 stitches)
-
Rounds 5-8: SC in each stitch. No increases. Work evenly in the round.
-
Round 9 (Add Arms):
- SC 5, make a Bobble Stitch in the next stitch (refer to tutorial notes).
- SC 8, make another Bobble Stitch.
- Finish the round with SC 9. (24 stitches total)
-
Rounds 10-11: SC evenly in every stitch.

Facial Features and Stuffing
Safety Eyes: Attach 8 mm safety eyes in rows 6-7, four stitches apart.
Blush and Smile:
- Use weight 3 pink yarn to sew tiny blush details just below the safety eyes.
- Use weight 3 black yarn to embroider the mouth between the cheeks (refer to video for placement).
Stuff the ghost lightly with polyfill before proceeding.
Taper and Close the Body (Rounds 12-14)
-
Round 12 (BLO Round): SC 2, DEC (back loop only). Repeat [SC 2, DEC]. (18 stitches)
-
Round 13: SC 1, DEC. Repeat [SC 1, DEC]. (12 stitches)
-
Round 14: DEC around. (6 stitches)
- Fasten off with a long tail. Use the tail and darning needle to close the hole securely.
Ruffle Base (Round 12 Front Loops)
Now let’s create the ghost’s ruffle from unused front loops in Round 12.
- Secure yarn to a front loop from Round 12.
- Pattern: [SC in the first front loop, 3 HDC in the next]. Repeat this pattern around.
- Finish with a slip stitch into the starting stitch. Cut and fasten off. Weave in ends.

Finishing Touches
- Ensure tail ends are tucked neatly into the body.
- Adjust stuffing to give the ghost a firm but soft shape.
- Beginner tip: Start with acrylic yarn for easier handling, then graduate to plush yarn for a fluffier version.
Enjoy your cute ghost creation, and happy spooky crocheting! 🎃 👻

Pattern Question
Question: What type of yarn works best for this ghost?
Answer: A weight 4 medium yarn works well for beginners and provides structure. For a softer, plush look, blanket or chenille yarn is recommended.
Conclusion
This crochet ghost is a cute, creative project that's enjoyable to craft and customize. Its whimsical details and practical uses make it a fun addition to any collection. Try it today for a rewarding crochet experience with spooky charm!