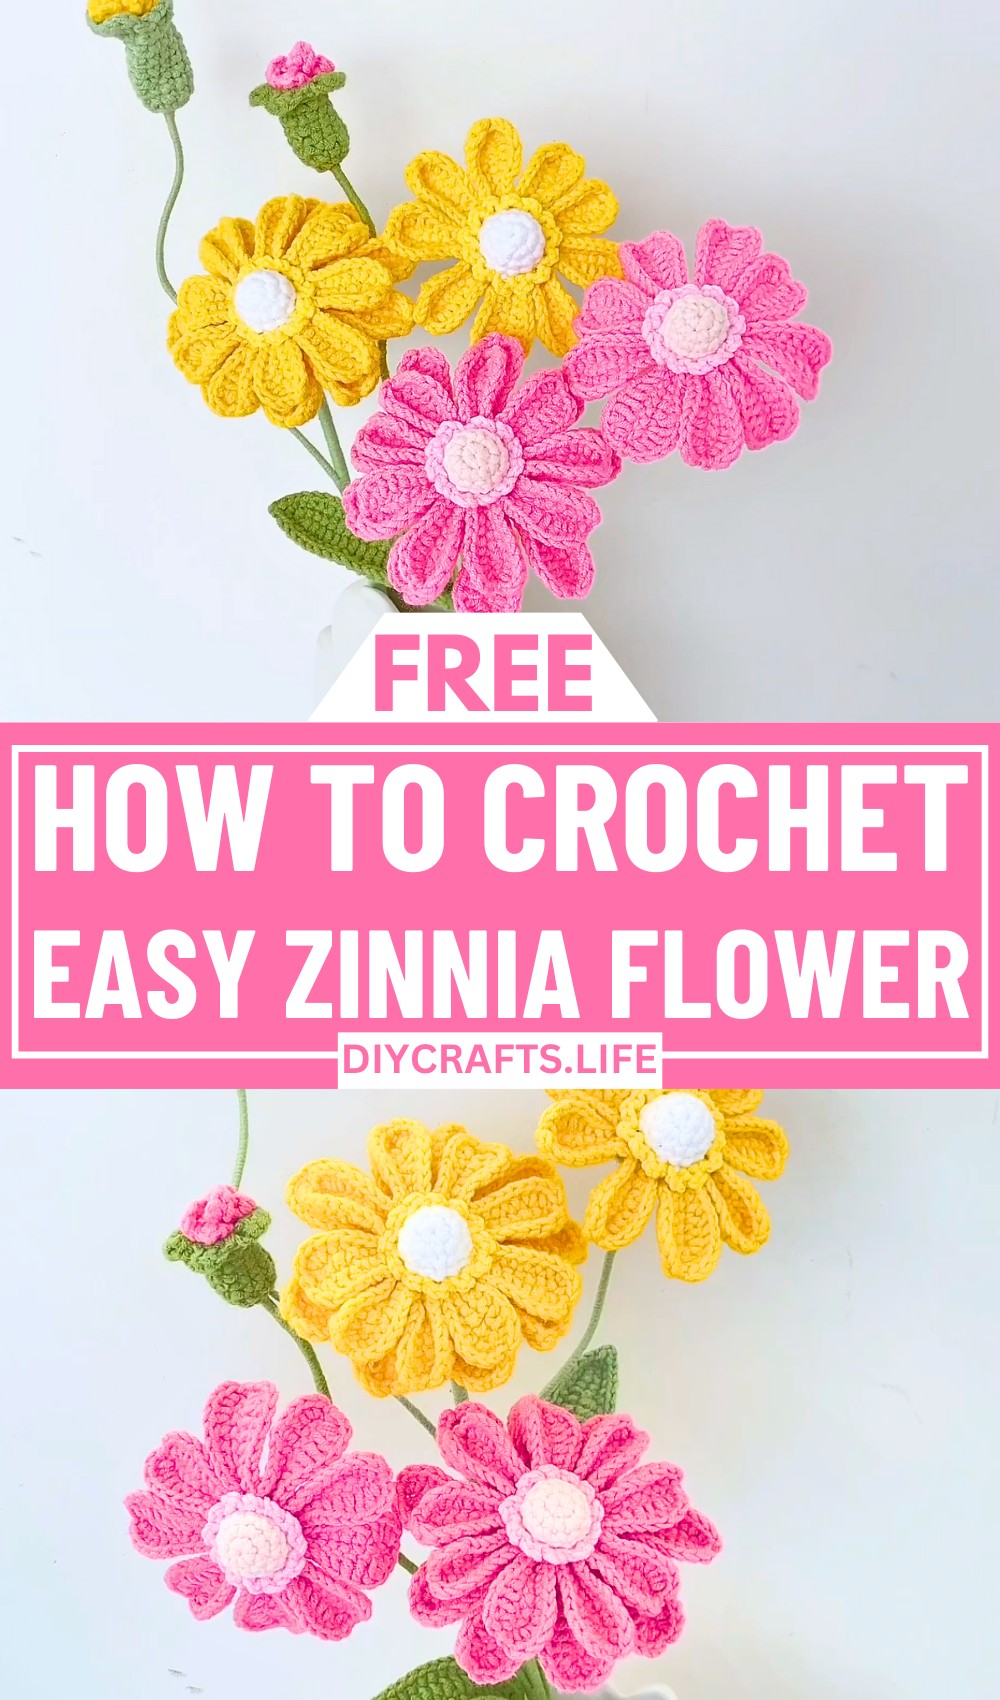
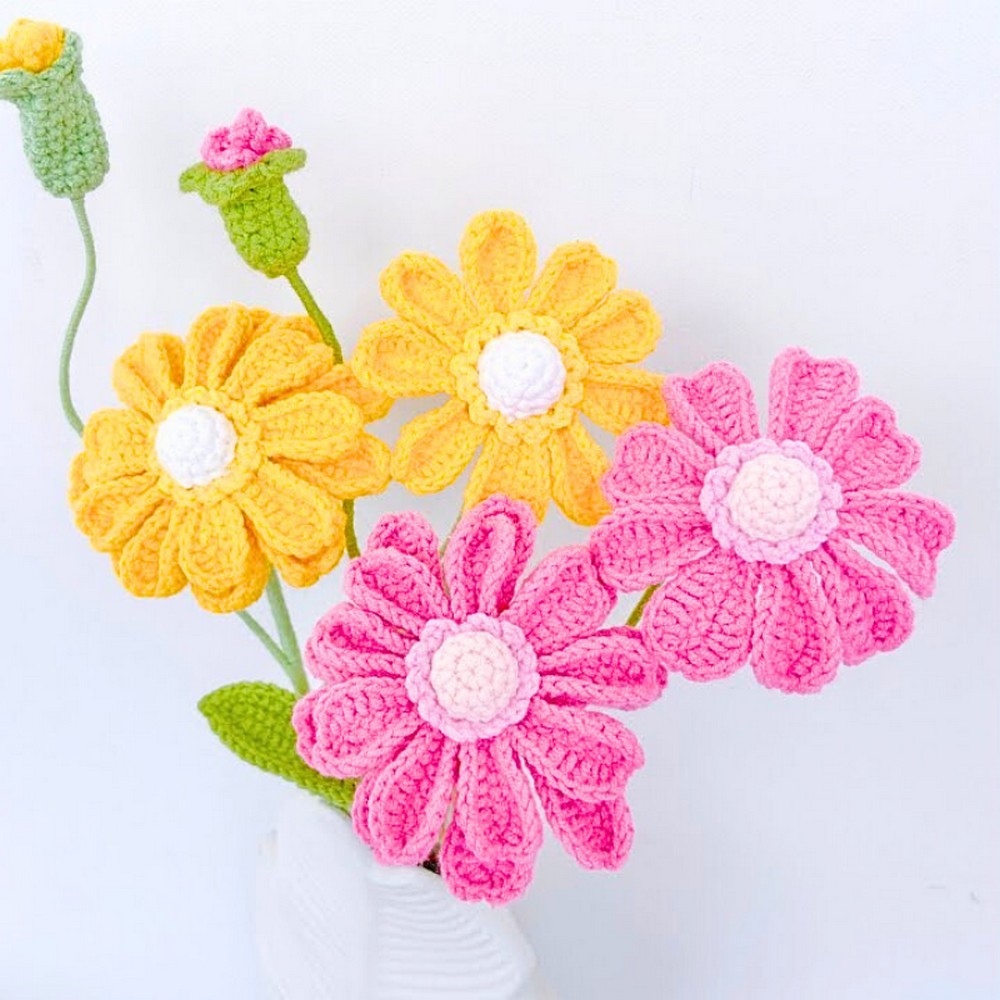
Transform your crochet skills into a breathtaking masterpiece with this intricate Zinnia Flower design. Whether used as a bold decorative accent or as part of a fashionable accessory, the delicate details and layered petals make this flower a true standout. It’s a showstopper that anyone can admire, crafted with precision and charm to elevate your creations.

Layered Crochet Zinnia Flower
The Zinnia Flower combines two beautifully layered sets of petals, each with varying lengths and intricate stitching for a realistic touch. Its design emphasizes balance and texture, with carefully crafted layers that add depth and elegance. What makes this design so special is its versatility—you can choose your favorite colors, tailor the size, and make it unique to your vision. Perfect for adding a touch of nature-inspired art to any project, this pattern blends skill with creative flair effortlessly.
Credit Lingzhi Handmade
Materials & Tools Needed
- Yarn:
- Pink yarn for the flower petals
- Green yarn for the leaves
- White yarn for the flower center
- Use medium-weight yarn or adjust for preference.
- Hook: Select an appropriate-sized crochet hook based on the yarn weight (e.g., 4 mm for medium-weight yarn).
- Craft Wire: Craft wire will act as the stem and provide support for petals and leaves.
- Long and flexible for ease of assembly.
- Polyfill/Flower Filling: Used to shape the floral structures (like the flower “B” or center).
- Glue: Strong craft glue to attach pieces and secure assembly.
- Additional Materials:
- Scissors
- Yarn needle for weaving in ends
Finished Size & Customization Ideas
- Approximate Size:
- The completed Zinnia flower’s size depends on the yarn weight and the hook, but for medium-weight yarn, expect approximately 4.5-5 inches in diameter for the flower.
- The stem and leaves add additional length.
- Customization Ideas:
- Size Adjustment: Use lighter-weight yarn for a smaller, delicate Zinnia or heavier weight for a larger flower.
- Color Variations: Experiment with different color combinations for petals, leaves, and flower centers to create a more varied bouquet.
- Length Variations: Extend the craft wire stem for taller flowers, or shorten it for smaller arrangements like brooches or hair clips.
Pattern Abbreviations & Terminology
Standard US crochet terminology is used, with the following abbreviations:
- CH: Chain
- SC: Single Crochet
- HDC: Half Double Crochet
- DC: Double Crochet
- TR: Treble Crochet
- SL ST: Slip Stitch
- FLO: Front Loop Only
Step-by-Step Crochet Instructions
1. Flower Base - First Petal Layer
- Start:
- Create a double circle (or a magic ring if preferred).
- CH 1. (This chain does not count as a stitch).
- Round 1:
- Work 9 SC into the circle.
- Pull the tail of the ring to tighten the circle.
- SL ST to the first SC to close the round.
- Round 2 (Front Loop Only):
- CH 1 (does not count as a stitch).
- Into the FLO of each SC from the previous round:
- Work: 1 SC, CH 8, 8 SC into the chain, and finish with a SL ST into the base stitch.
- Repeat this sequence 9 times to create 9 petals in the first flower layer.
- Join the final petal with a SL ST into the base stitch of the first petal.
- Finishing Round 1:
- Move the working yarn to the back and prepare for the next layer.

2. Flower Base - Second Petal Layer
- Round 2 Base (Back Loop Only):
- Work in the BLO of the 9 original SC stitches from Round 1.
- Join the yarn to any BLO with a SL ST and CH 1.
- Petals (Second Layer):
- Similar to the first layer but longer petals, work as follows:
- 1 SC, CH 11, 10 SC into the chain.
- Finish with a SL ST into the base stitch.
- Repeat across the 9 BLO stitches.
- Secure final petal by SL ST into the first base stitch.
- Similar to the first layer but longer petals, work as follows:
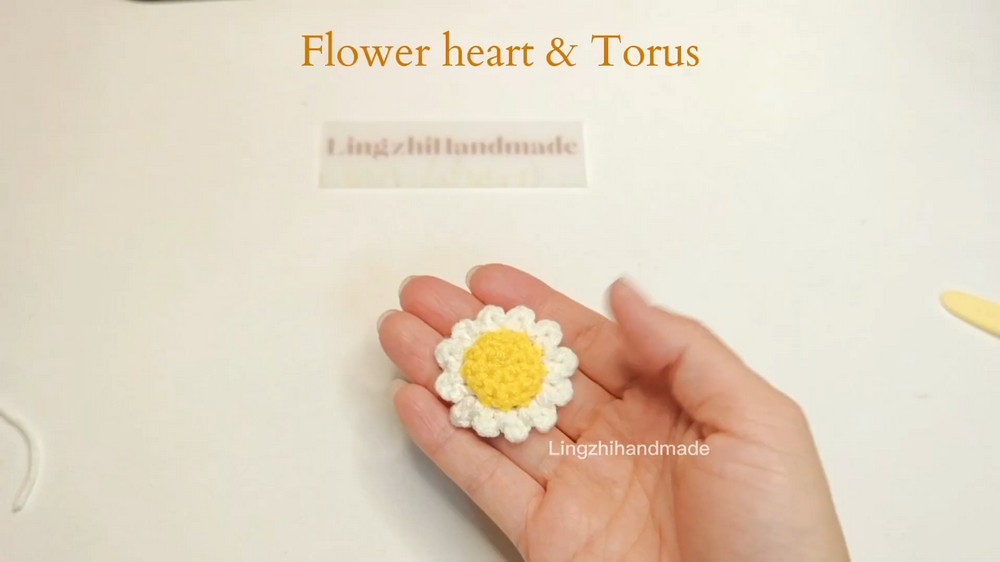
3. Flower Center ("Heart")
- Round 1:
- Create a double circle or magic ring.
- CH 1 to start and work 6 SC into the ring. Close with a SL ST.
- Round 2:
- CH 1 and work 2 SC into each stitch around (6 repeats for a total of 12 SC).
- Join with a SL ST.
- Round 3:
- CH 1 and repeat 1 SC in each stitch for 12 stitches total.
- Join with a SL ST.
- Round 4 (Front Loop Only):
- Work 1 SC into each FLO space for 12 SC.
- Continue with a round of small petals by doing:
- 1 SC, CH 3, SL ST back into the base stitch around. Repeat to form 12 small petals.
4. Flower B
- Start:
- Create a double circle. CH 1, then CH 3 more (total of 4 CH).
- Petals:
- Work 2 TR into the ring, then CH 3 and SL ST back into the ring. This creates one petal.
- Repeat four more times for a total of 5 petals.
- Finishing:
- CH 1, cut the yarn, and tighten the circle.
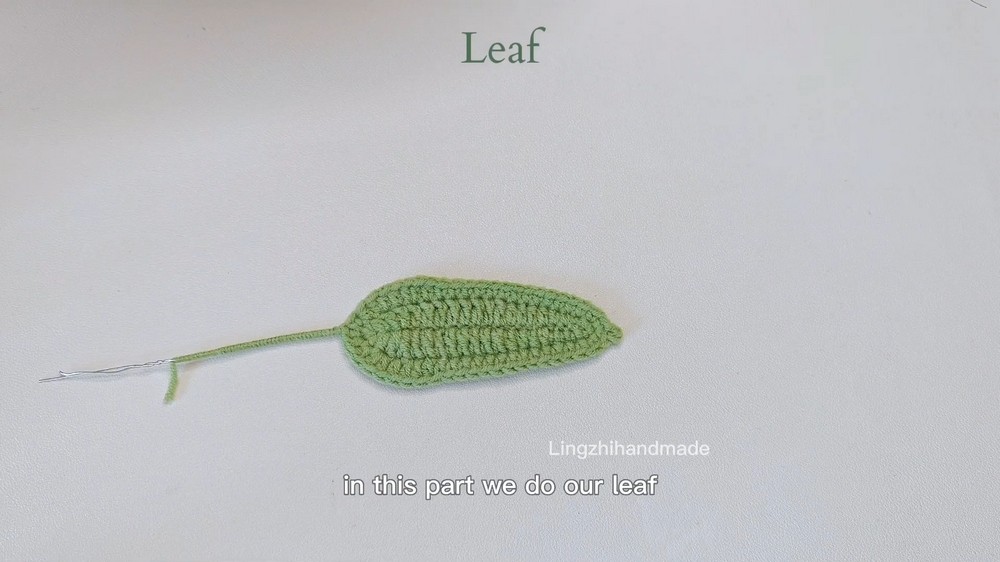
5. Leaves
- Foundation:
- Begin with a foundation chain of 20 CH.
- Work into the 2nd CH from the hook.
- First Side:
- Work: 1 SC, 1 HDC, 1 DC increase (2 DC in one stitch).
- Continue with 8 DC, then 4 HDC.
- Finish with 3 SC in the remaining stitches.
- Second Side:
- Turn to work on the opposite side of the chain.
- Repeat the same sequence as the first side.
- Round 2 (Optional Craft Wire for Support):
- Secure the craft wire along the edge using SL ST.
- Work additional edging for stability and shaping.
6. Assembly
- Attach Pieces:
- Use craft glue to affix the flower center ("heart") to the middle of the petals.
- Secure the craft wire stem to the flower base and wrap yarn tightly around it for a finished look.
- Add Leaves:
- Attach one leaf per flower using glue or yarn at the stem connection point.
- Secure:
- Weave in all ends and tie knots where needed to prevent unraveling.
Customization Ideas for Use
- Create floral bouquets by assembling multiple flowers with varying stem lengths.
- Use individual flowers as decoration for hats, bags, or clothing.
- Make smaller flowers (with fewer petals) to turn into brooches or hair accessories.