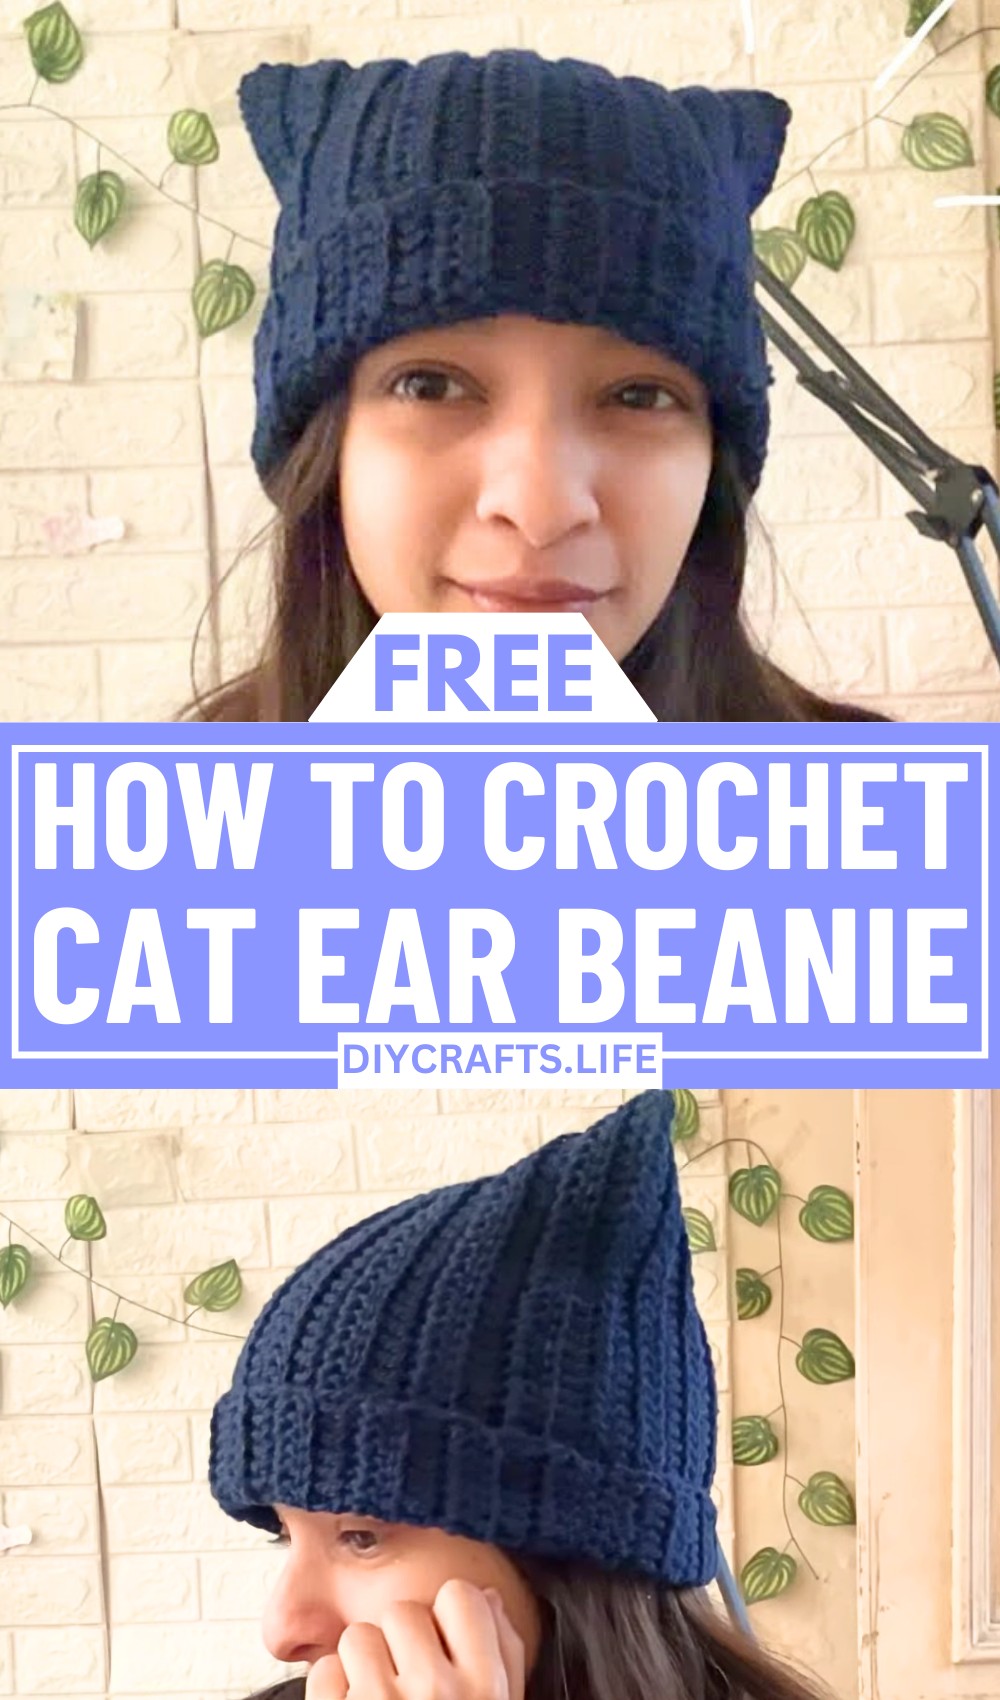
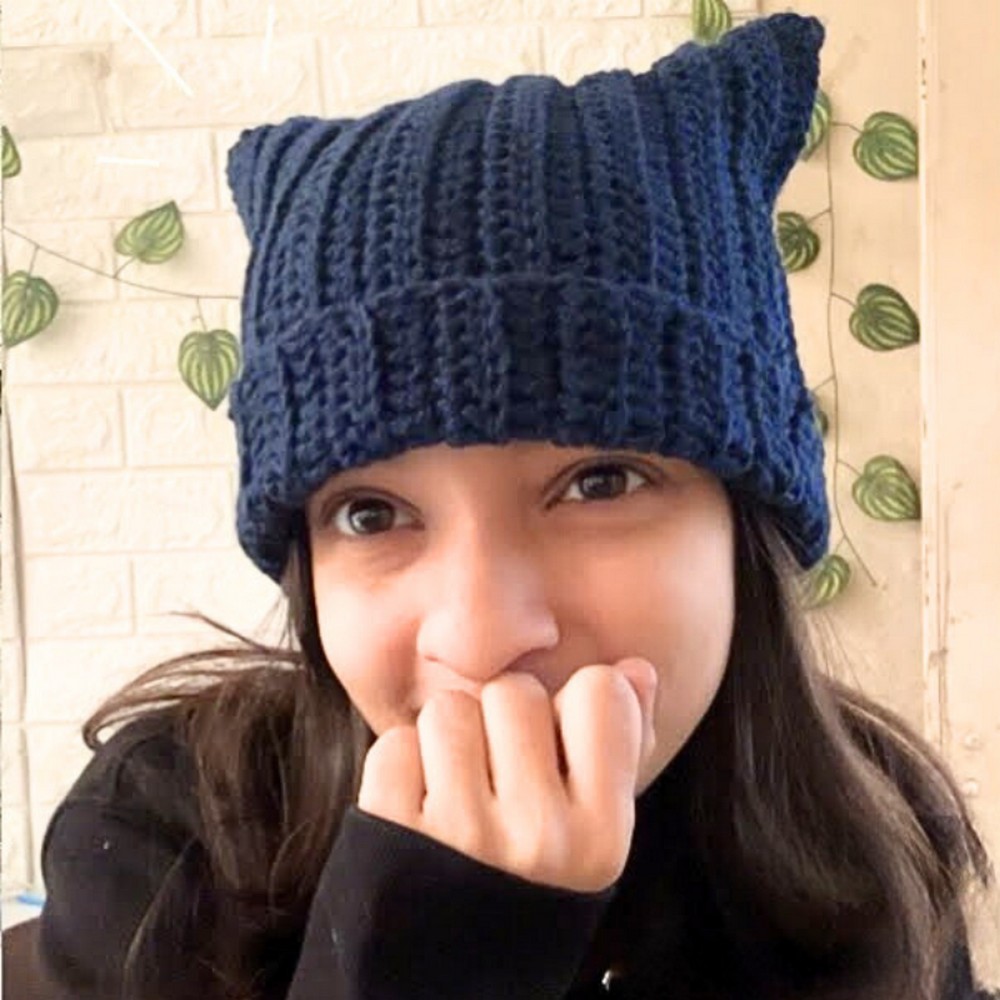
What if your winter accessory could make you stand out while keeping you warm and cozy? The Crochet Cat Ear Beanie does just that. This playful and chic headgear brings a dose of fun to the chilly weather, transforming a simple beanie into a statement piece that is sure to turn heads. With whimsical cat ears perched on top of a snug, beautifully stitched beanie, this design is perfect for adding a touch of cuteness and personality to your outfit.
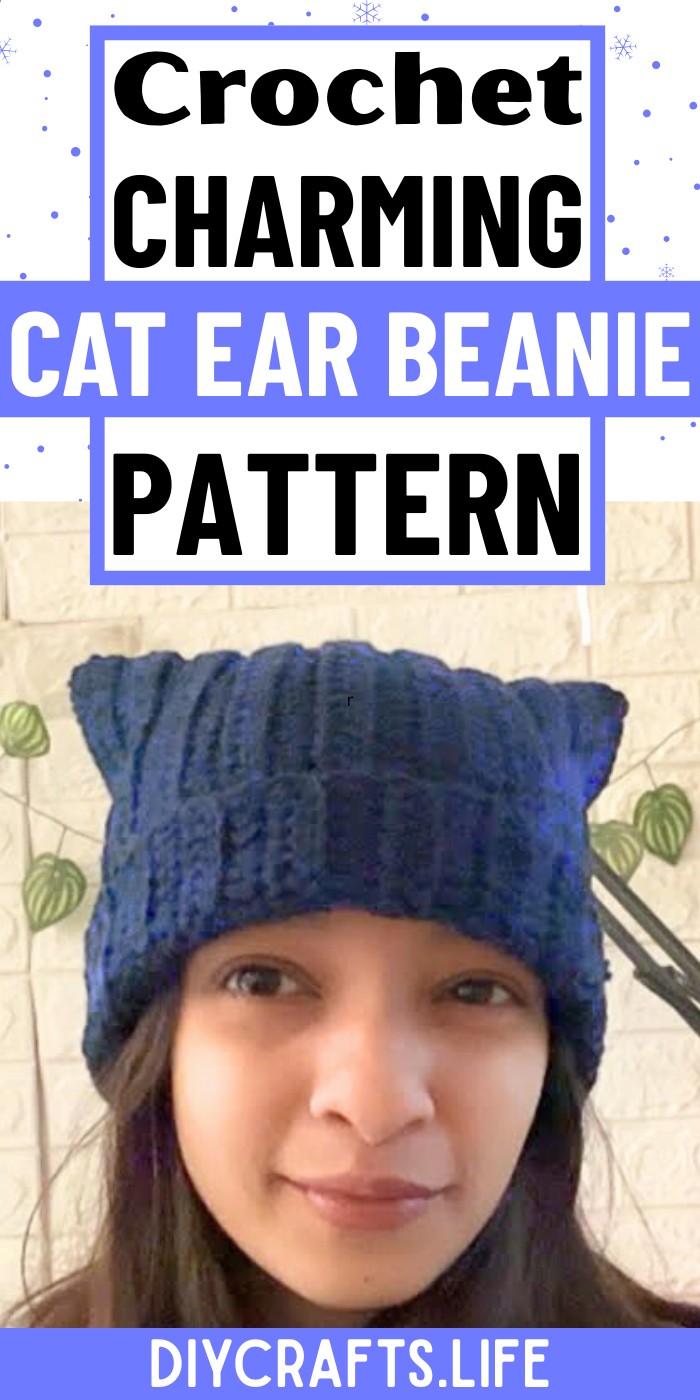
Crochet Cat Ear Beanie
The Crochet Cat Ear Beanie is a one-of-a-kind design crafted to balance functionality with style. The beanie features seamless stitching for a smooth, comfortable fit, while the cat ears add a touch of character that makes it truly unique. What sets this beanie apart is its perfect blend of practicality and fun—it's not only a warm accessory but also an expressive fashion piece. Suitable for all ages, this beanie adds flair to any winter outfit, allowing for endless creative possibilities and personal touches.
Credit Plakshi Jain | Crochet
Materials & Tools Needed
- Yarn: Use either cotton or acrylic yarn. For thinner yarns, use two strands together. If using thicker yarns (like 4-ply or more), use a single strand.
- Hook: 4 mm crochet hook
- Scissors: For cutting the yarn
- Tapestry Needle: For sewing
Finished Size & Customization Ideas
- Approximate Size: The number of chains should measure the circumference of your head. The sample beanie used 79 chains and added 18 rows of double crochets.
- Customization Ideas:
- Different Yarn Weights: Adjust the number of rows based on the yarn thickness and hook size.
- Longer Straps: Extend the chains to make longer straps if desired.
- Color Changes: Incorporate different colors by changing yarns between rows or adding patterns.
Pattern Abbreviations & Terminology
- ch: Chain
- dc: Double Crochet
- bl: Back Loop
Step-by-Step Detailed Crochet Instructions
- Slip Knot and Chains
- Start by making a slip knot, leaving a little yarn before the knot.
- Make chains according to the size of your head. For example, the tutorial made 79 chains.
- After reaching the desired number of chains, add 2 extra chains.

- Row 1: Double Crochet
- Skip the 2 extra chains made.
- In the 3rd chain from the hook, make a double crochet (dc).
- Continue making dc in every chain until the end of the row.
- Chain 2 and turn your work.
- Row 2: Working in Back Loops
- Make 1 dc in the back loop (bl) of the first stitch.
- Continue making dc in every bl stitch across.
- Chain 2 and turn your work.

- Rows 3 Onwards:
- Repeat Row 2 until you have completed enough rows to cover the circumference of your head from ear to ear. The tutorial completed a total of 18 rows.
- Measure by holding both sides together and making sure it covers your full head.
- Finishing:
- Cut the yarn, leaving an extra long tail for sewing.
- Fold the beanie in half, aligning the sides to sew.
- Sew the two sides together using the extra yarn, leaving the top side open.
- Secure the yarn with a knot and weave in the ends.
- Sewing the Other Side:
- If the thread is too short, cut an extra length of yarn, attach it, and continue sewing.
- Secure and weave in the ends.

- Forming the Beanie:
- Fold the beanie inside out to form the shape.
- Your cat ear beanie is now ready to wear!