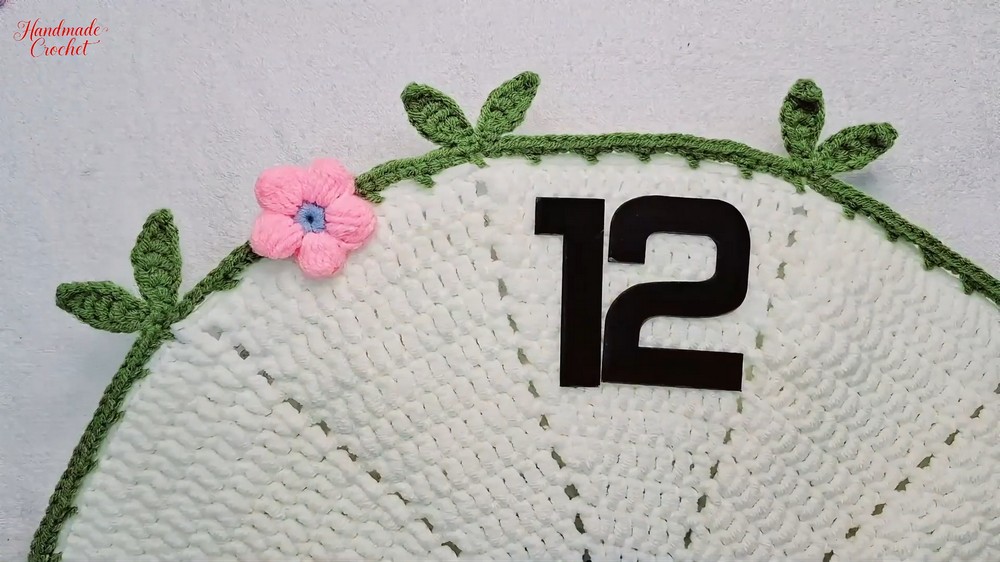
Brighten up your living space with the charm of a handmade floral wall clock! This crochet pattern lets you combine functionality and beauty seamlessly, transforming a simple clock into a stunning work of art. Each stitch brings out a delicate floral motif that adds a touch of elegance and personality to any room.
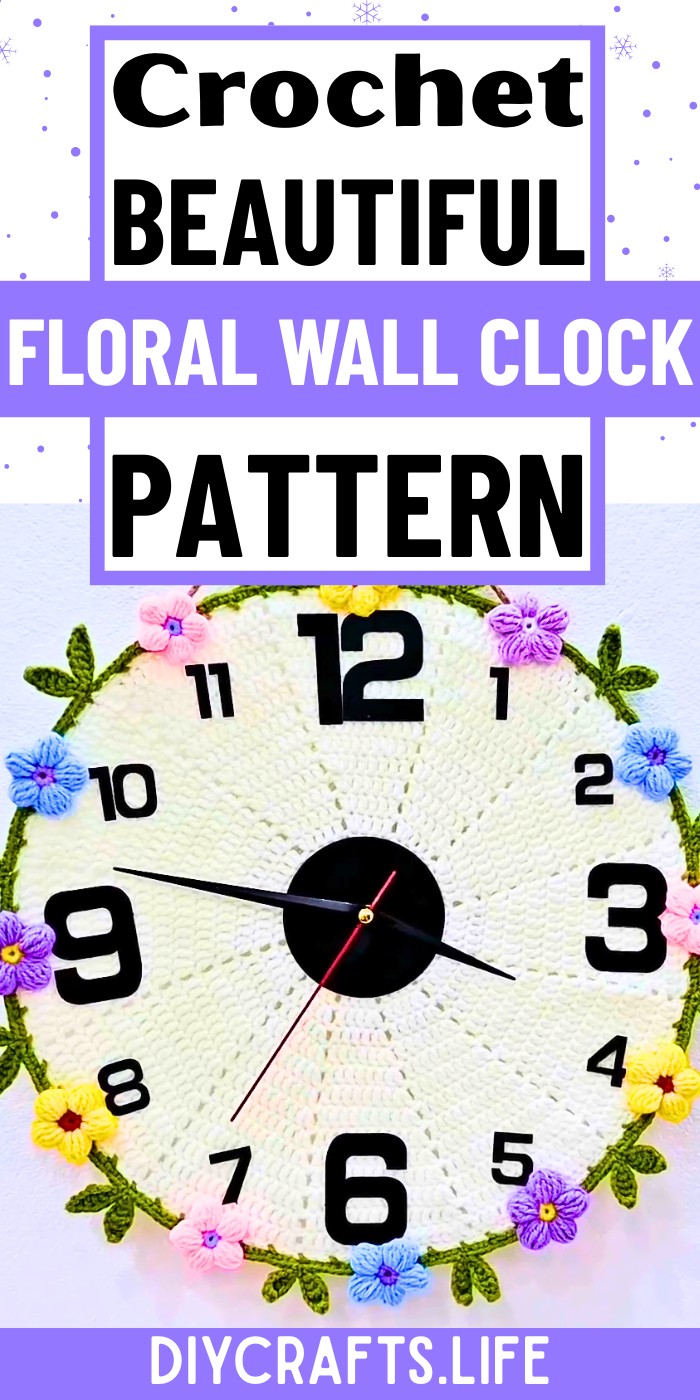
The floral wall clock design stands out due to its intricate detailing and versatile application. The pattern includes creating a sturdy crochet body, a striking combination of colors for the decorative flowers, and an easy-to-assemble clock mechanism. Using basic crochet techniques, you can craft a piece that blends creativity with everyday practicality. Whether as a statement clock in your home or a thoughtful gift, it's a delightful way to integrate your love for crochet with functional decor.
Credit Crochet Academy
Materials & Tools Needed
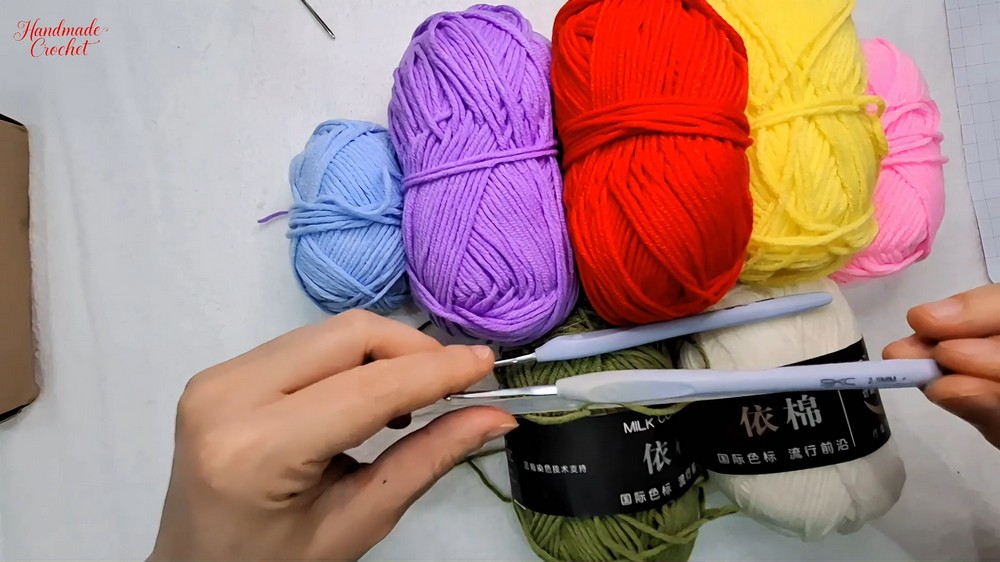
- Yarn:
- Main Body: White or a neutral shade to make the body of the clock.
- Decorative Flowers & Leaves: Use various colors for flowers (e.g., red, pink, yellow) and green for leaves.
- Crochet Hooks:
- 2.0 mm hook for the clock body.
- 2.5 mm hook for flowers and decorations.
- Clock Mechanism Set:
- Includes clock hands, battery component, and clock numbers.
- Canvas (Round or Square):
- A pre-cut round canvas can be used for the clock body, or use scissors to cut a round shape from square canvas material of your choice.
- Candle Glue & Glue Gun:
- To attach the clock numbers, flowers, and clock mechanism securely.
- Tapestry Needle:
- For sewing decorative pieces and weaving in loose ends.
- Scissors:
- To cut yarn and canvas ends cleanly.
Finished Size & Customization Ideas
Approximate Size
- The finished clock will be approximately 8-10 inches in diameter, depending on the yarn and hook size. The decorative flowers and leaves will hang slightly over the edges, adding to the overall size.
Customization Ideas
- Yarn Weight:
- For a larger clock, use bulky-weight yarn with an appropriate hook size.
- Use lighter-weight yarn or thread for a more delicate design.
- Style & Colors:
- Choose different flower colors for various themes (e.g., red and green for a holiday clock, pastel shades for a vintage look).
- Use a darker body color for contrast if the numbers are light-colored.
- Extra Embellishments:
- Add beads or embroidery to the flowers for a more intricate design.
- Clock Numbers:
- Use candle glue to attach clock numbers in various designs, such as Roman numerals, half numbers, or alternative patterns.
Pattern Abbreviations & Terminology
(US Terminology)
- ch = chain
- sl st = slip stitch
- sc = single crochet
- hdc = half double crochet
- dc = double crochet
- mc = magic circle (magic ring)
- tr = treble crochet

Step-by-Step Crochet Instructions
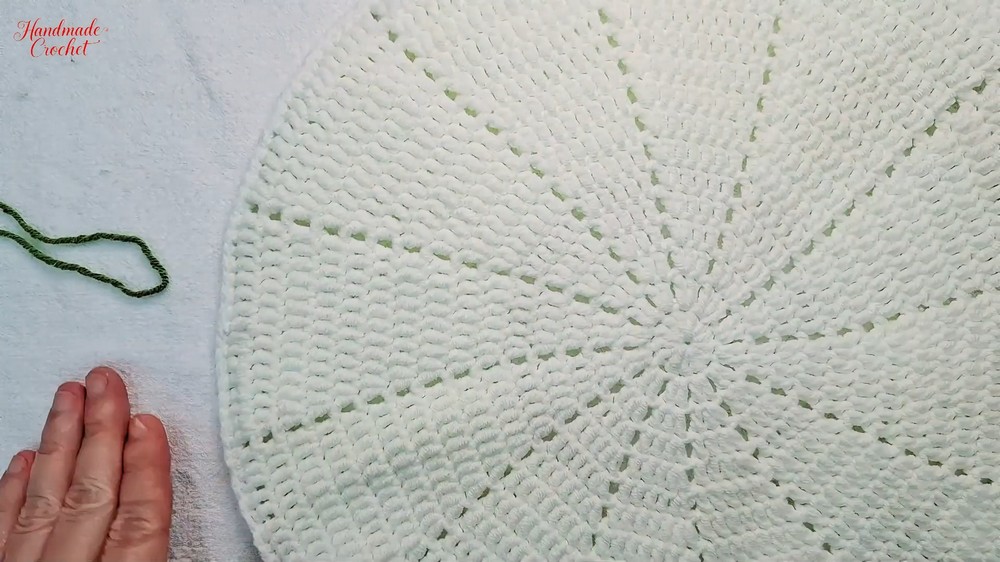
A. Clock Body
- Start with a Magic Circle:
- Begin with a magic circle and work 12 single crochet (sc) stitches into the ring.
- Join the round with a slip stitch (sl st) into the first stitch.
- Round 2:
- Chain 2 (ch 2) (counts as the first dc).
- Work 2 double crochets (dc-inc) in each stitch around.
- At the end of the round, join with a sl st. You should have 24 stitches total.
- Round 3:
- Chain 2 (ch 2).
- Work (1 dc, dc-inc) in each stitch around.
- At the end of the round, join with a sl st. (36 stitches total)
- Continue Increasing Rounds:
- Continue following this pattern, incrementing the number of single crochet stitches between increases every round (e.g., Round 4: 2 dc between increases, Round 5: 3 dc between increases).
- Stop increasing when the crochet piece matches the size of your prepared canvas base.
- Attach the Crochet Body to Canvas:
- Place the crochet work over the round canvas base.
- Use a tapestry needle or your hook to stitch the outer edge of the crochet to the canvas.
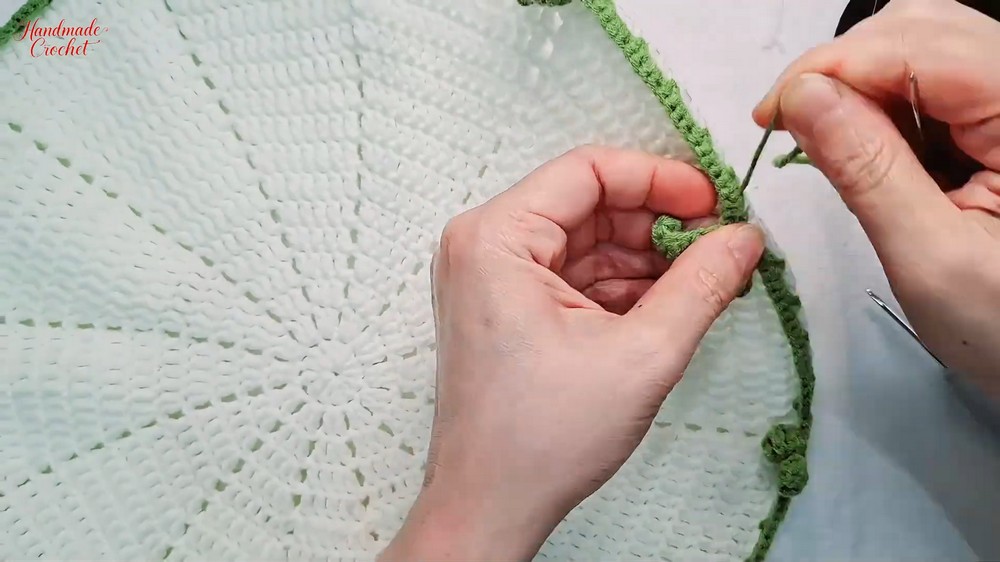
B. Decorative Leaves and Flowers
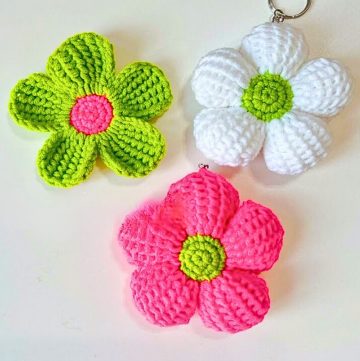
1. Floral Petals
- Flower Center:
- Start with a magic circle in the chosen color for the flower's center (e.g., red).
- Work 10 sc into the magic circle and close with a sl st.
- Petals:
- Switch to a contrasting flower color (e.g., pink).
- Chain 3 (ch 3).
- Work (1 dc, 1 tr, 1 dc) into the same stitch.
- Chain 3 (ch 3) and sl st into the next stitch to complete one petal.
- Repeat this sequence for all 10 petals around the flower center.
- Finish with a sl st into the starting stitch and fasten off.
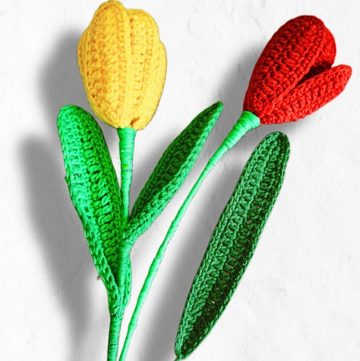
2. Leaves
- Start the Leaf:
- Chain 8 (ch 8).
- Work into the chains as follows:
- sl st in the 2nd chain from the hook.
- sc in the next chain.
- hdc in the next chain.
- dc in the next two chains.
- hdc in the next chain.
- sc in the last chain.
- Mirror the Other Side of the Leaf:
- After reaching the end of the chain, work back down the opposite side of the chain using the same stitches.
- Complete with a sl st at the base and fasten off.
3. Assembly of Decorations:
- Attach leaves and flowers to the edge of the clock by sewing them on with a tapestry needle. Arrange them evenly or cluster them around the top or side of the clock to add variety.
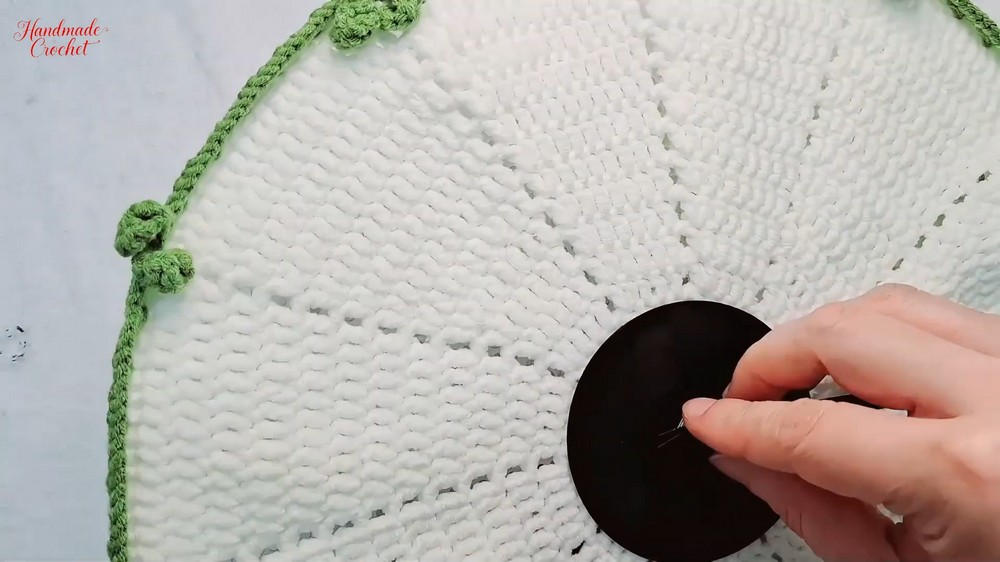
C. Attaching the Clock Mechanism
- Cut the Canvas Center:
- Find the center of the canvas. Cut a small hole just big enough to insert the clock mechanism.
- Install Clock Mechanism:
- Follow the instructions provided with the clock kit to insert the mechanism and attach the hands.
- Add Numbers:
- Use candle glue to attach numbers to the clock's face in the correct positions.
Finishing Touches
- After securing all the components, weave in any loose ends from the crochet work. If desired, you can stiffen the back of the clock by attaching a second layer of canvas or cardboard for increased durability and stability.
Congratulations! You’ve completed your Crochet Floral Wall Clock — a unique and functional piece of decor perfect for your home or for gifting to loved ones. 😊