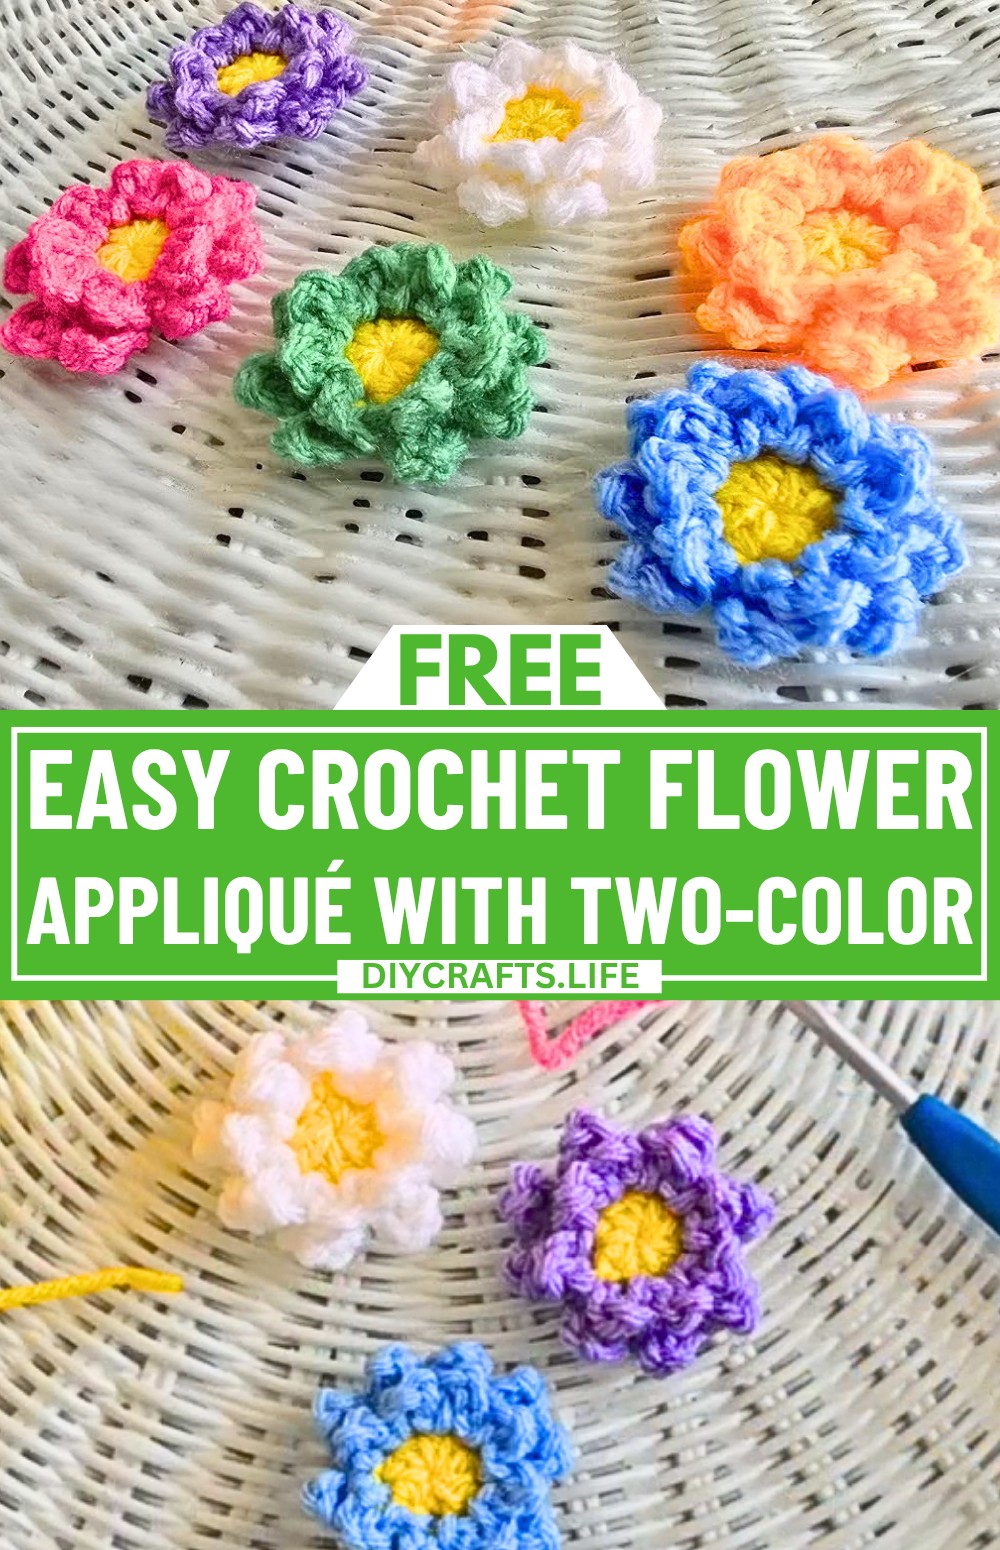
This delightful crochet flower appliqué is a cheerful and quick-to-make design. Use it to decorate hats, bags, and blankets. These crochet flowers are small but versatile, bringing a handmade touch to your favorite items.
Crochet Flower Applique Pattern
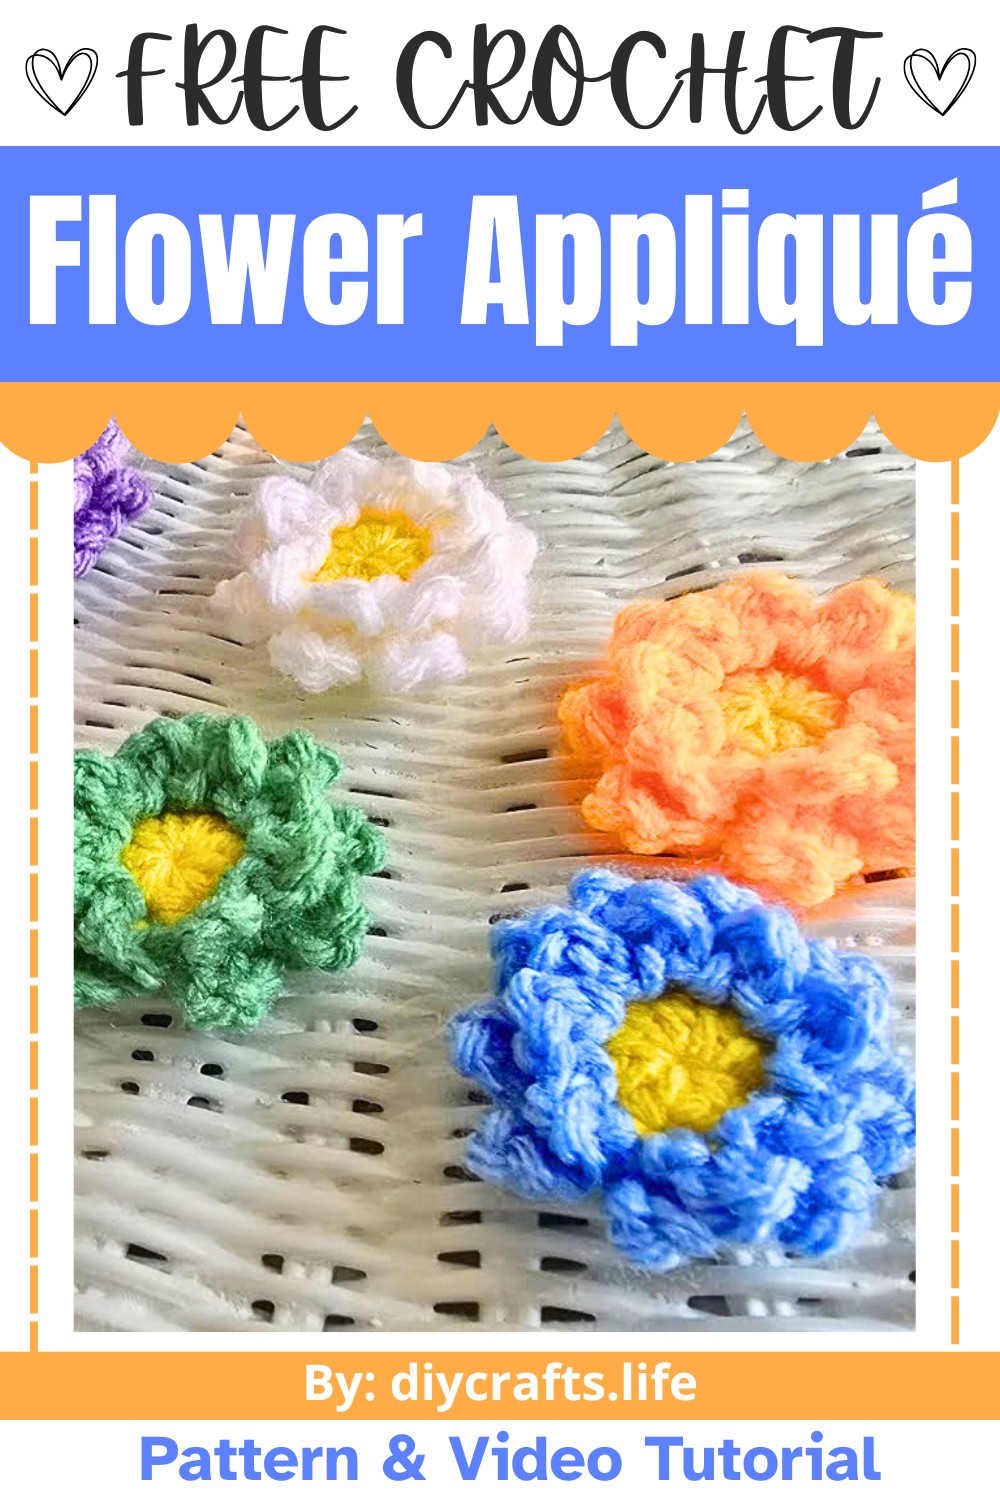
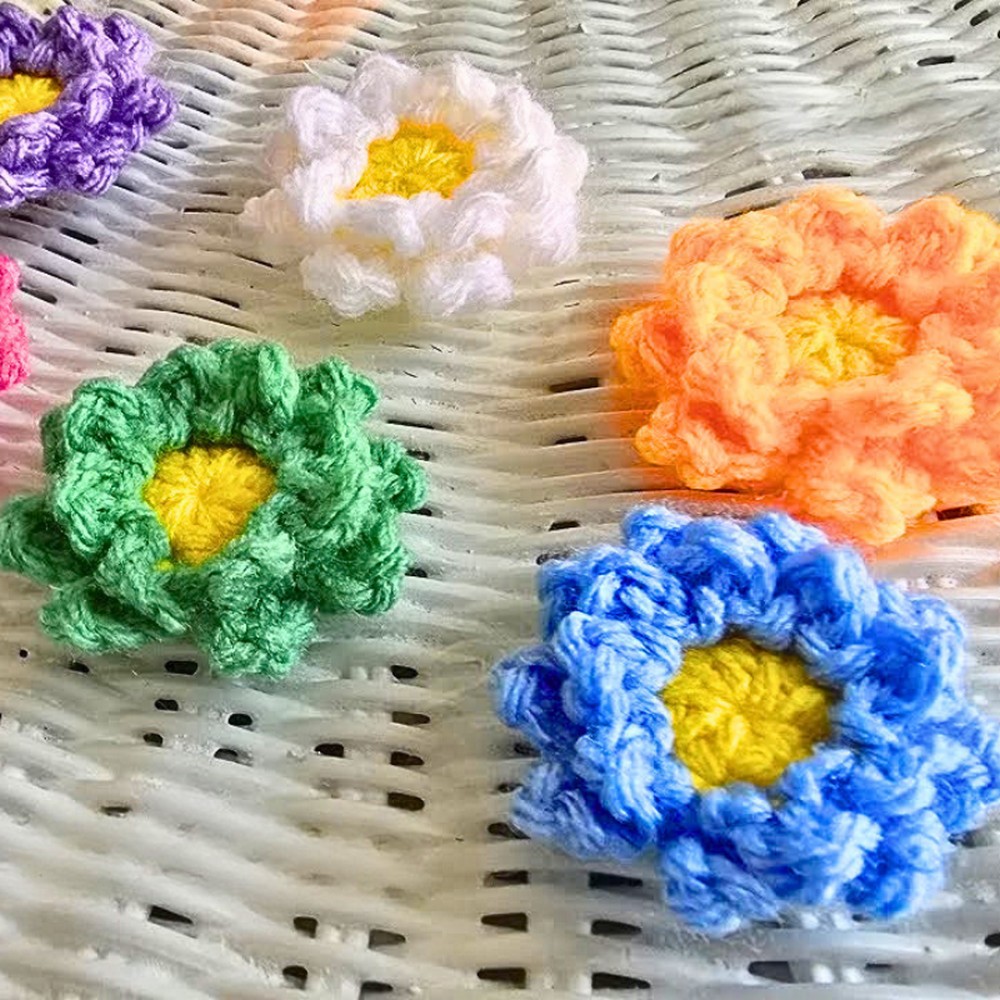
Making this crochet flower is quite fun and approachable, even if you’re new to crochet. Using just two yarn colors and basic tools, you'll shape a lovely pattern step by step. The crochet flower process involves creating soft petals arranged in layers, which give the flower its charming look.
Credit By Jenni Designs
Materials and Tools Needed:
- Yarn: Two different colors of worsted-weight yarn
- Example: One Pound yarn by Konep and Loops & Threads Soft Classic yarn
- Crochet Hook: Size H (5mm)
- Additional Tools:
- Darning needle (for sewing in ends)
- Scissors
Finished Size & Customization Ideas:
- Finished Size: Approximately 2–3 inches in diameter, depending on yarn and tension.
- Customization Ideas:
- Use different yarn weights and hook sizes for larger or smaller flowers.
- Attach to headbands, hats, or bags for a decorative touch.
- Sew multiples together to create garlands or add as accents to blankets.
Pattern Abbreviations & Terminology:
(U.S. Terminology)
- ch: Chain
- sl st: Slip Stitch
- hdc: Half Double Crochet
- st: Stitch
- front loop: The front loop of the top two loops of a stitch
- back loop: The back loop of the top two loops of a stitch
Step-by-Step Detailed Instructions
Center of the Flower
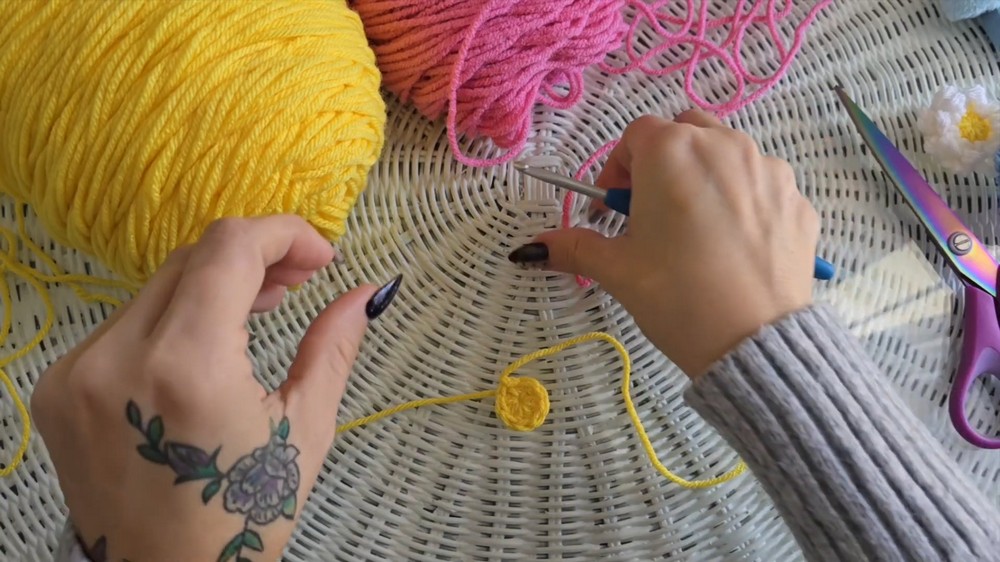
- Make a magic circle:
- Hold your working yarn in your left hand and the yarn end in your right.
- Wrap the yarn end behind the working yarn to form a circle.
- Insert your hook into the circle from front to back, yarn over (grab working yarn), and pull it through.
- Chain 1 to secure.
- Round 1:
- Work 8 hdc inside the magic circle.
(Tip: Work the stitches over the circle and the yarn tail.) - Pull the tail tight to close the circle.
- Join with a sl st to the first hdc.
(Double-check the stitch count: You should have 8 hdc.) - Fasten off the yarn and pull through.
- Work 8 hdc inside the magic circle.
First Layer of Petals
- Switch to your second color. Tie a slip knot to begin.
- Join the new color to any front loop of a stitch from Round 1:
- Insert your hook into the front loop, yarn over, and pull through.
- Work a sl st to secure the yarn.
- Petal Formation:
- Chain 3. Slip stitch into the same front loop.
- Move to the next front loop. Slip stitch, then chain 3, and slip stitch in the same front loop.
- Repeat Step 5 until all 8 front loops have petals.
(You should have a total of 8 petals.)
Second Layer of Petals
- Without fastening off, lay the first layer of petals down to access the back loops of Round 1.
- Locate the first back loop and:
- Work a sl st into the back loop.
- Chain 5. Slip stitch into the same back loop to form the petal.
- Move to the next back loop and repeat Step 8:
- Slip stitch, chain 5, and slip stitch in the same back loop.
- Continue working around the back loops until you have 8 petals in this layer.
- After completing the last petal:
- Work a sl st into the starting point.
- Yarn over, pull through, and fasten off.
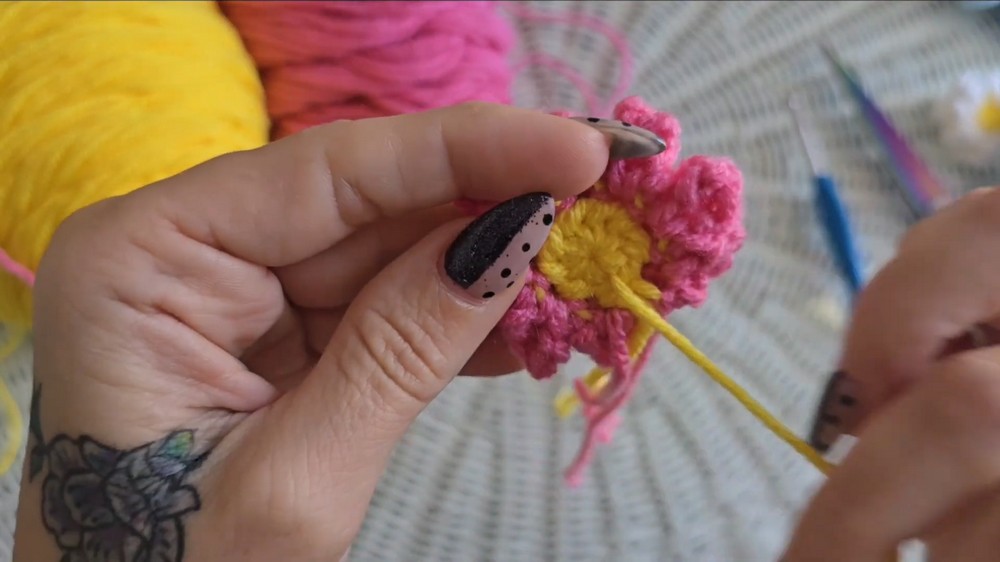
Finishing:
- With the darning needle, sew in all the loose ends:
- Tighten the tail from the magic circle again and secure it by weaving it into the back of the stitches.
- Weave in and trim any other loose ends from the petal layers.
- After trimming all the excess yarn, flatten your flower and adjust the petals if needed.
Pattern Summary:
- Round 1: Magic circle, 8 hdc, join, fasten off.
- Round 2 (Front Layer Petals): 8 petals, each made with sl st + ch 3 + sl st in front loops.
- Round 3 (Back Layer Petals): 8 petals, each made with sl st + ch 5 + sl st in back loops.