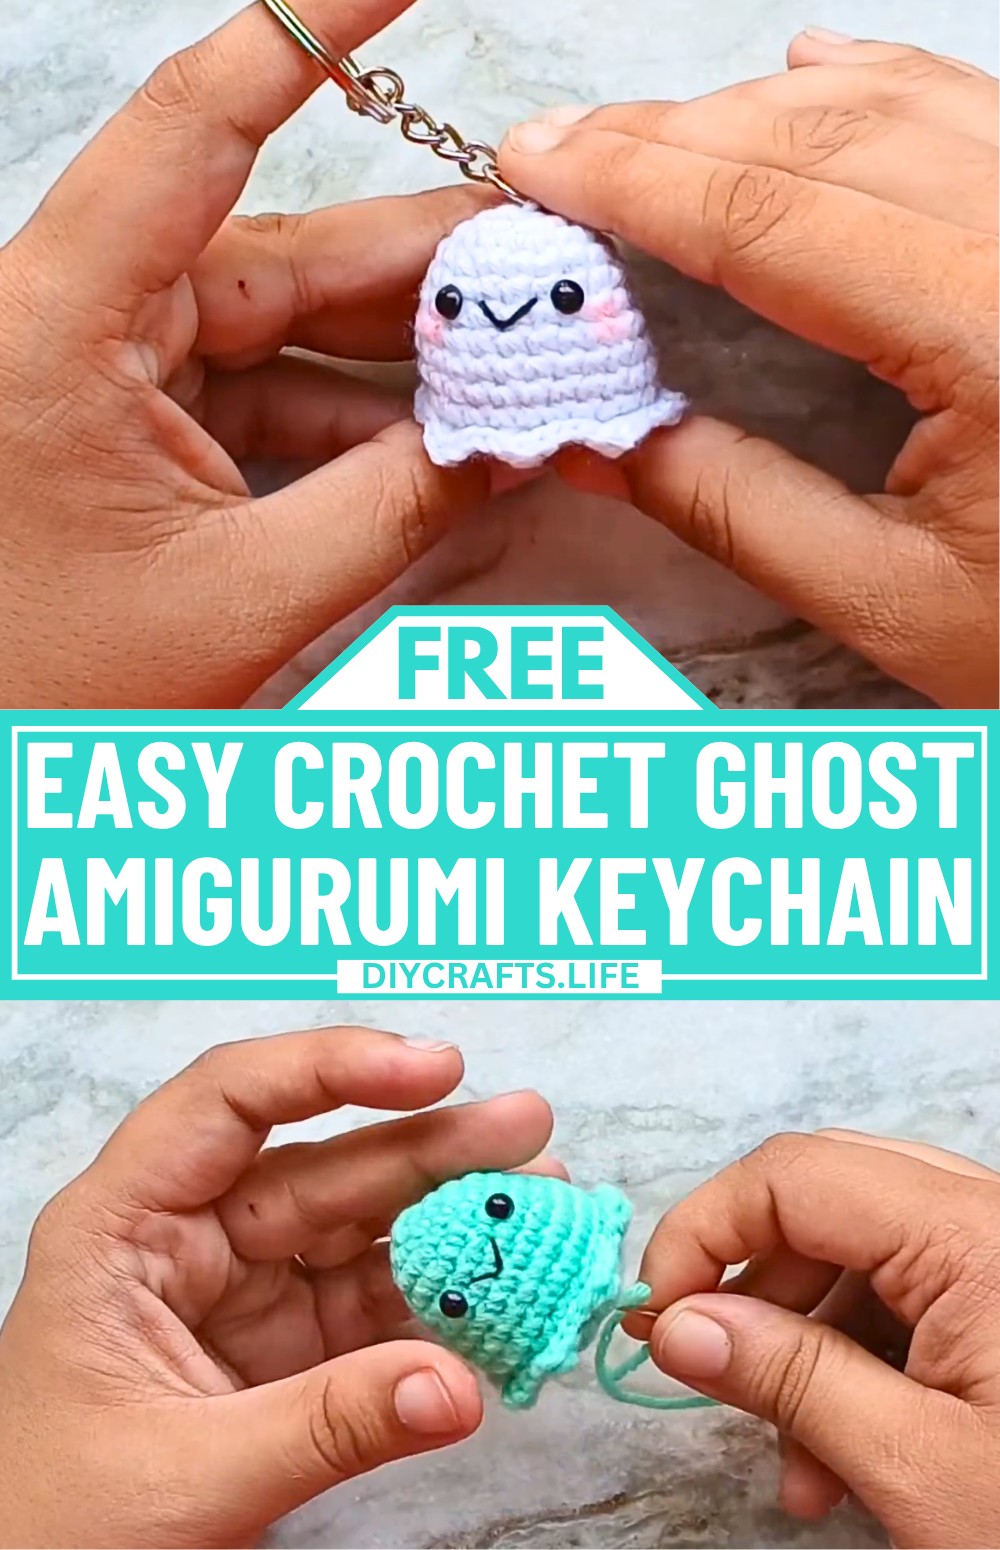
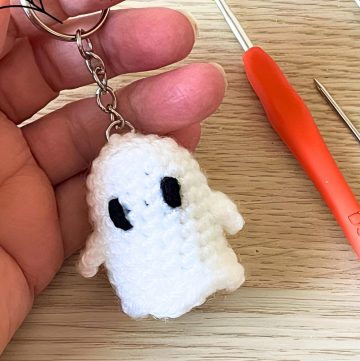
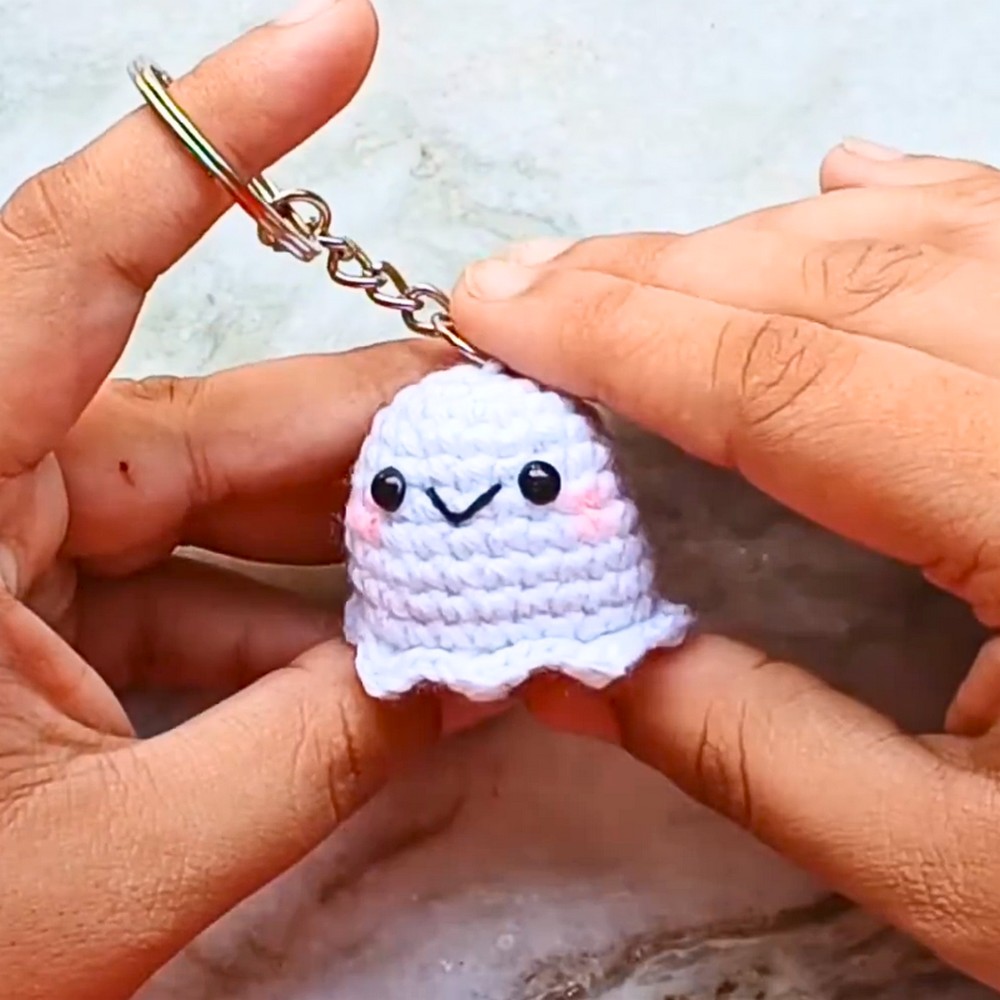
This crochet ghost keychain proves that even the smallest handmade piece can leave a lasting impression. Its rounded shape and tiny embroidered features give it a playful character, while the soft crochet texture adds warmth and charm to the ghost design. Despite its compact size, the thoughtful details help it stand out in a simple yet eye-catching way. Rather than being just another accessory, it serves as a small handmade detail that brings personality to everyday essentials.
Crochet Ghost Amigurumi Keychain Pattern
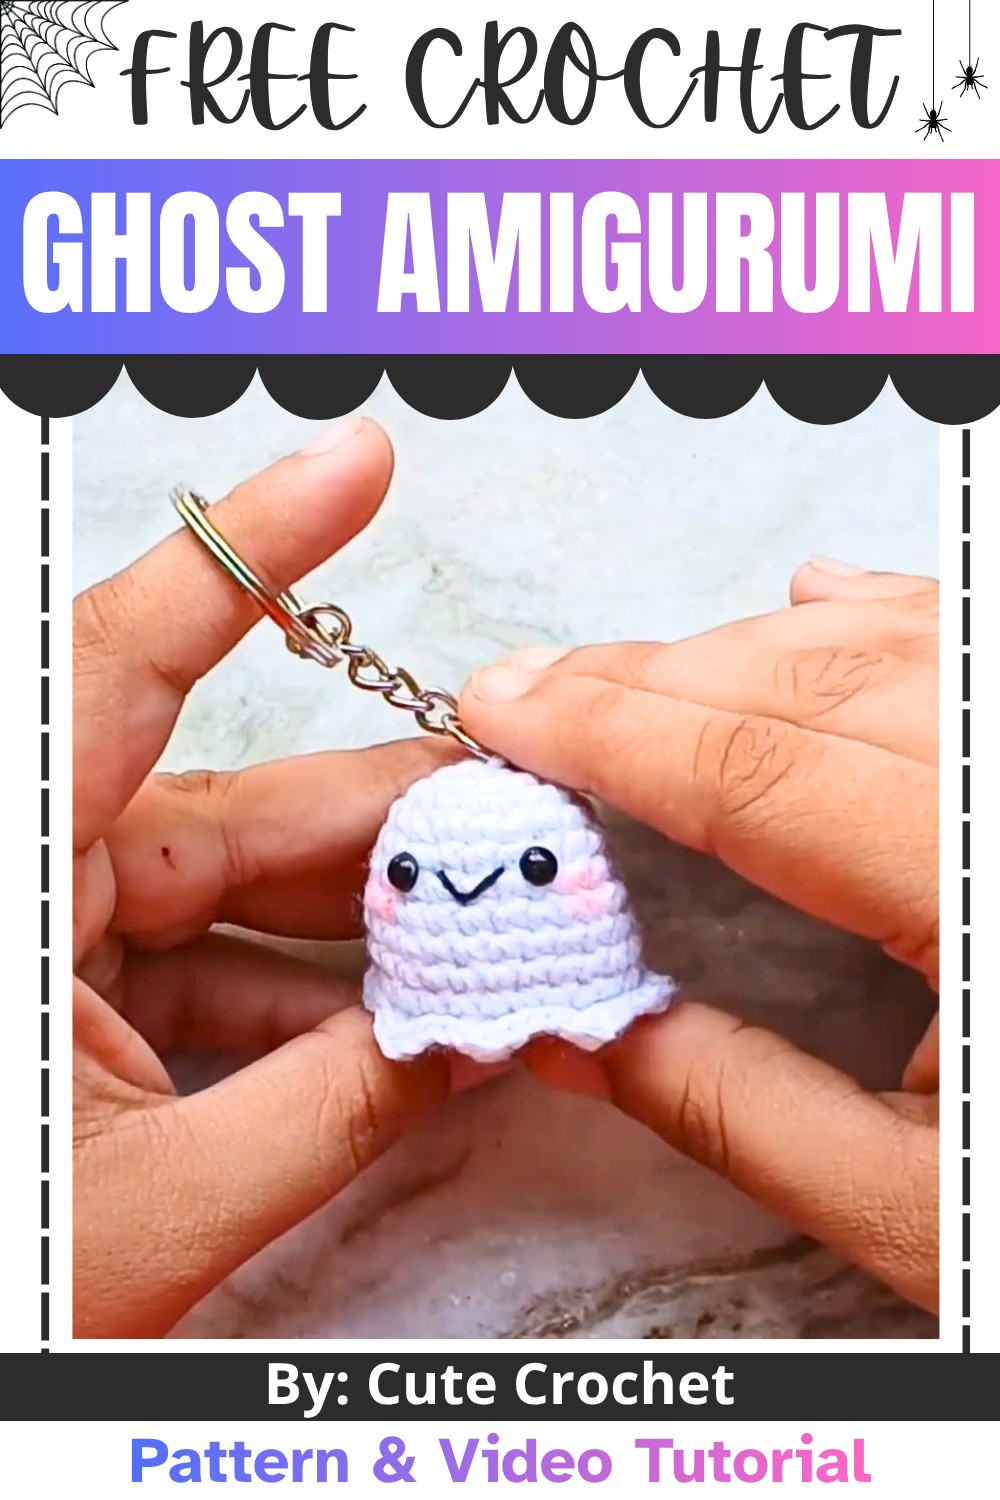
One of the most enjoyable parts of making this crochet keychain is watching a few basic materials transform into a finished piece with its own distinct look. The crochet item moves along at a comfortable pace, making it a relaxing and rewarding creative activity. Once completed, the ghost hangs neatly from a keyring, bag, or where its handcrafted details can be appreciated every day. Its unique appearance and thoughtful design make it a memorable crochet piece that stands out in any collection.
Credit Cute Crochet
Materials & Tools Needed:
- White yarn (4-ply yarn is recommended).
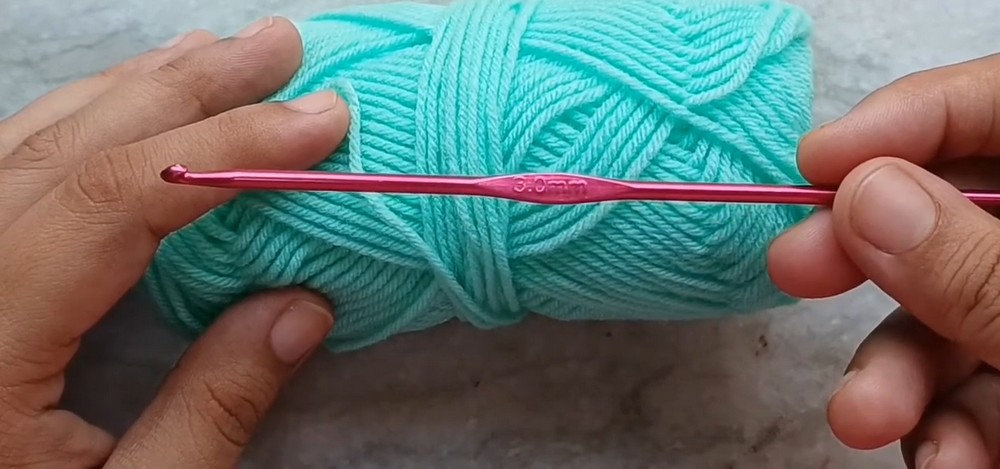
- Substitute used in the video for visuals: Steel grey yarn.
- A small amount of black yarn (for embroidery).
- Optional: Black beads or safety eyes (for the eyes).
- Alternative: Flatback pearls and fabric glue (not suitable for children due to choking hazard).
- Pink chalk pastel, eyeshadow, or blush (for cheeks).
- 3 mm crochet hook (a couple of sizes smaller than the recommended hook size for tight stitches).
- Recommended hook for 4-ply yarn: 4 mm.
- Stitch markers (e.g., paperclip or scrap yarn).
- Yarn needle.
- Keychain findings (jump ring).
Finished Size & Customization Ideas:
- Finished size depends on yarn and hook size. The design is perfect for a small keychain or as a Halloween-themed gift.
- Customization Ideas:
- Use pastel yarn for a cute, playful ghost.
- Experiment with various expressions for a spooky, friendly, or quirky face.
- Add tiny bows, props, or accessories to customize the ghost!
Pattern Abbreviations & Terminology:
- Sc: Single crochet.
- Inc: Increase (2 single crochets into the same stitch).
- Dec: Decrease (single crochet two stitches together).
- Sl st: Slip stitch.
- Hdc: Half double crochet.
- FLO: Front loop only.
- BLO: Back loop only.
- Ch: Chain.
Note: The amigurumi is worked in continuous rounds; join rounds using stitch markers to mark the last stitch. U.S. crochet terminology is used.
Step-by-Step Crochet Instructions:
Ghost Body
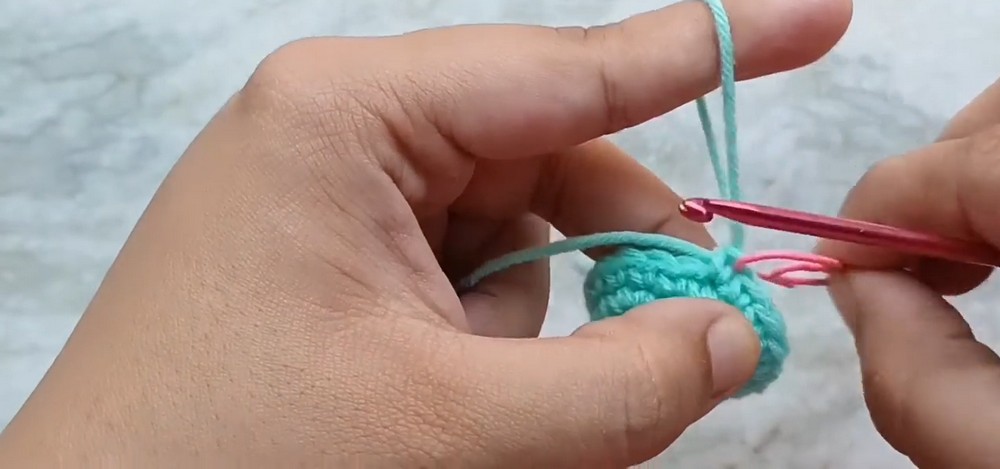
Round 1: Magic Circle
- Make a magic circle:
- Wrap the yarn over and around your finger to create a cross.
- Insert the hook under the first yarn, grab the second yarn, and pull through to form a loop.
- Yarn over, then pull through the loop to secure (forming the magic circle foundation).
- Ch 1 (does not count as a stitch).
- Work 6 sc into the magic circle.
- Sc: Insert the hook into the circle, pull up a loop, yarn over, and pull through both loops.
- Pull the magic circle tight to close.
- You should end with 6 sc for Round 1.
Round 2: Increase in Each Stitch
- Inc in each stitch around (2 sc in each stitch).
- Result: 12 sc at the end of this round.
Round 3: Alternating Increase
- Repeat the pattern: 1 sc, 1 inc all the way around.
- At the end of this round, you will have 18 sc.
Round 4: Single Crochet Round
- Work 1 sc in each stitch.
- Keep the stitch count constant: 18 sc.
Round 5: Mixed Stitch Increase
- Repeat the pattern: 5 sc, 1 inc three times.
- At the end of the round, you will have 21 sc.
Round 6: Single Crochet Round
- Work 1 sc in each stitch.
- Keep the stitch count constant: 21 sc.
Round 7: Last Increase Round
- Repeat the pattern: 6 sc, 1 inc three times.
- At the end of the round, you will have 24 sc.
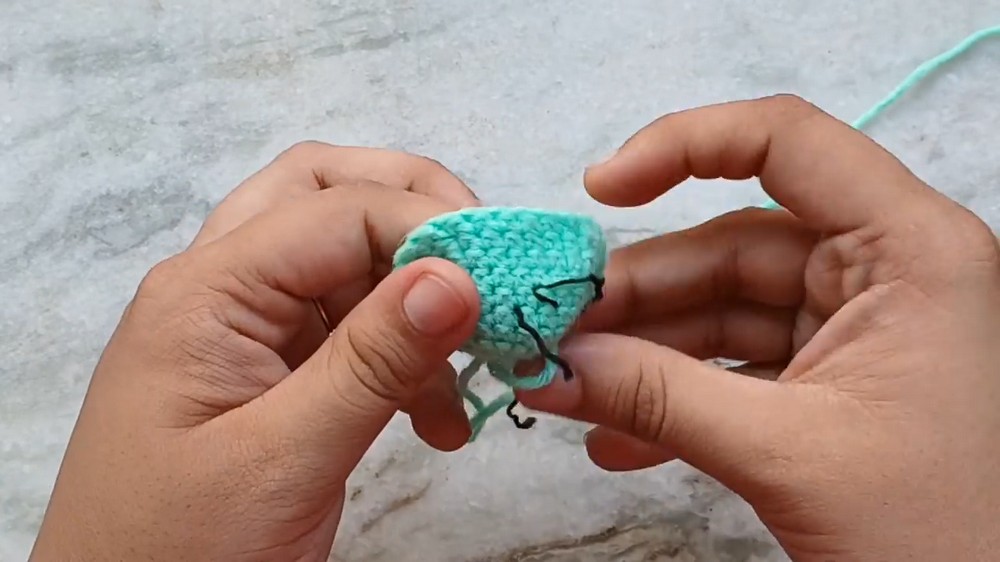
Rounds 8-10: Three Rounds of Single Crochet
- Work 1 sc in each stitch for 3 rounds.
- Keep the stitch count constant: 24 sc.
Face Embroidery
- Count rounds from the top of the ghost: Start embroidery between Rounds 5 and 6.
- Smile:
- Use black yarn (one thread of the ply separated).
- Insert the yarn needle from the back, skip 2 stitches between Rounds 5-6, and stitch a straight horizontal line.
- Create the "smile" by coming out one round below (between Rounds 6-7), loop under the straight line, and secure.
- Tie a knot inside and trim excess.
- Eyes:
- Place black beads, pearls, or safety eyes one stitch apart from each side of the smile.
- Secure using fabric glue or stitch safety eyes for durability.
Ghost’s Bottom Ruffle
Round 11: Front Loop Only (FLO)
- Working in FLO, begin with a sl st. Mark the back loop of the first stitch to identify it later.
- In the next stitch, work sc, hdc, sc, and sl st in the following stitch.
- Repeat this pattern 8 times around.
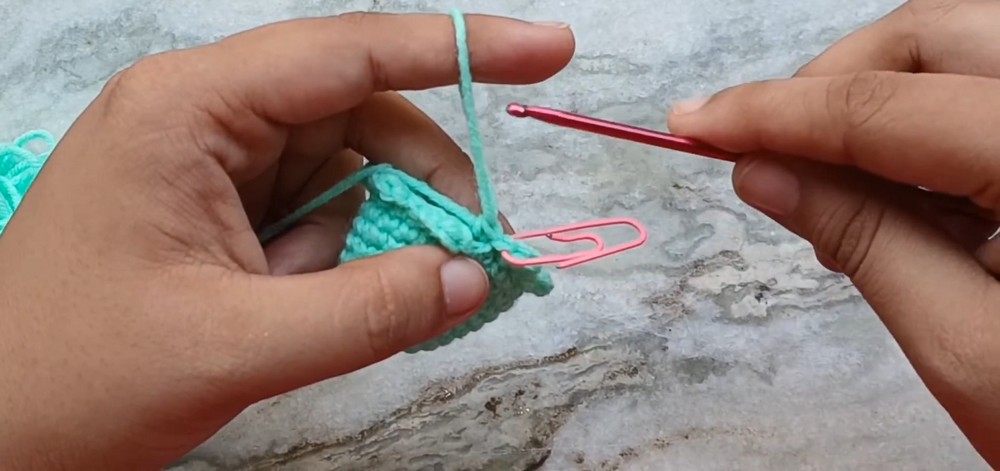
Round 12: Back Loop Only (BLO)
- Return to the BLO of Round 10.
- Begin with 2 sc in the first two stitches.
- Work dec over the next two stitches.
- Repeat: 2 sc, dec, for the rest of the round.
- Result: 18 stitches.
Round 13: Decreasing Round
- In the first stitch, make 1 sc.
- Work a dec across the next two stitches.
- Repeat: 1 sc, dec, for the round.
- Result: 12 stitches.
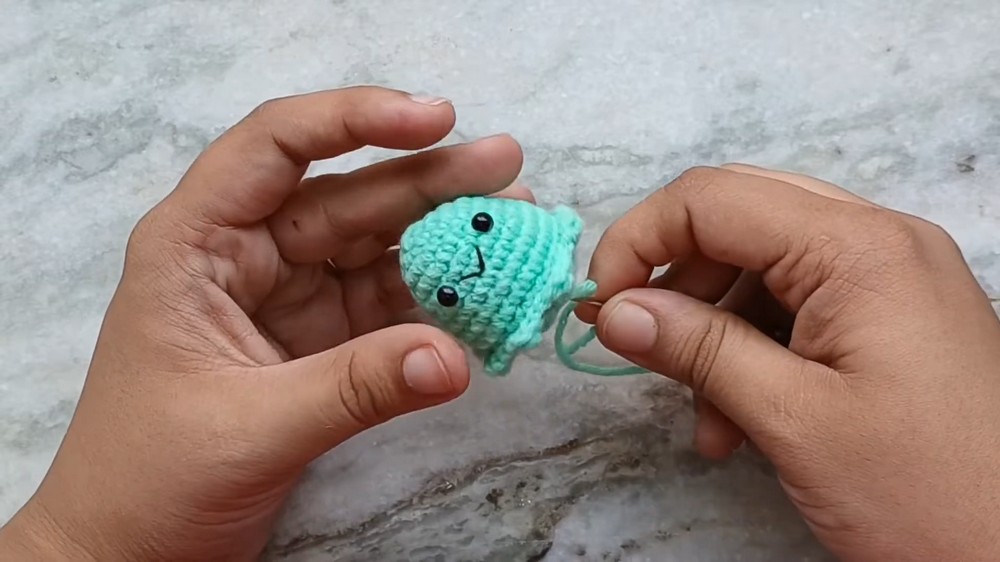
Round 14: Final Decrease
- Work a dec in every stitch around.
- Result: 6 stitches.
- Cut the yarn, leaving a long tail for sewing.
- Weave the yarn tail through all 6 stitches of the final round using a yarn needle. Pull tight to close the hole.
Keychain Attachment & Finishing Touches
- Insert the yarn needle into the bottom of the ghost; pull a strand of yarn to the top of the head.
- Thread the keychain's jump ring onto the yarn.
- Bring the yarn back down into the ghost and secure with a knot inside. Cut off excess yarn.
- Use pink chalk or blush to add rosy cheeks.