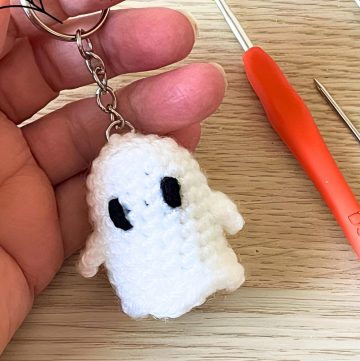
Transform small yarn scraps into stylish and functional Granny Square Coasters! This quick and versatile project is perfect for beginners and crochet enthusiasts alike, adding charm to home décor while protecting surfaces. Unleash your creativity with endless color combinations and designs!

Granny Square Coasters are not only visually appealing but highly practical. Their sturdy, durable design ensures they last for years, while the textured crochet pattern protects surfaces from heat or moisture. Perfect for gifting or sprucing up your own space, they offer endless styling possibilities.
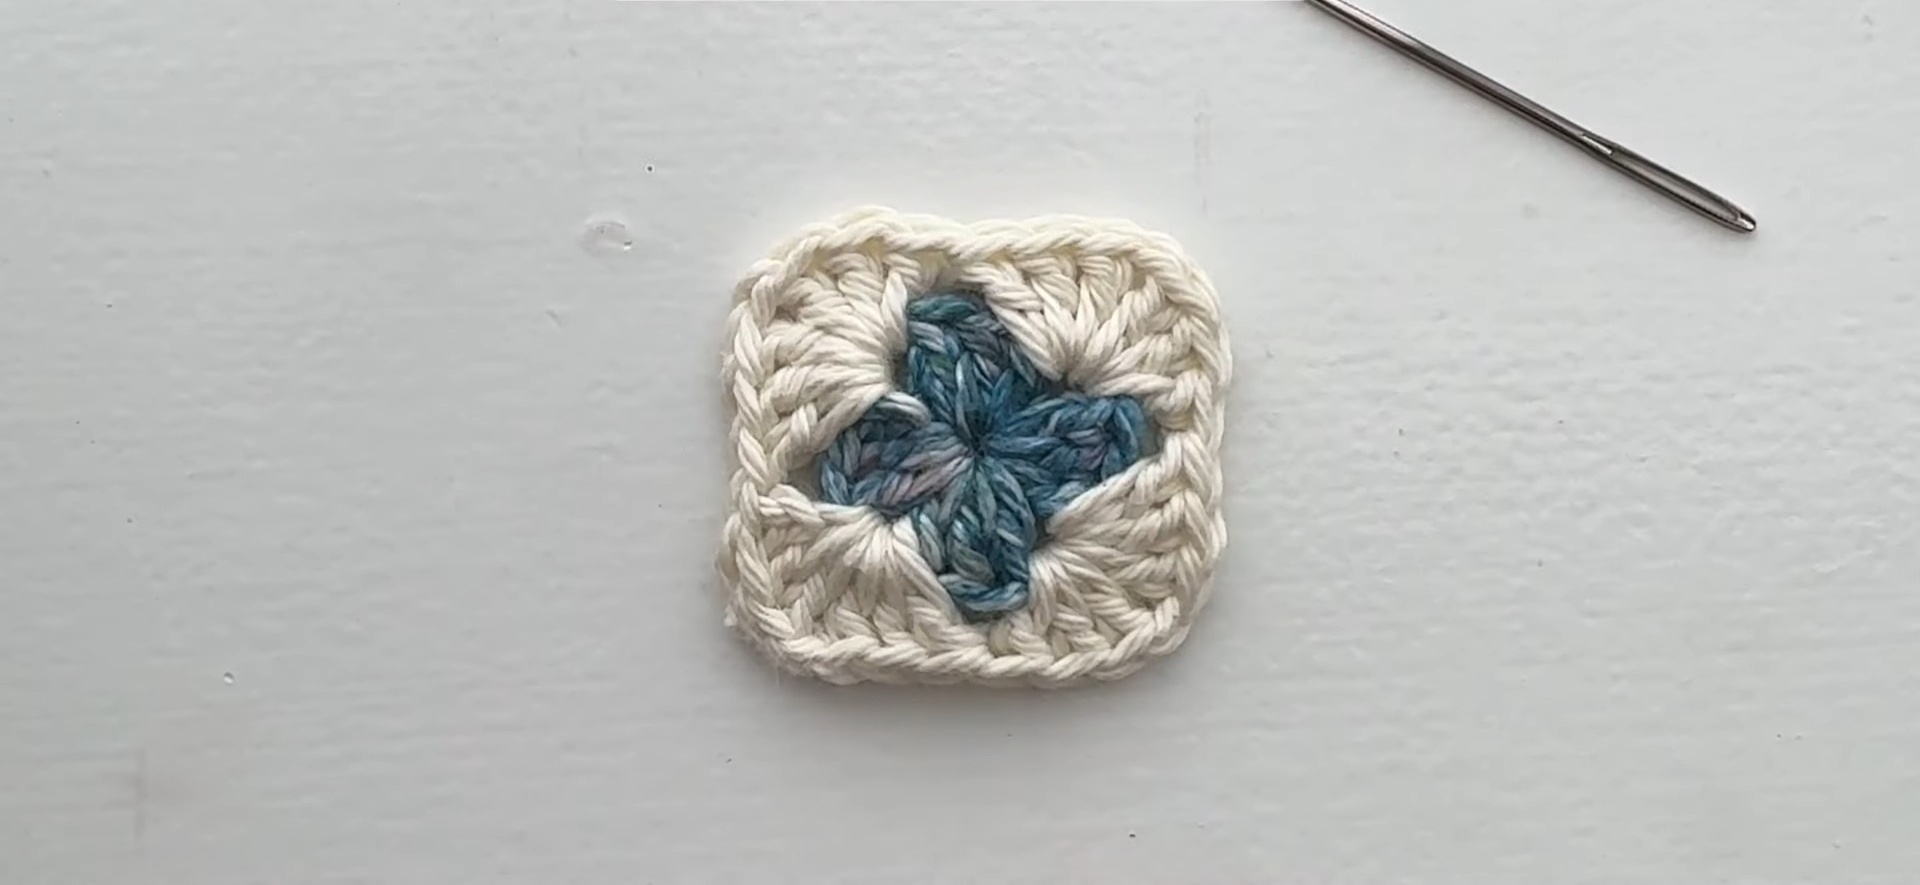
Crochet Granny Square Coasters
This fun crochet project is beginner-friendly, yet engaging for all skill levels. You’ll create lovely, customizable squares joined seamlessly, allowing for bold or minimalist designs. With simple stitches and scrap yarn, the coasters can be tailored to fit your personal aesthetic and creative ideas.
Materials and Preparation:
To create your very own granny square coaster, you'll need the following materials:
- Yarn: Worsted weight cotton yarn
- First round: Approximately 1.25 yards
- Second round: Approximately 3 yards
- Border: Approximately 4 yards
- Hook: 3.5 mm crochet hook
- Additional tools:
- Scissors
- Darning needle (for weaving in ends)
Abbreviations and Notes:
Here are the abbreviations you'll encounter in this pattern:
- MR: Magic Ring
- CH: Chain
- DC: Double Crochet
- SC: Single Crochet
- SS: Slip Stitch
Important Notes:
- This coaster project is perfect for using up leftover yarn, making it an excellent scrap yarn project.
- The video tutorial can provide visual guidance throughout the process.
Gauge, Approximate Size, and Pattern Notes:
- Gauge: Not crucial for this project.
- Finished Dimensions: Approximately 3.75 inches square.
- Special Techniques: Magic Ring (MR) is used at the beginning. A gauge swatch is not necessary.

Step-by-Step Pattern:
1. Granny Square Centers:
Make four granny square centers.
- Begin with a MR.
- CH 3 (counts as the first DC), then work 2 DC in the ring, and CH 1.
- Repeat the following three times:
- 3 DC in the ring.
- CH 1.
- Pull the ring tight and SS in the top of the beginning CH 3 to join.
- Cut your yarn and weave in your ends.
Pause here until you have made four of these centers.
2. Connecting Squares:
Start with one square center and attach new yarn in any CH 1 space to begin forming complete squares:
- CH 3 (counts as DC) in the same CH space, work 2 DC, CH 1, and 3 DC (first corner created).
- In the next CH 1 space, work 3 DC, CH 1, and repeat for three sides to complete corners.
- Join with a SS to the top of the CH 3.
Repeat the process to connect each of the four centers, joining squares along edges with slip stitches as needed, following the same corner part. Use the invisible join method for a neat finish.

3. Border Round:
After all squares are connected:
- Attach new yarn in any corner space with a SS.
- In each stitch across:
- SC in next 6 stitches.
- SC in the CH 1 space, CH 1, and SC again in the same CH 1 space.
- Repeat this pattern for each side, ensuring each corner consists of SC, CH 1, SC.
- Finish the round by joining with a SS to the first SC.
Cut your yarn and weave in all ends.

Pattern Question:
Question: How much yarn is needed for one coaster?
Answer: You’ll need approximately one-and-a-quarter yards for the first round, three yards for the second round, and four yards for the border.

Conclusion
Crafting Granny Square Coasters is a delightful way to combine style and functionality while sharpening your crochet skills. With endless versatility and personalization options, these coasters make a rewarding project for anyone. Grab your yarn and hook, and watch these beauties come to life—the perfect gift or décor piece awaits!