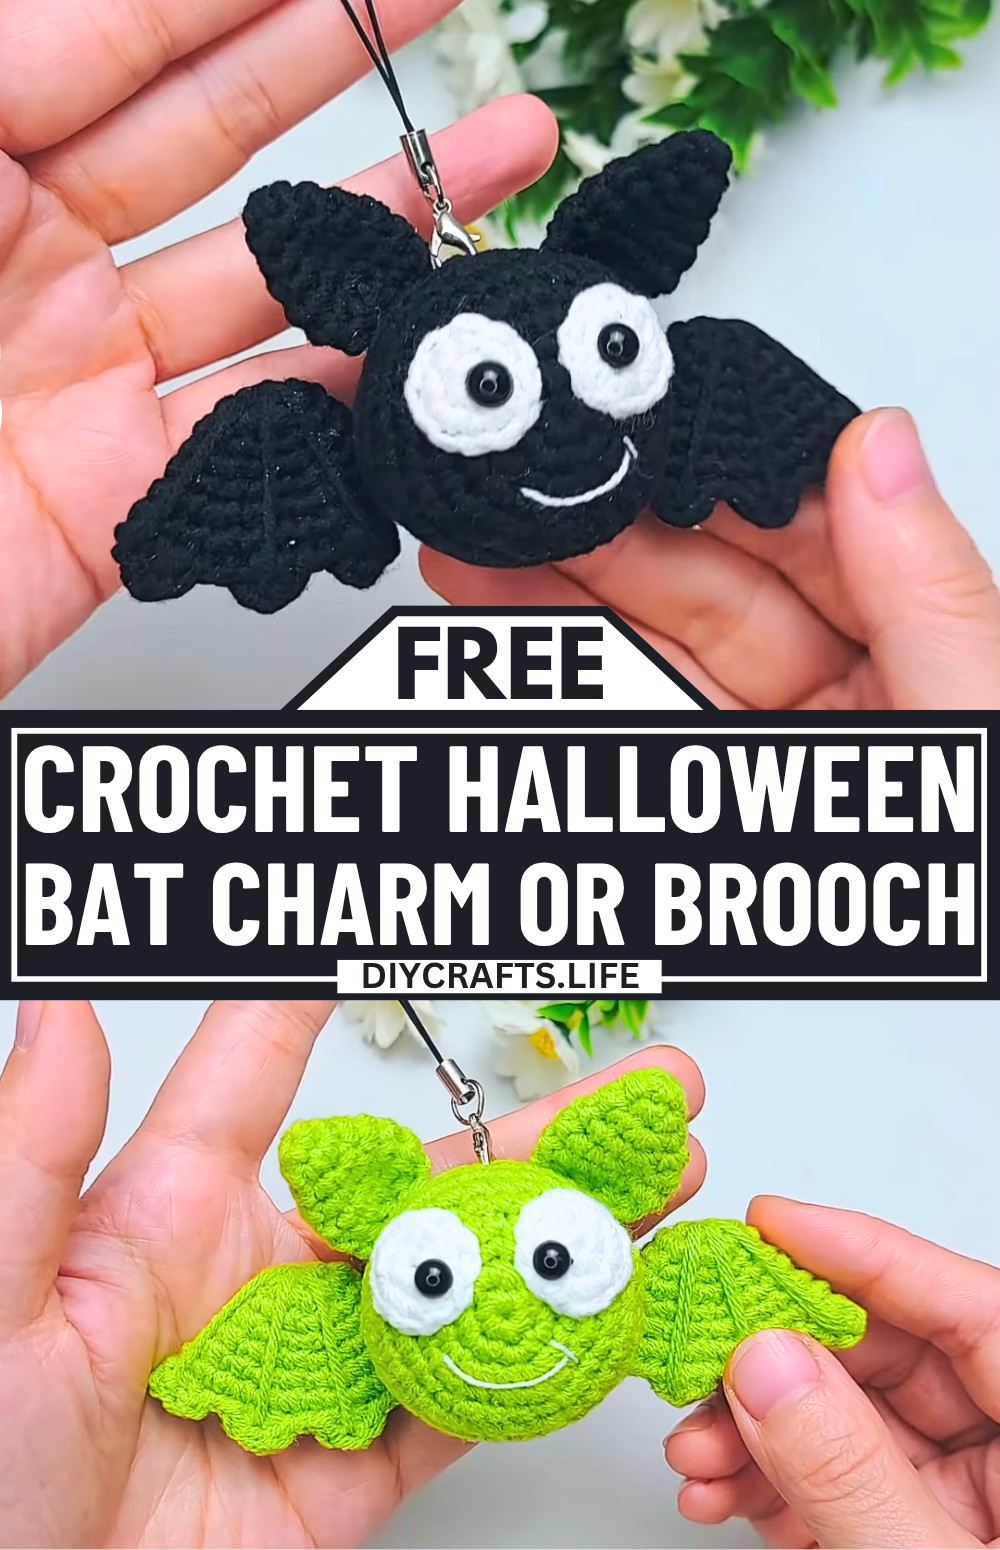
Get into the Halloween spirit with this cute and easy-to-crochet bat, perfect for adding a fun and festive touch to your day. It's a tiny, charming creation that’s both cute and spooky, not scary at all. You can use it as a brooch, pendant, or even a cheerful decoration. Perfect for adding a playful touch to your Halloween outfit or gifting to friends. Small, adorable creations like this crochet Halloween bat are sure to make anyone smile.
Crochet Halloween bat
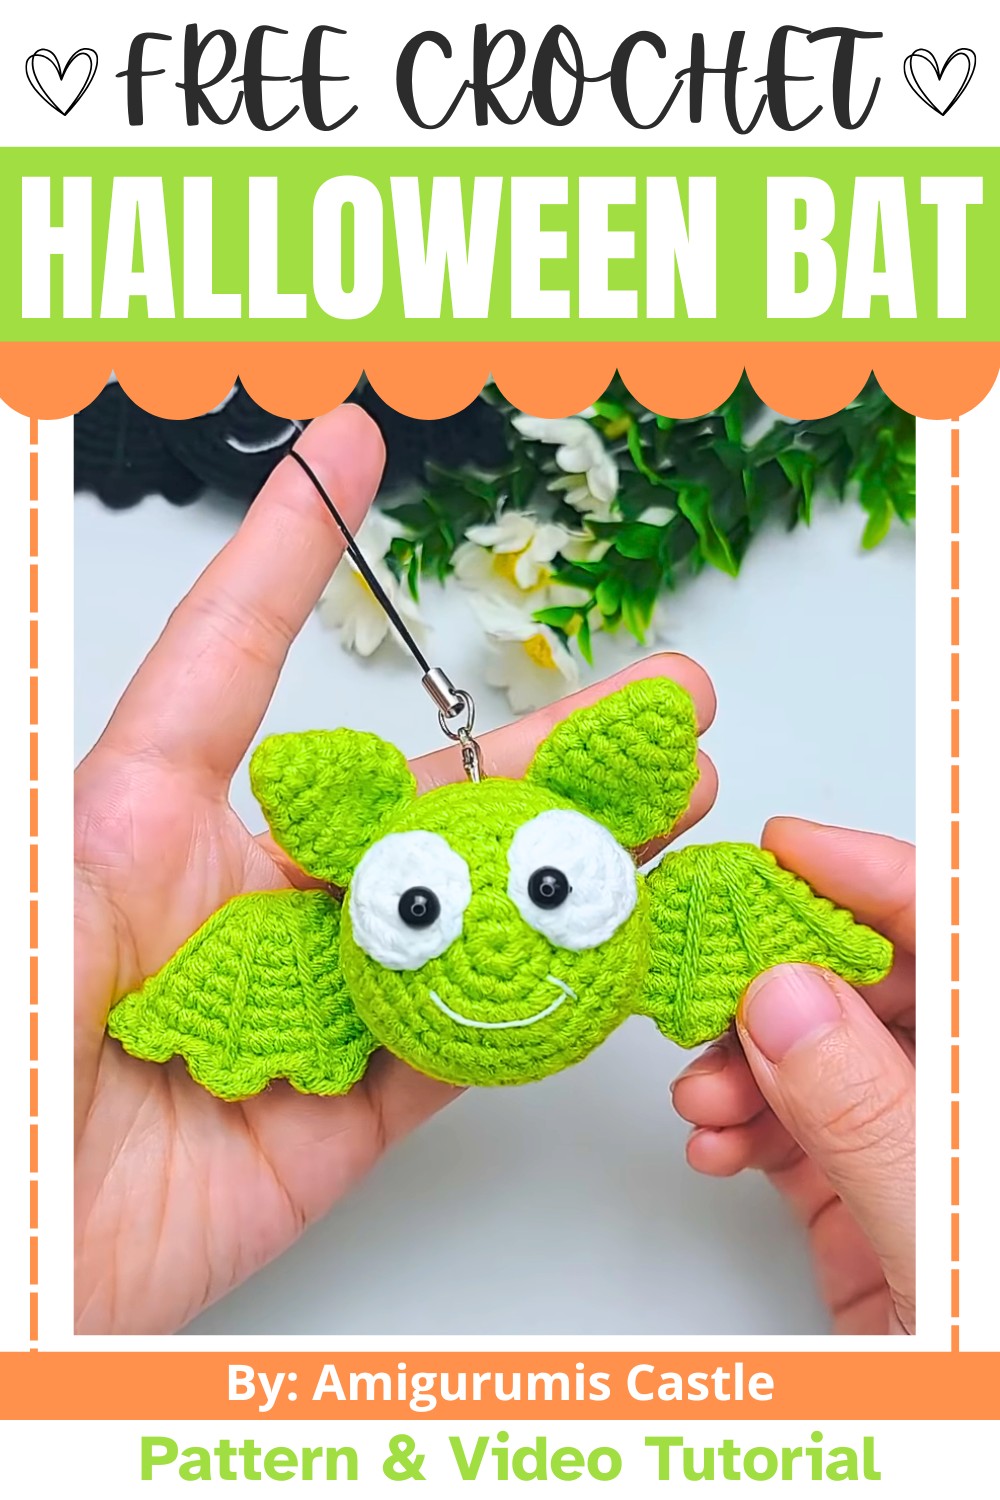
Even if you’re a beginner, this crochet bat pattern is easy to follow, step by step. You'll start with the head and gradually add the wings, ears, and eyes. The finished bat makes use of simple materials: milk cotton yarn, a brooch pin, making it practical and achievable for anyone. With just a little effort, you'll have your very own little crochet bat ready to enjoy in no time.
Credit Crochet By Hui
Materials and Tools Needed
- Yarn: Four strands of milk cotton yarn (black for the bat, white for the eyes).
- Crochet Hook: 2.0mm.
- Eyes: Two 6mm safety eyes or beads.
- Fasteners:
- Lobster clasp (if making a charm).
- 15mm brooch pin (if making a brooch).
- Other Tools:
- A small amount of shaping beads (optional for filling).
- White thread for sewing.
- Glue for attaching embellishments.
- Scissors.
- Yarn needle for sewing.
Finished Size & Customization Ideas
- Approximate Size: Small enough to be used as a pendant or brooch. Final size may vary based on yarn tension but is generally pocket-sized.
- Customization Ideas:
- Use different yarn colors for a playful effect (e.g., purple wings or orange accents).
- Add Halloween-themed accessories, such as bows or sparkly eyes.
- Skip the wings for a simpler bat face charm.
Pattern Abbreviations & Terminology
The pattern uses U.S. terminology:
- ch: Chain stitch.
- sc: Single crochet.
- inc: Increase (2 single crochets in the same stitch).
- dec: Decrease (single crochet two stitches together).
- sl st: Slip stitch.
- yo: Yarn over.
Step-By-Step Detailed Crochet Instructions
Part 1: Bat Head
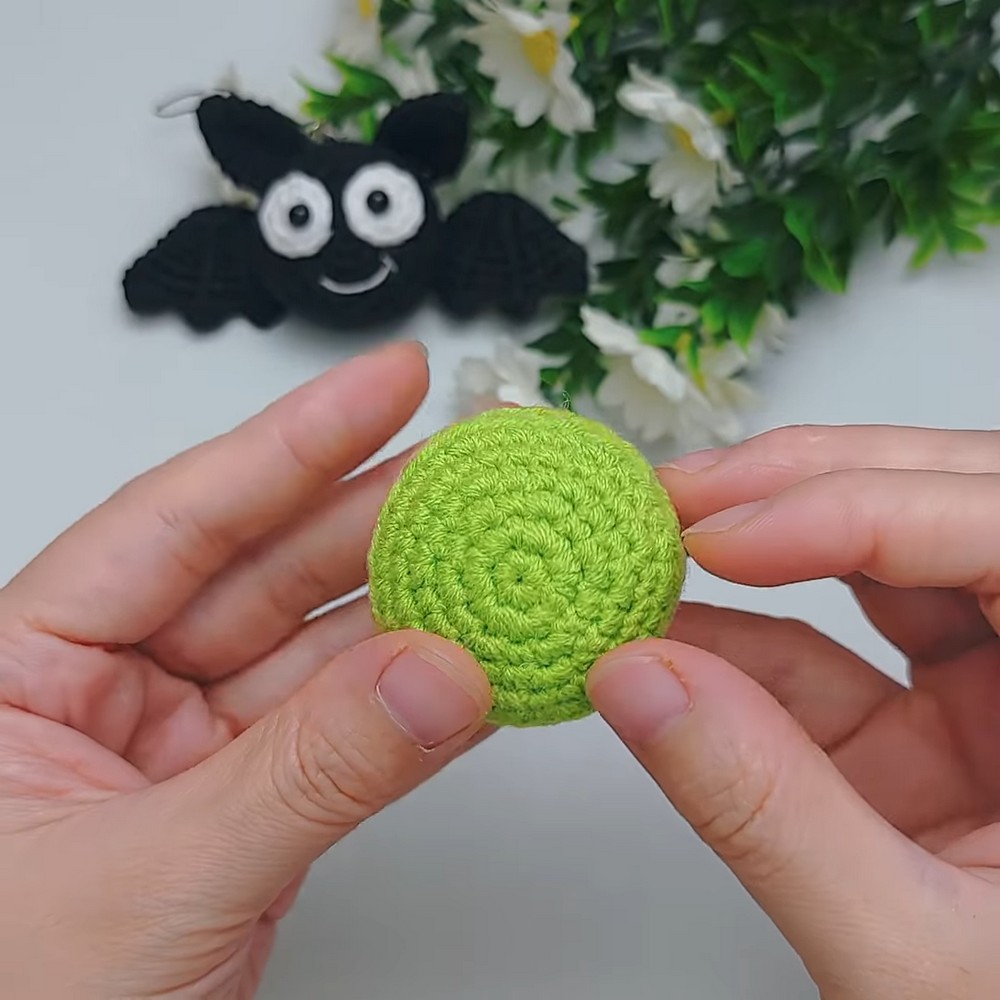
- Round 1:
- Make a magic ring.
- Ch 1, crochet 6 sc into the magic ring. Tighten the loop and join with a sl st to the first sc. (6 stitches)
- Round 2:
- Ch 1, sc into the first stitch.
- Inc into each remaining stitch (6 inc). Join with a sl st. (12 stitches)
- Round 3:
- Ch 1, (sc, inc) repeat 6 times. Join with a sl st. (18 stitches)
- Round 4:
- Ch 1, (sc, inc, sc) repeat 6 times. Join with a sl st. (24 stitches)
- Round 5:
- Ch 1, (sc in the next 3 sts, inc) repeat 6 times. Join with a sl st. (30 stitches)
- Round 6:
- Ch 1, (sc in next 2 sts, inc, sc in next 2 sts) repeat 6 times. Join with a sl st. (36 stitches)
- Rounds 7–8:
- Ch 1, sc around without any increases. Join with a sl st. (36 stitches per round)
- Finish:
- Pull the loop larger and cut the yarn, leaving a long tail for sewing.
- Make one more identical piece (same pattern from Round 1–8).
- Join the two pieces:
- Place the two pieces together and sew around the outer edge.
- Stuff with shaping beads or fiberfill before fully stitching closed.
- Secure the end and weave in the tail.
Part 2: Bat Ears (Make 2)
- Round 1:
- Create a magic ring.
- Ch 1, crochet 4 sc into the loop. Tighten and join with a sl st. (4 stitches)
- Round 2:
- Ch 1, (sc, inc) repeat 2 times. Join with a sl st. (6 stitches)
- Round 3:
- Ch 1, (sc, inc) repeat 3 times. Join with a sl st. (9 stitches)
- Round 4:
- Ch 1, (sc in next 2 sts, inc) repeat 3 times. Join with a sl st. (12 stitches)
- Rounds 5–6:
- Ch 1, sc around. Join with a sl st. (12 stitches per round)
- Row 7:
- Fold the ear in half.
- Ch 1, crochet across the fold: sc, sc in next 2 sts, dec, sc. (4 stitches)
- Finish:
- Pull the loop larger, cut the yarn leaving enough length to sew the ears onto the head.

Part 3: Bat Wings (Make 2)
- Round 1:
- Start with a magic ring.
- Ch 1, crochet 6 sc into the loop. Tighten and join with a sl st. (6 stitches)
- Round 2:
- Ch 1, (sc, inc) repeat 6 times. Join with a sl st. (12 stitches)
- Round 3:
- Ch 1, sc across. Join with a sl st. (12 stitches)
- Round 4:
- Ch 1, (sc, inc) repeat 6 times. Join with a sl st. (18 stitches)
- Round 5:
- Ch 1, sc across. Join with a sl st. (18 stitches)
- Round 6:
- Ch 1, (sc, inc) repeat 6 times. Join with a sl st. (24 stitches)
- Round 7:
- Work wing design:
- Ch 1, make 3 pull stitches (medium-long stitch, long stitch, medium-long stitch).
- Repeat this wing motif twice in total, pulling stitches tightly for shape.
- Work wing design:
- Finish:
- Pull the loop larger, cut the yarn leaving a long tail for sewing.
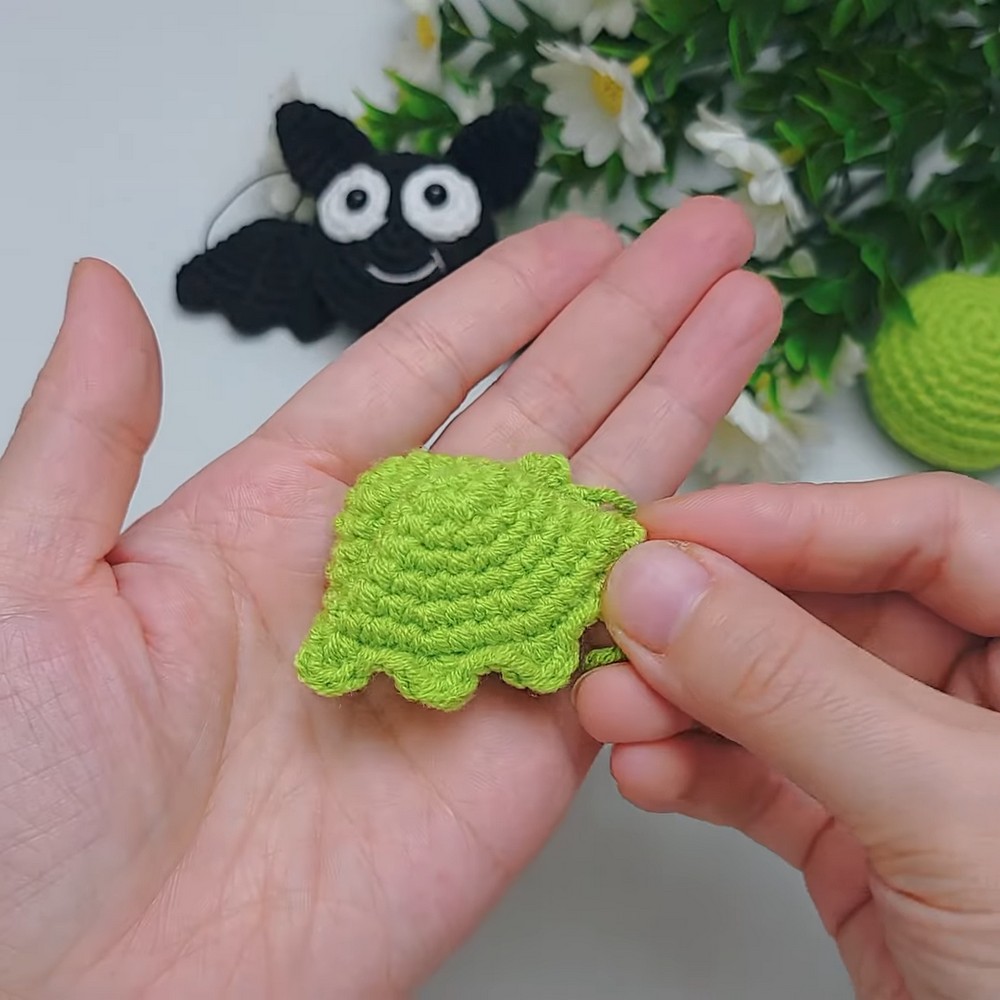
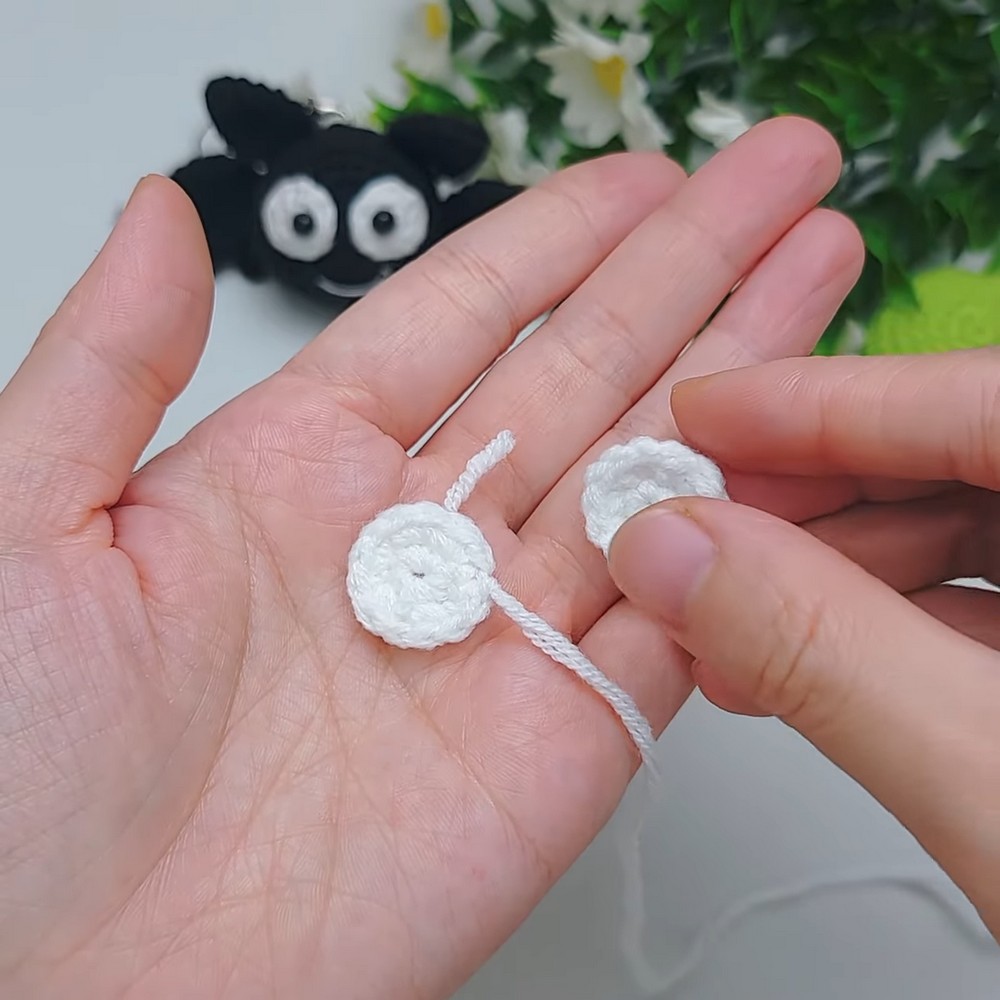
Part 4: Eyes (White Circle)
- Round 1:
- Create a magic ring.
- Ch 1, crochet 6 sc into the loop. Tighten the ring and join with a sl st. (6 stitches)
- Round 2:
- Ch 1, (sc, inc) repeat 6 times. Join with a sl st. (12 stitches)
- Finish:
- Pull the loop larger, cut the yarn leaving a long tail for sewing.
Repeat the process to make a second eye.
Assembly
- Arrange Components:
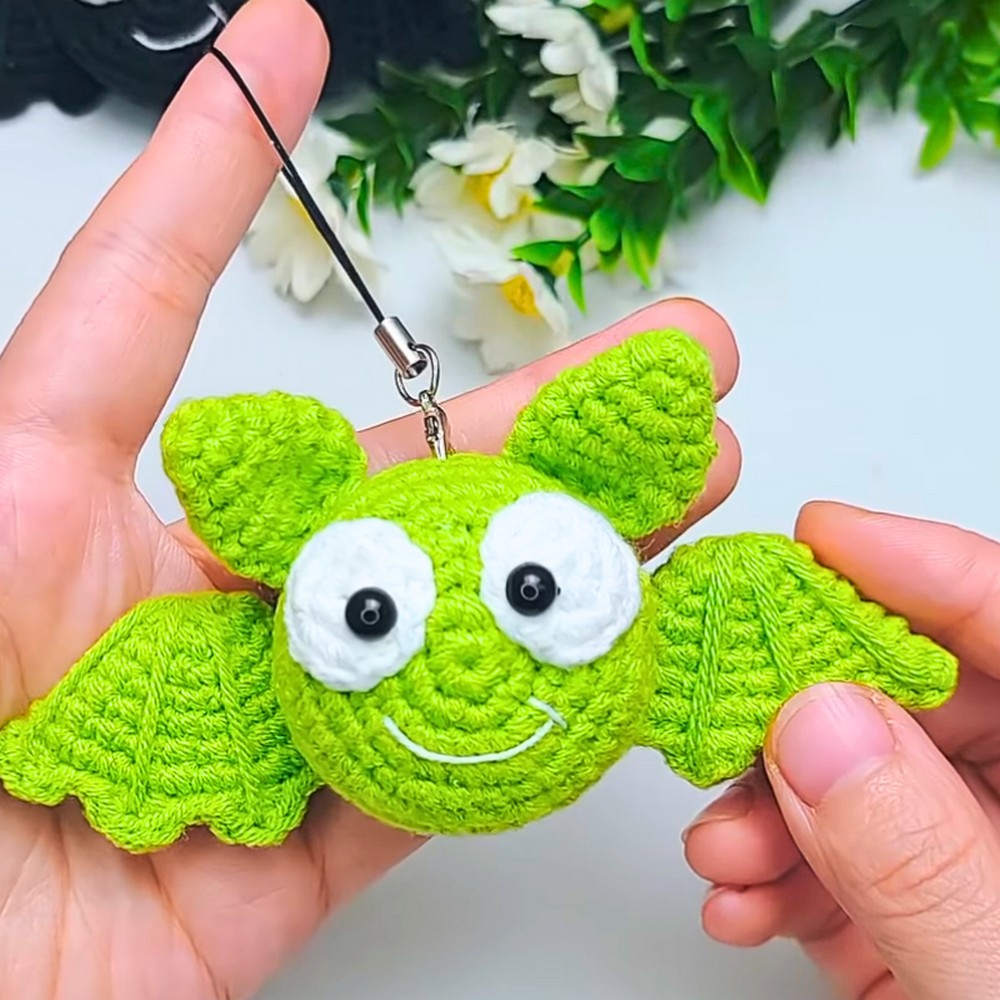
- Sew the ears to the top of the bat head.
- Sew the wings on each side of the head.
- Attach the white eye circles, and glue or sew 6mm safety eyes/beads in place.
- Add Fasteners:
- Attach a lobster clasp for a charm or a brooch pin for a wearable design.
- Finish & Touch-Up:
- Add stuffing as needed.
- Use glue sparingly for a clean finish.

Your Cute Halloween Bat is Ready to Fly!
- If you enjoyed this pattern, don’t forget to share your creation and accessorize it to fit your spooky decor or outfit.