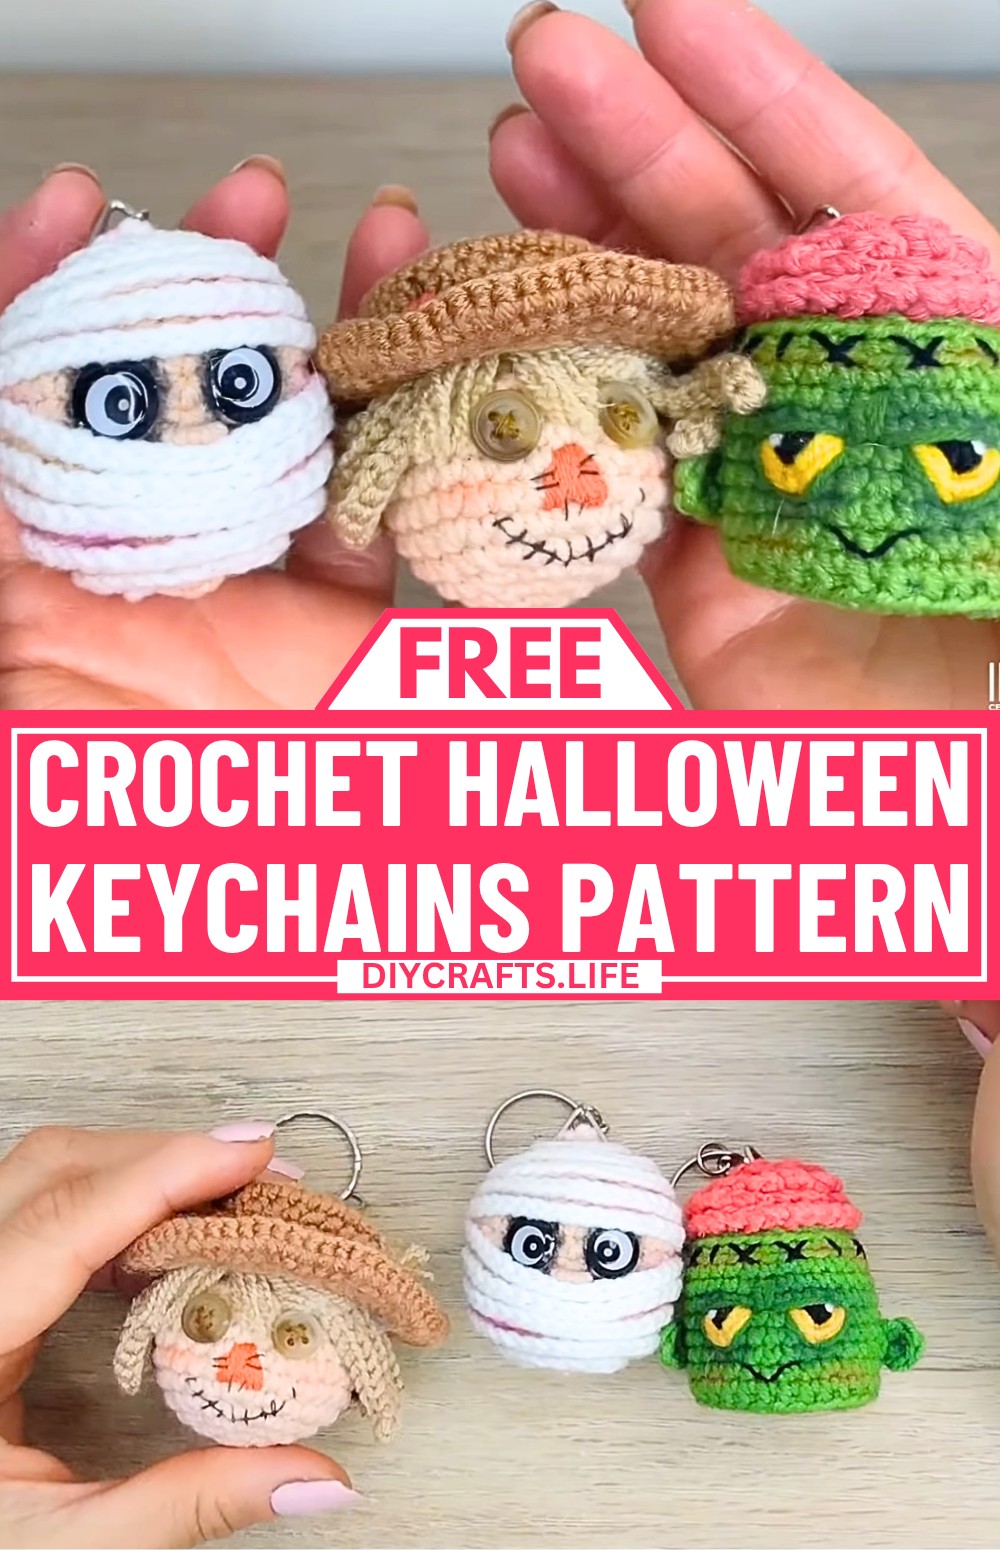
These Halloween amigurumi keychains are tiny crochet friends you can carry everywhere. In this pattern, you will learn how to make three characters: a cheerful scarecrow, a funny mummy, and a cute zombie with a little brain peeking out. They are small, soft, and light, perfect for bags, backpacks, pencil cases, or as little decorations for Halloween.
Crochet Halloween Amigurumi Keychains
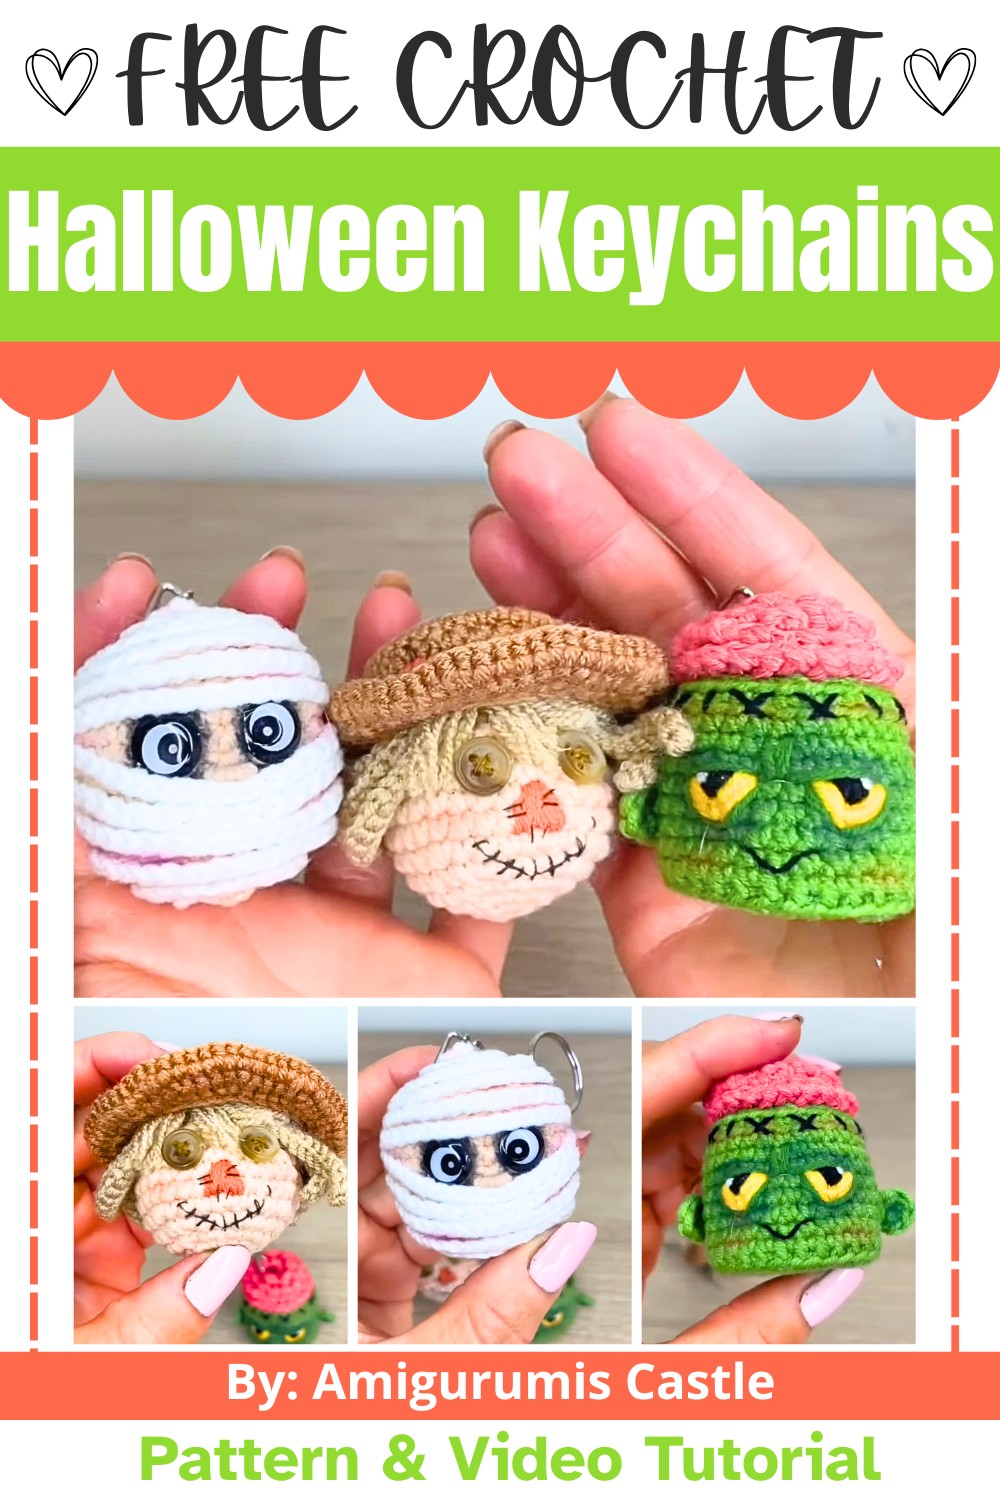
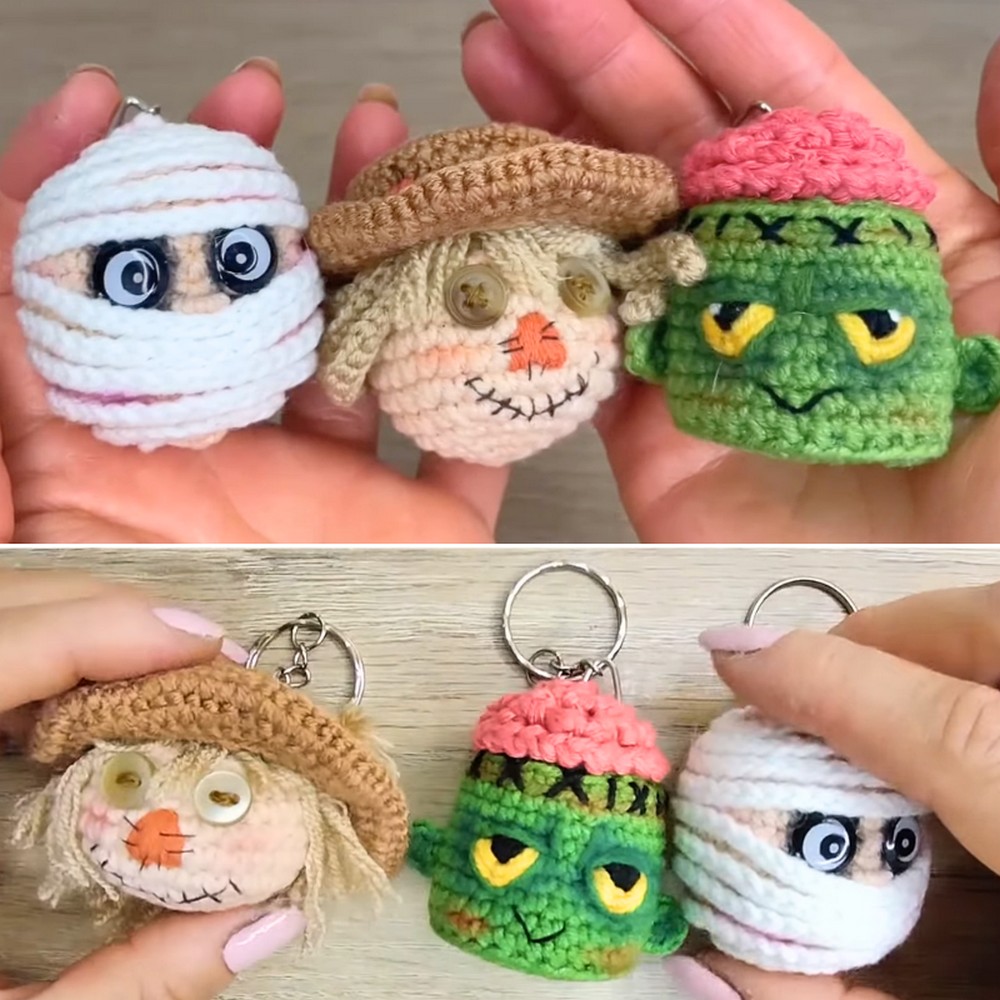
The scarecrow has a tiny hat, a patch, straw-like hair, and button eyes, giving it a sweet, handmade look. The mummy is wrapped in long white bandages, with big eyes and soft color on its face to make it look a little spooky but still friendly. The zombie is made in green with stitched details, a brain texture on top, and bold eyes that make it look funny instead of scary. This Halloween Pattern uses basic crochet shapes, so beginners can feel comfortable. You mainly work in simple rounds to build the heads and bodies, then add easy extras like hats, bandages, ears, and facial details.
Credit Amigurumis Castle
Materials and Tools Needed
Materials:
- Yarn Weight: Cotton or acrylic yarn suitable for a 1.75 mm crochet hook
- Scarecrow:
- Skin-colored yarn
- Light brown yarn (for hat)
- Walnut or straw-colored yarn (for hair)
- Orange yarn (nose, patch)
- Buttons (2, 5 mm for eyes)
- Black embroidery thread
- Mummy:
- Skin-colored yarn
- White yarn (bandages)
- Fantasy safety eyes (2, 5-6 mm)
- Zombie:
- Green yarn (body)
- Pink yarn (brain)
- Dark green yarn (details)
- Yellow yarn (eye detail)
- Black embroidery thread (mouth, wound crosses)
- Scarecrow:
Tools:
- Crochet hook: 1.75 mm
- Other tools:
- Yarn needle
- Sewing needle
- Scissors
- Row separator
- Stuffing
- Hot glue
- Plastic circle (lid for zombie's base)
- Black and dark green shadow or textile paint (for details)
- Keychain rings
Finished Size
The finished size of each amigurumi keychain is approximately small enough to hang as a lightweight keychain. Actual dimensions are influenced by yarn tension, hook size, and stuffing.
Customization Ideas:
- Switch yarn colors to match personal Halloween themes.
- Add extra details like bows, sparkles, or textured yarn for character enhancements.
- Use different eye styles (e.g., safety eyes on a scarecrow instead of buttons).
Pattern Abbreviations & Terminology
US Terminology:
- MR: Magic Ring
- sc: Single Crochet
- inc: Increase (2 sc in the same stitch)
- dec: Decrease (Combine 2 sc together)
- blo: Back Loop Only
- flo: Front Loop Only
- sl st: Slip Stitch
- ch: Chain
Step-by-Step Crochet Instructions
Here are the instructions broken down for each character, based on the tutorial. Each step includes stitch counts, joining methods, color changes, and finishing techniques.
1. Mummy
Head:
- Round 1: MR, 6 sc (6 sts).
- Round 2: Inc around (12 sts).
- Round 3: (1 sc, inc) around (18 sts).
- Round 4: (2 sc, inc) around (24 sts).
- Round 5: (3 sc, inc) around (30 sts).
- Rounds 6-13: Sc around for 7 rows (30 sts).
Start Decreases for Head:
- Round 14: (3 sc, dec) around (24 sts).
- Round 15: (2 sc, dec) around (18 sts). Stuff head gently.
- Round 16: (1 sc, dec) around (12 sts).
- Round 17: (Dec around) (6 sts).
- Fasten off and close with a yarn needle using the invisible ring closure.
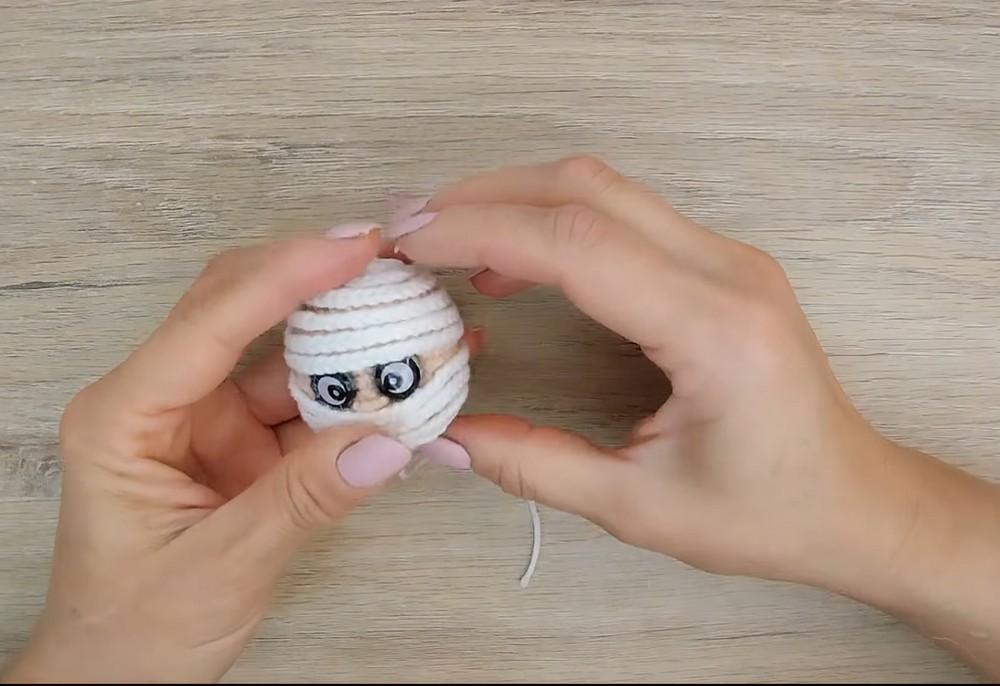
Bandages:
- With white yarn, ch 320.
- Tip: Do not fasten the yarn until you finish wrapping the mummy in the bandage to avoid extra chains or shortages.
- Begin wrapping chains around the mummy’s head, gluing or sewing them in a spiral.
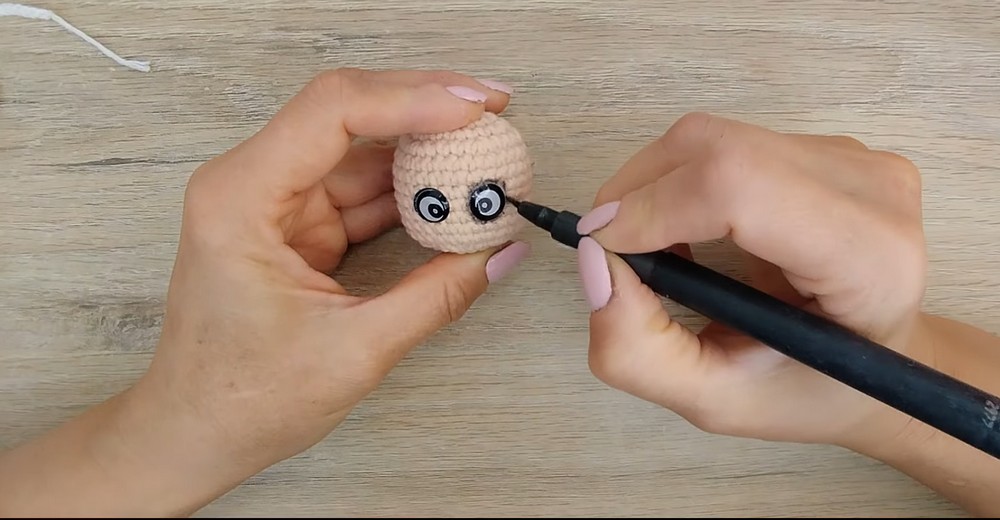
- Glue fantasy eyes as described. Add a slight black shadow or paint around the eyes for depth.
- Embroider the nose below the eye line using skin-colored yarn.
2. Scarecrow
Head (Similar to a mummy but shorter):
- Follow the Mummy Head Pattern, but work only 5 rows of height rounds instead of 7.
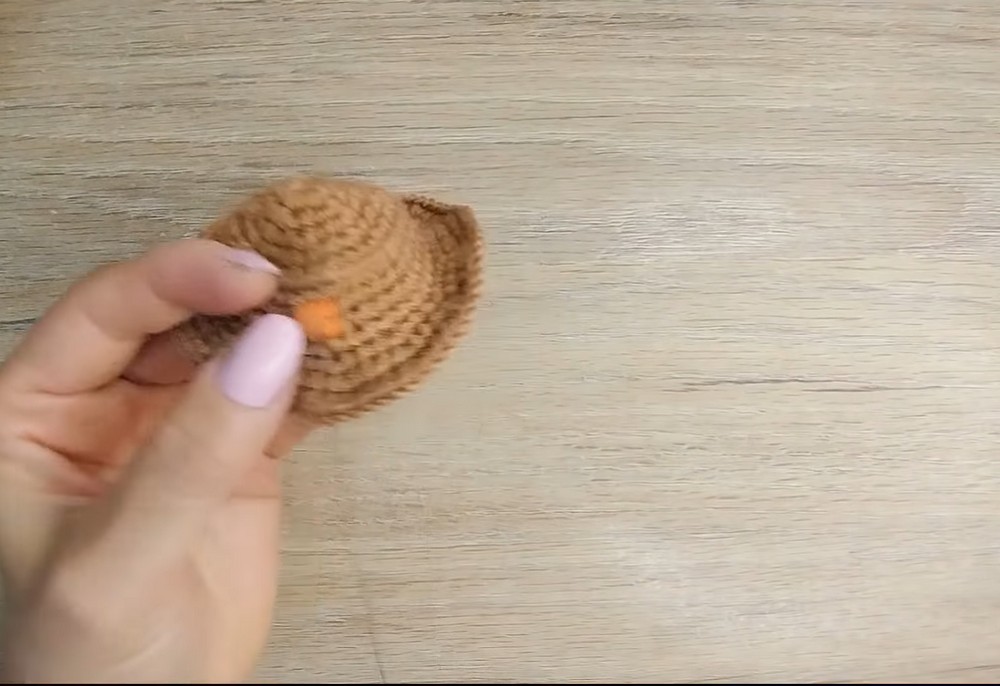
Hat:
- Round 1: MR, 6 sc (6 sts).
- Round 2: (Inc around) (12 sts).
- Round 3: (1 sc, inc) around (18 sts).
- Round 4: (2 sc, inc) around (24 sts).
- Round 5: (3 sc, inc) around (30 sts).
- Round 6: Sc around taking blo (30 sts).
- Round 7: Sc around, working into full stitch (30 sts).
- Round 8: (9 sc, inc) around (33 sts).
- Round 9: (10 sc, inc) around (36 sts).
- Round 10: (2 sc, inc) around, taking flo (48 sts).
- Round 12: (4 sc, inc) around (60 sts).
- Fasten off, sew a false stitch for invisible joining.
Details:
- Create a patch using orange yarn and sew patch stitches with black sewing thread.
- For straw hair, make 9 ch, and draw loops back along the chains using slip stitches.
- Place and glue straw hair in layers under the hat edges. Add smaller bangs in front. Position the hat on the scarecrow's head and glue.
Eyes and Mouth:
- Sew 5 mm buttons using the cross-stitch embroidery technique or glue them to the head.

3. Zombie
Body:
- Round 1: MR, 6 sc (6 sts).
- Round 2: (Inc around) (12 sts).
- Round 3: (1 sc, inc) around (18 sts).
- Round 4: (2 sc, inc) around (24 sts).
- Round 5: (3 sc, inc) around (30 sts).
- Rounds 6-15: Sc around for 10 rows (30 sts).
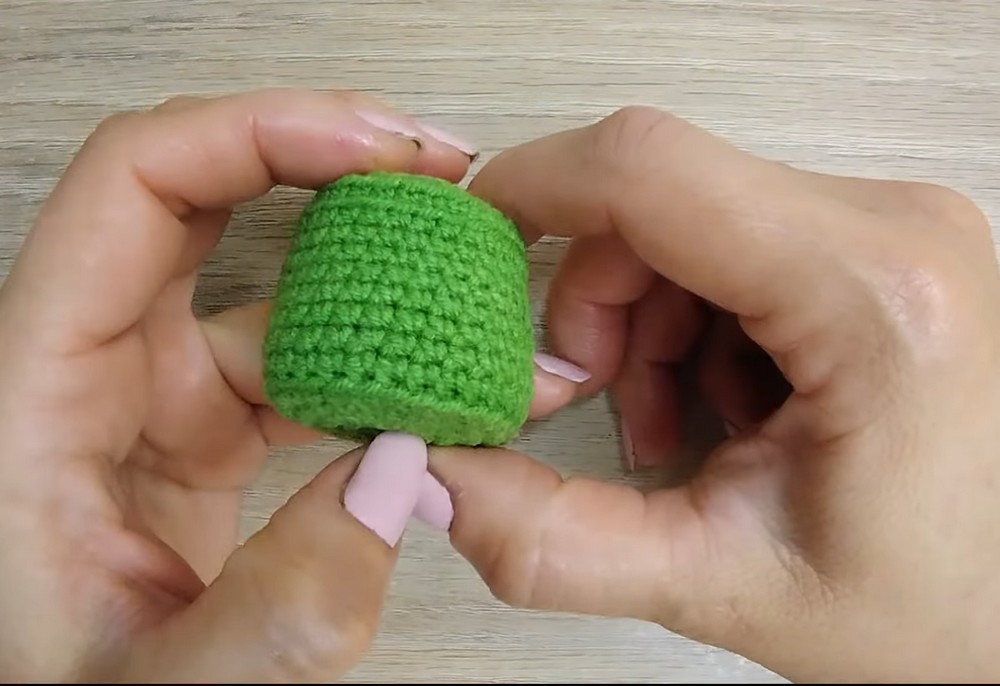
Decreases:
- Round 16: (3 sc, dec) around (24 sts).
- Round 17: (2 sc, dec) around (18 sts).
- Round 18: (1 sc, dec) around (12 sts). Add stuffing.
- Round 19: (Dec around) (6 sts). Fasten off and close using the invisible ring technique.
Brain:
- Ch 5, sl st to form first loop along the chains. Repeat 7 times with 5 ch.
- For outer details, use smaller chains (3 ch loops) and sl st.
- Attach the brain to the top by sewing or gluing.

Details:
- Use black yarn to embroider crosses and mouth details at random.
- Create yellow eye sockets and black pupils using chain/fill techniques.
- Add green shadow around eyes and cheeks for depth.
Final Touch: Keychain Ring
- Insert the keychain ring securely into the top of each character using hot glue or threading.