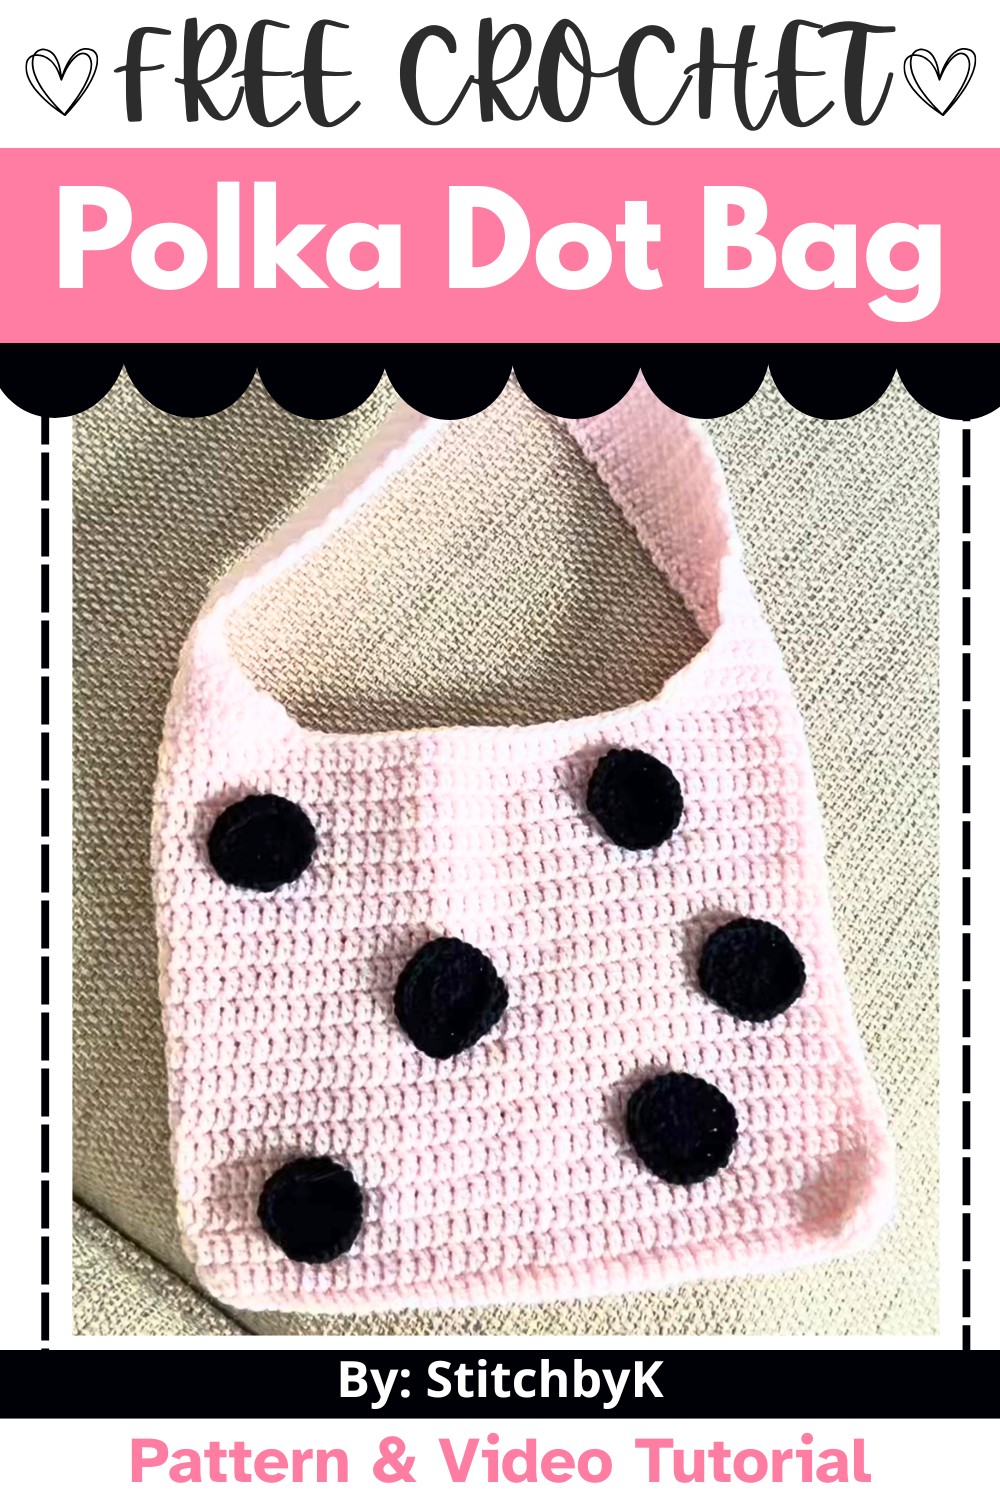
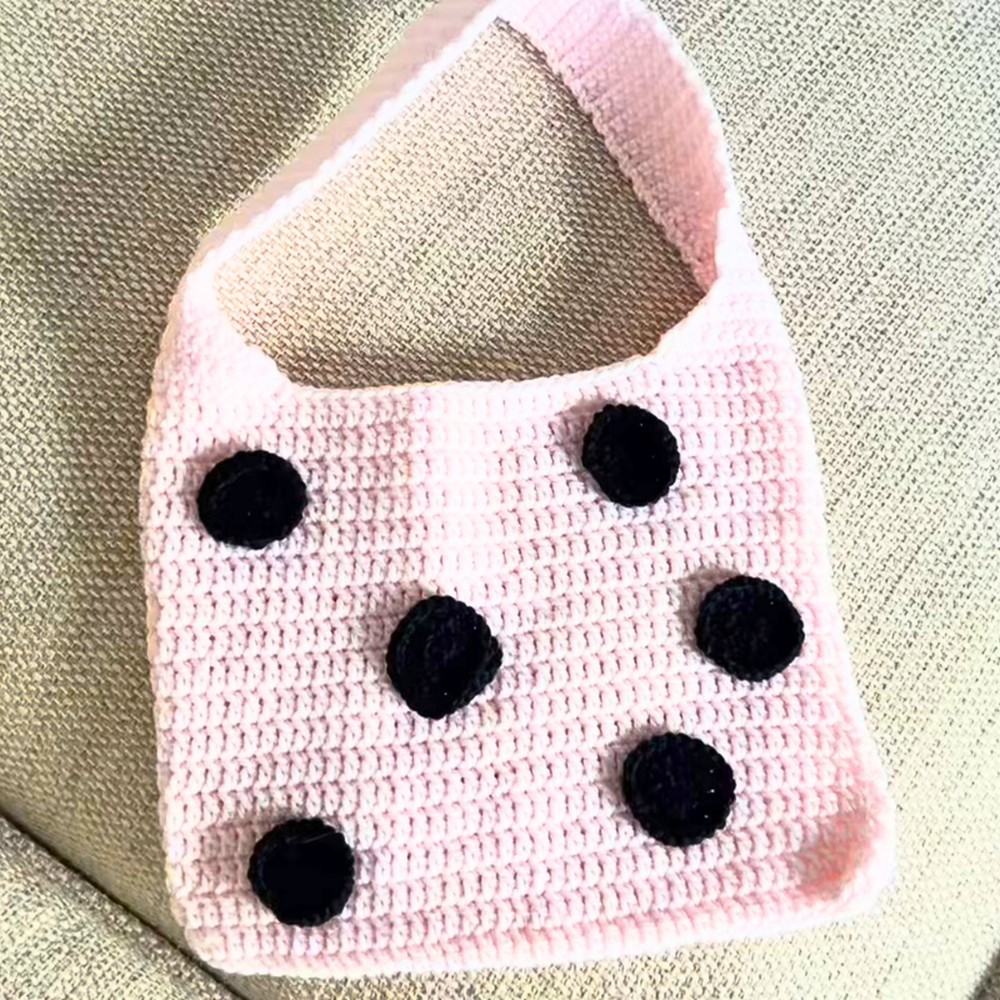
A crochet polka dot bag is a stylish and fun accessory that brings a playful touch to your wardrobe. With its colorful polka dots and cozy handmade feel, this bag is perfect for carrying everyday essentials or adding flair to your outfit. It's a wonderful piece that combines charm with usefulness. Whether you're heading to school, going shopping, or meeting friends, this bag will complement any outing.
Crochet Polka Dot Bag with Sturdy Straps
Creating this bag pattern is simpler than you might think, even for beginners. First, you crochet the body of the bag, using straightforward double crochet stitches to shape the base. The strap uses single crochet stitches with reductions to create a neat, sturdy design. Once the bag is ready, you make polka dots using magic rings and double crochet stitches, then sew them onto the bag to create a delightful pattern. The process is easy to follow, and the result is a unique handmade accessory you'll love to use.
Credit StitchbyK
Materials & Tools Needed
- Yarn:
- Bag Body: Any medium-weight yarn (e.g., acrylic or cotton). Choose colors as desired for the body and dots.
- Dots: Contrasting or accent color yarn for polka dots.
- Crochet Hook: Use the recommended size for your yarn (commonly size 3.5mm-5.0mm).
- Stitch Markers: To mark your work (especially beginning stitches during joining).
- Tapestry Needle: For weaving ends and attaching straps/dots.
- Scissors
Finished Size & Customization Ideas
Approximate Size:
- Height: ~20 cm
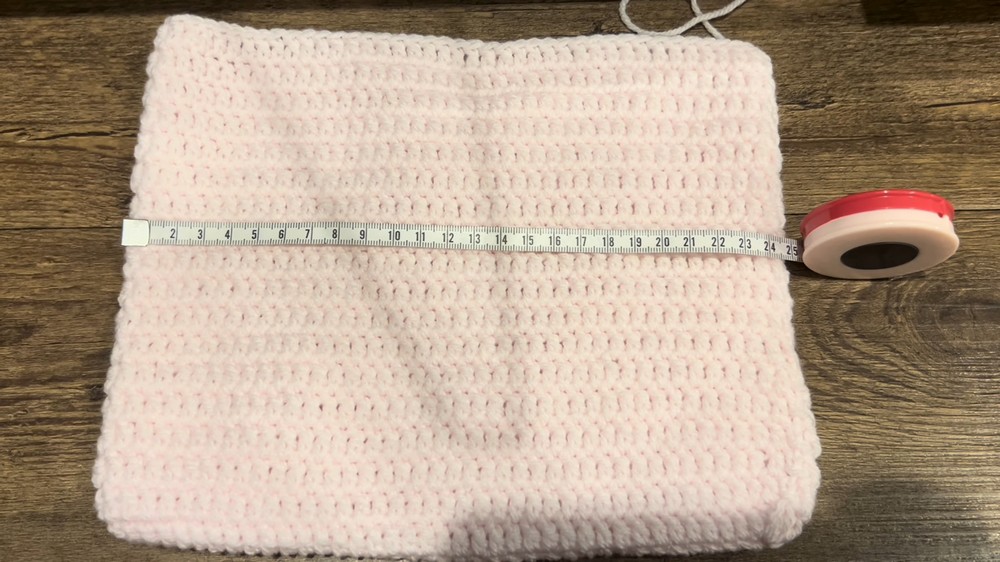
- Width: ~24.5 cm
Customization Ideas:
- Adjust the height or width of the bag by varying the number of starting chains or rows as needed during the body construction process.
- Add more polka dots or use different colors for a multicolor design.
- Customize the strap lengths based on how you plan to use the bag (long handles for a shoulder bag or short for a handbag).
Pattern Abbreviations & Terminology
- Ch: Chain
- Sl st: Slip stitch
- DC: Double crochet
- SC: Single crochet
- SC2tog: Single crochet two together (decrease technique)
- MR: Magic ring
Note: US crochet terms are used in this pattern.
Step-by-Step Crochet Instructions
Bag Body
- Foundation Chain
- Start with a slip knot.
- Crochet 38 chain stitches (or adjust based on your desired width).
- Row 1
- Ch 2, then DC into the third chain from the hook.
- Continue making 1 DC into each chain across the row (37 DC in total).
- At the end of the row, crochet 5 DC into the same stitch to rotate and begin working the other side of the chain.
- Work 1 DC into each stitch along the opposite side until reaching the last chain.
- In the last chain stitch, work 5 more DC to create the second curve.
- Sl st into the top of the initial Ch 2 to close the round.
- Row 2 and Subsequent Rows (for Body)
- Begin each row by chaining 2.
- Place 1 DC into the next stitch and continue crocheting 1 DC into each stitch around the row.
- At the end of each row, slip stitch into the top of the Ch 2 to close the row.
- Repeat this pattern in rounds, ensuring neat joins at the end of each row.
- Continue until the body reaches the desired height (~20 cm).
Straps
- Foundation for Straps
- Identify the placement for the straps on either side of the bag. Leave enough space in between each strap for symmetrical placement.
- Crochet 18 stitches where you want the strap to start.
- Row 1 (Strap)
- Attach yarn at the starting point.
- Ch 1, work 1 SC into each stitch across (total: 18 SC).
- Row 2 (Decrease Row)
- Ch 1, turn.
- Skip the first stitch and work SC into the next stitch (first decrease).
- Continue working 1 SC into each stitch until you reach the second-to-last stitch.
- SC2tog into the final two stitches (second decrease).
- Row count: 16 stitches.
- Rows 3-6
- Repeat the decrease pattern each row (two decreases per row) until there are 8 stitches remaining.
- Row counts per round:
- Row 3: 14 stitches
- Row 4: 12 stitches
- Row 5: 10 stitches
- Row 6: 8 stitches
- Straight Strap Rows
- Once there are 8 stitches, continue crocheting SC into each stitch for the desired strap length.
- Cut yarn and weave ends.
- Second Strap
- Repeat the strap pattern on the opposite side of the bag.
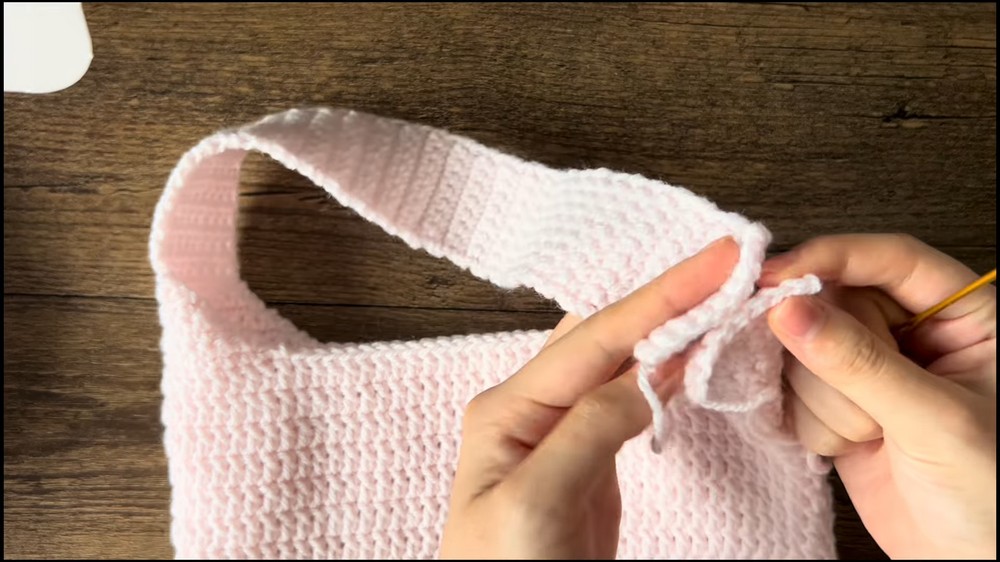
- Strap Joining
- Using a tapestry needle, sew the ends of the strap together, ensuring no twists.
- Use the "back loop/front loop" method for clean stitches, as shown in the tutorial.
- Finish by weaving in any loose ends.
Polka Dots
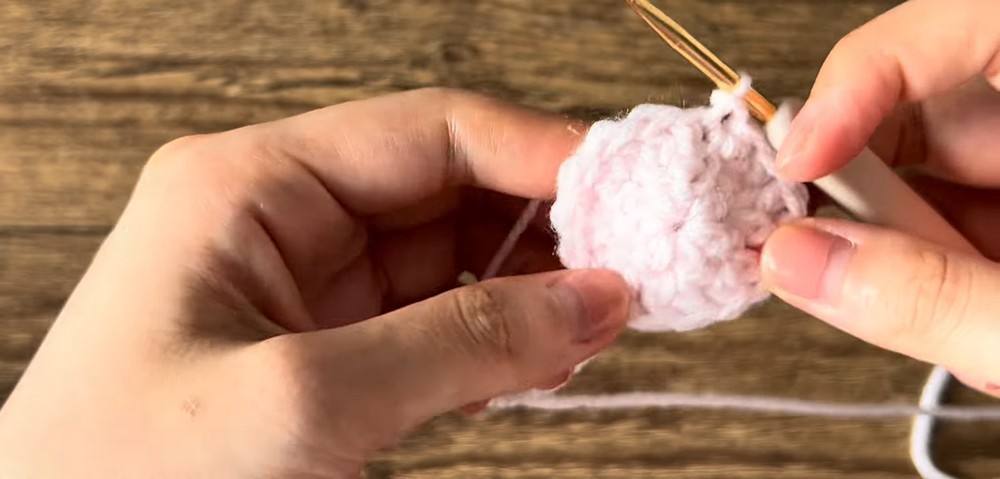
- Dot Pattern
- Use a contrasting yarn to make the dots.
- Start with a magic ring (MR).
- Row 1
- Chain 1, make 8 DC into the ring.
- Pull the MR tight and slip stitch into the first DC to close the round.
- Row 2
- Work 2 DC into each stitch around, placing a stitch marker for the first stitch.
- Total stitches after Round 2: 16 DC.
- Slip stitch to finish the row.
- Finishing Dots
- Chain 1, cut yarn, and pull through.
- Weave in ends with the tapestry needle.
- Attachment
- Sew the dots onto the bag in your preferred arrangement using the tapestry needle.
Finishing Techniques
- Final Touches
- Check for loose ends and weave them securely with the tapestry needle.
- Inspect the straps and ensure sturdy attachment points.
- Customizations
- Use additional embellishments such as appliqué, embroidery, or buttons to enhance the design further.