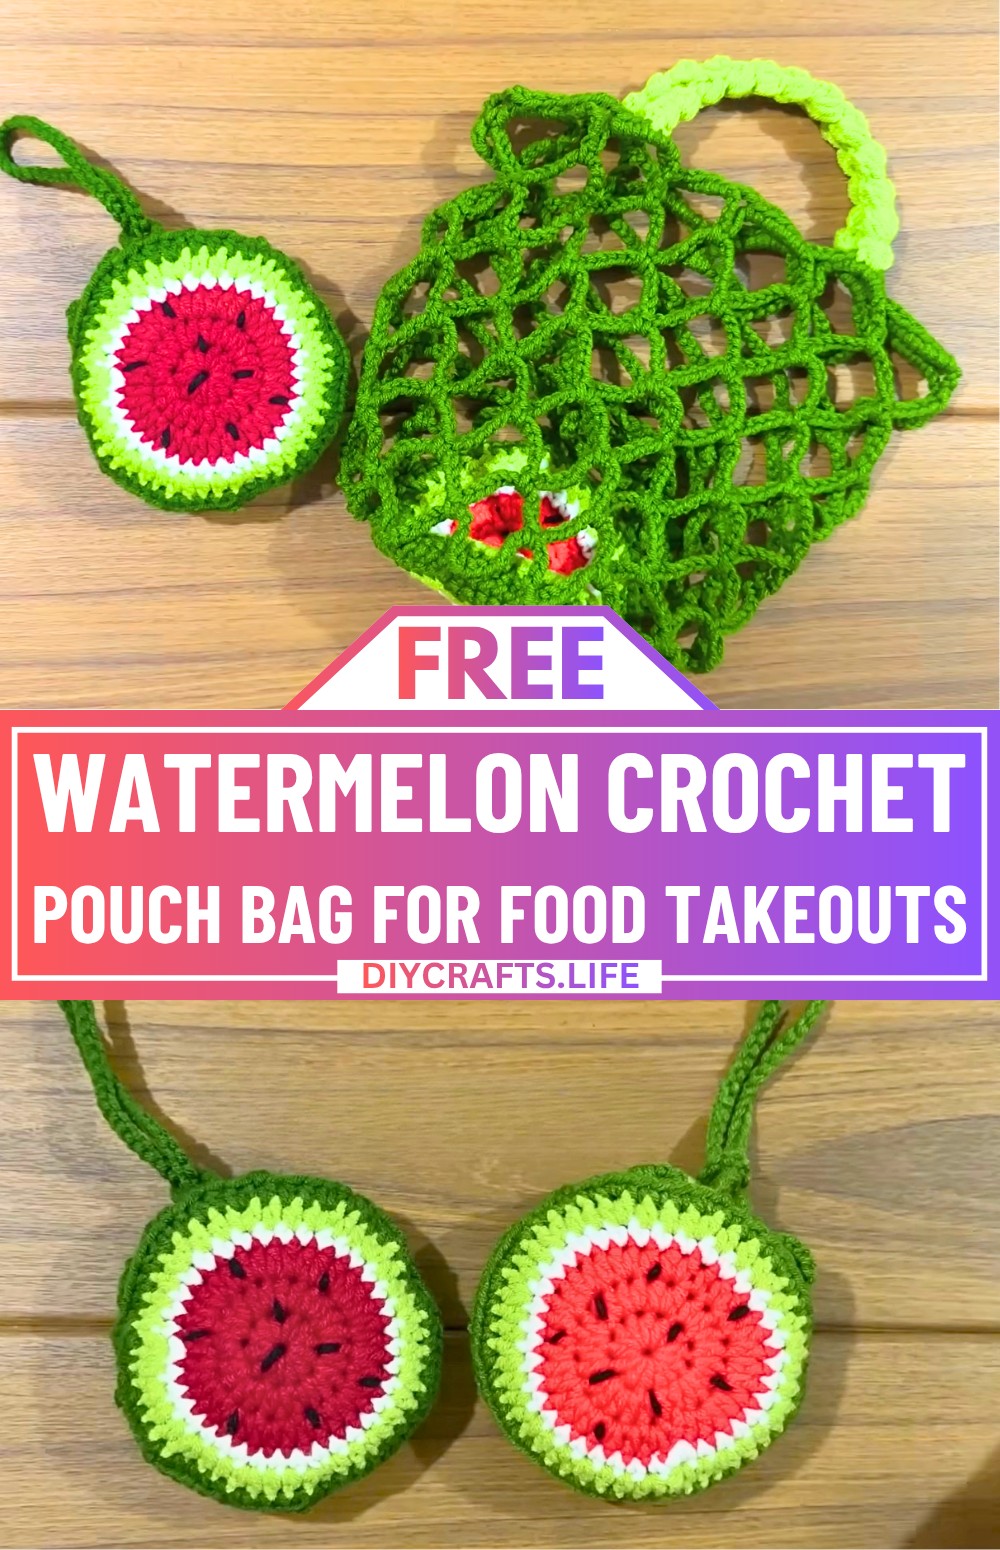
This crochet pouch bag is designed to look just like a cute watermelon. Not only does it feature amazing details with vibrant colors, but it can be transformed into a practical mesh bag. It’s lightweight, compact, and perfect for carrying food takeouts or snacks from the store. Use it as a stylish accessory when folded into its pouch form or turn it into a mesh bag for convenience whenever needed—it’s both fun and functional.
Watermelon Crochet Pouch Bag
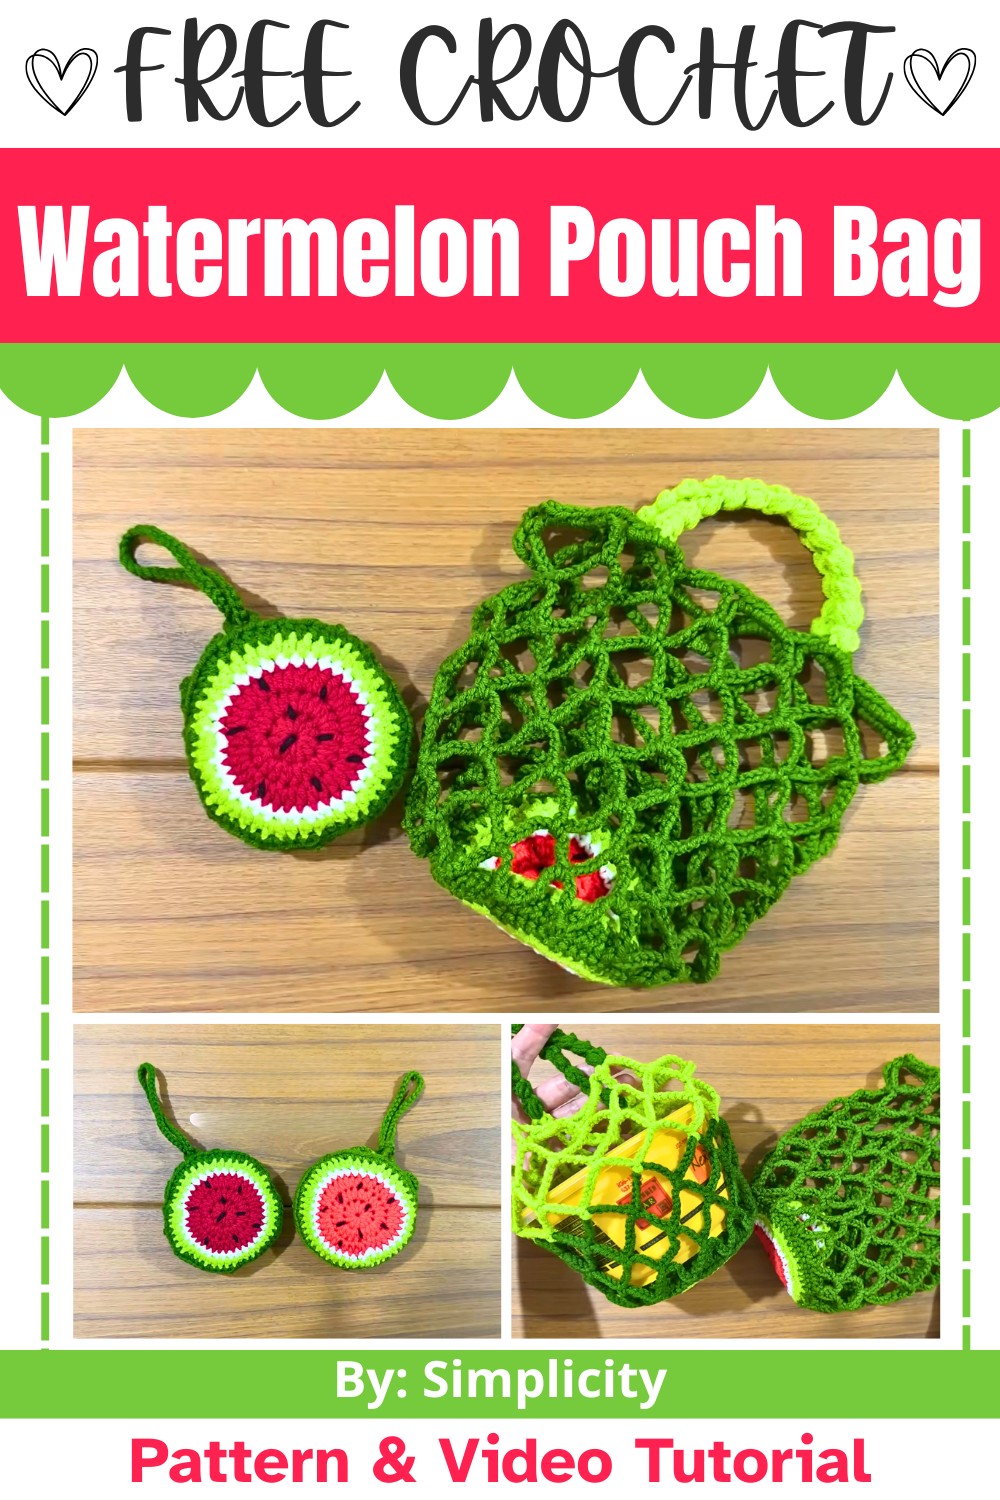
The crochet pouch uses simple crochet techniques layered with thoughtful color changes to mimic watermelon slices. Beginners can easily find joy in creating this unique item without worrying about complex stitches. Once completed, the mesh design allows it to stretch enough to carry essentials. The strap and closure are cleverly crocheted for easy use, ensuring the pouch stays neat when folded and transforms effortlessly when expanded. This reversible creation is perfect for sustainable shopping or gifting.
Credit Simplicity
Materials & Tools Needed
- Yarn:
- 5-ply milk cotton yarn (Colors: Red, White, Light Green, Dark Green, Black)
- Hook:
- Size: 3.5 mm
- Other Tools:
- Darning needle
- Stitch markers
- Scissors
Finished Size & Customization Ideas
- Finished Size:
The size may vary depending on yarn weight and tension but follows a circular pouch that expands into a mesh bag composed of approximately 60 stitches on the rim. - Customization Ideas:
- Use variegated green yarn for the mesh to mimic a watermelon peel.
- Adjust strap length based on your needs:
- Short loop (10 chains) for closure.
- Long strap (50 chains or more) for portability.
- Add beads for embellishment on the strap or mesh rim.
Pattern Abbreviations & Terminology
(All terms follow US crochet terminology.)
- ch: Chain
- sc: Single Crochet
- hdc: Half Double Crochet
- sl st: Slip Stitch
- yo: Yarn Over
- magic ring: Circular foundation technique
- popcorn stitch: Cluster of stitches pulled together (steps outlined below)
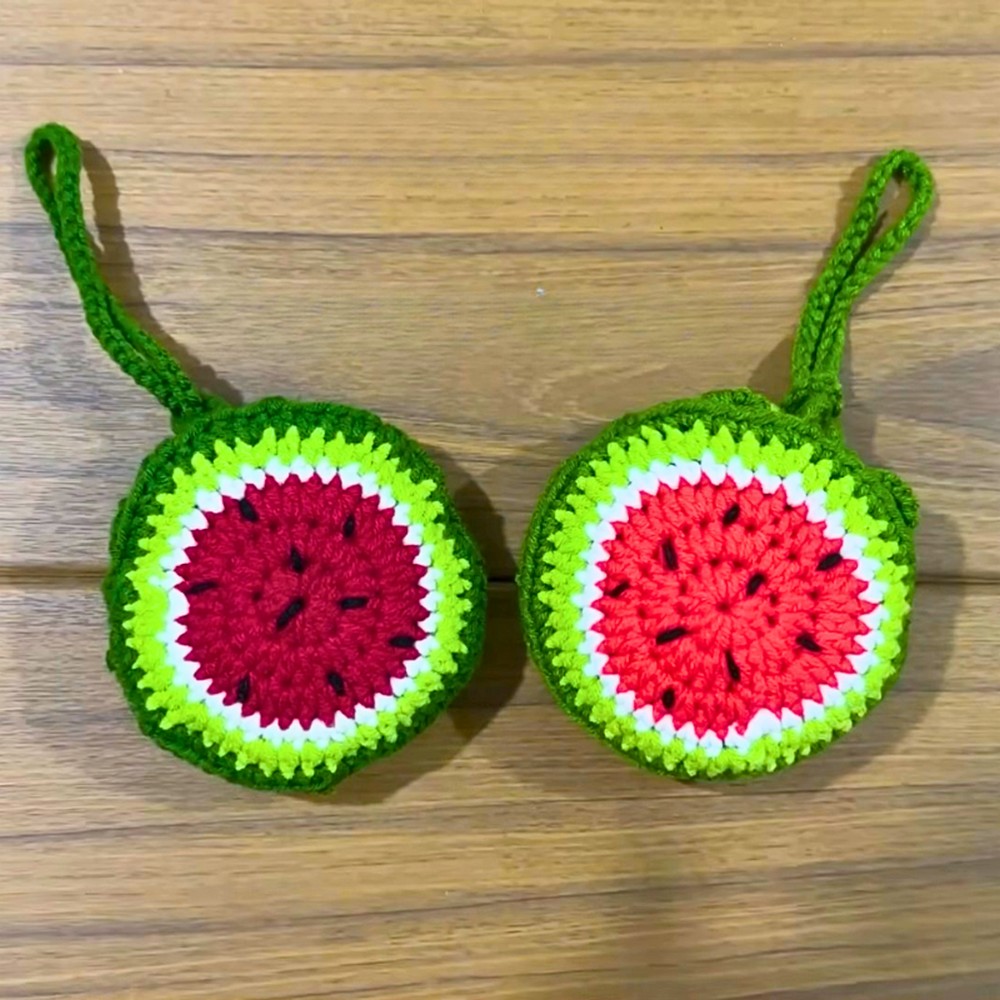
Step-by-Step Detailed Crochet Instructions
Base Panel Instructions (Make 2 Panels)
- Start with a Magic Ring:
- Create a magic ring, ch 1.
- Work 12 hdc into the ring.
- Pull the ring tight and sl st into the first hdc.
- Round 2 (Increase):
- Ch 1.
- Work 2 hdc in each stitch for a total of 24 hdc.
- Sl st into the first hdc.
- Round 3 (Increase):
- Ch 1.
- Work 1 hdc in the first stitch, 2 hdc in the next stitch. Repeat the pattern (1, 2) for a total of 36 hdc.
- Sl st into the first hdc.
- Color Change (Red to White):
- Insert hook through 3 loops of the red yarn. Attach the white yarn and pull through. Sl st into the first hdc.
- Cut off the red yarn.
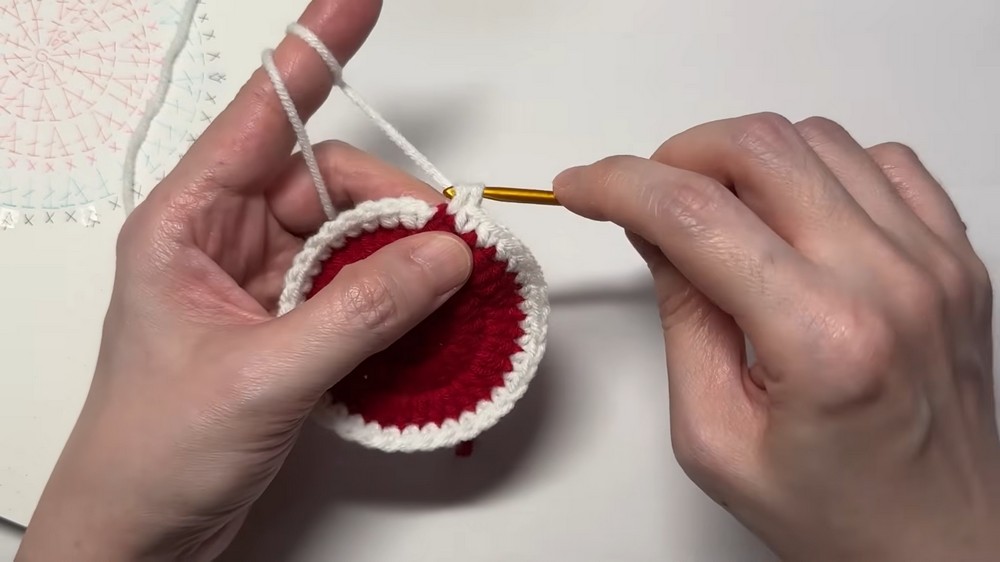
- Round 4:
- Ch 1.
- Work 1 sc in each stitch around for 36 sc.
- Sl st into the first sc and cut the white yarn.
- Color Change (White to Light Green):
- Insert hook into 2 loops of the last stitch. Attach the light green yarn and pull through. Sl st to the first sc.
- Round 5 (Increase):
- Ch 1.
- Work 1 hdc in each of the first 2 stitches, 2 hdc in the third stitch. Repeat the pattern (1, 1, 2) for a total of 48 hdc.
- Sl st into the first hdc.
- Color Change (Light Green to Dark Green):
- Insert hook into 3 loops of the last stitch. Attach the dark green yarn and pull through. Sl st into the first hdc.
- Round 6 (Increase):
- Ch 1.
- Work 1 sc in the first 3 stitches, 2 sc in the fourth stitch. Repeat the pattern (1, 1, 1, 2) for a total of 60 sc.
- Create Loop for Closure:
- Before finishing round 6, ch 10 (for the closure loop) and sl st into the last stitch.
- Invisible Join:
- Cut the yarn. Use a darning needle to join invisibly:
- Skip the first stitch. Insert the needle through the second stitch and back through the last stitch (back loop and loop below).
- Cut the yarn. Use a darning needle to join invisibly:
- Create Seed Embellishments (Black Yarn):
- Use a darning needle and black yarn to stitch small random "seeds" into the red portion of the panel. Hide yarn ends neatly.
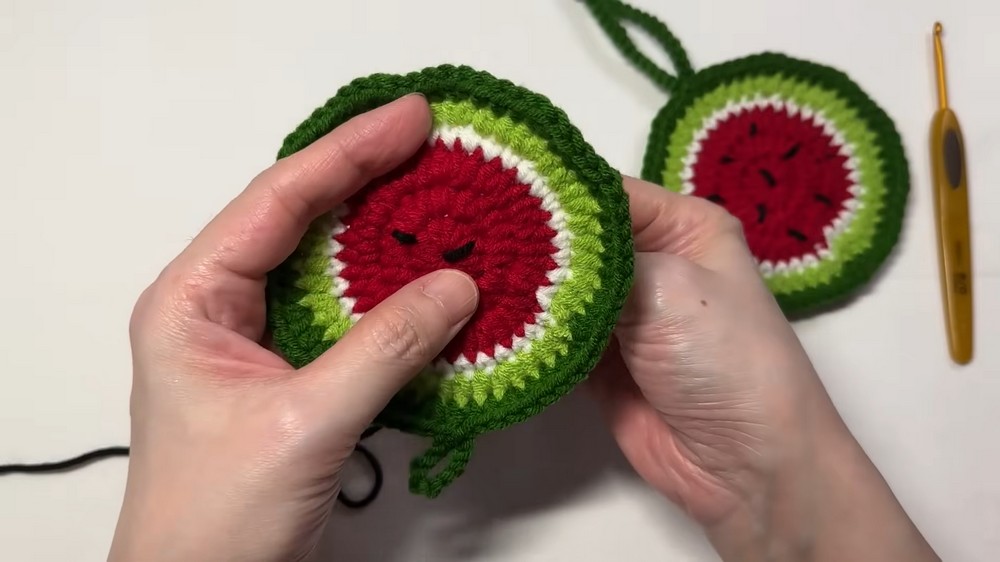
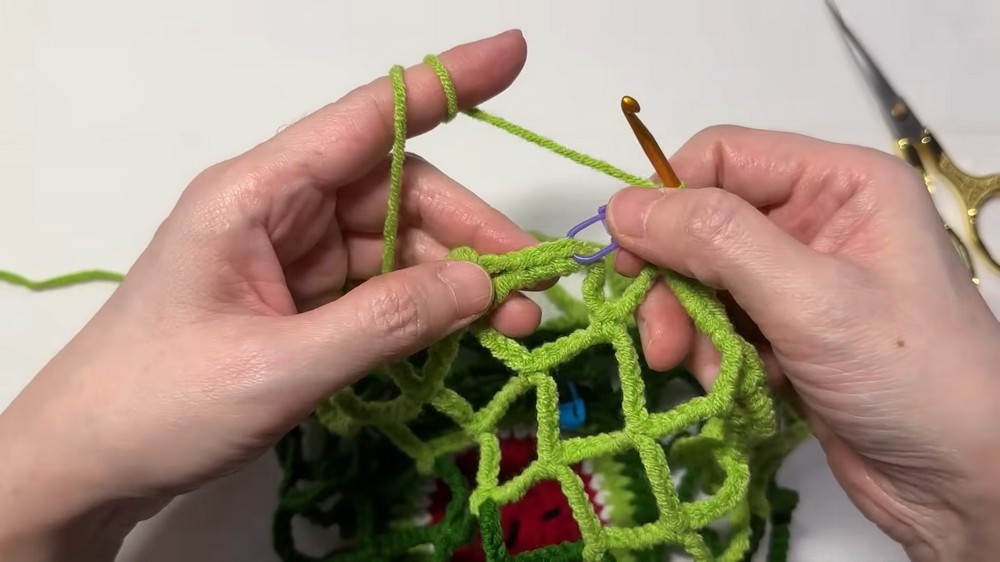
Mesh Panel Instructions
- Prepare Stitch Markers:
- Mark the panel edges for alignment later (opening and ending points).
- Round 1:
- Attach the matching green yarn for the mesh.
- Skip 4 stitches, attach yarn to the 5th stitch, ch 1, sc in the same stitch.
- Ch 12, skip 4 stitches, sc in the next. Repeat for a total of 12 mesh segments.
- For the last segment: Ch 5, yo 4 times, insert hook into first stitch, pull through loops 2 at a time (creates the joining).
- Rounds 2–4:
- Continue the mesh pattern by working:
- Ch 12, sc into the loop of the previous round.
- For the last loop of each round: Ch 5, yo 4 times, insert into the first stitch, pull through loops 2 at a time.
- Continue the mesh pattern by working:
- Color Change:
- Switch to a lighter green if desired and repeat 4 more rounds of mesh.
Finishing – Rim and Popcorn Straps
- Rim:
- Work sc evenly around the mesh rim.
- Create a decorative edge by working:
- 3 sc, ch 3, 5 sc. Repeat this pattern around the rim.
- Popcorn Strap (12 Popcorn Stitches):
- Attach dark green yarn. Chain 2.
- Yarn over, pull through loops to create 3 incomplete double crochets.
- Pull through all loops, lock the popcorn cluster, and ch 2. Repeat.
- Make 12 popcorn stitches.
- Repeat for the second strap.
Assembly
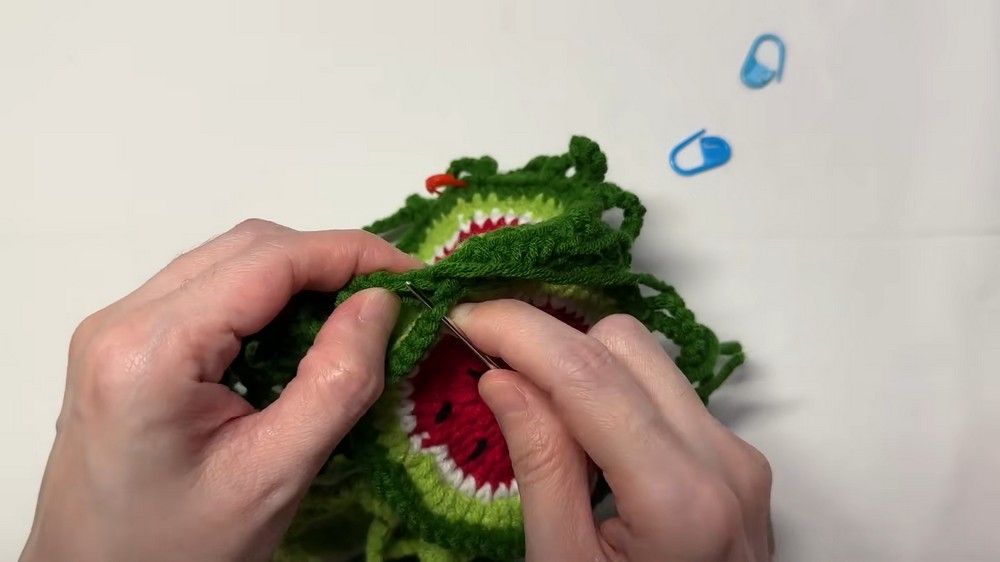
- Attach Mesh to Base Panel:
- Align the two panels (wrong sides facing). Tuck the mesh in between.
- Use a darning needle to whip stitch around the edges (back loops only).
- Finishing Touches:
- Hide yarn tails.
- Turn the pouch inside-out to expand into a mesh bag when in use.