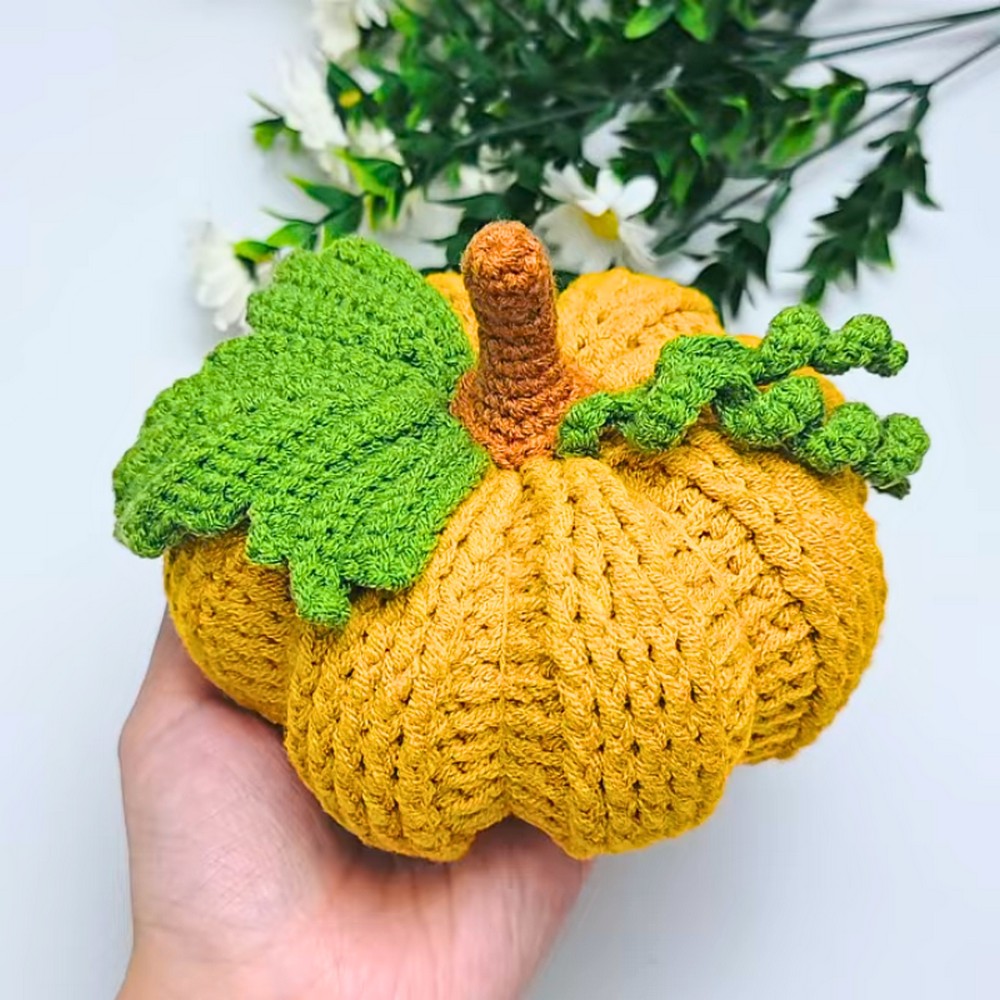
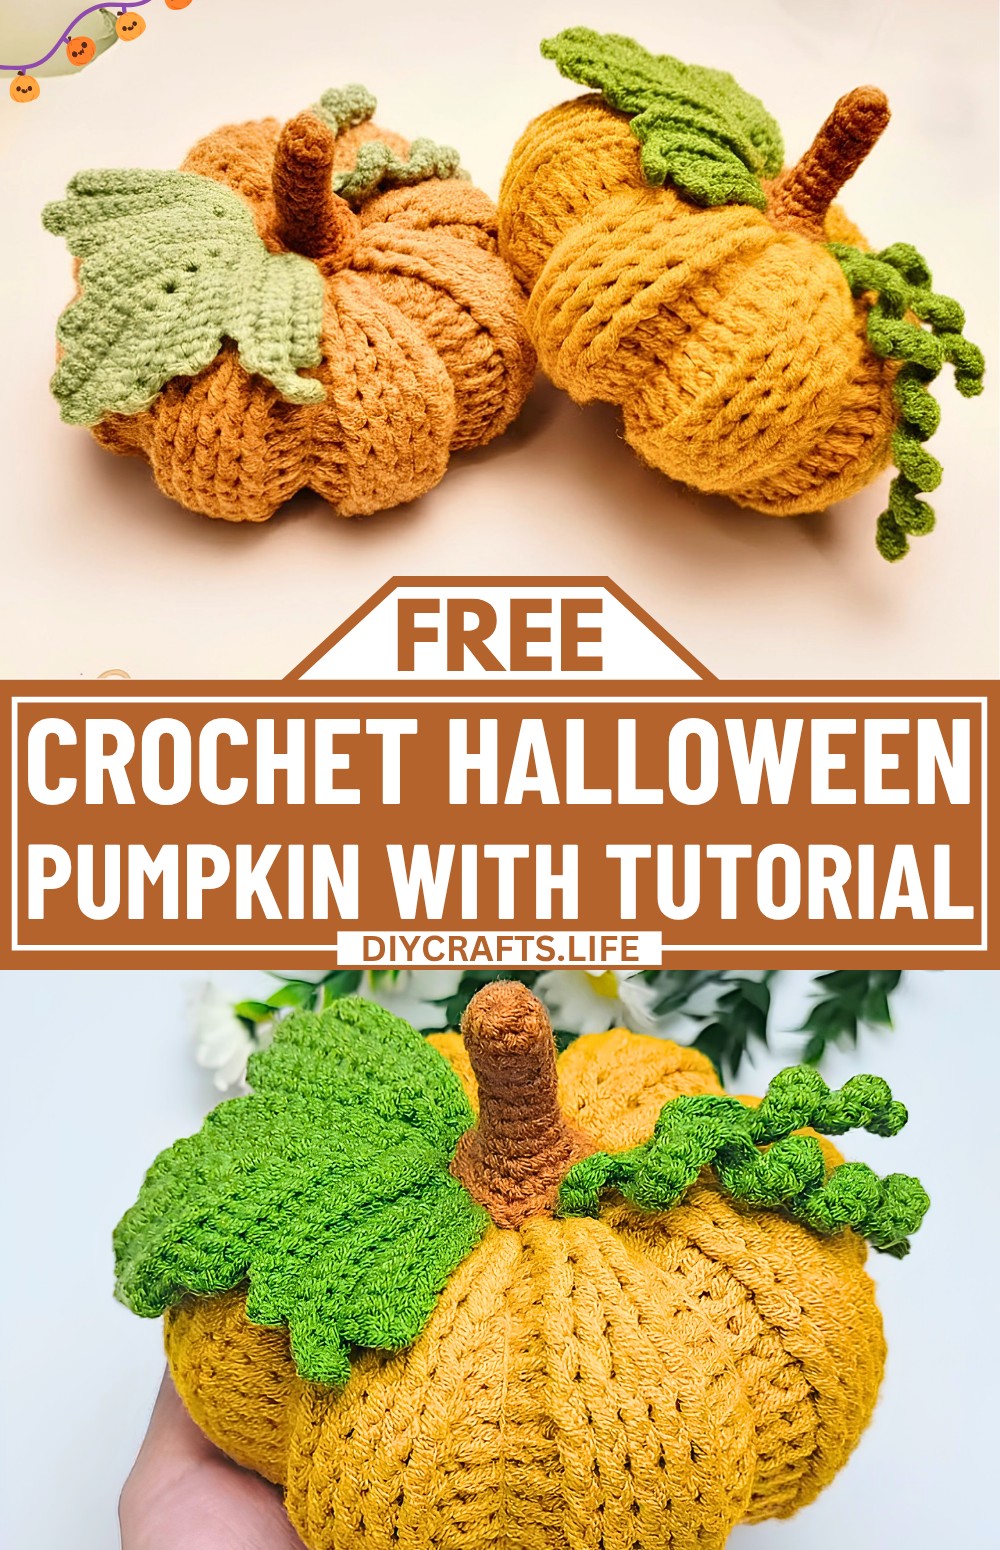
This crochet pumpkin is the perfect addition to your cozy autumn decor. With its simple earth-tone colors and round shape, it mirrors the charm of a real field pumpkin. It’s warm, steady, and textured beautifully, giving it a unique handmade appeal. Beyond decor, you can make it smaller with a lace thread to turn it into a cute accessory like a keychain or pendant. It’s a lovely item to brighten up your space or share as a thoughtful gift.
Easy Crochet Pumpkin Tutorial
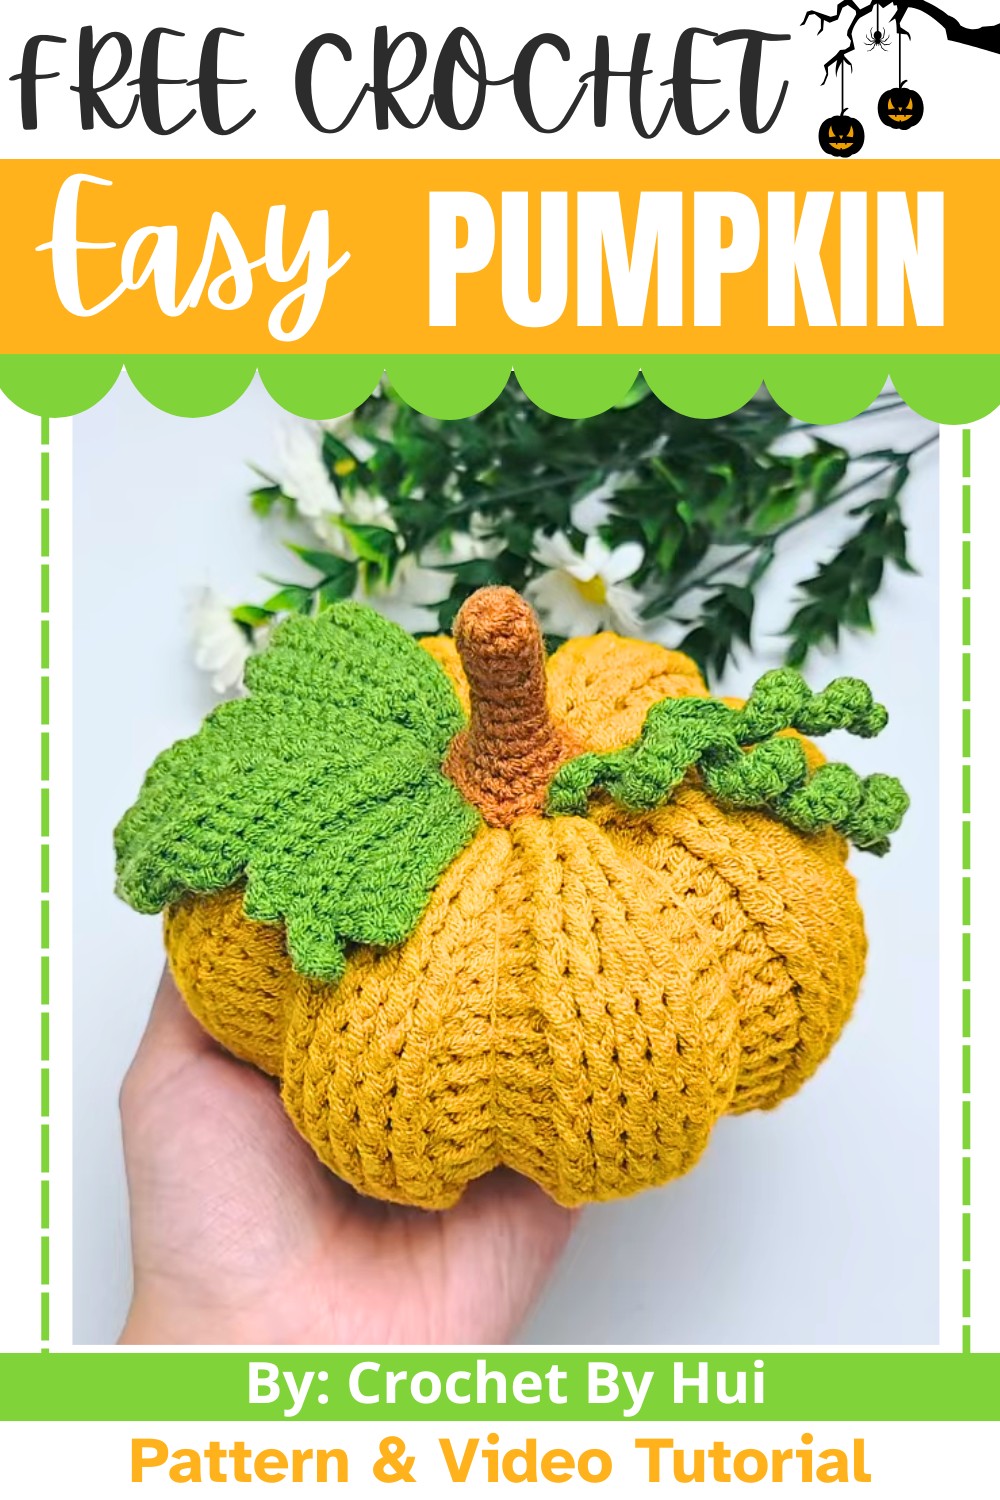
The process of creating this pumpkin is straightforward and beginner-friendly. You’ll crochet a series of stitches to form a textured, round body, then stuff it for a plump shape. Once the pumpkin is complete, you can add realistic details like leaves, tendrils, and a handle, all made using basic crocheting techniques. It’s a great way to try something fun and make something special by hand.
Credit Crochet By Hui
Materials & Tools Needed
- Yarn: 4 strands of Milk Cotton Yarn (or any medium-weight yarn in an earthy pumpkin color).
- Crochet Hook: 2.0 mm
- Stuffing: Fiberfill or polyester stuffing for shaping.
- Scissors: For cutting yarn.
- Tapestry Needle: For sewing and assembling the pumpkin, leaves, tendrils, and stem.
Finished Size & Customization Ideas
- Final Dimensions: Approximately 8–12 cm in diameter (depending on tension and yarn thickness).
- Customization Ideas:
- Use thinner lace thread for delicate pumpkins to make jewelry or decorative pieces.
- Experiment with different colors (e.g., bright orange for traditional pumpkins, white for modern decor).
- Add beads, glitter yarn, or embroidery for personalized embellishments.
Pattern Abbreviations & Terminology
- ch: Chain stitch
- sl st: Slip stitch
- sc: Single crochet
- hdc: Half-double crochet
- dc: Double crochet
- inc: Increase (work two stitches into the same stitch)
- dec: Decrease (combine two stitches into one)
- st: Stitch(es)
Step-by-Step Detailed Crochet Instructions
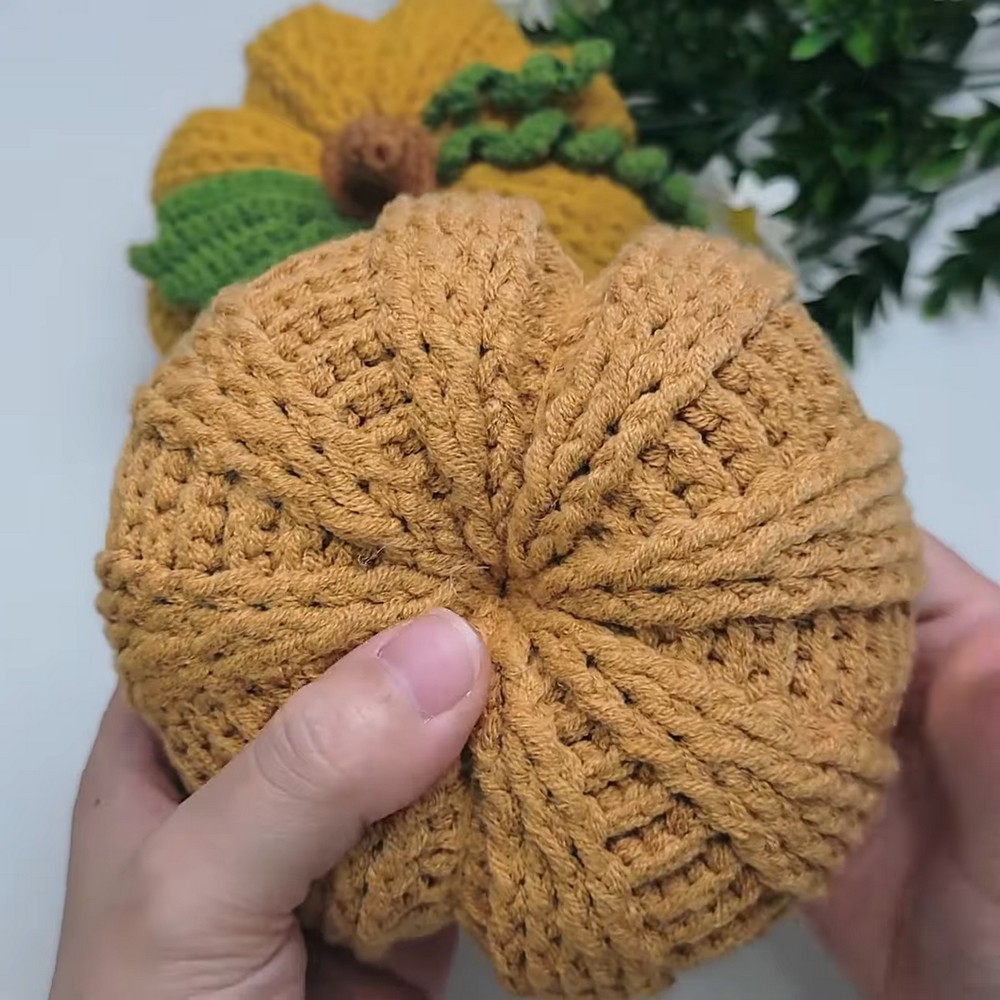
Part 1: Pumpkin Body
Rounds 1–9 (Increasing Rounds for Pumpkin Shape):
- Round 1:
- Make a magic circle (or adjustable ring) using 4 strands of milk cotton yarn and a 2.0 mm crochet hook.
- Work 2 ch, then make 16 dc into the ring.
- Pull the ring tight and join with a sl st into the first dc.
- Total: 16 stitches (dc).
- Round 2:
- Ch 2, then alternate 1 FPdc (Front Post Double Crochet) and 1 BPdc (Back Post Double Crochet) around.
- Repeat this circular pattern for 8 cycles.
- Join with a sl st to the first stitch.
- Total: 24 stitches (FPdc/BPdc).
- Round 3:
- Ch 2, repeat the pattern: 1 FPdc, 2 BPdc.
- Do this for a total of 8 cycles.
- Join with a sl st to the first stitch.
- Total: 32 stitches.
- Round 4:
- Ch 2, repeat the pattern: 2 FPdc, 3 BPdc.
- Work this cycle 8 times, increasing evenly.
- Join with a sl st to the starting stitch.
- Total: 40 stitches.
- Round 5:
- Ch 2, alternate 2 FPdc, inc, 4 BPdc around.
- Repeat this pattern for 8 cycles.
- Join and pull on the first stitch.
- Total: 48 stitches.
- Round 6:
- Ch 2, repeat the pattern: 3 FPdc, 2 BPdc, inc.
- Continue for 8 cycles.
- Total: 56 stitches.
- Round 7:
- Ch 2, alternate 2 FPdc, inc, 4 BPdc.
- Join; repeat for 8 cycles.
- Total: 64 stitches.
- Round 8:
- Ch 2, alternate 4 FPdc, 2 BPdc, followed by 1 BPdc, inc, 1 BPdc.
- Total: 72 stitches, evenly increased.
- Round 9:
- Ch 2, alternate 2 FPdc, inc, 5 BPdc around for 8 cycles.
- Total: 80 stitches.
Rounds 10–15 (Maintaining Uniform Shape):
- Ch 2, then alternate 5 FPdc, 5 BPdc, for 8 cycles.
- Total: 80 stitches per round, consistent for Rounds 10 to 15.
Rounds 16–23 (Decreasing Rounds for Shaping):
- Round 16:
- Ch 2, repeat the pattern: 5 FPdc, 4 BPdc, dec.
- 8 cycles total; join seamlessly.
- Total: 64 stitches.
- Round 17:
Repeat the decreasing pattern: 4 FPdc, 3 BPdc, dec.- Total: 56 stitches.
- Round 18:
Alternate 3 FPdc, 2 BPdc, dec.- Total: 48 stitches.
- Round 19:
Alternate 3 FPdc, 1 BPdc, dec.- Total: 40 stitches.
- Round 20:
Alternate 2 FPdc, dec.- Total: 32 stitches.
- Round 21:
Alternate FPdc and BPdc decrease evenly.- Total: 24 stitches.
- Round 22:
Reduce to 16 stitches evenly with another round of dc decreases. - Close the loop and leave a long tail for sewing. Stuff the pumpkin with fiberfill evenly to ensure a smooth, rounded shape.
Part 2: Pumpkin Leaves
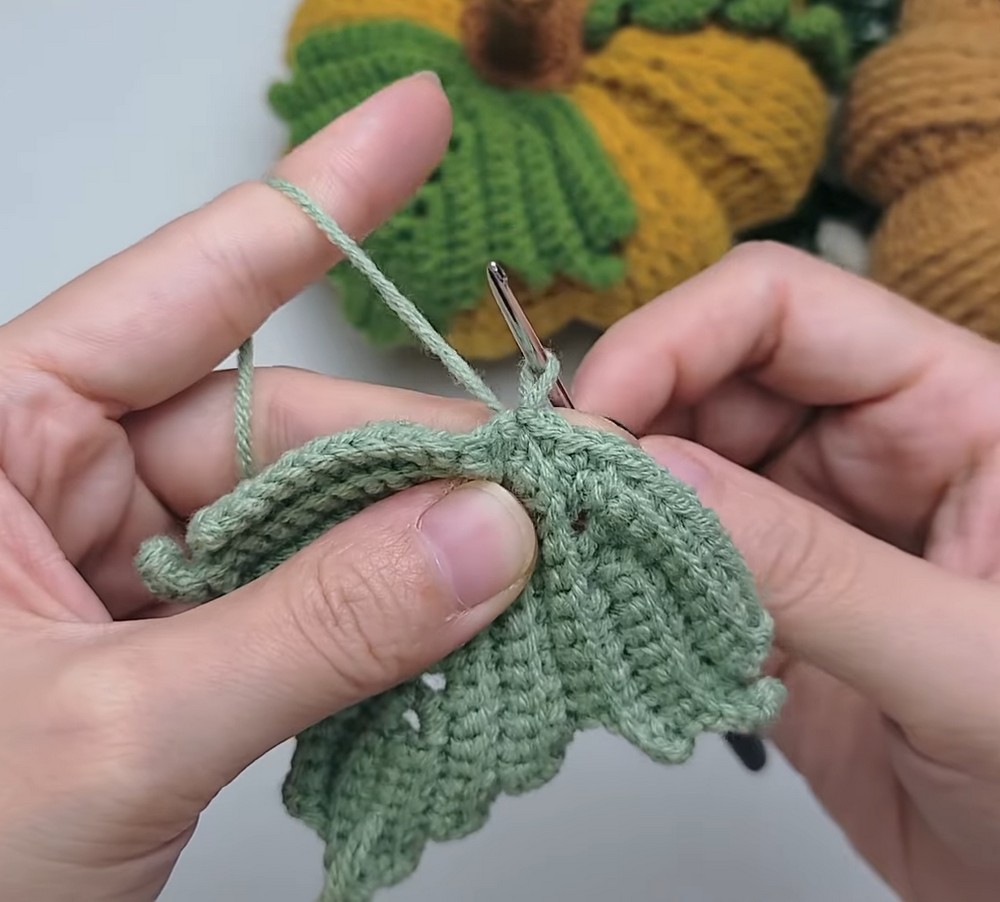
- Crochet three individual leaves, working rows of sl st, sc, and dc to shape each leaf.
- Start with 10 ch, and work sc stitches into the back loops for texture.
- Gradually increase with alternating sc and sl st rows to shape edges.
Part 3: Pumpkin Tendrils
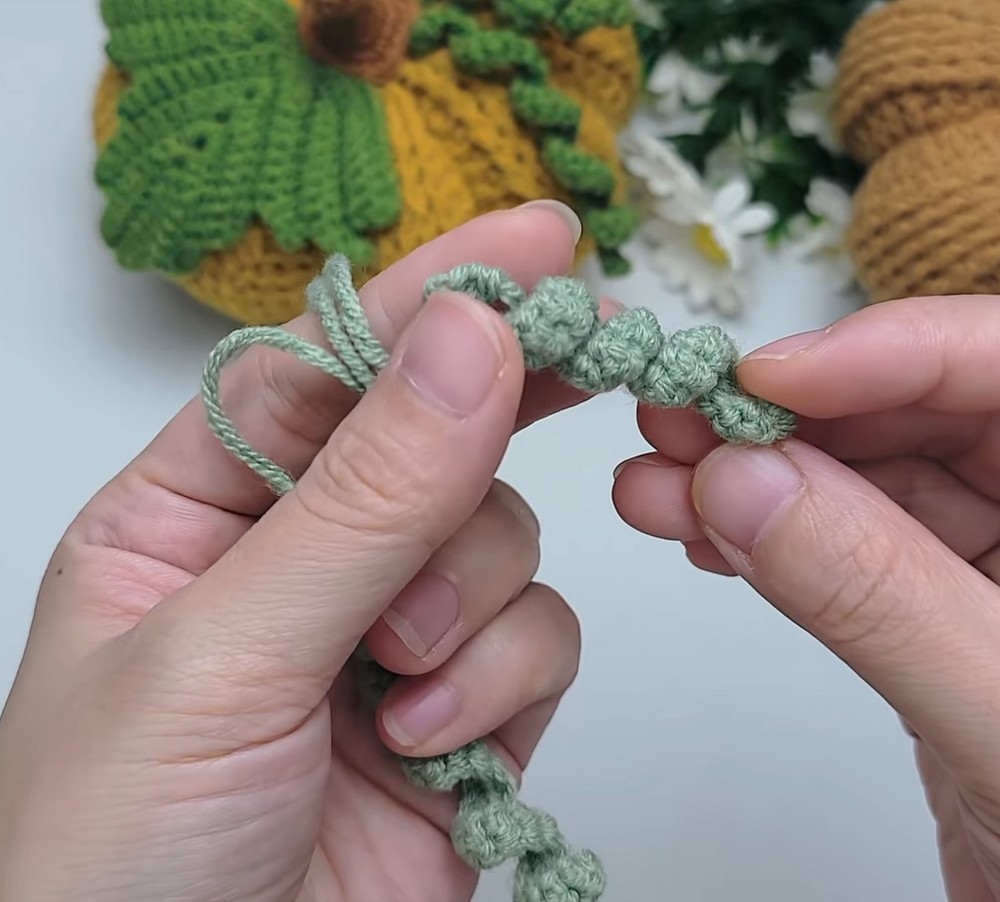
- Create tendrils using chain stitches:
- Piece 1: Chain 51, work 50 sc back across.
- Piece 2: Chain 31, work 30 sc back across.
Part 4: Pumpkin Stem
- Begin with a magic circle. Work 8 sc into the ring.
- Maintain 8 sc for 4 rounds, focusing on stitching tightly for texture.
- Gradually increase to 10 sc for additional rounds.

Pa #rt 5: Assembly
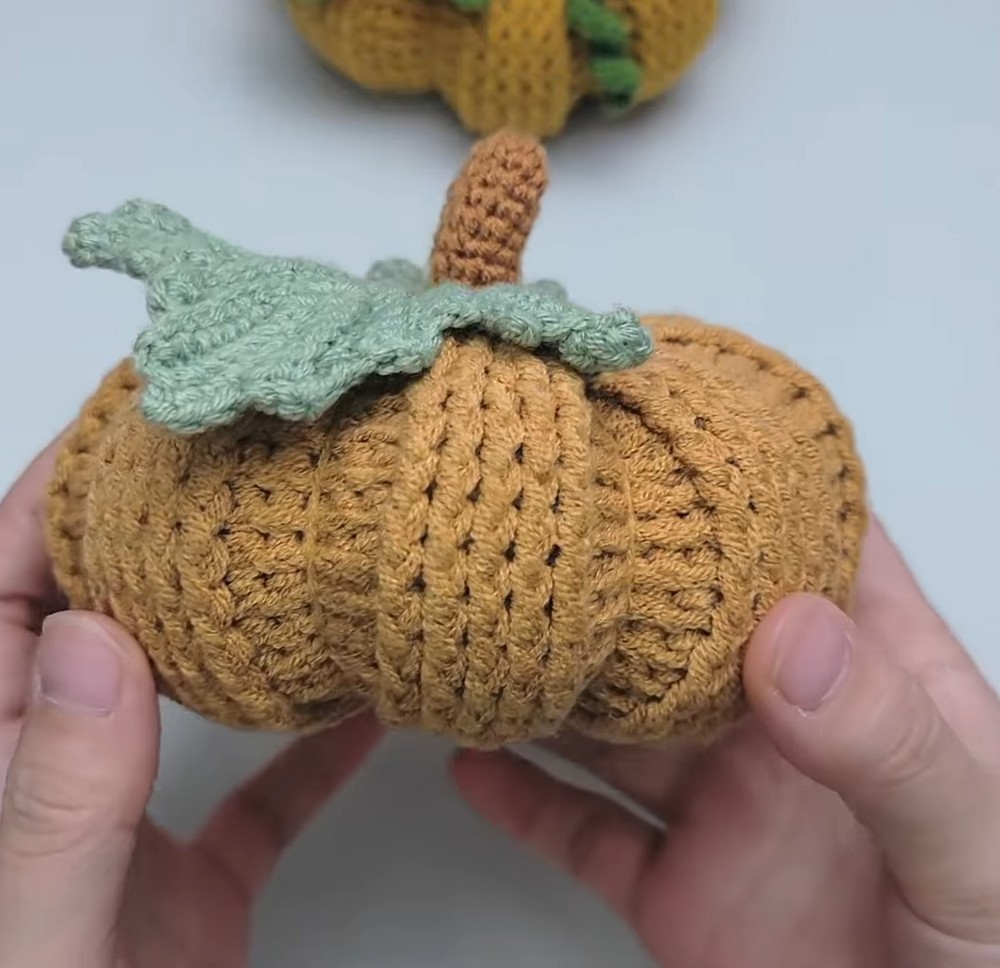
- Sew all leaves, tendrils, and stems onto the pumpkin evenly using a tapestry needle.
- Adjust stuffing inside for perfect shaping and finish seams.
Final Notes
- Make the pumpkin symmetrical by stitching evenly during assembly.
- Shape carefully for a 3D, stylish look as in the original tutorial!
Video Tutorial