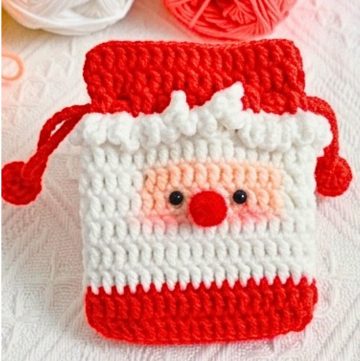
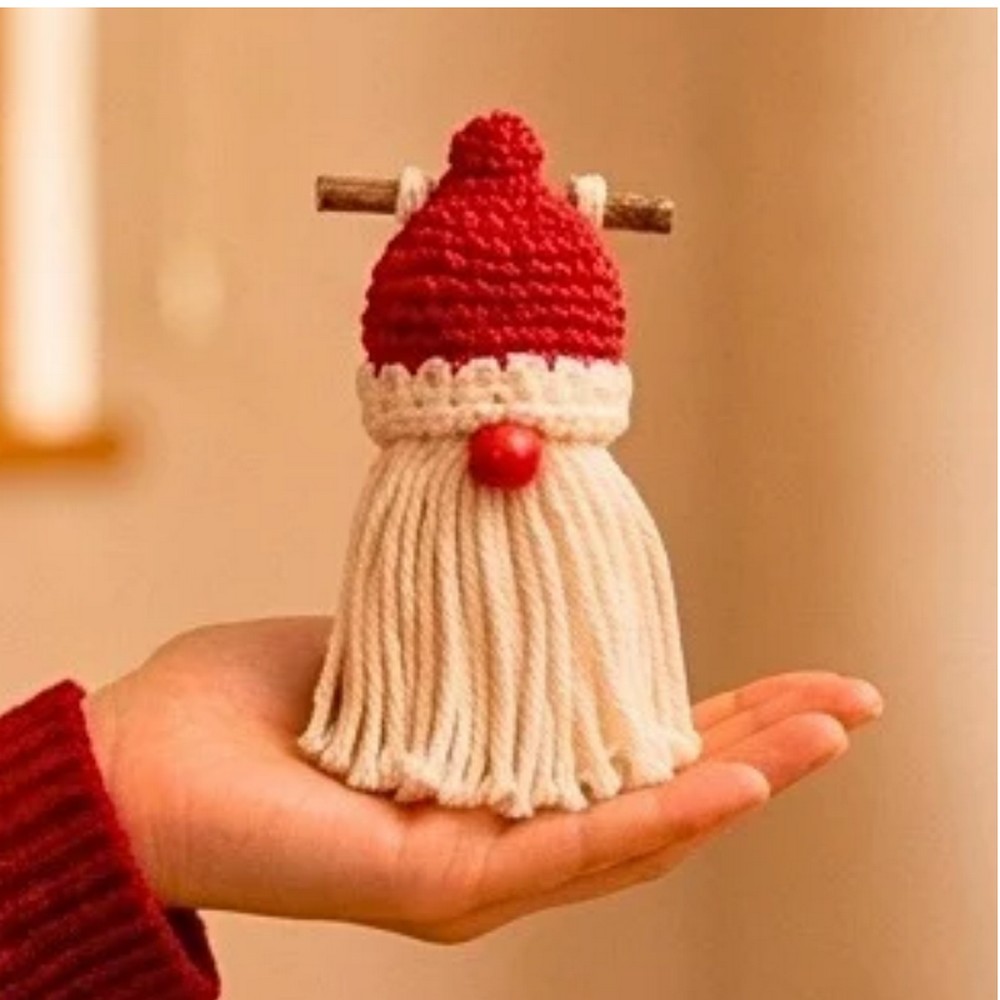
Add a festive handmade touch to your Christmas tree or holiday gifts with a cheerful crochet Santa, featuring a rounded face, pointed red hat, fluffy beard, and handy hanging loop.

A crochet Santa ornament is a small way to bring a handmade character to your Christmas decorating. The design brings together a rounded face, bright red hat, textured white beard, and a few simple facial details to create a recognizable crochet Santa that can be hung from the tree or added to a festive gift.
The crochet work is divided into manageable sections, with each part adding an important feature to Santa’s finished appearance. Paying attention to the shape of the face, the taper of the hat, and the placement of the facial details will make the final assembly much easier and help the ornament keep a neat, balanced look.
Credit Crochet Patterns Free
Materials & Tools Needed
- Flesh-colored yarn: For Santa’s face
- Red yarn: For the hat
- White yarn: For the beard, hat brim, and pom-pom
- Crochet hook: Appropriate for your chosen yarn
- Safety eyes: Optional if you prefer ready-made eyes
- Small amount of yarn or embroidery thread: For the nose and embroidered facial details
- Tapestry needle: For assembly and weaving in yarn ends
- Scissors
- Stuffing: If the face is made as a padded shape
- String or yarn: For the hanging loop
Finished Look & Customization Ideas
The finished Santa is designed as a small Christmas tree ornament, although the final size can vary depending on the yarn and hook used.
You can change the appearance without changing the basic Santa design:
- Use different shades of red for the hat.
- Choose a flesh-colored yarn that gives you the appearance you want for Santa’s face.
- Use fluffy white yarn to make the beard and pom-pom more textured.
- Embroider the eyes instead of using safety eyes.
- Make the hanging loop longer or shorter according to where you plan to display the ornament.
- Add small embroidered details to the hat for extra personality.
Pattern Abbreviations & Terminology
The supplied tutorial is video-based and does not provide a fixed written stitch count or complete round-by-round pattern. Common crochet terms that may be used while following this style of pattern include:
- Ch: Chain
- St(s): Stitch(es)
- Sl st: Slip stitch
- Sc: Single crochet
- Hdc: Half double crochet
- Dc: Double crochet
- Inc: Increase
- Dec: Decrease
- Rnd: Round
- Row: Row
Before You Start
This Santa is easiest to understand when you think of it as four main areas: the face, the hat, the beard, and the finishing details.
The supplied instructions describe the overall shaping but do not give fixed stitch counts for each round. Rather than adding numbers that are not part of the tutorial, follow the video for the exact stitch sequence while using the written guide below to understand what each section is supposed to accomplish.
Keep the different yarn colors and finishing supplies nearby before beginning assembly. It is particularly helpful to have the eyes, nose materials, and hanging yarn ready before the beard and hat are permanently attached.
Step-by-Step Crochet Instructions
Crochet the Face
Begin with flesh-colored yarn and work in a small round to create the base of Santa’s face.
Follow the video’s shaping to form a compact, rounded facial piece.
Why the Face Shape Matters
The face becomes the central point where the other features are positioned. A balanced round gives the hat a more natural base and provides enough space for the eyes, nose, and beard.
What to Check
Before moving on, look at the face from the front and check that it is evenly shaped rather than noticeably wider on one side. If stuffing is part of the version you are following, add it according to the tutorial before completely closing the opening.
Shape the Red Santa Hat
Change to red yarn and begin shaping Santa’s hat.
Work the decreasing rows or stitches shown in the tutorial so the hat gradually narrows toward its tip.
Why the Decreases Are Used
The decreases are what change the hat from a wider base into a pointed cone. Without this gradual narrowing, the hat would remain too wide and would not have the familiar Santa-hat silhouette.
What to Check While Shaping
As the hat becomes narrower, check that the decreases are keeping both sides reasonably even. The top should taper naturally rather than leaning noticeably to one side.
Add the White Hat Brim
Use white yarn to create the brim around the lower edge of the red hat.
Attach or crochet the white section according to the tutorial.
Why the Brim Comes Around the Base
The white brim visually separates the red hat from Santa’s face and gives the hat its familiar finished appearance.
Check the Placement
Before securing the brim completely, make sure it sits evenly around the lower edge. An uneven brim can make the hat appear tilted even when the red section itself is shaped correctly.

Add the Pom-Pom
Finish the pointed end of the hat with a small white pom-pom.
Secure the pom-pom firmly to the tip.
What the Pom-Pom Should Do
The pom-pom finishes the narrow tip of the hat and adds the soft white detail associated with a traditional Santa hat.
Keep it proportionate to the small ornament so it does not hide the hat’s pointed shape.
Create Santa’s Beard
Use white textured stitches, loops, or fluffy yarn around the lower portion of the face to create the beard.
Work carefully around the lower face so the beard follows the shape of the head.
Why Beard Placement Matters
The beard is placed around the lower portion of the face because Santa’s eyes and nose need to remain visible above it. If too much of the beard is positioned too high, it can cover the facial features and change Santa’s expression.

Check Before Securing
Look at the ornament from the front before fully securing the beard. Make sure the texture is spread evenly and that there is still enough visible space for the eyes and nose.
Add the Facial Features
Attach safety eyes or embroider the eyes onto the face.
Add a small nose using the method shown in the tutorial.
How to Keep the Face Balanced
Place the eyes at a similar height and keep the nose centered between them and above the beard. Because the face is small, even a small difference in placement can noticeably change Santa’s expression.
Why It Is Better to Check Before Finishing
Once the beard and facial features are firmly attached, repositioning them can be difficult. A quick front-facing check before securing everything helps prevent an uneven expression.
Bring the Pieces Together
Assemble the completed face, hat, and beard according to the tutorial.
Secure each part carefully and weave the yarn ends into the back or inside of the ornament where possible.
What to Check During Assembly
Look at the ornament straight from the front. The hat should sit centrally over the face, while the beard should remain balanced across the lower portion.
If one component appears shifted, correct its position before finishing the attachment.
Attach the Hanging Loop
Create a loop from string or yarn and attach it securely to the top of Santa’s hat.
Why the Loop Is Added at the End
Attaching the loop after the main pieces are assembled lets you see the finished hat and choose a suitable attachment point. This helps the ornament hang naturally instead of pulling the hat noticeably to one side.
Check the Loop
Gently pull on the loop before trimming or weaving in the remaining yarn. It should stay firmly attached and be large enough to fit over a Christmas tree branch or ornament hook.

Final Finishing Check
Before placing the Santa on your Christmas tree or gift, check each small detail:
- Make sure the hat is securely attached and points upward.
- Check that the white brim is positioned evenly.
- Make sure the pom-pom is firmly secured.
- Check that the beard covers the intended lower portion of the face without hiding the facial features.
- Make sure the eyes and nose are secure or firmly embroidered.
- Test the hanging loop to ensure it can support the ornament.
- Weave in and trim all remaining loose yarn ends neatly.
A final front-facing check is especially useful for this small ornament. Straightening the hat, beard, or facial details before the last yarn ends are trimmed can make the finished Santa look much more balanced.