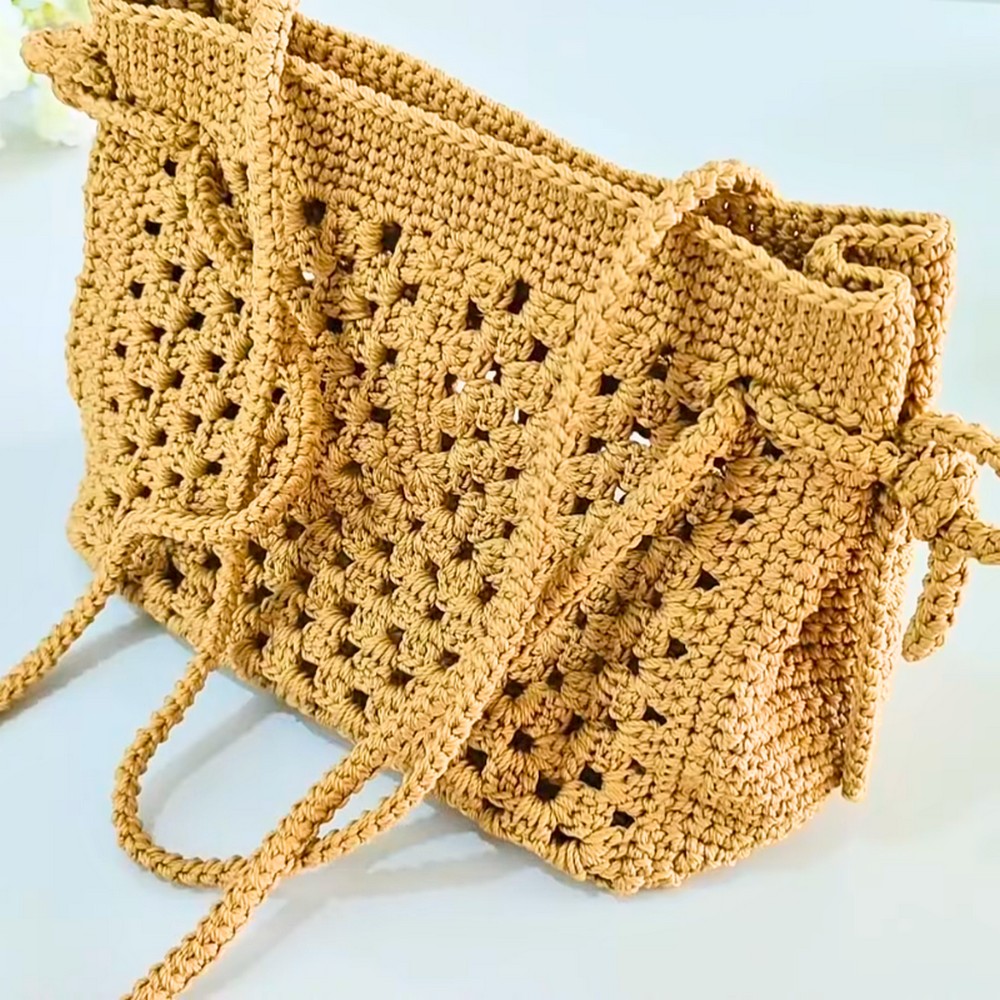
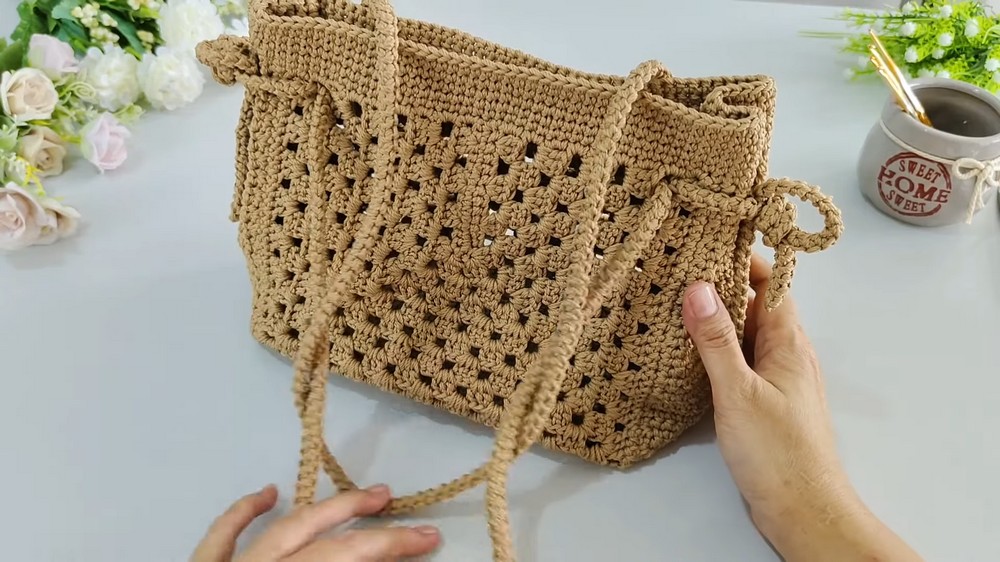
This crochet shoulder bag is a lovely accessory that’s perfect for carrying your everyday essentials. Designed with a charming Granny motif on the front and back, it’s a blend of style and simplicity. With a spacious interior, it’s great for running errands, carrying books, or even as a chic shopping bag.
Stylish Crochet Shoulder Bag
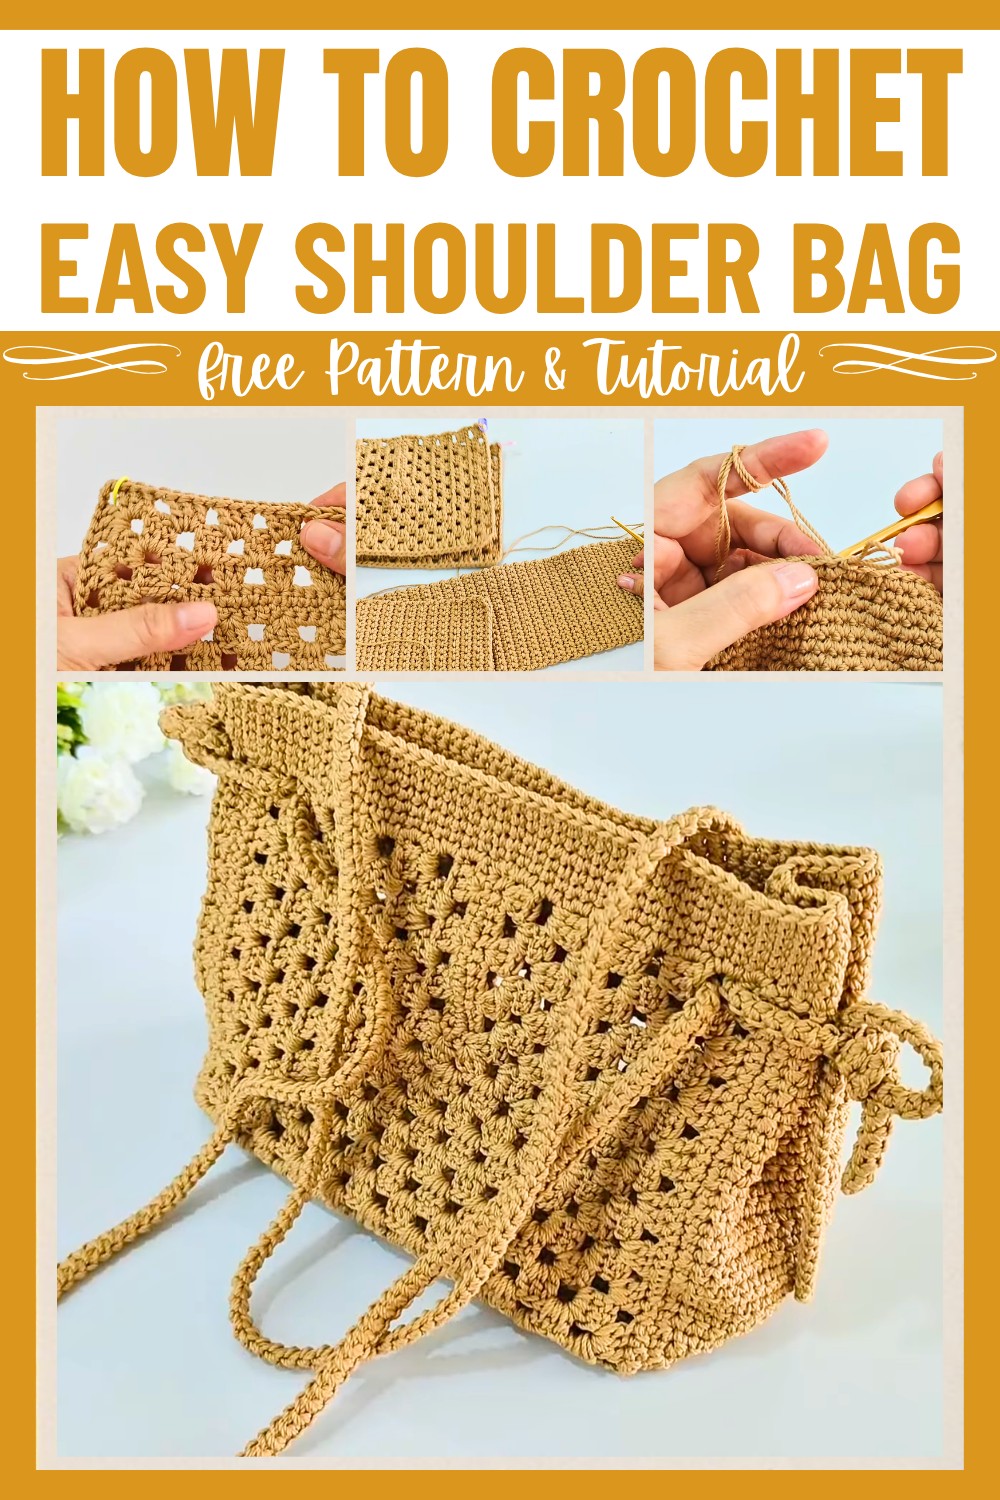
This crochet bag is special because it’s easy to make. Using simple single and double crochet stitches, you’ll create the bag’s body, sides, and bottom before finishing it with a neat strap. The Romanian cord strap adds a fun touch and can be adjusted to your preferred length. Add optional magnetic buttons or an inner lining to make it uniquely yours. It’s a fantastic way to learn and create something useful at the same time.
Credit Febe Andrian Crochet
Materials & Tools Needed
- Thread: Approximately 250g of small polyester thread (double-stranded). Alternatively, you can use large polyester or big-ply yarn for a sturdier texture.
- Crochet Hook: 3.5mm (Tulip Gold size 6/0).
- Markers: Two stitch markers to place at key points while sewing.
- Scissors: To cut yarn.
- Other: Optional magnetic buttons and fabric lining for the inner bag.
Finished Size
- Bag Body: Approx. 21 cm (8.25 inches) long and 17 cm (6.5 inches) tall.
- Strap: Flexible Romanian cord strap, length can be customized. For the tutorial, the strap is approximately 45 cm (17.7 inches) long.
Customization Ideas
- Adjust the bag size by modifying the number of rows or stitches.
- Use different colors for the body, sides, or strap for a multi-colored effect.
- Add lining or pockets to the interior for extra functionality.
- Attach embellishments like buttons, tassels, or beads for personalization.
Pattern Abbreviations & Terminology
- ch: Chain
- sc: Single Crochet
- dc: Double Crochet
- sl st: Slip Stitch
- st(s): Stitch(es)
- rep: Repeat
This pattern uses US crochet terminology.
Step-by-Step Detailed Instructions
1. Bag Body (Granny Motif Panels)
You will make two panels following the same granny square motif.
Step 1: Foundation Row
- Make a knot and start with 14 chains.
- Chain 1 to go up (this counts for the first stitch).
- Work 13 sc in the back loops across the foundation row.
- On the last chain, work 3 sc to round the end.
- Continue working in the opposite direction with 13 sc until the row is complete.
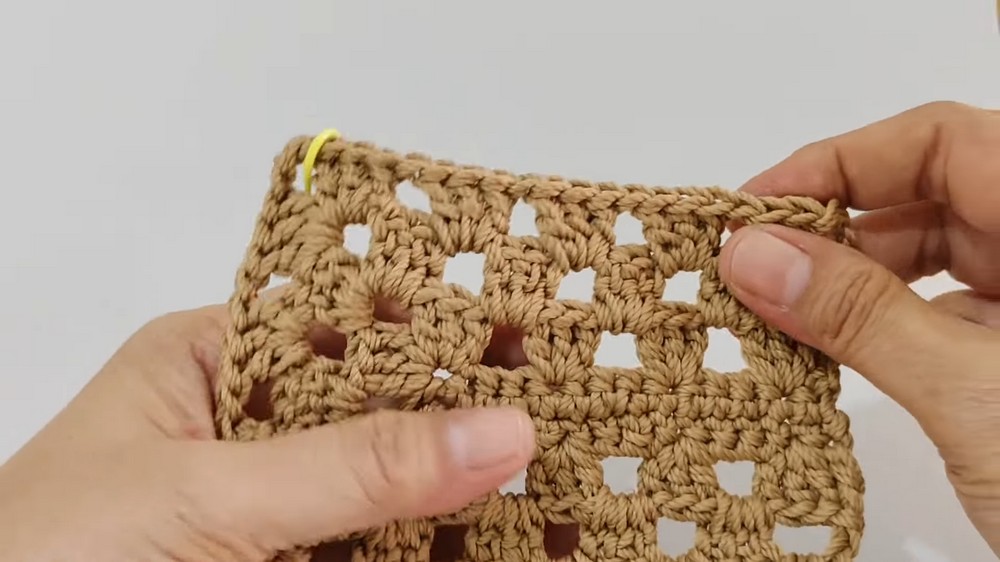
Step 2: Row 1 – Granny Square Motif
- Chain 2 to start and turn.
- In the second stitch, work 3 dc increases (3 dc in the same st).
- Chain 1, skip 3 stitches, and repeat: 3 dc increase + 1 chain, three times.
- At the corner:
- Work 3 dc, chain 3, and 3 dc to create the corner.
- Chain 1 and skip 1 stitch. Repeat the corner step for the second corner.
- Continue working: 3 dc increases + 1 chain until the row ends.
- End with 1 dc without chaining.
Step 3: Row 2 – Expanding the Granny Pattern
- Chain 3 (counts as 1 dc + 1 chain).
- Identify the empty spaces from Row 1. In each space, work 3 dc + chain 1.
- At the first corner:
- Work 3 dc, chain 3, and 3 dc into the corner space.
- Chain 1 and continue filling the empty spaces with 3 dc + chain 1.
- Work the second corner the same way as the first corner.
- At the row’s end, end with 1 dc in the second chain from the previous row.
Step 4: Row 3 – Granny Motif Growth
- Chain 2 and turn; this creates the space for the first dc.
- Identify all empty spaces (from increased rows); now, there are 4 empty spaces.
- Fill all empty spaces (excluding the corners) with 3 dc + chain 1.
- For both corners:
- Work 3 dc, chain 3, and 3 dc into the corner space.
- Continue this pattern, filling expanded spaces until the row ends. Close the row with 1 dc (no chain), inserting into the second chain.
Step 5: Continue Granny Square Pattern
- Repeat rows, following the same pattern mechanics:
- Each empty space = 3 dc + chain 1.
- Corners = 3 dc, chain 3, 3 dc.
- Stop after completing 9 rows.
- Finish the panel by chaining 1, cutting the thread, and trimming loose ends.
Step 6: Repeat for Second Panel
- Make a second identical piece following the steps above.
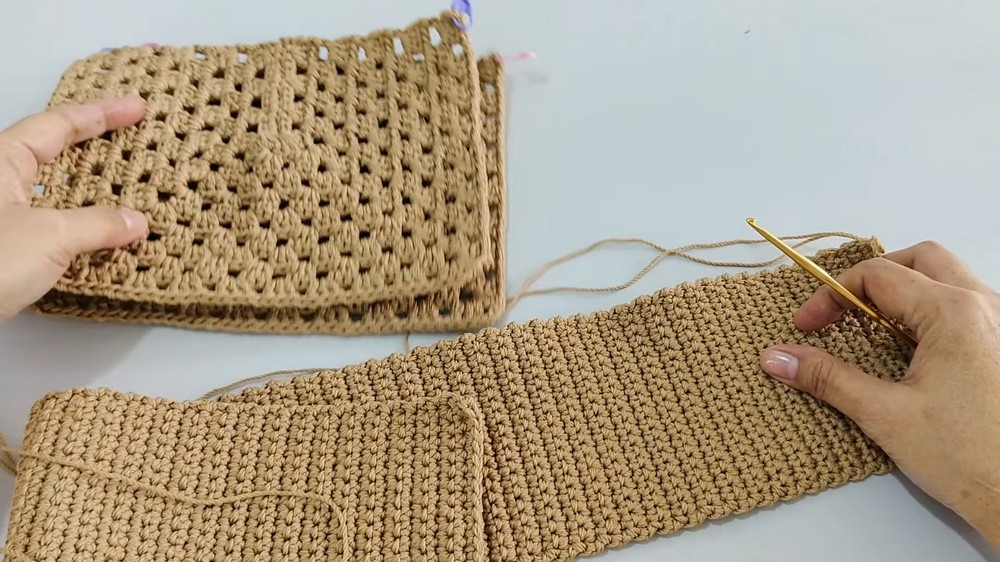
2. Side and Bottom Panel
This panel connects the two granny panels to form the bag structure.
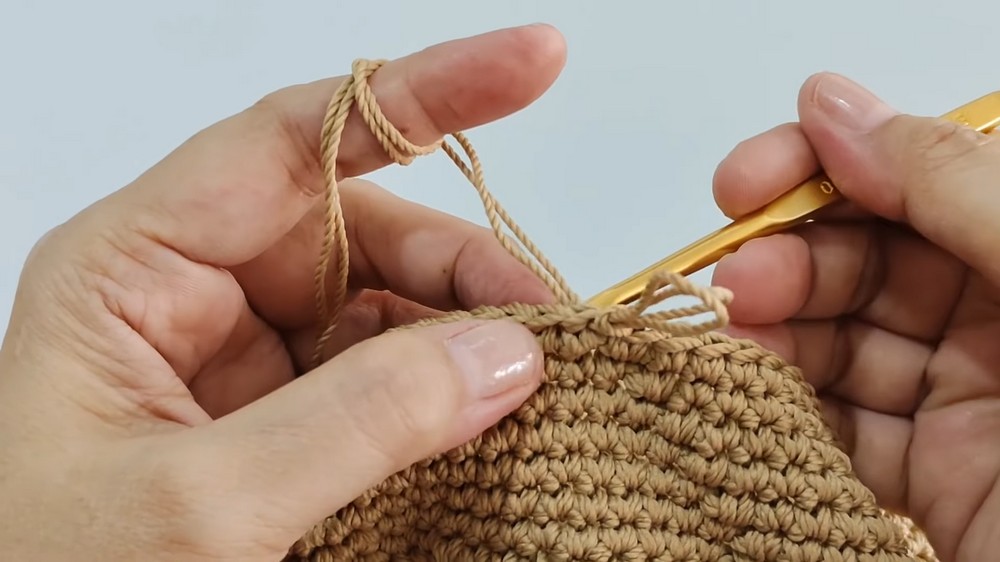
Step 1: Foundation Row
- Make a knot and chain 18 (this determines the bottom width).
- Chain 1 and turn. Work 18 sc in back loops.
Step 2: Continue Rows
- From Row 2 onward, work 18 sc back and forth until you complete 109 rows (equal to the stitch count around the U-side of the bag body, including corners).
3. Joining Bag Components
Step 1: Prepare the Long Edges
- Before joining, make 109 sc stitches along both long sides of the bottom piece.
Step 2: Sew the Edges
- Attach the bottom/side panel to the two granny panels using a long thread and needle. Start sewing from one stitch marker to the other.
4. Top Edge Finishing
Step 1: Crochet Around the Opening
- Begin with sc stitches around the opening of the bag:
- For the side panel: Work 20 sc across each side.
- For the granny panels:
- 2 sc in each motif.
- 2 sc in each empty space.
- 2 sc in the corner chains.
- Repeat for 7 total rounds.
5. Strap – Romanian Cord
Step 1: Make the Cord
- Start with a knot and chain 2.
- In the first chain, work the following steps repeatedly:
- Insert your hook into the bottom thread.
- Tilt slightly, yarn over and pull through one loop.
- Yarn over again, pull through remaining loops.
Step 2: Length Customization
- Continue until the cord reaches your desired length (tutorial example: 45 cm long).
- Cut the thread, leaving extra for sewing, and attach the cord to the bag sides.
Finishing Techniques
- If desired, add magnetic buttons to close the bag and sew fabric lining to the interior.
- Optionally, fold the side panel inward for a slimmer bag profile.