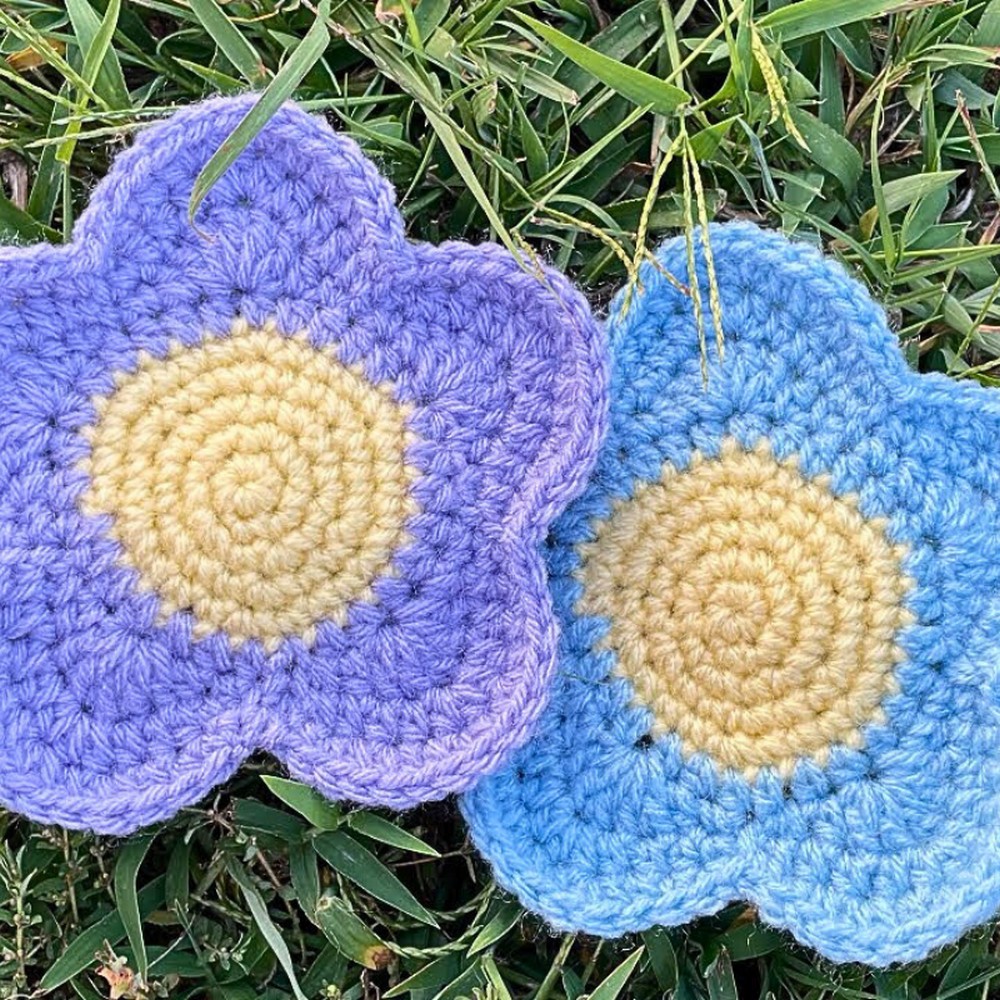
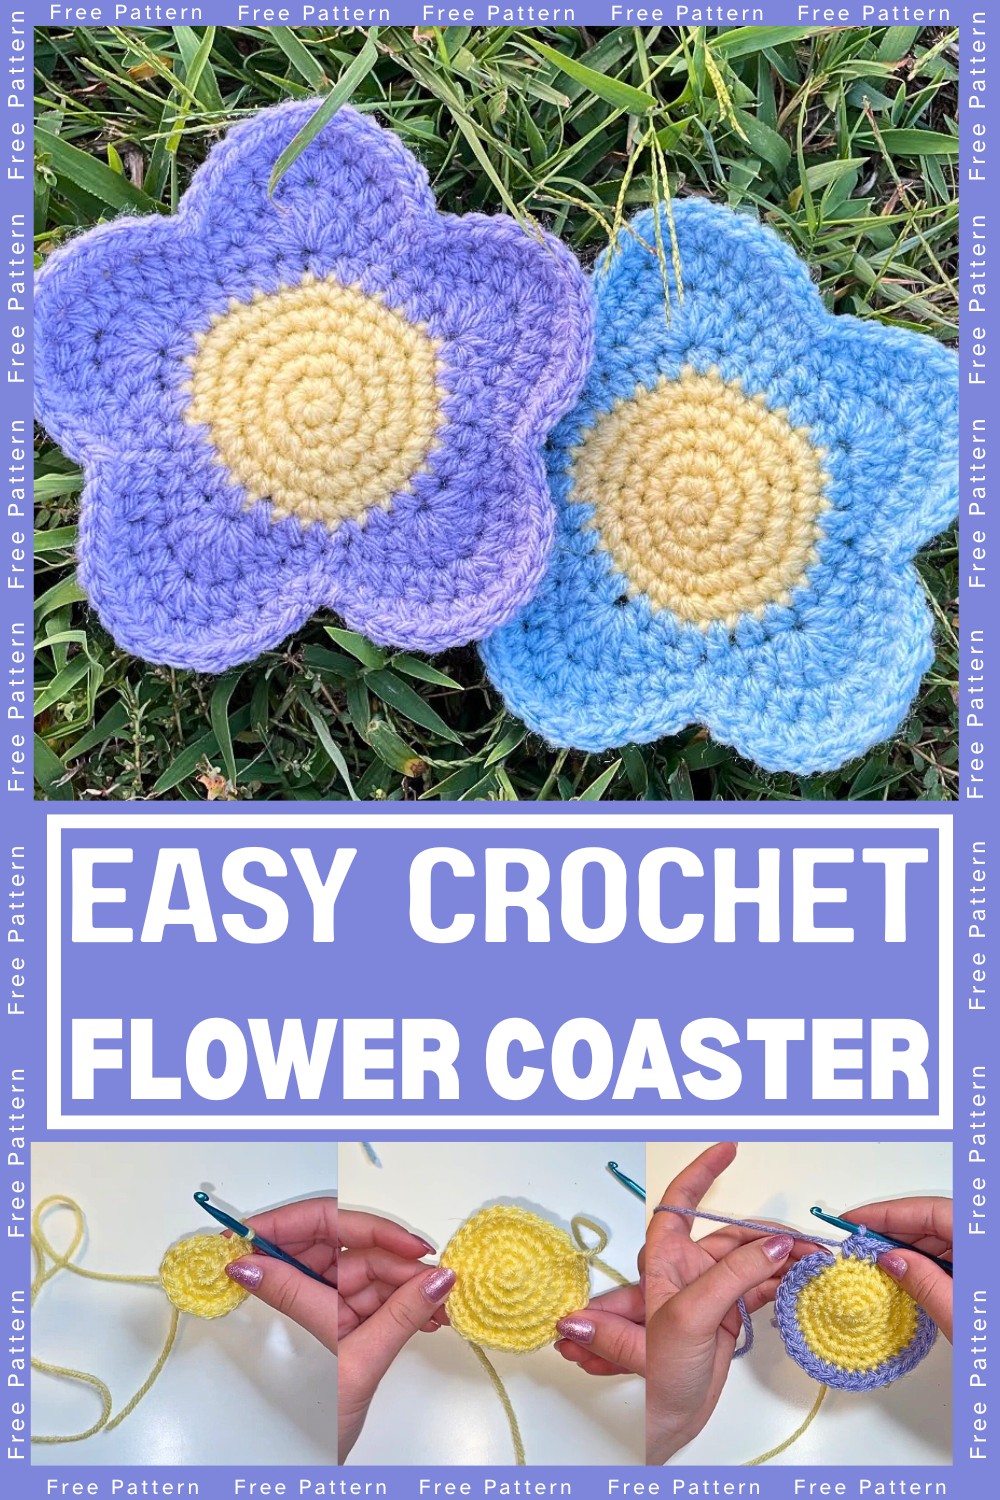
Looking to brighten up your table décor? This adorable crochet flower coaster is the perfect way to combine beauty and functionality! Featuring a delicate floral design, it's fully customizable in color and easy to make. Perfect for complementing coffee tables or gifting to loved ones!
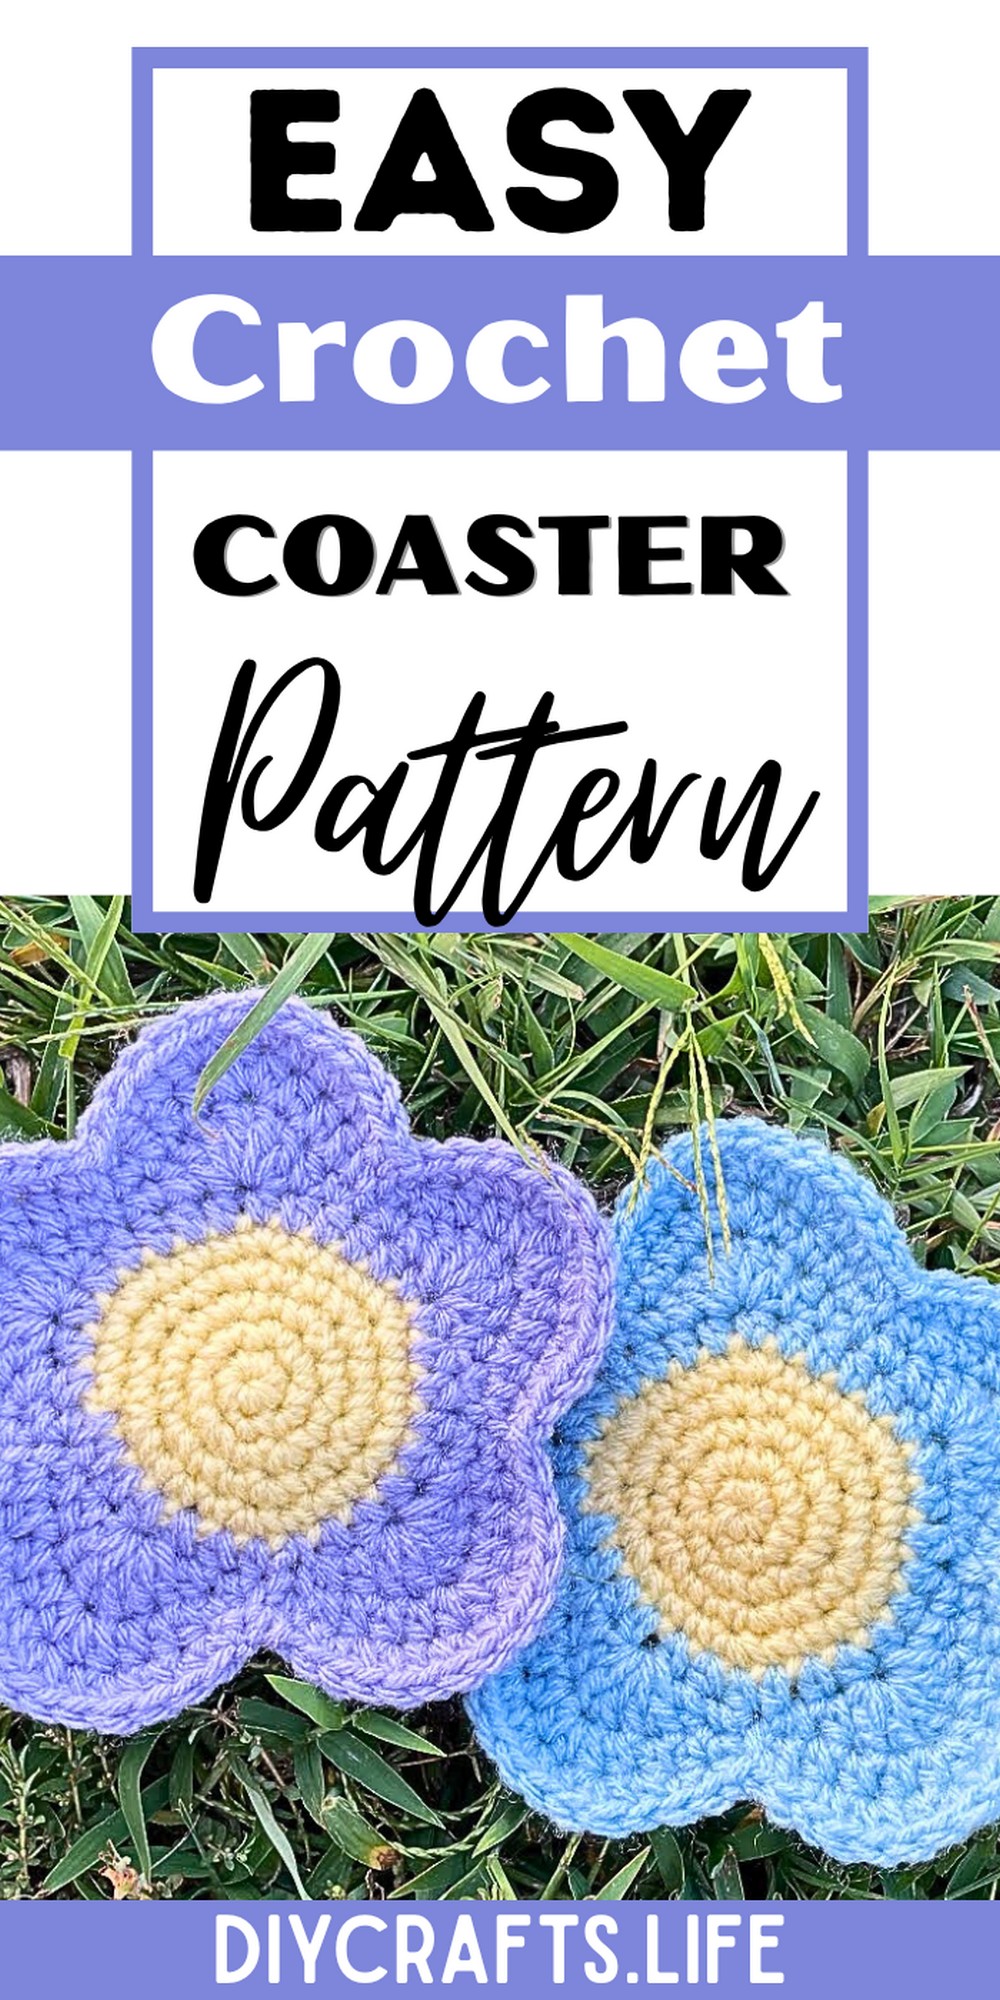
These crochet flower coasters are not only cute but incredibly practical! They're durable, heat-resistant, and add a touch of charm to any space. Whether styled in vibrant hues or classic pastels, their versatility ensures they'll always elevate your setting.
Crochet a Flower Coaster
Creating this flower coaster is a delightful project suitable for all crochet skill levels, from beginner to advanced. With simple stitches and creative color choices, it's a wonderful way to express your individuality while making something useful and beautiful.
Materials and Preparation
To create your cute flower coaster, gather the following materials:
- Yarn: Two colors of your choice (e.g., yellow for the center and purple for the petals)
- Yarn weight: Medium (4)
- Crochet Hook: 4.0 mm (G-6)
- Tools: Stitch markers or a piece of yarn, scissors, and a yarn needle (for sewing ends)
- Optional: A detailed tutorial on creating a magic ring
Abbreviations and Notes
These are the abbreviations used in the pattern:
MR- Magic Ring
SC - Single Crochet
DC - Double Crochet
HDC - Half Double Crochet
SLST - Slip Stitch
INC - Increase (two stitches in one)
Notes:
- Stitch Markers: Using stitch markers helps track rounds and ensures accuracy. You can substitute with contrasting yarn strands if needed.
- Working Continuously: This pattern works in continuous rounds, so no slip stitches are used between rounds unless mentioned.
Gauge, Approximate Size, and Pattern Notes
Gauge:
Not critical for this project, but maintain consistent tension for an even look.
Finished Dimensions:
Approximately 4–5 inches in diameter once completed.
Step-by-Step Pattern
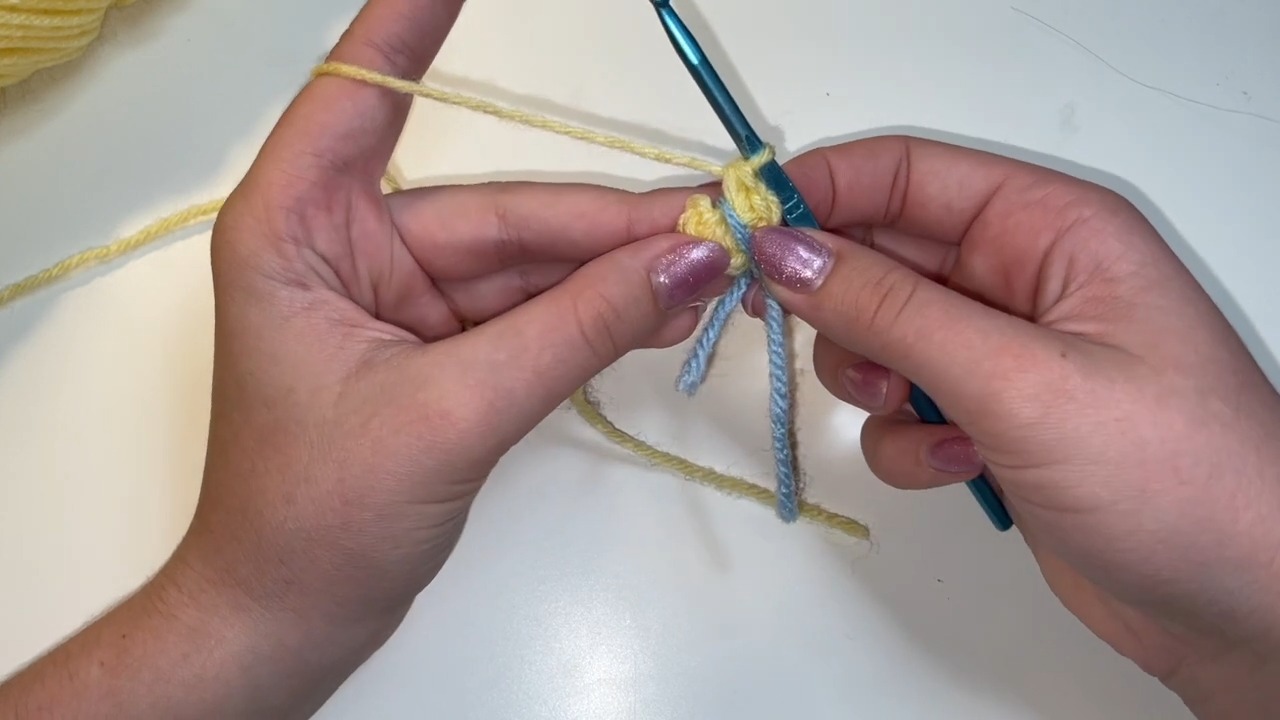
Foundation Ring
- Begin with yellow yarn. Create a magic ring. If unfamiliar, refer to the linked tutorial for a walkthrough.
- Work 6 SC into the magic ring.
- Tighten the ring by pulling the yarn tail. Place a stitch marker at the end of the round.
Round 1
- Work 2 SC in each stitch around (INC in every stitch).
- You should finish with 12 stitches.
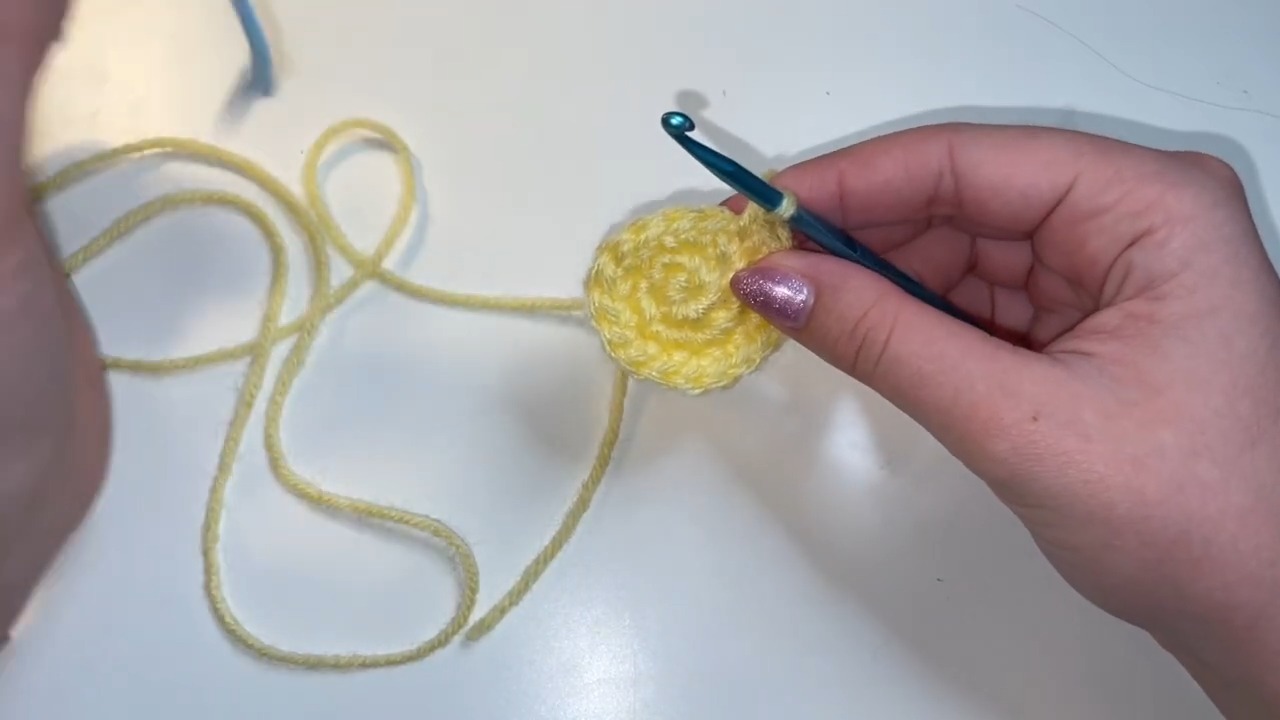
Round 2
- Pattern: Work 2 SC in one stitch (INC), followed by 1 SC in the next stitch.
- Repeat all the way around. Finish with 18 stitches.
Round 3
- Pattern: Work 2 SC in one stitch (INC), followed by 1 SC in the next 2 stitches.
- Continue the pattern around. End with 24 stitches.
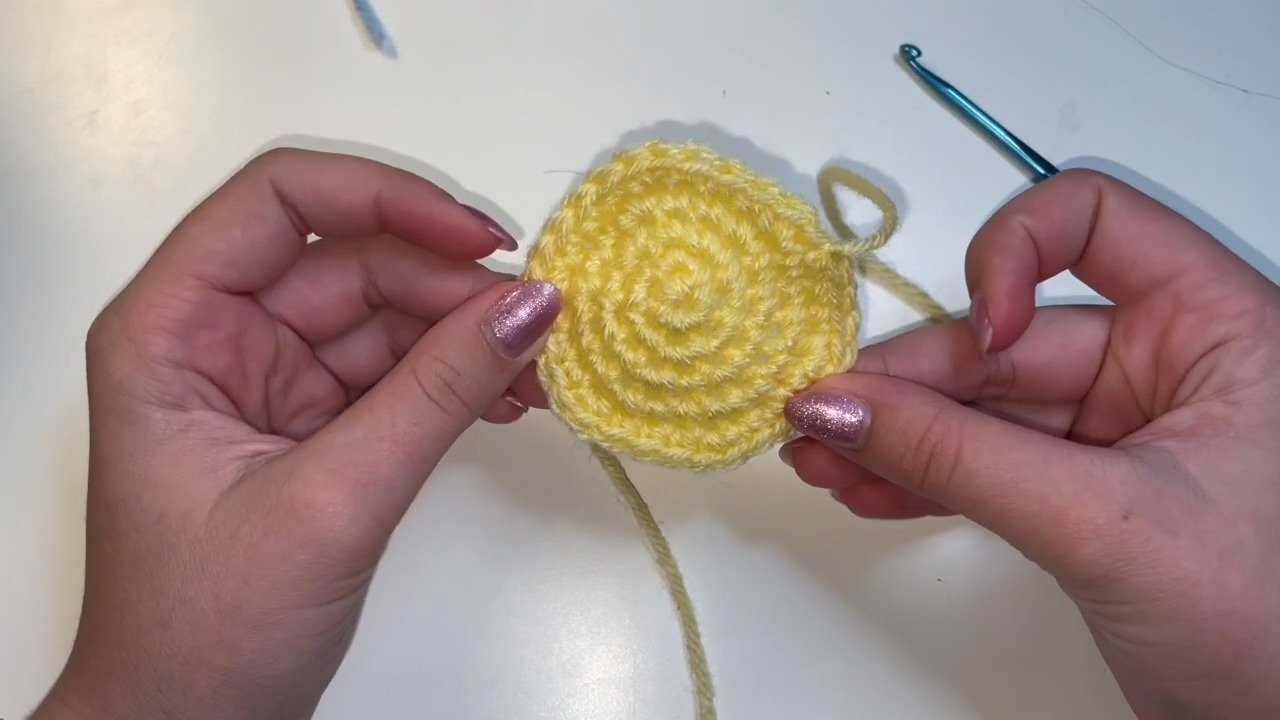
Center Finishing
- Once the base circle is complete, slip stitch into the next stitch to secure and create a clean edge.
- Fasten off the yellow yarn.
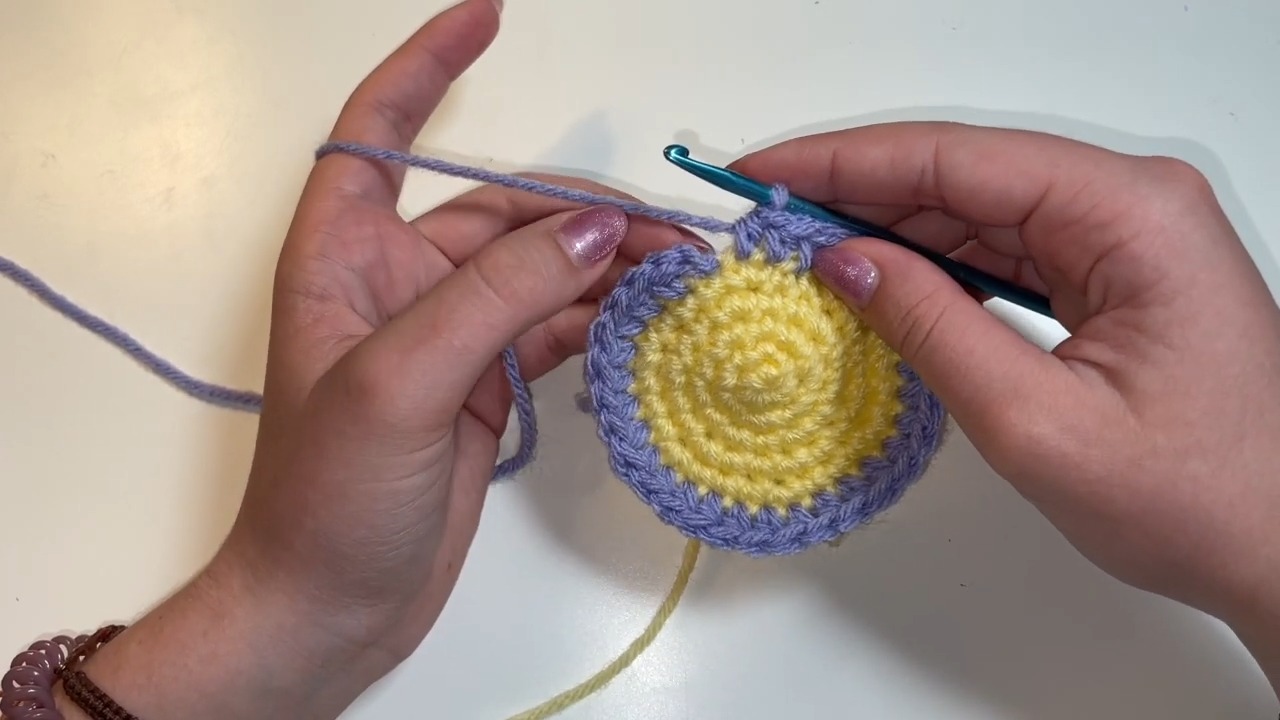
Adding Petals
Switch to purple yarn (or color of your choice):
Round 1 (Purple Base)
- Attach the purple yarn to any stitch with a knot.
- Begin working 1 HDC in each stitch around.
- Slip stitch into the first chain from when you attached your purple yarn.
Round 2 (Petals - First Layer)
- Pattern:
- SLST into the next stitch.
- Work 1 SC, 1 HDC, and 5 DC into the same stitch.
- Work 1 HDC, 1 SC, and 1 SLST into the following stitches to complete the petal.
- Repeat petal pattern around until you have 5 petals.
Round 3 (Petals - Second Layer)
- Add detail to petals:
- SLST into the next stitch.
- Work 1 SC, 1 SC, 1 HDC, followed by:
- Alternating 1 HDC and 2 HDC in next stitches to add fullness.
- End every petal with 1 SC, 1 SC, and 1 SLST.
- Repeat for 5 petals.

Finishing Touches
- Slip stitch into the base of your last completed petal to secure the design.
- Fasten off the purple yarn and weave in all loose ends using a yarn needle.
Pattern Question
Q: What if I unfamiliar with the magic ring technique?
A: If you're struggling with the magic ring, no worries! The step-by-step video linked in the blog post offers a detailed tutorial to help perfect this essential crochet skill.
Conclusion
Crocheting this flower coaster is an enjoyable, rewarding experience—it adds charm to your space while showcasing your crafting skills. With endless color combinations and a straightforward pattern, it's sure to become a favorite project for both beginners and experienced crocheters alike!