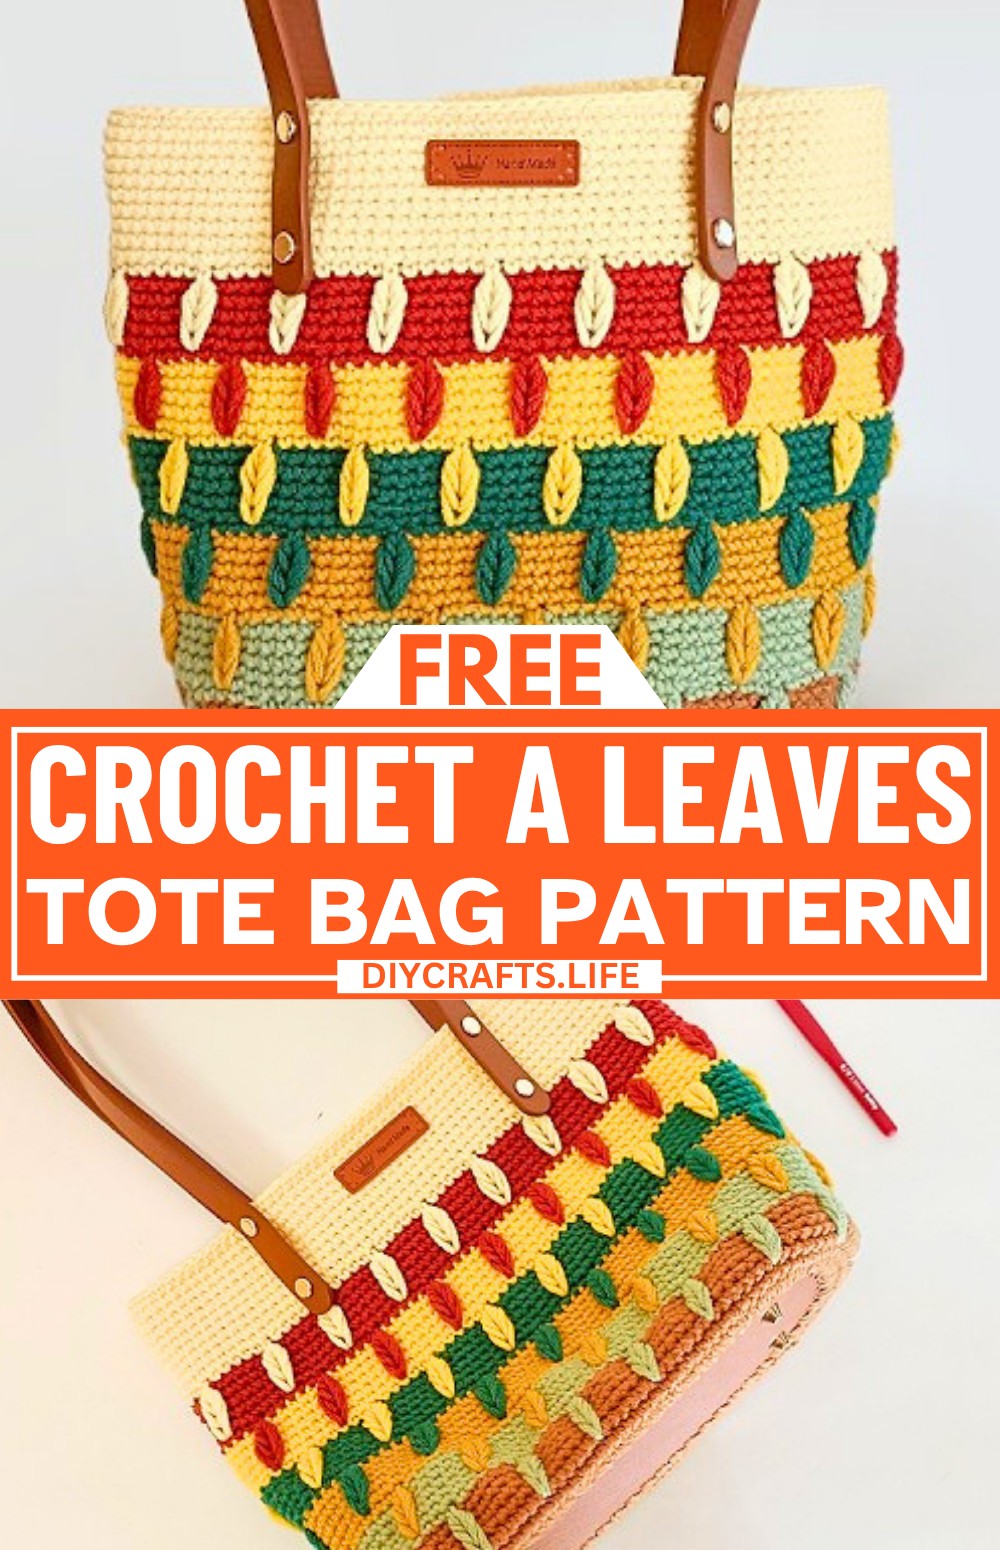
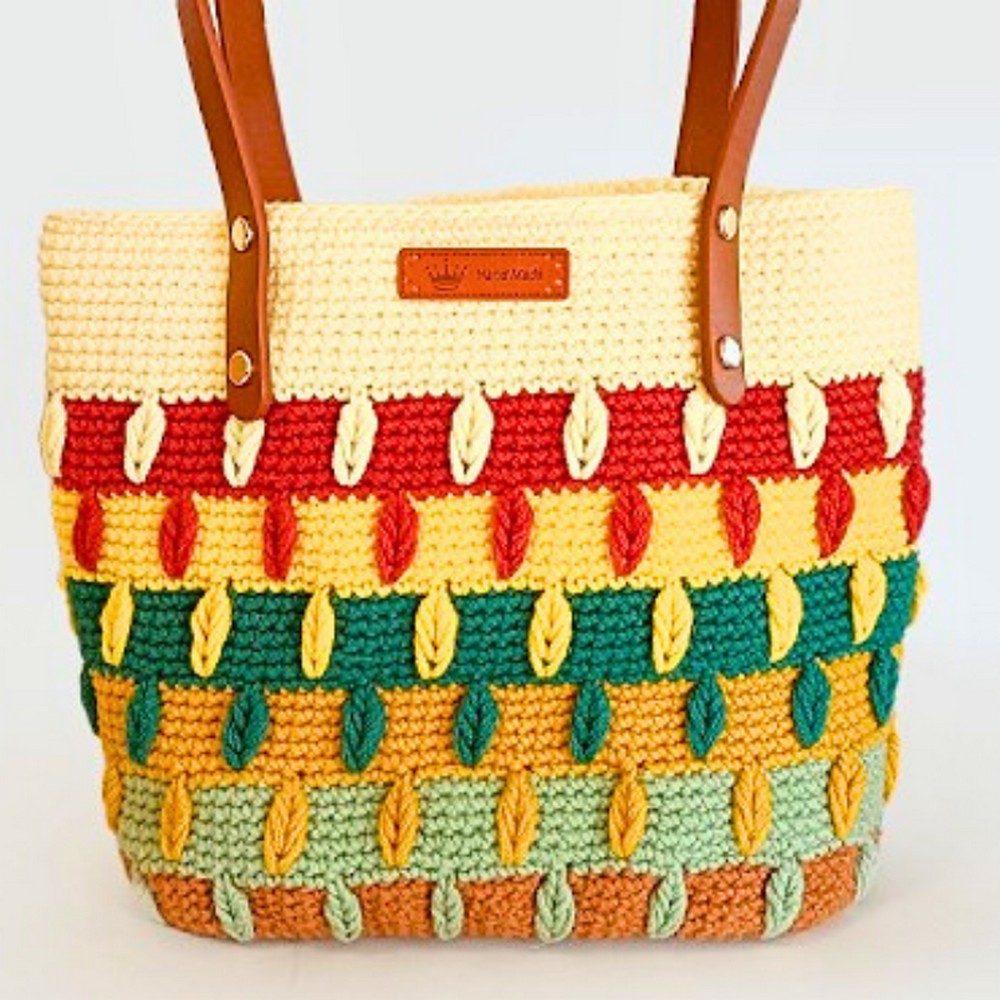
This crochet bag stands out with its gorgeous textured leaf design and eye-catching color patterns, whether you're heading to the market, a picnic, or want a unique accessory to complement your outfit. This crochet tote bag is lightweight, durable, and unique. This bag combines beauty and function in a simple yet elegant way.
Crochet Leaves Tote Bag Pattern
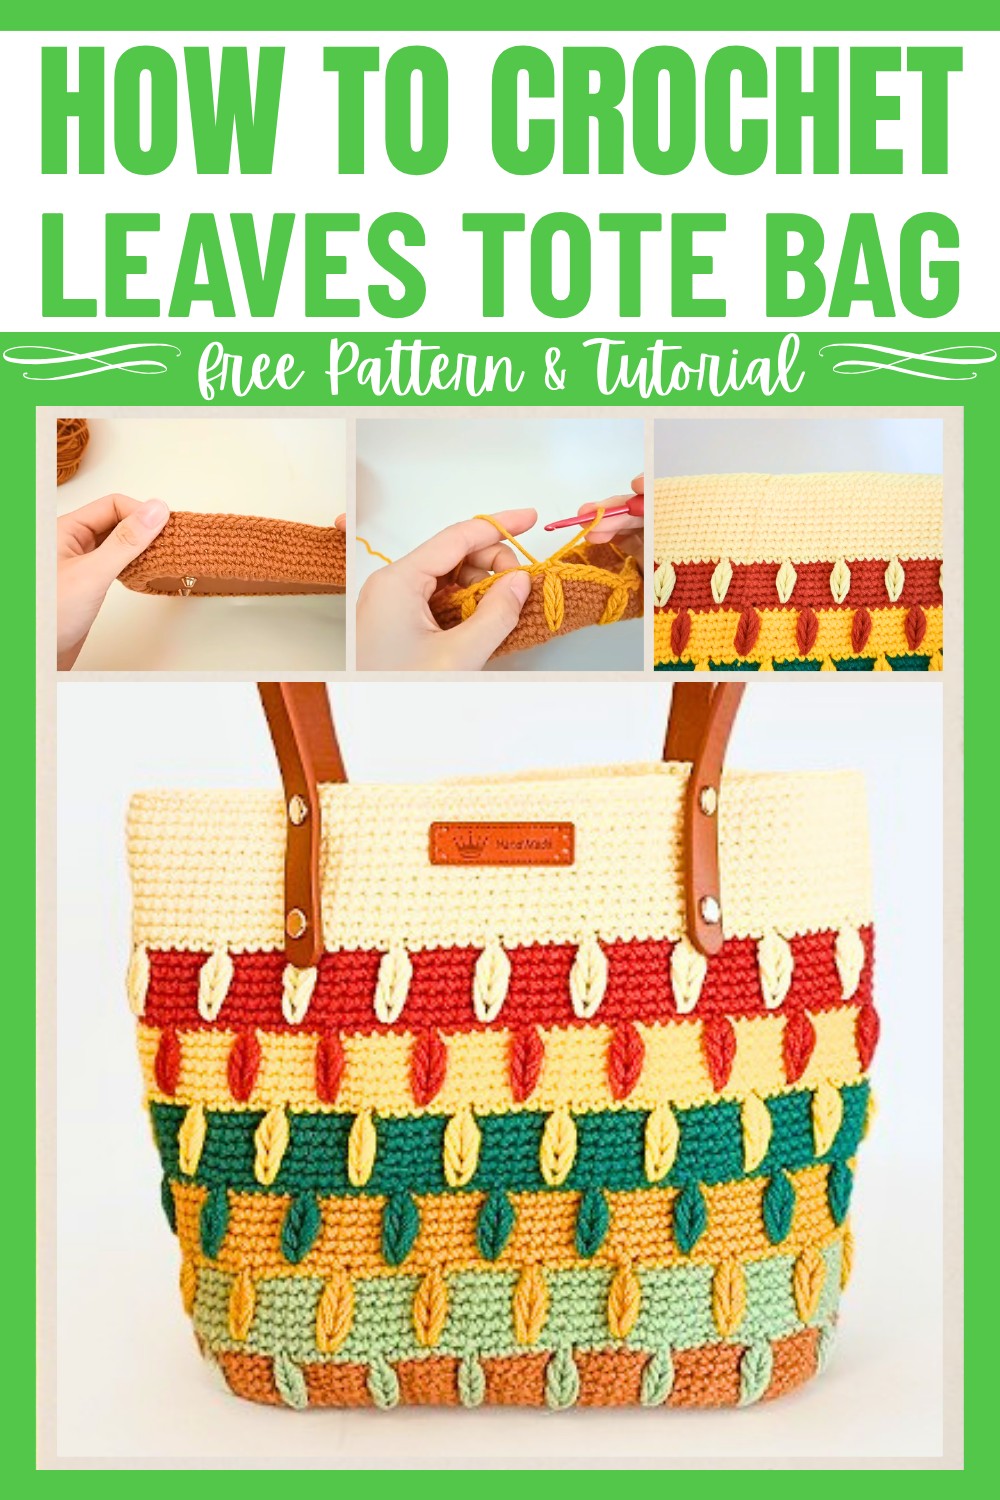
Crocheting this tote bag is simple and enjoyable. Starting with a round base, you'll add rows of single crochet stitches before moving on to the distinctive leaf patterns. The color changes help highlight the design, and adding straps and a finishing label completes the crochet tote bag for practical use.
Credit Vicky Crochet
Materials & Tools Needed
- Base: A circular plastic or wooden bag base with evenly spaced holes.
- Yarn: Two colors of yarn (main yarn + contrast yarn for leaves) – medium-weight cotton or any preferred yarn.
- Crochet Hook: Size suitable for your yarn (as shown in the video, a smaller hook is recommended – check the label for hook size recommendations).
- Stitch Markers: To mark positions on the base and for straps.
- Yarn Needle: For sewing in ends.
- Bag Straps: Pre-made straps or crochet straps (if desired).
- Glue/Bag Label: Optional label to embellish the finished product.
Finished Size
- Approximate size will depend on the base size and yarn used.
- Customizations:
- Use varying sizes of circular bag bases.
- Alternate color schemes with multiple colors.
- Add decorative embellishments like tassels or beads.
Pattern Abbreviations & Terminology
All abbreviations use US terminology:
- ch – Chain
- sc – Single Crochet
- sl st – Slip Stitch
- leaf st – Leaf Stitch (special stitch explained in detail below)
- loop(s) – Loops on hook
- sts – Stitches
Step-By-Step Detailed Instructions
Base Rounds
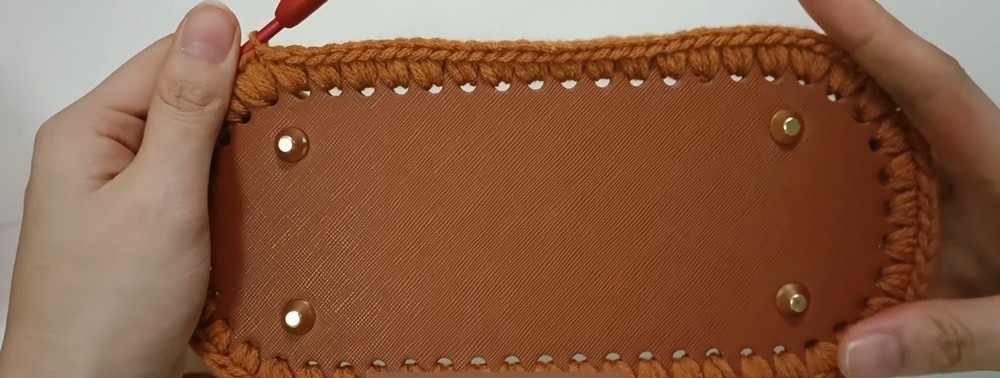
Round 1 (Base Foundation):
- Mark 4 key points on the base (divide it evenly to create symmetry).
- Begin your work in the marked hole.
- Step-by-step:
- Insert your hook into the hole.
- Wrap the yarn around your left hand and pull through the yarn (from the hole).
- ch 1.
- Insert the hook into the hole, pull through the yarn, yarn over, and pull through 2 loops (1 sc complete).
- Repeat to create 3 scs in the starting hole.
- Continue:
- Work 2 scs in each of the next 9 holes.
- In the 11th hole, work 3 scs.
- Continue by working 2 scs in each of the next 15 holes.
- Repeat this pattern until the round is complete.
- Join:
- Use a sl st to join at the top of the first sc.
- Round 1 complete.
Round 2:
- Ch 1, then work 1 sc into each stitch from Round 1.
- Total stitches = 108 scs (as per the tutorial).
- Finish by joining with a sl st in the first sc.
Rounds 3–7:
- Work 5 more rounds of sc, ensuring you maintain stitch count (108 scs per round).
- Finish each round with a sl st join.
Changing Colors:
- After completing Round 7, cut the yarn.
- Attach contrast color yarn at the beginning of the next round.
Leaf Stitch Rounds
Round 8 (Leaf Stitch Introduction):
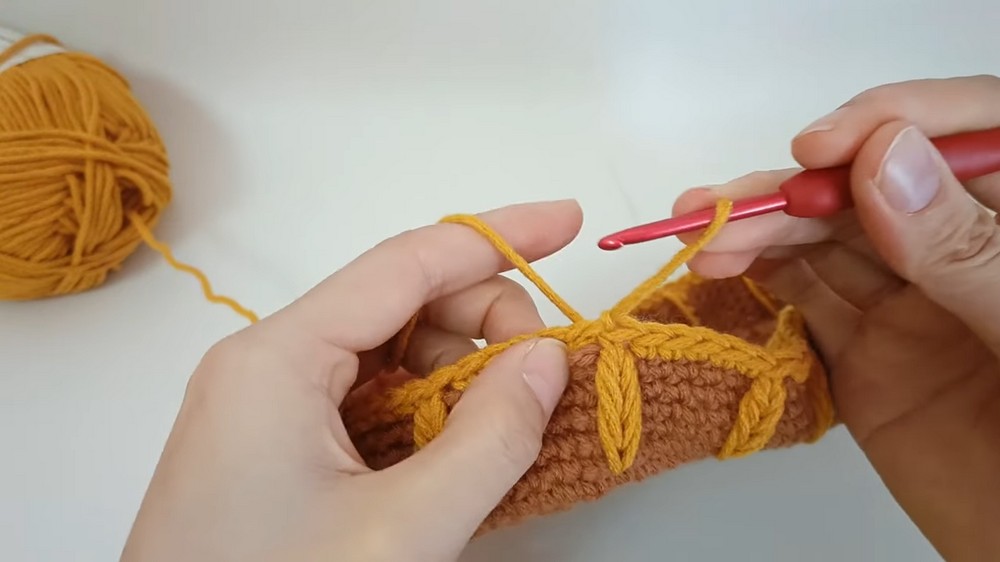
- Step-by-step for Leaf Stitch:
- Work 5 scs in consecutive stitches.
- Locate 5 spaces (these will be vertical spaces from previous stitches).
- Perform Leaf Stitch as follows:
- Insert hook into bottommost space, pull through yarn.
- Insert hook into each subsequent space above, pulling through yarn each time.
- You will have 6 loops on your hook.
- Hold the first 4 loops, then pull through the 5th loop.
- Hold the first 3 loops, pull through the 4th loop.
- Hold the first 2 loops, pull through the 3rd loop.
- Hold the first loop, pull through the 2nd loop.
- Yarn over and pull through the remaining 2 loops.
- Leaf Stitch Complete.
- Repeat steps to alternate: 5 sc – 1 Leaf Stitch until the round is complete.
- Join:
- Sl st into the first stitch.
Subsequent Rounds:
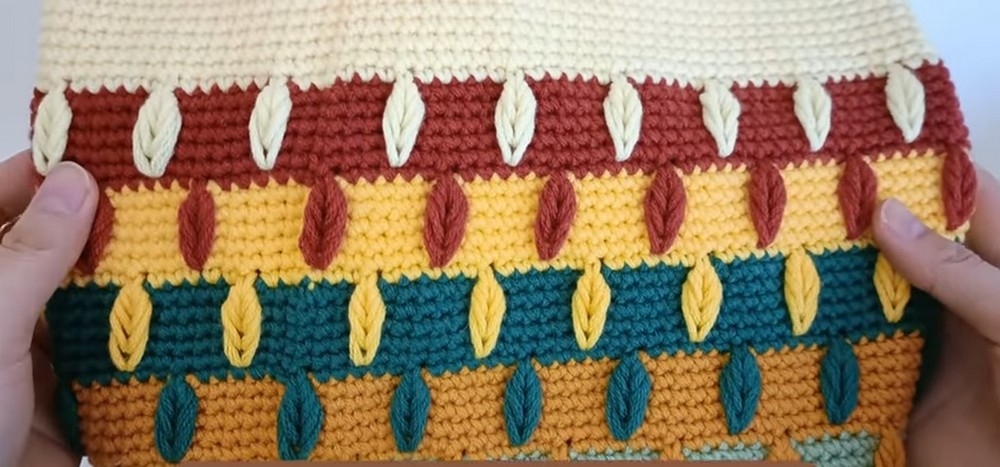
- Repeat the following pattern:
- Work 5 rounds of single crochet.
- Work 1 round of Leaf Stitch.
- Alternate colors or continue with contrast yarn for Leaf Stitch rounds.
Finishing Steps
- Complete your bag body with 5 rounds of single crochet.
- Cut the yarn and weave in the ends with a yarn needle.
Installing Straps
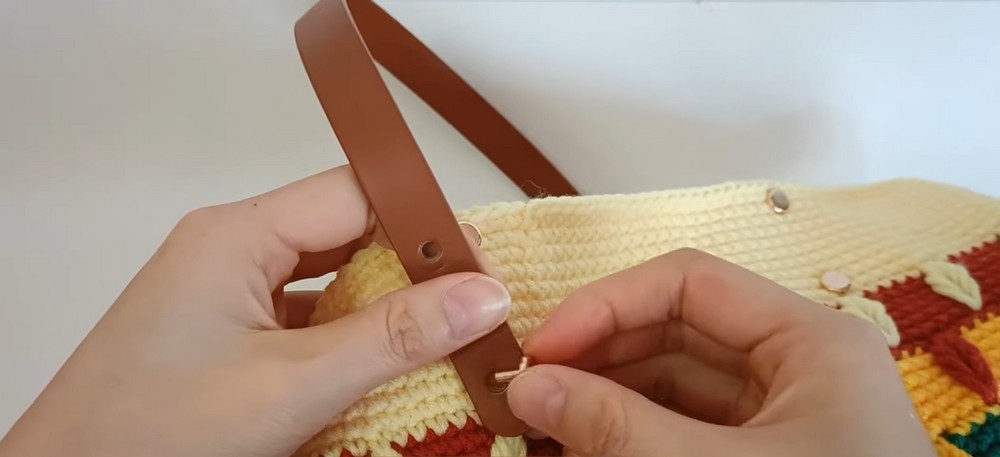
- Locate strap placement:
- Find the position above the third leaf stitch on the left and right.
- Mark these positions with stitch markers.
- Ensure markers are mirrored for symmetrical placement.
- Adjust markers if alignment looks uneven.
- Attach pre-made straps to the marked points securely.
- You can also crochet your own straps and sew them on.
Finishing Touch
- Add a decorative label (optional).
- Ensure all ends are hidden and trimmed neatly.
- Your Leaves Tote Bag is ready!