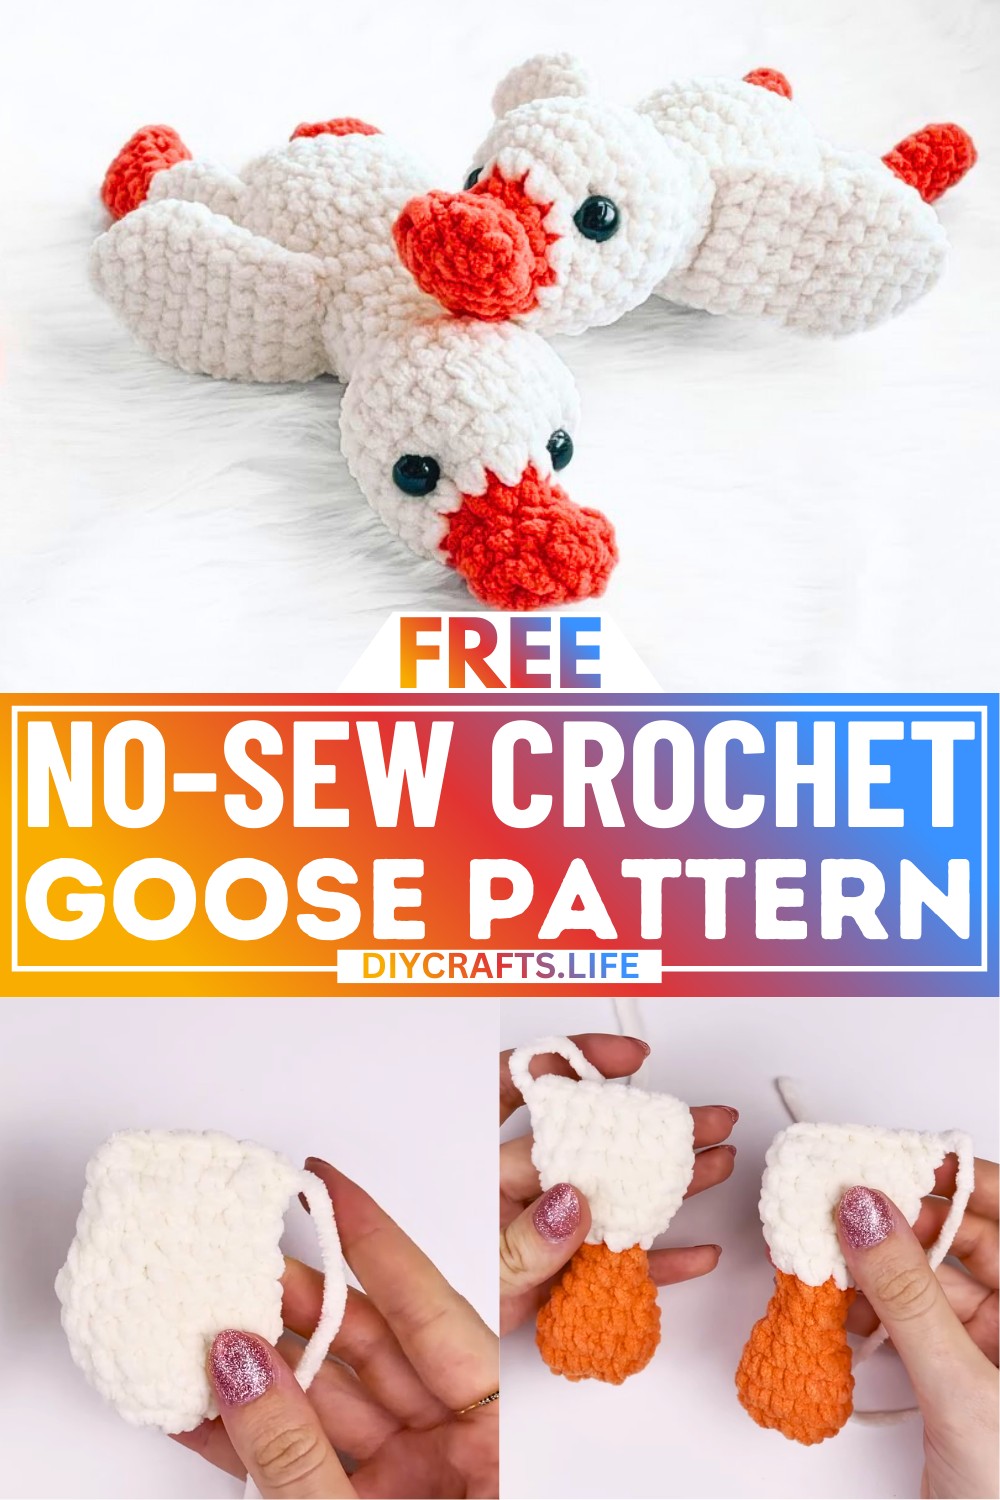
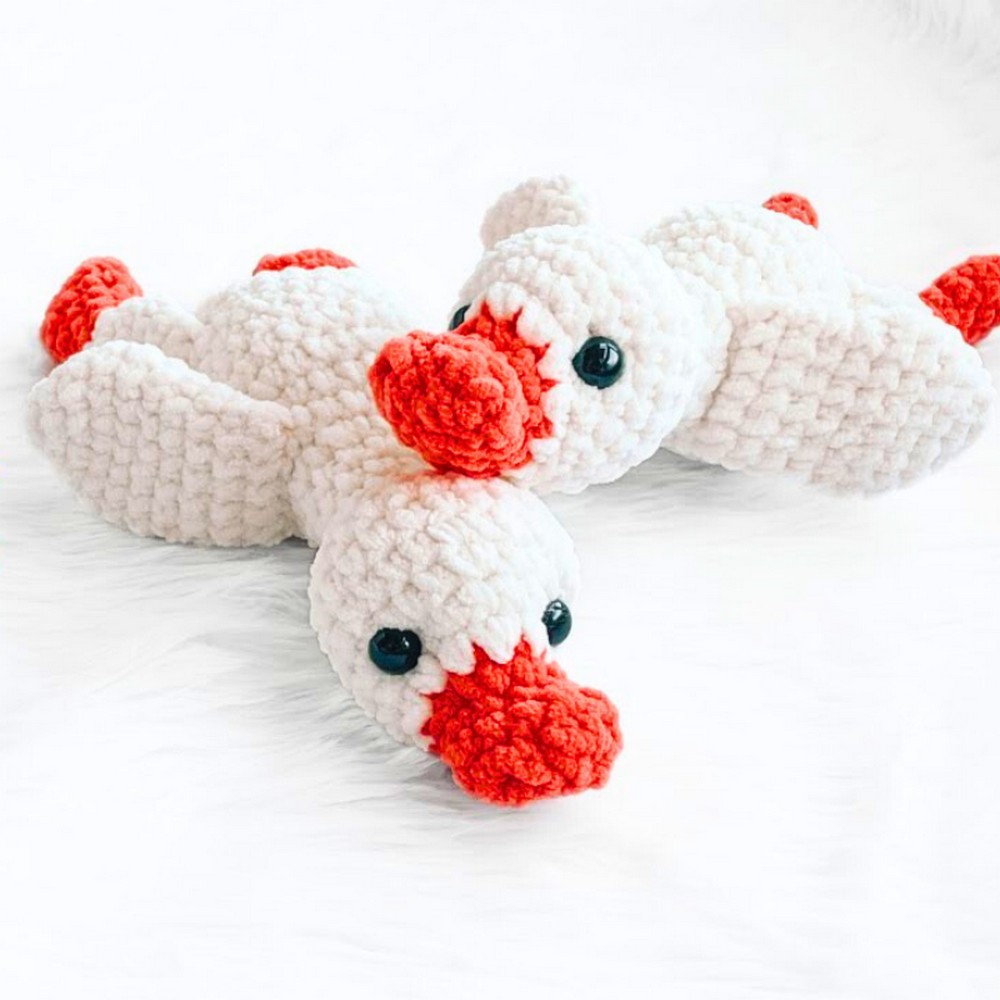
Georgia the Goose is a lovable crochet creation that's perfect as a toy, decoration, or thoughtful gift. Its soft, fluffy body and flexible design make it a great addition to any home. Not only does it brighten up a room, but it’s also super quick and fun to create, even if you're a beginner.
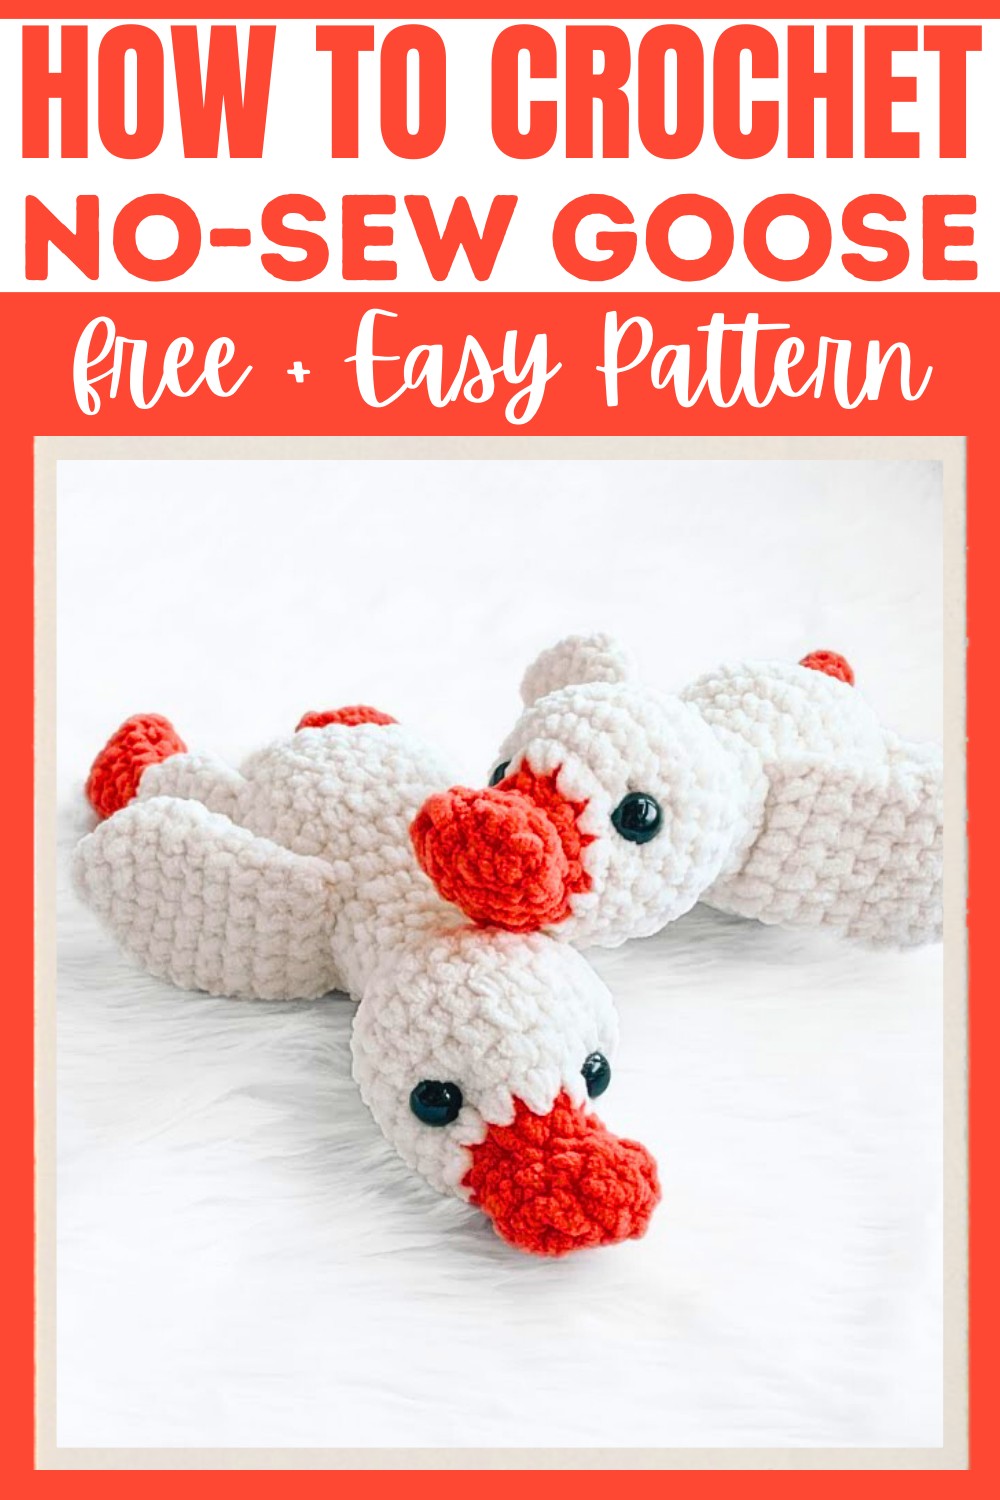
What makes this amigurumi pattern so special? It’s completely no-sew, meaning you can crochet everything in one go without needing to piece things together later. With simple stitches and easy steps, this charming goose comes to life. Decorate kids' rooms, add a handmade touch to your space, or gift Georgia to someone special. Whichever way you use it, it’s sure to bring smiles.
Credit Crochet with Kyra
Materials & Tools Needed
- Yarn:
- Big Twist Posh in Bright Orange (beak/feet)
- Big Twist Baby in Vanilla Cake (body/head/wings)
- Hook Size: 5 mm crochet hook
- Other Supplies:
- 12 mm safety eyes
- Polyfill stuffing
- Stitch marker
- Scissors
Finished Size
The goose is approximately 6–8 inches tall depending on your personal tension with the yarn.
Pattern Abbreviations & Terminology
- ch: chain
- sc: single crochet
- inc: increase (2 single crochet stitches in the same stitch)
- dec: decrease (single crochet two stitches together)
- sl st: slip stitch
- st: stitch(es)
- mr: magic ring
US Terminology is used.
Step-by-Step Crochet Instructions
1. Goose Feet
First Foot:
- Start with Bright Orange yarn and make a slip knot. Chain 4 (ch 4).
- Round 1:
- Insert the hook into the 2nd chain from the hook. Work 2 sc.
- Work 3 sc into the next stitch to curve around the chain.
- Work 2 sc along the opposite side of the chain.
- Finish with 3 sc into the final chain.
- Join with a sl st into the first stitch of the round. (10 sts total)
- Add a stitch marker to mark your rounds.
- Rounds 2–3:
- Work 10 sc evenly around.
- Flip the piece if needed so the right side is facing out.
- Round 4:
- (3 sc, dec) twice. (8 sts total)
- Round 5:
- (2 sc, dec) twice. (6 sts total)
- Rounds 6–7:
- Work 6 sc evenly around. (6 sts per round)
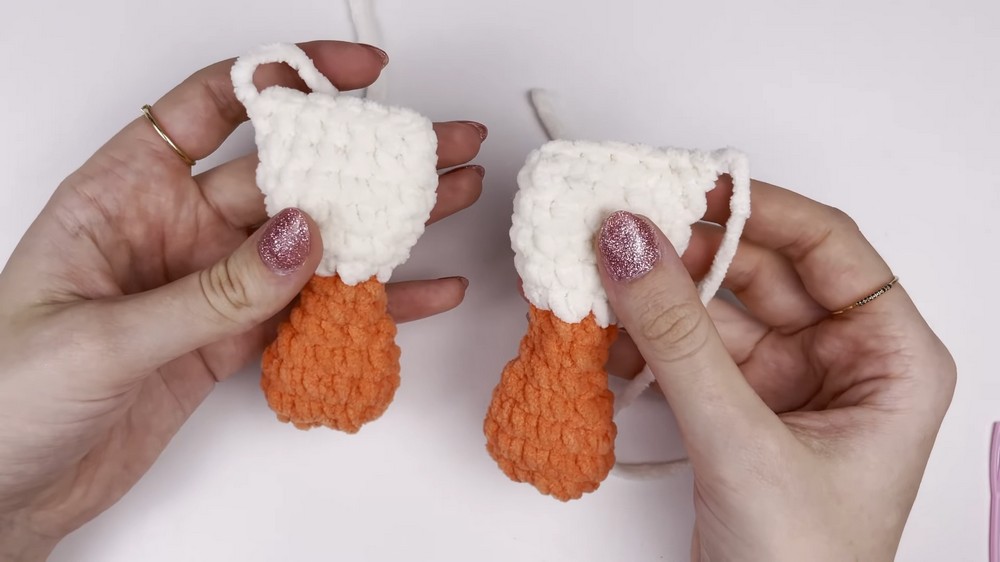
Change to White Yarn:
- In the last stitch of Round 7, change to Vanilla Cake yarn (white) for the body.
- Round 8:
- Work 6 inc evenly. (12 sts total)
- Rounds 9–12:
- Work 12 sc evenly around for four rounds. (12 sts per round)
Flatten and Close:
- Flatten the foot. Work 6 sc through both layers at the top to close. (6 sts total)
- Fasten off with no tail.
Repeat all steps to make the second foot.
2. Goose Wings
First Wing:
- Begin with Vanilla Cake yarn and work 4 sc into a magic ring. Pull to close tightly. Place a stitch marker.
- Round 1:
- Work 4 inc evenly. (8 sts total)
- Round 2:
- (sc, inc) repeat 4 times. (12 sts total)
- Round 3:
- (2 sc, inc) repeat 4 times. (16 sts total)
- Rounds 4–5:
- Work 16 sc evenly around for two rounds. (16 sts per round)
Shape and Close:
- Round 6:
- (2 sc, dec) repeat 4 times. (12 sts total)
- Rounds 7–9:
- Work 12 sc evenly around for three rounds. (12 sts per round)
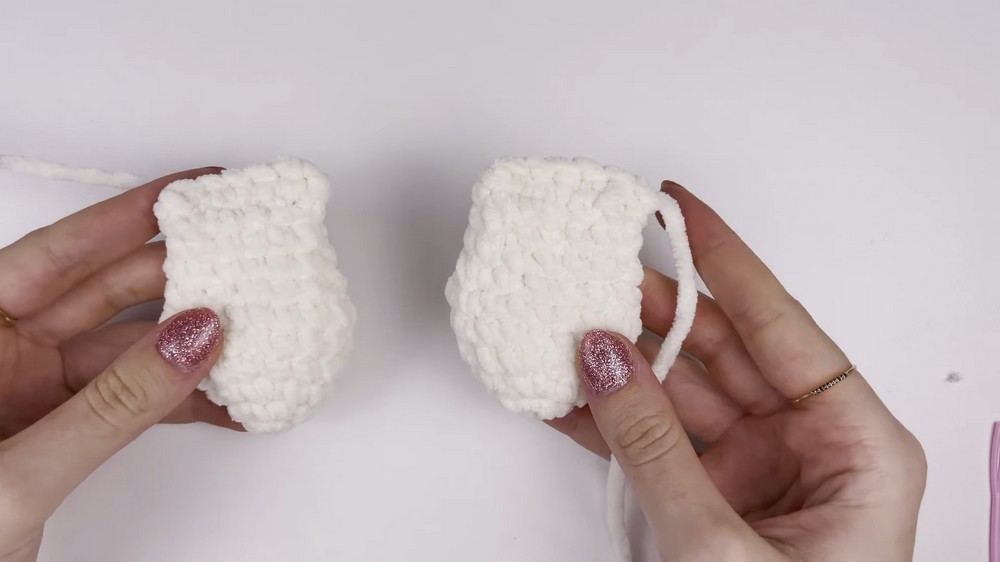
Flatten the Wing:
- Flatten the wing, and work 6 sc across both layers at the top to close. (6 sts total)
- Fasten off with no tail.
Repeat to make the second wing.
3. Goose Head and Body
Start the Head:
- Begin with Vanilla Cake yarn and chain 4 (
ch 4). - Round 1:
- Starting in the 2nd chain from the hook, work 2 sc.
- Work 3 sc into the next stitch (to turn around).
- Work 2 sc down the opposite side of the chain.
- Work 3 sc into the last chain.
- Join with a sl st into the first stitch. (10 sts total)
- Rounds 2–3:
- Work 10 sc evenly around. (10 sts per round)
(Ensure the right side is facing out.)
- Work 10 sc evenly around. (10 sts per round)
Shape the Head:
- Round 4:
- Work 3 sc, 3 inc, and 4 sc. (16 sts total)
- Round 5:
- Work 3 sc, 6 inc, 3 sc, and 1 inc. (22 sts total)
Build the Body:
- Rounds 6–9:
- Work 22 sc evenly around for four rounds. (22 sts per round)
- Round 10:
- (3 sc, dec) repeat 4 times. (18 sts total)
- Rounds 11–14:
- Work 18 sc evenly around for four rounds. (18 sts per round)
Attach Feet:
- Stuff the feet lightly, and position them at the bottom of the body.
- Work through the side of one foot and the body at the same time (6 sc to attach).
Attach Wings:
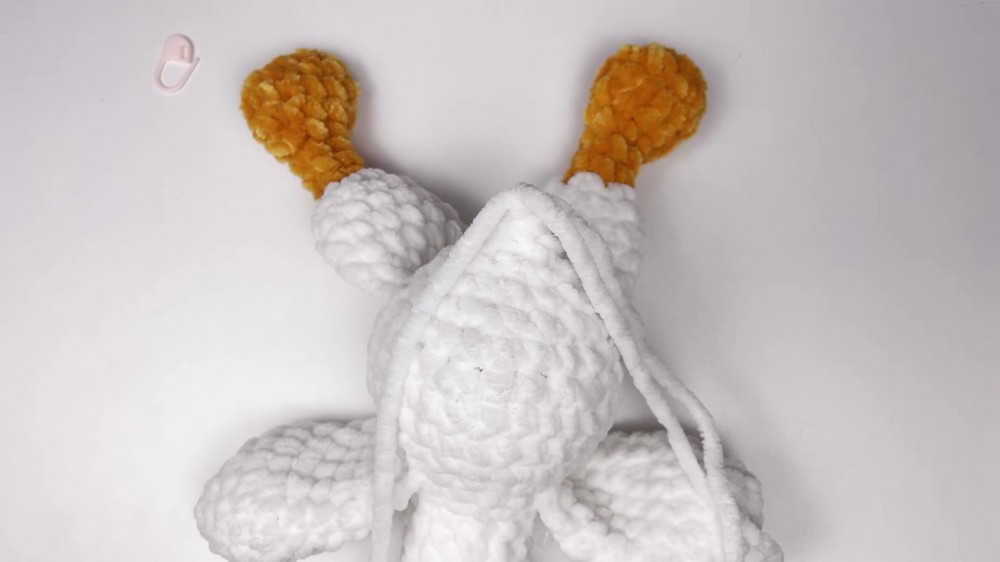
- Flatten each wing slightly. Position them along the sides and crochet them directly onto the body following the same technique for seamless attachment.
Close the Top and Shape the Neck:
- Decrease the width gradually to shape the neck and close at the top.
Attach Beak and Safety Eyes
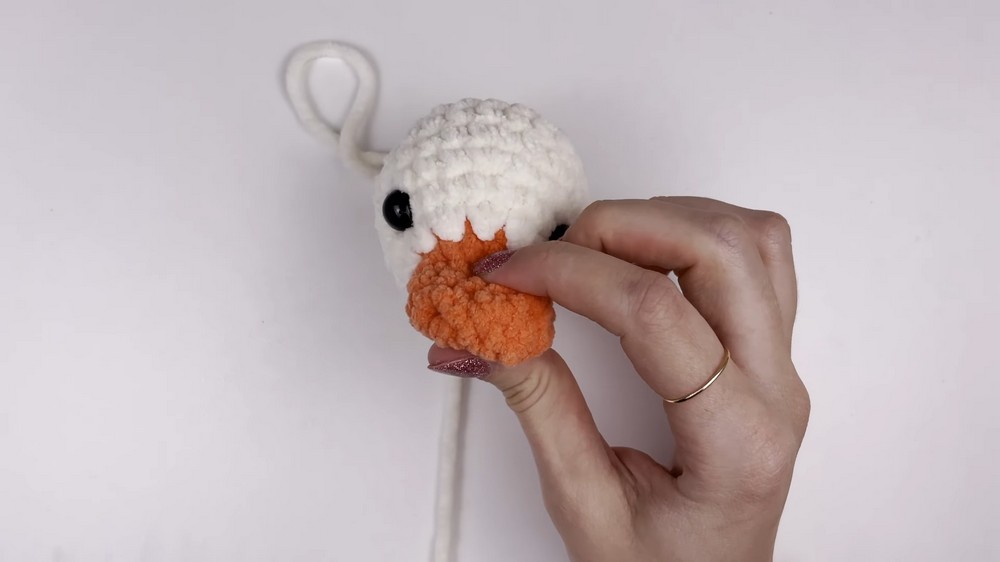
- With Bright Orange yarn, crochet a small triangular beak.
- Insert the 12 mm safety eyes evenly across the face.
Finishing:
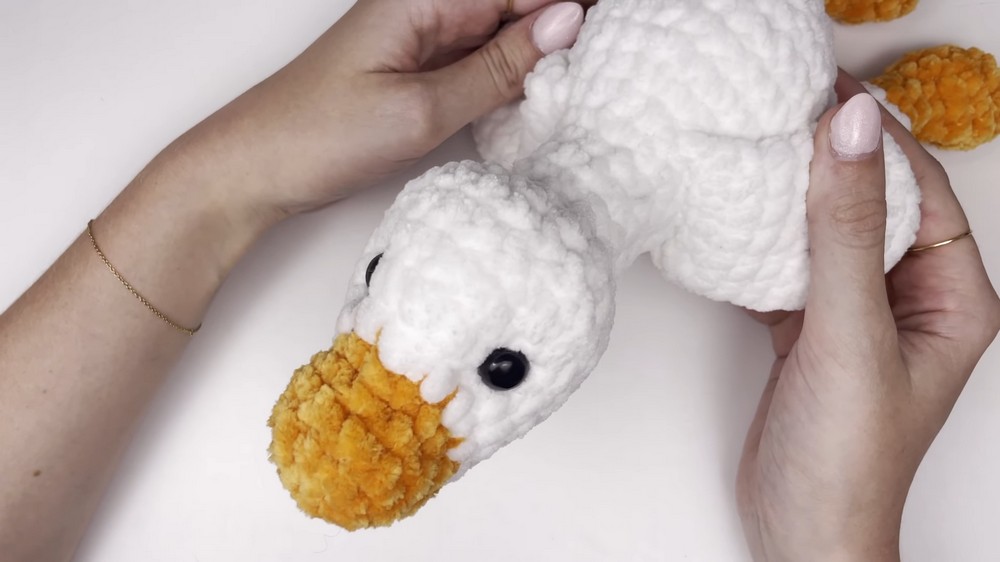
- Stuff the goose tightly with polyfill.
- Add decorative elements (e.g., scarf or bow) if desired.